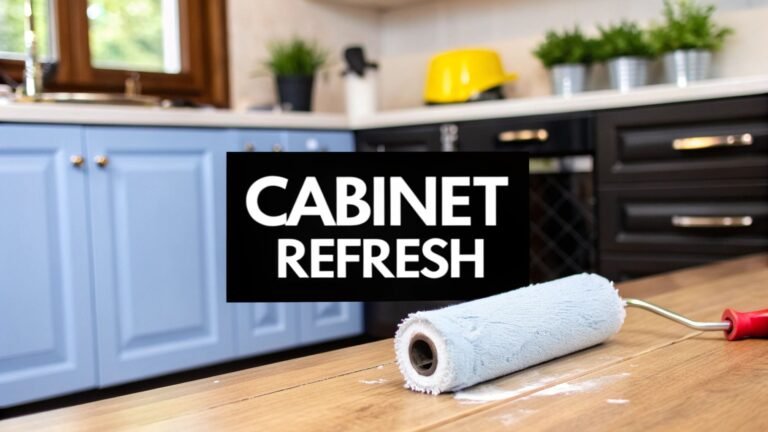
Your kitchen cabinets take a beating every single day — grease, steam, a thousand door swings, sticky little fingers. After 10 or 15 years, even quality cabinets can start looking tired. And if you’ve priced out new cabinets lately, you already know a full replacement runs well into five figures. Cabinet painting is the practical middle ground most GTA homeowners don’t fully understand until they look into it.
Why Cabinet Painting Works Better Than You Think
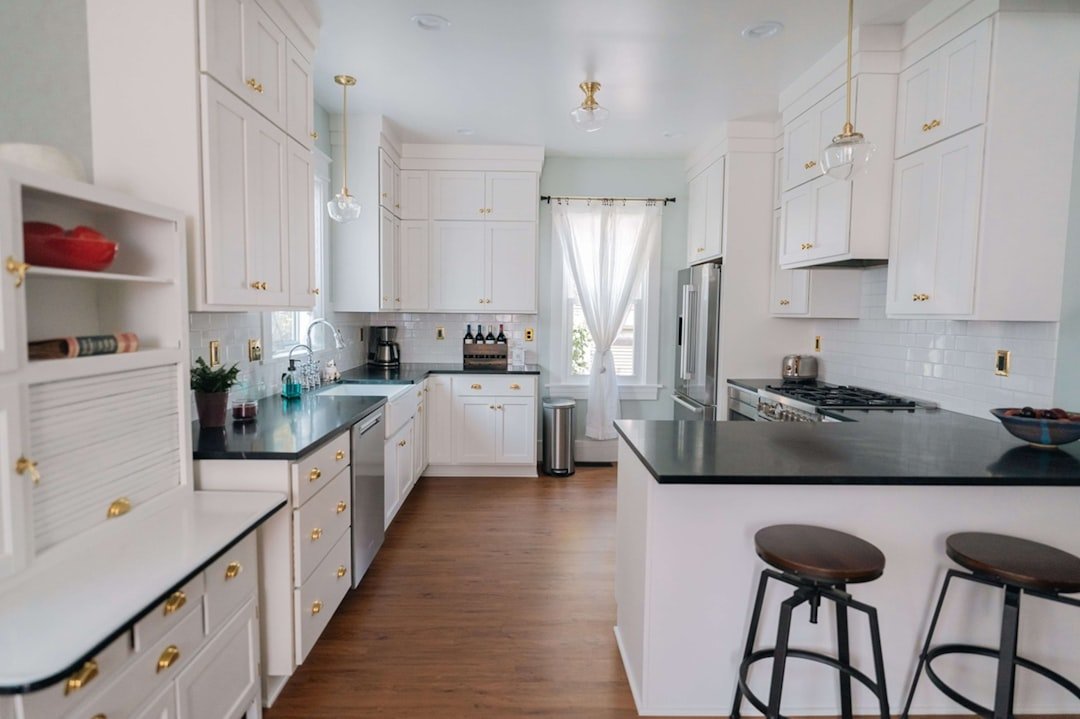
Cabinet painting is worth it — but only when it’s done correctly. The finish quality, durability, and how long it lasts depend almost entirely on prep work and product selection, not just slapping a coat of white over old maple. Done right, painted cabinets can look factory-fresh for a decade or more.
Here’s the honest case for painting over replacing: professional cabinet painting in the GTA typically runs $2,150 to $5,500 for a full kitchen, while a complete kitchen renovation in Canada can cost $25,000 to $50,000 — more than ten times the price of repainting. You’re keeping the cabinet boxes (which are usually structurally fine), refreshing the surfaces, and updating hardware. The bones of the kitchen stay intact.
Painting is also the better choice for the environment. Refinishing reduces waste by reusing existing materials, and unlike a full demo and replacement, there’s no landfill cost attached to your refresh.
The one thing you should not do is expect paint to save structurally compromised cabinets. If the carcasses are soft, the doors are warped, or the hinges are giving out, address those issues first. Paint is a surface finish — it won’t fix structural problems. But for cabinets that are sound and just dated-looking, it’s one of the best-value home improvements available in the GTA.
The Cabinet Painting Process: Step by Step
A professional cabinet painting job is a five-stage process that takes the better part of a week. Most of that time isn’t painting — it’s waiting. The prep and cure stages are where quality is made or lost. Here’s exactly what should happen on a proper job.
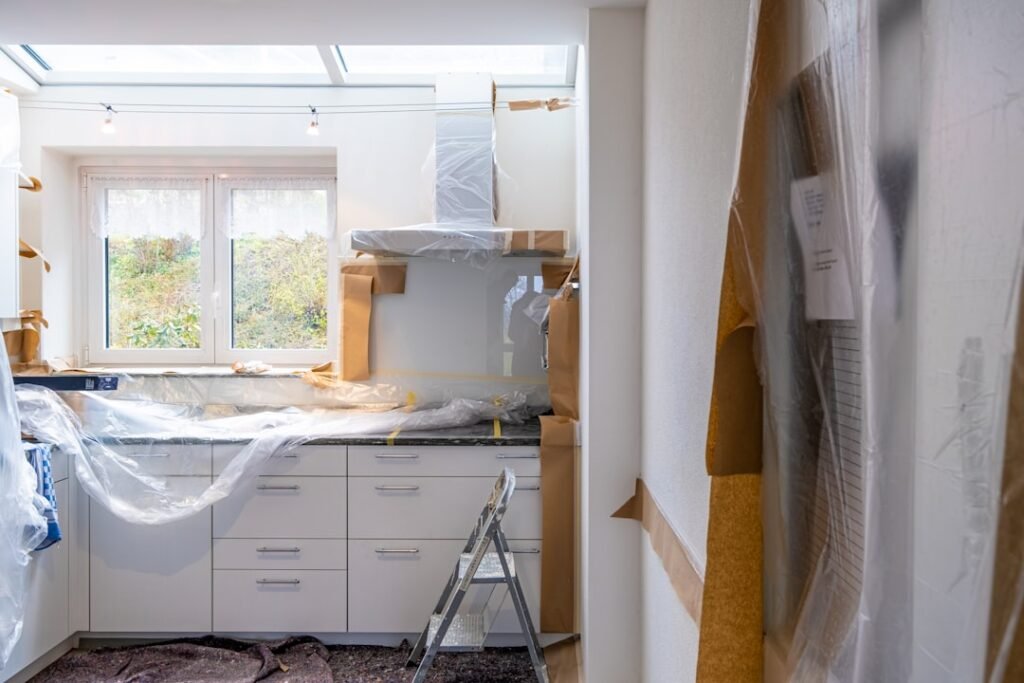
Step 1: Remove and Label Everything
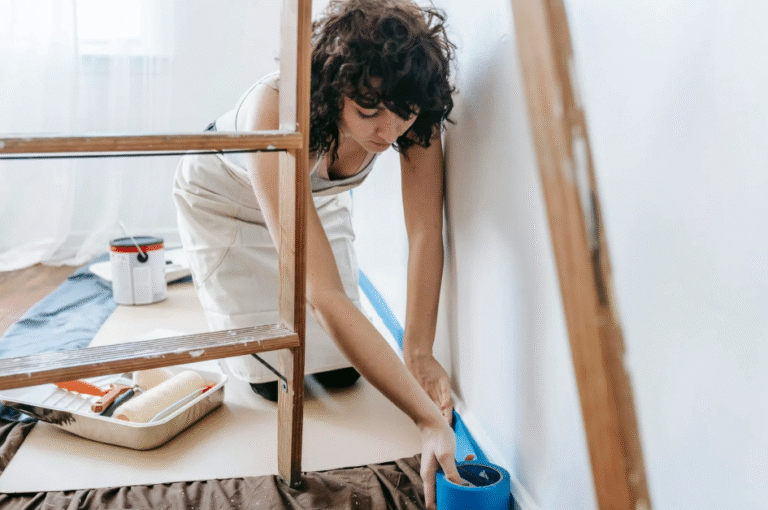
All doors, drawers, and hardware come off before anything else. Label each piece with painter’s tape and a number system so reinstallation goes smoothly. Hinges and pulls go into labelled bags. This step prevents the cabinet chaos that plagues DIY jobs where doors end up on the wrong frames.
Step 2: Degrease
Kitchen cabinets collect an oily film from daily cooking that creates a barrier between wood and paint. That film has to come off completely or your primer won’t bond. Use a dedicated kitchen degreaser — not dish soap — working top to bottom so you’re not dragging grime back over clean surfaces. In humid Toronto summers or tight GTA condos, allow cabinets to dry fully before moving on; in high-humidity conditions, this can take up to 24 hours.
Step 3: Sand
Most cabinet finishes are too smooth or glossy to reprime and repaint without sanding first. The goal isn’t to strip the cabinet bare — it’s to dull the sheen enough that primer has something mechanical to grip. Start with 120-grit to knock back the glossy topcoat, then progress to 220-grit for a smooth base, always sanding in the direction of the grain. Wipe away all dust with a tack cloth before priming. Oak cabinets — common in older Toronto homes from the 1980s and 90s — need extra attention here: it’s recommended to fill the grains and use a primer to block tannins for a smooth finish.
Step 4: Prime
Priming seals the wood, blocks stains, and creates a uniform surface for paint. The primer you choose depends on the substrate. Oil-based primers work well for wood cabinets with tannin bleed, while bonding primers excel on laminate or previously painted surfaces. For MDF cabinets — often found in newer GTA homes and condos — applying a high-adhesive primer is crucial to seal the MDF and prevent moisture absorption, which could cause swelling over time.
Apply in thin, even coats. Let the primer dry for at least 24 hours, then sand the primed surfaces again using very fine grit sandpaper before applying paint. That light post-prime sand is the step most DIYers skip — and it’s what separates a smooth, professional-looking finish from one that shows every brush mark.
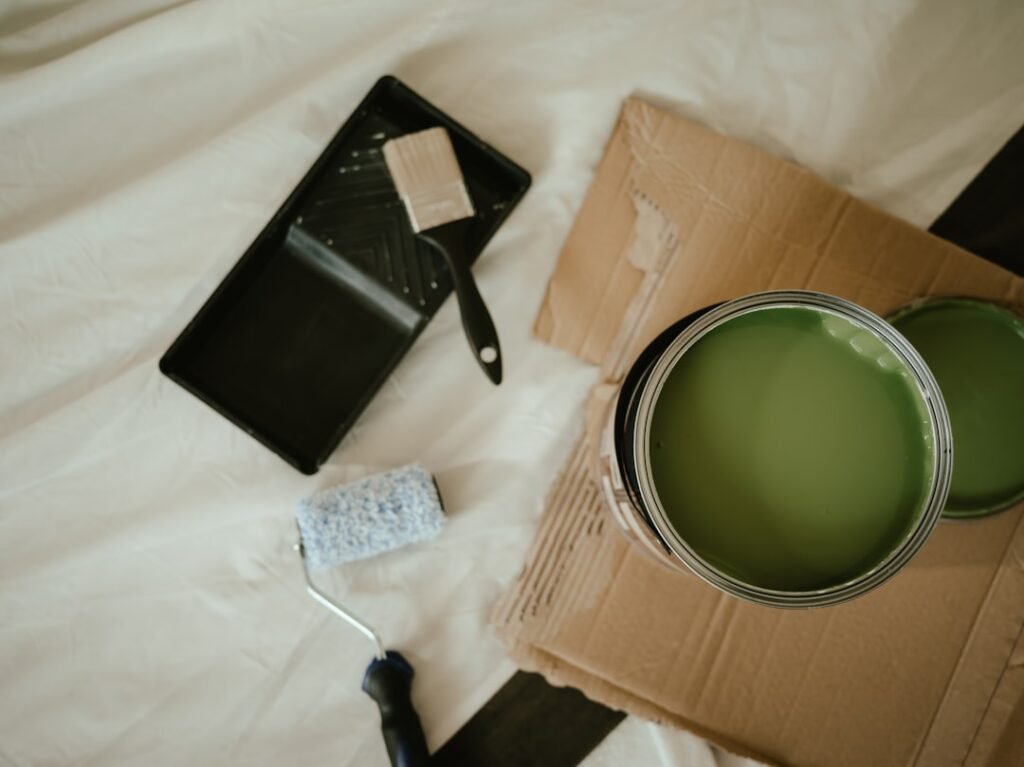
Step 5: Paint (Two Coats, Sanding Between)
For cabinet work, the industry standard in the GTA is two topcoats of a quality alkyd-hybrid or urethane enamel. Use an angled brush for recessed or detailed areas and a mini roller for flat surfaces — the brush handles edges and profiles, the roller lays down a smooth, streak-free finish on door faces. Thin, even layers prevent drips and create a more durable finish than thick coats.
For professionals, HVLP (High Volume Low Pressure) spray systems produce the smoothest, most factory-like finish — no brush marks, no roller texture. Spraying is faster but requires proper masking of the entire kitchen interior and is harder to do well without experience.
Step 6: Cure (The Step Everyone Rushes)
This is where most DIY jobs fail. Paint drying and paint curing are completely different things. A fully cured paint means it has reached its maximum durability and won’t easily scratch. Most paints typically take anywhere from 7 to 30 days to be fully cured. Benjamin Moore Advance — one of the most popular professional-grade products for cabinets — can take up to 30 days to reach maximum hardness (full cure).
That doesn’t mean your kitchen is unusable for a month. You can rehang cabinet doors after about 16 hours minimum of drying, but you’ll want to be gentle with them for the first month while the paint hardens. Treat your newly painted cabinets carefully for the first two to four weeks: use a light touch when opening and closing, avoid dragging anything across the surface, and hold off on aggressive cleaning. Until fully cured, they’ll be more susceptible to chips and dings.
In the GTA, humidity matters. High summer humidity — especially in older Toronto homes without air conditioning — slows cure time noticeably. High humidity and cooler temperatures will significantly prolong both the recoat and cure times. A professional crew knows to schedule and sequence work around these conditions.
Paint, Stain, or Refinish? Understanding Your Options
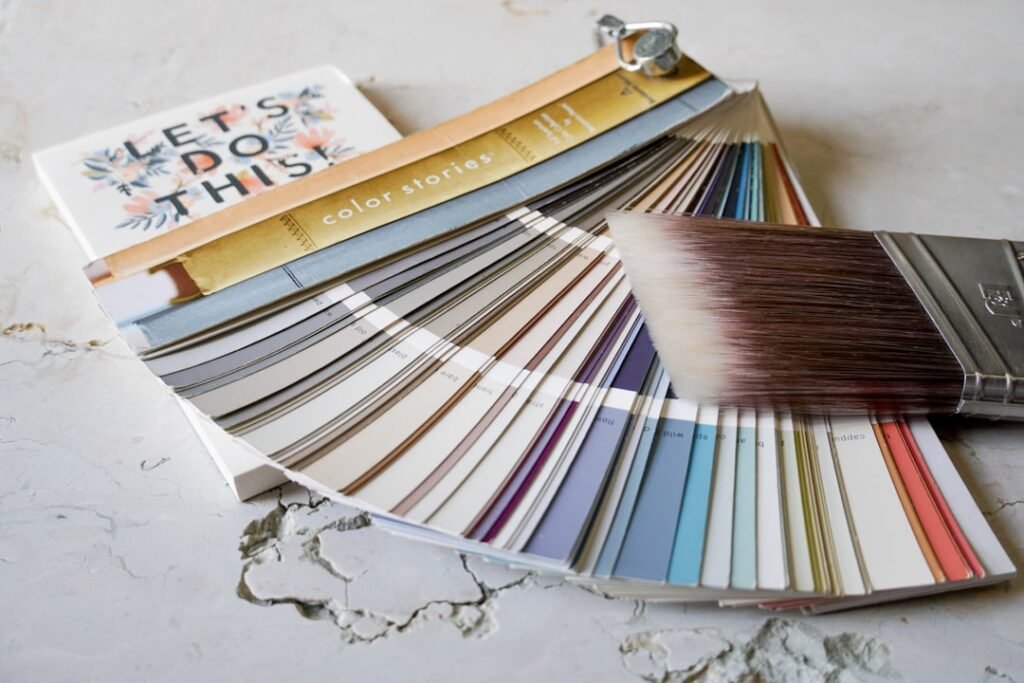
Paint isn’t your only option — but it’s the right one for most GTA kitchens. Painted wood cabinets deliver bright, smooth, modern surfaces, while stained cabinets offer character and natural variation. Your choice depends on the material your cabinets are made of, the look you want, and how much prep you’re willing to invest. Here’s how the options stack up:
| Finish Option | Best For | Durability | Cost (Pro, GTA) | Key Tradeoffs |
|---|---|---|---|---|
| Paint (alkyd-hybrid enamel) | Any cabinet material; modern or transitional kitchens | 8–15 years with proper care | $2,150–$5,500 | Widest colour range; covers grain; requires thorough prep; harder to touch up |
| Paint (standard latex) | Lower-traffic areas; budget projects | 5–10 years | $1,800–$3,500 | Cheaper upfront; less hard finish; more prone to chipping on cabinet edges |
| Stain | Solid wood cabinets only (maple, oak, walnut) | Up to 20–30 years | $1,800–$4,500 | Shows natural grain; easier to touch up; can’t be applied over MDF or laminate; requires stripping to bare wood |
| Lacquer/catalyzed finish | High-end kitchens; maximum durability | 15–20+ years | $3,500–$7,000+ | Factory-like hardness; requires spray application; not DIY-friendly; strong odours during application |
| Refinish (sand + re-stain) | Solid wood cabinets showing wear | 15–25 years | $2,500–$6,000+ | Most labour-intensive; requires sanding to bare wood; roughly 30% more work than painting |
A few GTA-specific notes: If your cabinets are MDF or thermofoil — very common in GTA condos and tract homes built since the 2000s — staining is not an option. If you’re working with existing cabinets, paint (or cabinet refacing) may be the only option if they’re composed of MDF, HDF, or particle board. Paint is your friend here — when MDF is painted, it’s nearly impossible to tell the difference between these materials and real wood.
If you have solid wood cabinets with a beautiful grain — say, natural maple or walnut — staining lets that character show. Stained cabinets showcase the natural beauty of real wood; instead of covering the grain, stain enhances the wood’s depth and character. The downside is prep: staining demands complete stripping and sanding of surfaces, making it approximately 30% more labour-intensive than painting.
A Word on Hardware
New hardware is the easiest upgrade you can pair with a cabinet repaint. Swapping out builder-grade knobs and pulls for brushed brass, matte black, or brushed nickel hardware costs $3–$15 per piece at most hardware stores and can completely change the character of a kitchen. Budget $150–$400 for hardware on a typical kitchen — and factor in any new drilling or hole-filling, which counts as an additional cost that includes drilling or filling holes for new handles when hiring a pro. If you’re switching from knobs to pulls (or changing the hole spacing), let your painter know before they start — it’s much easier to fill and repaint old holes before the final coat goes on.
How Long Does Cabinet Painting Take (and When Can You Use Your Kitchen)?
A professional crew typically completes a kitchen cabinet painting job in 4 to 7 days from start to finish. You can use your kitchen during most of this — the doors are off and the frames are accessible, but you’re not locked out. Plan for 3 to 5 days where counter access is limited and cooking is simplified.
Here’s a realistic day-by-day breakdown for a standard GTA kitchen (20–25 doors and drawers):
| Day | What Happens | Kitchen Access |
|---|---|---|
| Day 1 | Remove all doors and drawers; degrease all surfaces; sand cabinet frames and doors; fill imperfections | Limited — counters being worked on |
| Day 2 | Prime all surfaces (frames in-kitchen, doors off-site or in garage) | Kitchen accessible; doors off |
| Day 3 | Light sand primer; apply first topcoat to frames and doors | Kitchen accessible; keep foot traffic light |
| Day 4 | Apply second topcoat; touch-up inspection | Kitchen accessible; minimal activity near cabinets |
| Day 5–7 | Reinstall hardware and doors; final inspection; allow initial dry before use | Kitchen back to normal — treat gently |
| Days 8–30 | Paint continues curing to full hardness | Full use, but avoid harsh cleaners and heavy impacts |
Smaller kitchens may take around 3–5 days, medium kitchens 4–7 days, and larger kitchens 7–10 days. For a DIY project, expect that timeline to stretch significantly: DIY requires significant time, often 40–80 hours, and meticulous effort especially during the preparation phase. That’s typically several weekends of disrupted kitchen access rather than a clean one-week job.
One thing that catches GTA homeowners off guard: the cabinets feel dry within days, but most paints typically take anywhere from 7 to 30 days to be fully cured. During that window, be gentle. Avoid stacking things against cabinet doors, slamming them, or scrubbing them with anything abrasive. The paint is still hardening.
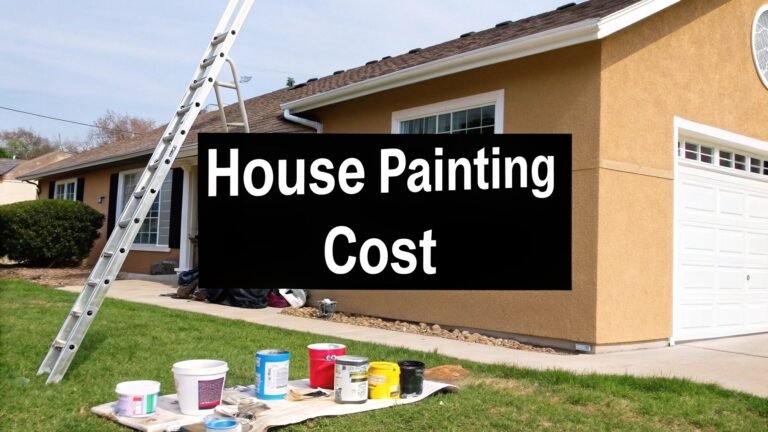
Cabinet Painting Costs in the GTA
Professional cabinet painting in the Greater Toronto Area ranges from roughly $1,800 to $5,500 for a full kitchen, depending on size, cabinet condition, and finish type. Condo kitchens typically fall on the lower end; larger suburban homes with 30+ doors can push toward the top of the range or beyond.
Here’s a breakdown of what you can realistically expect to pay across the GTA in 2025:
| Project Type | Approx. Cost (CAD, before HST) | Notes |
|---|---|---|
| Small condo kitchen (12–15 doors) | $1,800–$2,800 | Standard prep, quality alkyd-hybrid paint |
| Average GTA kitchen (20–25 doors) | $2,500–$4,000 | Includes frames, doors, drawers, standard hardware reinstall |
| Large kitchen (30+ doors, complex profiles) | $4,000–$5,500+ | Ornate door profiles, oak grain filling, colour change from dark to light |
| Per door/large drawer (professional rate) | $90–$125 each | Standard flat or shaker panel |
| Oak doors (per door) | $125–$150 each | Extra prep for grain filling and tannin blocking |
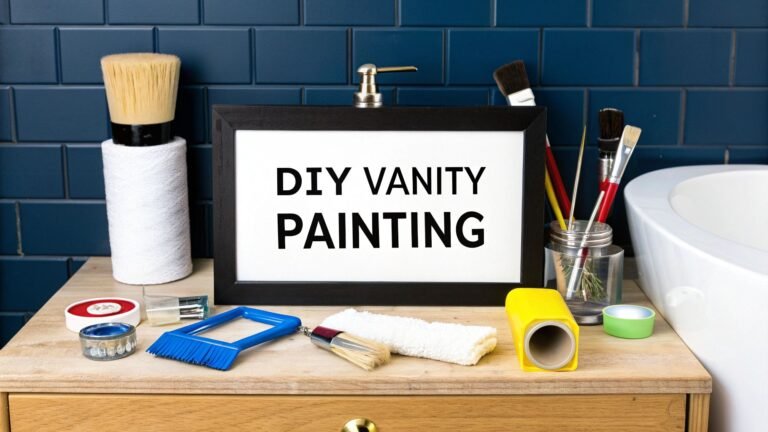
| Bathroom cabinet repaint (vanity) | $400–$900 | Single vanity with doors and drawers |
| DIY materials only (full kitchen) | $300–$700 | Paint, primer, sandpaper, brushes, tape, drop cloths |
Don’t forget: all professional painting work in Ontario attracts 13% HST on top of the quoted price. Always confirm whether a quote is pre- or post-tax.
The main cost drivers are the number of cabinet doors and drawers, whether oak grain-filling is required, how much prep work the cabinets need (grease, damage, prior layers of paint), and the type of finish. Complex cabinet designs with intricate details can increase costs by 10–15% due to the additional time and materials required. Going from a dark stain to a light painted finish also requires more primer and coats, adding to the total.
If you’re in a downtown Toronto condo, factor in building-specific considerations: elevator booking fees, restricted work hours, and hallway protection requirements can add modest costs to any professional job. A reputable GTA painting company will account for this in their quote — ask about it specifically if you’re in a high-rise.
DIY Cabinet Painting vs. Hiring a Pro
DIY is cheaper on paper. Hiring a pro costs more upfront but typically delivers a better result in less time with less disruption to your household. Whether the trade-off is worth it depends on your skill level, schedule, and how much you care about the finish quality.
The Real DIY Cost
DIY material costs typically range from $200 to $600. On top of paint and primer, you’ll need sandpaper in multiple grits, painter’s tape, drop cloths, quality brushes, and a short-nap roller. If you want professional-quality results without a sprayer, budget toward the higher end of that materials range — cheap brushes and rollers will show in the finish.
The real hidden cost is time. Cleaning and sanding thoroughly can take around 4–6 hours; priming takes another 2–4 hours; and each coat of paint runs another 2–4 hours — each followed by a full 24-hour drying period. Add it up across a full kitchen and you’re looking at a project that spans two to three weekends minimum, with your kitchen partially dismantled the whole time.
The other honest limitation: results depend heavily on preparation and application technique — while rewarding, DIY may not achieve the same flawless, durable finish as a professional job. Brush marks, roller texture, uneven coverage near edges and profiles, and doors that stick after rehanging are all common DIY outcomes when the prep or product selection isn’t quite right.
What a Pro Brings to the Job
Professionals possess the experience and specialized tools — like HVLP sprayers — for an even, durable, factory-like finish. They understand how different cabinet materials react to paints and primers. A pro crew also manages the sequencing efficiently: doors go off-site or to a dedicated spray area while frames are being primed in-kitchen, so work runs in parallel rather than waiting for one surface at a time.
Professionally painted cabinets often last 8–15 years with proper care, while DIY results can vary more depending on the process followed. Many professional painters in the GTA also offer a warranty on their cabinet work — something worth asking about when you’re getting quotes.
If you’re thinking about tackling it yourself, it’s a genuinely achievable project — but go in with realistic expectations. Use a dedicated cabinet paint like Benjamin Moore Advance or Sherwin-Williams Emerald Urethane Trim Enamel rather than standard wall paint. Respect the drying times between coats. And if you’re painting oak cabinets in an older GTA home, factor in a full grain-fill step before priming or you’ll be chasing a smooth finish indefinitely.
If you’re weighing options and want a professional opinion on your specific kitchen, Soca Services Painting offers free in-home estimates for cabinet painting projects across the GTA. Our team can assess your cabinet material, current finish condition, and help you choose the right product and colour for a lasting result.
Frequently Asked Questions
Here are answers to the most common questions GTA homeowners ask before starting a cabinet painting project.
Ready for a Kitchen Refresh?
Cabinet painting is one of the most cost-effective ways to update a kitchen or bathroom in the GTA — and when it’s done right, the results hold up for years. The key is the prep: proper degreasing, the right primer for your cabinet material, quality paint applied in thin coats, and enough patience to let it cure properly before putting it through its paces.
At Soca Services Painting, we’ve been refreshing kitchens and bathrooms across Toronto, Mississauga, and the broader GTA for over 10 years. We use professional-grade alkyd-hybrid and urethane enamel finishes, sequence our work to minimize kitchen downtime, and stand behind the quality of every job. Whether you have a small condo kitchen, a dated suburban kitchen with 30 oak doors, or a bathroom vanity that just needs new life, we can give you an honest assessment and a clear quote.
Get a free in-home estimate for your GTA cabinet painting project. Contact Soca Services Painting today — we’ll walk through your cabinets, discuss your finish options, and give you a detailed quote with no pressure and no surprises.
Frequently Asked Questions
How long do painted cabinets last in a GTA kitchen?
Professionally painted cabinets typically last 8 to 15 years with proper care, depending on the paint product, surface prep, and how hard the cabinets are used. Using a quality alkyd-hybrid or urethane enamel — like Benjamin Moore Advance or Sherwin-Williams Emerald Urethane — and following proper curing protocols makes a significant difference in longevity. DIY results vary more widely.
Can laminate or melamine cabinets be painted?
Yes, laminate and melamine cabinets can be painted, but they require specific preparation. The surfaces must be cleaned thoroughly and lightly scuff-sanded, and a high-adhesion bonding primer designed for slick surfaces is essential before applying the topcoat. Skipping the bonding primer is the most common reason paint fails on laminate cabinets.
How long before I can use my kitchen normally after cabinet painting?
You can typically rehang cabinet doors after 24–48 hours and resume normal kitchen use, but the paint continues curing for up to 30 days. During that curing window, use a gentle touch — avoid slamming doors, dragging items across surfaces, or scrubbing with anything abrasive. The paint is still building its final hardness during this period.
Is it worth painting oak cabinets in an older Toronto home?
Yes, but oak requires extra prep. Oak has a pronounced grain and contains tannins that can bleed through paint if the wrong primer is used. A professional will fill the grain texture for a smooth result and use a shellac-based or oil-based primer to block tannin bleed before topcoating. This adds modest cost but makes a significant difference in the final appearance.
What is the average cost to paint kitchen cabinets in Toronto or Mississauga?
Professional cabinet painting in the GTA generally ranges from $1,800 for a small condo kitchen up to $5,500 or more for a large kitchen with complex cabinet profiles, before HST. A typical mid-size kitchen with 20–25 doors and drawers usually falls between $2,500 and $4,000 plus 13% HST. DIY material costs run $300–$700 for paint, primer, and supplies, but the project requires 40–80 hours of labour.