How to Paint Kitchen Cabinets: A Guide for Toronto & GTA Homeowners
Achieving a professional-looking finish on your kitchen cabinets involves four key stages: preparation, priming, painting, and finishing. The most critical part of this process is the prep work. This is where you clean, degrease, and sand everything down so the new paint has a proper surface to adhere to for a tough, long-lasting finish.
Your Essential Toolkit for Painting Cabinets
Before opening a can of paint, it is crucial to get your supplies in order. This is more than a shopping list; it is a game plan. Having everything needed from the start saves you from frustrating mid-project runs to the hardware store and sets you up for a smooth process.
This goes beyond just picking a colour. It’s about understanding why each tool matters. For example, a quality cleaner like Trisodium Phosphate (TSP) is essential. Kitchens are greasy places, and TSP is formulated to cut right through that built-up grime that would otherwise cause your new paint to peel right off.
Essential Cleaning and Prep Supplies
A solid paint job is built on a flawless foundation. If you skimp on this part, even the most expensive paint in the world will not save you. The objective here is to create a surface that is perfectly clean and has just enough "tooth" for the primer to grip onto.
- TSP Cleaner: This is the heavy-hitter for degreasing. It gets rid of all those years of cooking oils and invisible residue.
- Scrub Sponges and Rags: You'll need these for applying the cleaner and then wiping everything down.
- 120-Grit Sandpaper: This is the ideal grit for scuff sanding. It's just coarse enough to knock down the gloss from the old finish without gouging the wood.
- Tack Cloth: After sanding, this sticky cloth is a key tool. It picks up every last speck of dust, which is critical for a smooth-as-glass finish.
Choosing Your Paint Applicators
The tools used to apply the paint have a huge impact on the final texture of your cabinets. For the best, most professional result, a combination of tools is often required.
A good 2-inch angled brush is best for getting into tight corners, cutting in around the edges, and handling any detailed moulding on the doors. For the bigger, flat areas like door panels and cabinet frames, a 4- to 6-inch high-density foam roller is what you want. It lays down a beautiful, spray-like finish and helps you avoid those brush strokes that scream "DIY project."
A classic rookie mistake is grabbing a cheap brush. You will spend more time picking bristles out of your wet paint than actually painting. Investing a few extra dollars in a quality brush and roller makes a world of difference.
Selecting the Right Paint and Finish
Your kitchen is a high-traffic zone, so standard wall paint just won't cut it. It simply cannot stand up to the daily abuse. You need a paint specifically designed for cabinets, like an acrylic-alkyd hybrid. These give you the easy, water-based cleanup of acrylics but with the tough, durable finish of an oil-based paint.
For homeowners here in Toronto, Mississauga, and the wider GTA, the finish you choose can really affect the final look, depending on your home's lighting. The sheen doesn't just impact appearance; it also determines how easy the cabinets are to clean. If you're looking for the best options, getting advice from pros who offer kitchen cabinet painting in Toronto can be a huge help, as they know which products perform best in local homes near you.
To help you decide, here’s a quick look at the most common finishes and how they stack up.
Paint Finish Comparison for Kitchen Cabinets
Choosing the right sheen is a balancing act between aesthetics and practicality. This table breaks down what you can expect from each of the main contenders for your kitchen cabinets.
| Finish Type | Sheen Level | Durability | Ease of Cleaning | Best For |
|---|---|---|---|---|
| Satin | Low Lustre | Very Good | Good | Hiding minor imperfections and providing a modern, subtle look. |
| Semi-Gloss | Noticeable Sheen | Excellent | Excellent | High-traffic areas, reflecting light, and easy wipe-downs. |
| Pearl | Medium Sheen | Very Good | Very Good | A great middle-ground, offering durability without excessive shine. |
| Flat/Matte | No Sheen | Fair | Difficult | Not recommended for kitchens due to its porous nature. |
Ultimately, satin and semi-gloss are the two most popular choices for a reason. They offer the best combination of a beautiful finish and the rugged durability a kitchen demands.
The Unskippable First Step: Prepping Your Cabinets
It is a hard-earned truth that your final paint job is only as good as your prep work. Seriously. Skipping or rushing through these early steps is the number one reason DIY projects fail, leading to chips and peels that will break your heart a few months down the road.
A flawless, factory-like finish isn't just about that last coat of paint. It’s built on the meticulous foundation you lay right now. This part isn’t glamorous, but it’s where the magic really happens.
Create a Foolproof Organization System
Before you pull the first screw, a plan is necessary. It is unlikely you will remember where everything goes. A few days into the project, that pile of doors and drawers will start to look like an impossible puzzle.
Grab a piece of paper and sketch a quick map of your kitchen layout. Then, use painter's tape to create a simple coding system.
- Doors: Stick a piece of tape inside the hinge pocket of each door. Label it to match your map (e.g., "U1" for the first upper cabinet, "L3" for the third lower).
- Hardware: As you remove the hinges and screws from a door, put them straight into a labelled zip-top bag. This is crucial for getting the alignment right when you put it all back together.
- Drawers: Label the drawer fronts the same way. If you can, just remove the fronts and leave the drawer boxes in place to make life easier.
Once everything is labelled and disassembled, find a good workspace like a garage or basement. Lay your doors out on painter’s pyramids—they’re a lifesaver for elevating the doors so you can paint the edges easily.
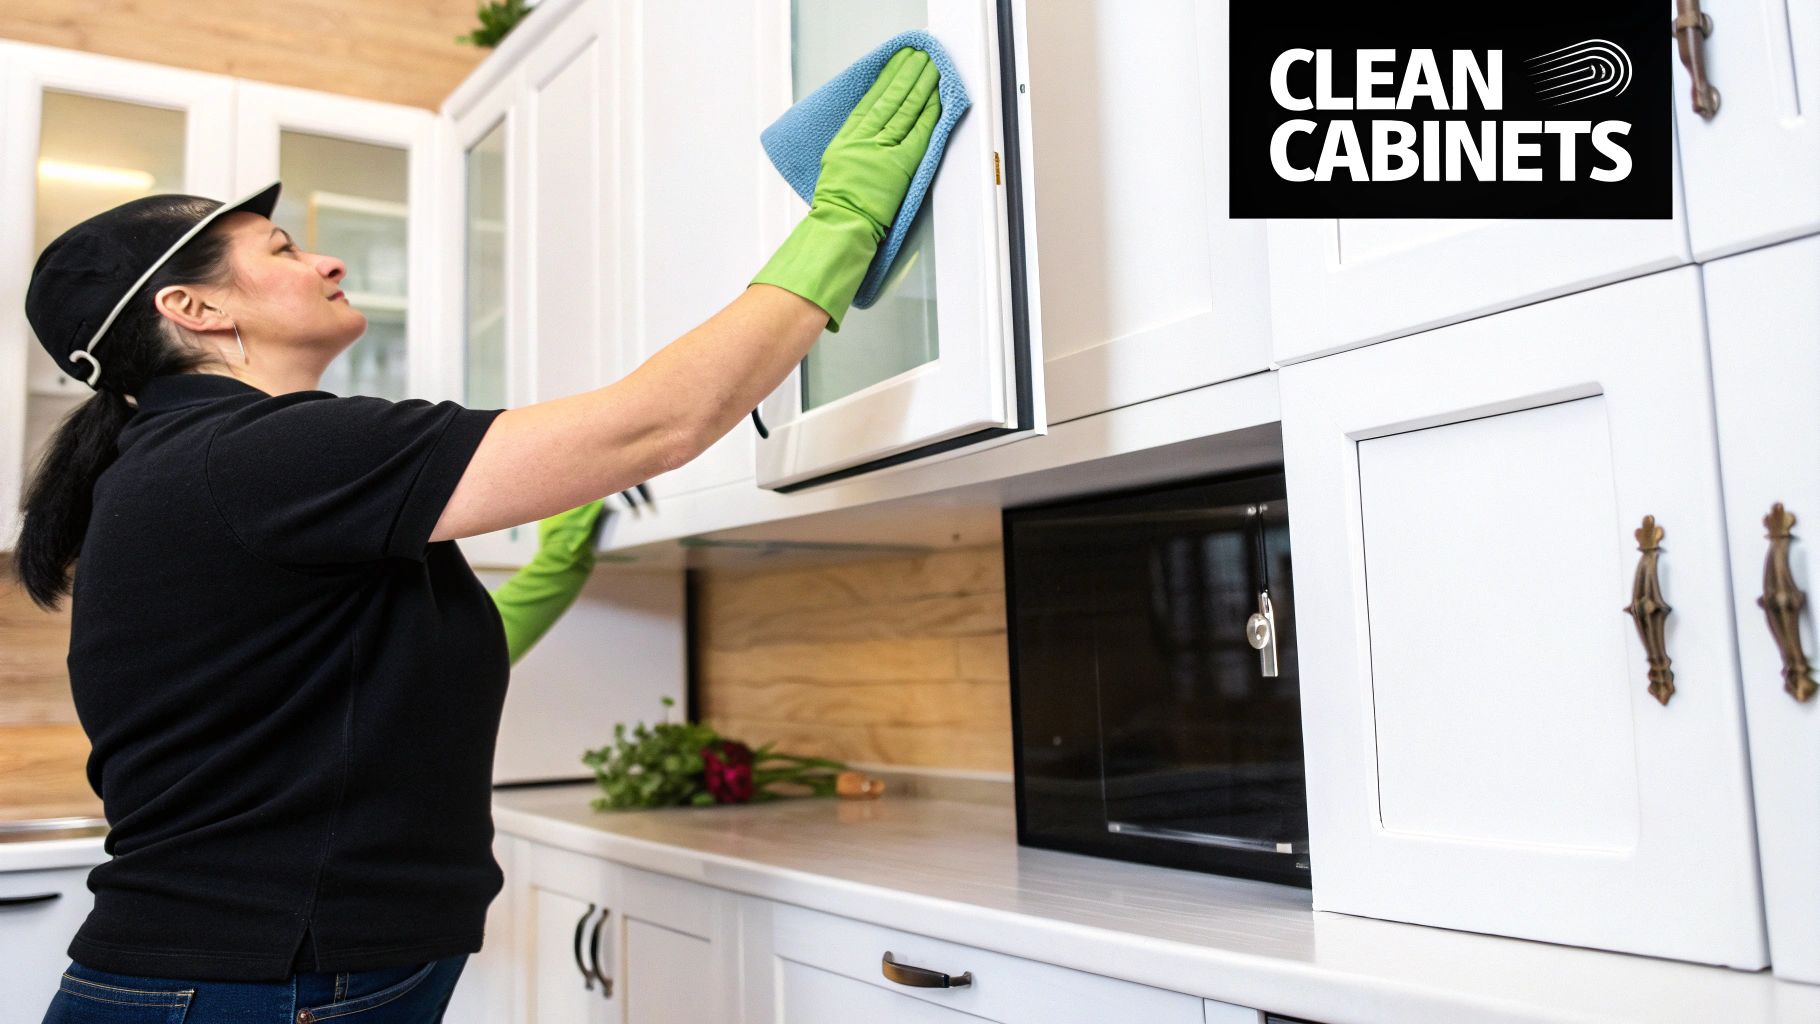
The Essential Deep Clean
Your kitchen cabinets are coated in a fine, invisible film of grease and grime from years of cooking. Paint and grease are enemies; one simply won't stick to the other. This is a non-negotiable step.
The pro-choice here is a strong degreasing agent like Trisodium Phosphate (TSP) or a good TSP alternative. Mix it up according to the directions, grab a scrub sponge, and get to work. You need to wash down every single surface you plan to paint—fronts, backs, and the cabinet frames themselves. Pay special attention to the cabinets around the stove and sink, as they're always the worst offenders.
"If you skip the degreasing step, you're setting yourself up for failure. Even if a surface looks clean, microscopic grease particles will repel the primer, leading to peeling and adhesion failure within the first year. It's the most common mistake we see."
After a thorough scrubbing, go back over everything with a clean, damp cloth to wipe away any residue. Let every piece dry completely before you even think about picking up sandpaper.
The Art of the Scuff Sand
We are not trying to strip the cabinets down to bare wood here. The objective is to simply "scuff up" the surface, knocking down the glossy top coat. This creates microscopic grooves—what we call "tooth"—for the primer to bite into.
For this job, 120-grit sandpaper is the best tool. It’s got enough grit to de-gloss the finish effectively without being so aggressive that it tears into the wood. Lightly sand every square inch that’s getting painted. You will know you're done when the entire surface has a dull, almost chalky appearance.
This whole process of creating a surface that paint will love is a universal principle in painting. The prep you do for cabinets isn't all that different from getting a wall ready for a new colour. For more on that, our guide on how to paint interior walls dives into similar critical prep steps.
Final Prep for a Flawless Surface
With the heavy lifting done, it’s time for the finishing touches that separate a good job from a great one. This is your chance to fix all the little imperfections that a fresh coat of paint would otherwise highlight.
- Fill Imperfections: Go over each door and drawer front with a critical eye. Look for dings, deep scratches, or old hardware holes you won't be using. Use a quality wood filler and a putty knife to fill them, overfilling just slightly to account for shrinkage.
- Sand Patches Smooth: Once the filler is rock hard, sand it perfectly smooth and flush with your 120-grit sandpaper.
- Final Wipe-Down: Now for the final enemy: dust. Use a vacuum with a brush attachment to get the bulk of it. Then, follow up with a tack cloth. This sticky piece of cheesecloth is designed to pick up every last particle, leaving you with a pristine surface that's ready for primer.
This obsession with a completely clean, dust-free surface is what creates that super-smooth, professional finish. It’s especially important with the trend toward lighter, brighter kitchens. In places like Greater Orange County, California, for example, painting old, dated 1980s oak cabinets a crisp white became a huge trend for instantly modernizing a kitchen. You can read more about this popular kitchen trend and its impact.
Applying Primer and Paint Like a Professional
With all that meticulous prep work behind you, it is time for the transformation. This is where your kitchen finally starts to take on its new personality. And yes, you can get that smooth, durable, factory-like finish without a pro's spray booth; it just takes the right products, solid technique, and a bit of patience.
The first real step in this stage is arguably as important as the final paint colour itself: the primer. Think of primer as the essential handshake between the old cabinet surface and the new paint. It's a specialized undercoat designed to solve problems before they even start.
The Power of a High-Adhesion Primer
Whatever you do, do not skip the primer. A high-adhesion, stain-blocking primer is the best tool in this process, especially if you're painting over dark, stained wood like oak or cherry. Those woods are notorious for something called "tannin bleed," where natural oils seep right through the paint, leaving ugly yellow or pinkish stains. It’s a painter’s nightmare.
A quality shellac-based or oil-based primer creates an impermeable barrier that locks in those tannins for good. It also gives you a uniform, neutral base, so your final colour will look true and consistent, usually with fewer coats. That’s a win-win.
As a rule of thumb, plan for one solid coat of primer. If you’re making a dramatic leap, like from dark espresso to a crisp white, a second light coat of primer can make getting full coverage with your topcoat much, much easier.
Application Techniques for a Flawless Finish
Whether you’re using a brush-and-roller combo or a paint sprayer, your application technique is what will separate an amateur job from a professional one. The goal is always thin, even coats to avoid drips, bubbles, and obvious brush marks.
If you’re going with a brush and roller—a popular choice for many DIYers tackling this in places like Toronto and Mississauga—here is the best method for doors and drawers:
- Cut in the Details First: Grab a quality 2-inch angled brush and work the primer into all the recessed panels, grooves, and detailed edges. The key is to get it in there without letting it pool.
- Roll the Flat Surfaces: Immediately after cutting in, use a 4-inch high-density foam roller to go over the large, flat areas. The roller is fantastic for smoothing out any brush strokes and creating a seamless look.
- Maintain a Wet Edge: Always work from a wet edge into a dry area. This just means you should roll over the paint you just applied with the brush while it's still wet. This is how you blend the two textures together perfectly.
Once the primer is completely dry (check the manufacturer's instructions, but it's usually a few hours), give every surface a quick, light sanding with 220-grit sandpaper. This little step knocks down any tiny imperfections or raised grain, creating a buttery-smooth canvas for your paint. Just be sure to wipe away all the dust with a tack cloth before you start painting.
This is exactly what you want to see—a painter using a roller to get that coveted smooth finish on a cabinet door.
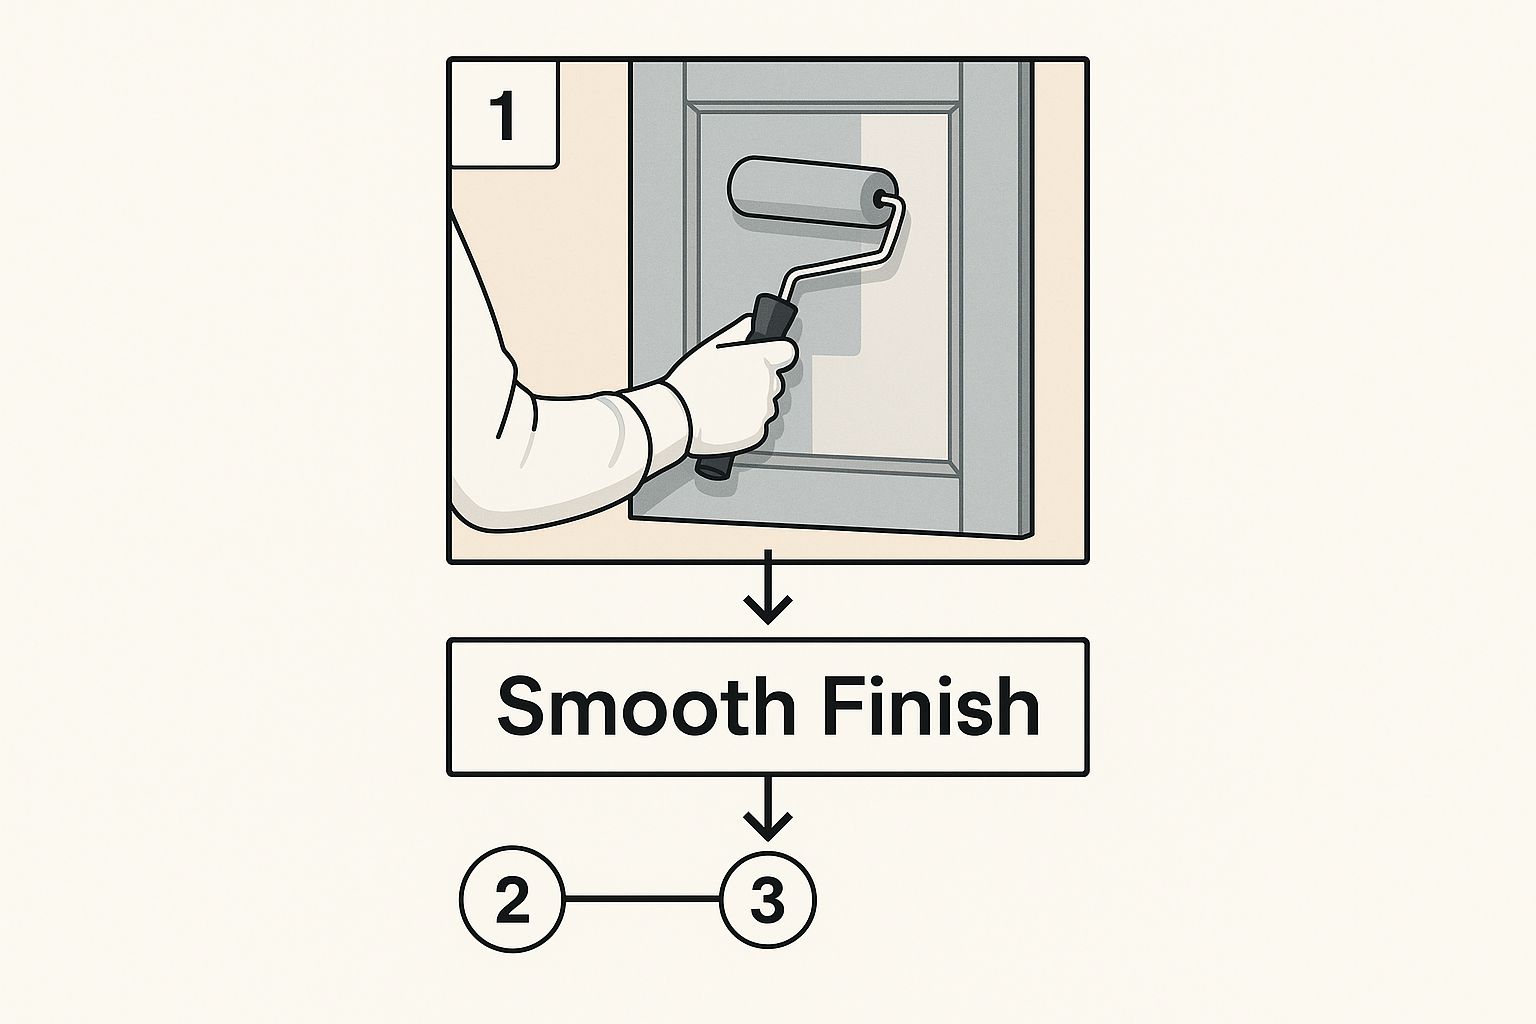
The foam roller is a key tool here, minimizing texture and helping you achieve that uniform, professional-looking surface on the flat panels.
Applying the Paint for Ultimate Durability
Now for the main event. The principles for painting are the same as with the primer: thin, even coats and proper drying time between them. Rushing this stage will ruin all your hard work, so be patient and stick with the process.
Use the same brush-and-roll technique you mastered with the primer. A pro tip is to start with the backs of the doors and drawers. Once that first coat is dry, you can flip them and paint the fronts. For the cabinet boxes in the kitchen, start with the inside edges of the frames and work your way out. For a deeper dive into techniques, our guide on how to paint kitchen cabinets professionally has more insights from experts in the GTA.
You will almost always need at least two coats of paint for solid, even coverage. Sometimes, darker colours might even need a third thin coat. But the real secret to a professional finish is what you do between those coats.
The Secret to an Ultra-Smooth Finish
Here’s a trick that the pros swear by: lightly sand between each coat of paint. Once your first coat is fully cured (check the can for recoat times!), take that 220-grit sandpaper and gently scuff the entire surface.
You are not trying to remove the paint you just applied. The goal is to smooth out any tiny imperfections, dust nibs, or inconsistencies that inevitably show up. It only adds a few minutes per door but makes a world of difference in the final feel and look. After sanding, wipe everything down with a fresh tack cloth before applying your next coat.
This simple step ensures each layer is perfectly smooth, building up to a final finish that looks and feels like it came straight from a workshop. Patience is your most important tool here. Letting the paint properly dry and cure is what gives it its ultimate hardness and durability. Your best bet is to follow the instructions on the can to the letter, as drying times vary wildly with paint type, temperature, and humidity. Rushing now only guarantees a soft, easily damaged finish later.
Finishing Touches and Proper Reassembly
You've done the hard yards—the prep, priming, and painting are behind you. Now, the finish line is in sight. But these last few steps are what really separate a decent DIY job from a truly professional-looking one that will stand the test of time. It all comes down to patience and precision as you put your kitchen back together.
The biggest test of your patience starts right now. There is a world of difference between paint that is "dry to the touch" and paint that is fully "cured." Sure, it might feel dry after a few hours, but the paint film underneath is still soft and incredibly vulnerable to scratches, nicks, and dings.
Curing is the chemical process where the paint truly hardens into its final, durable shell. Depending on the paint and the conditions in your Toronto home (think temperature and humidity), this can take anywhere from a few days to a full month. Rushing this stage can undo all your careful work in an instant.
The Critical Curing Period
Before you even dream of reattaching a single hinge or handle, you absolutely must let the paint cure. Ideally, you will find a safe, low-traffic spot to let your cabinet doors and drawers rest for several days to really harden up.
Moving them too soon is a recipe for disaster. Even a slight bump can leave a permanent dent in the soft paint. If you absolutely have to handle them, do it with kid gloves and only touch the edges.
Giving your paint at least 72 hours to cure before reassembly is a safe bet. This initial hardening period is crucial to prevent damage as you start putting everything back together.
While you're waiting, you can get a head start on the reassembly plan. Now is a great time to deep clean the inside of your cabinet boxes and get all your hardware organized if you haven't already.
Reassembling Your Kitchen with Precision
Once your pieces have had enough time to cure, you can finally begin the reassembly. This is the moment where that labelling system you set up during prep becomes your best friend. A slow, methodical approach is key to preventing scratches and ensuring everything fits back together just right.
Start by reattaching the hinges to the cabinet frames first. Then, bring in one door at a time, matching it to its corresponding frame using your labels. It really helps to have a second person hold the door steady while you screw the hinges back on.
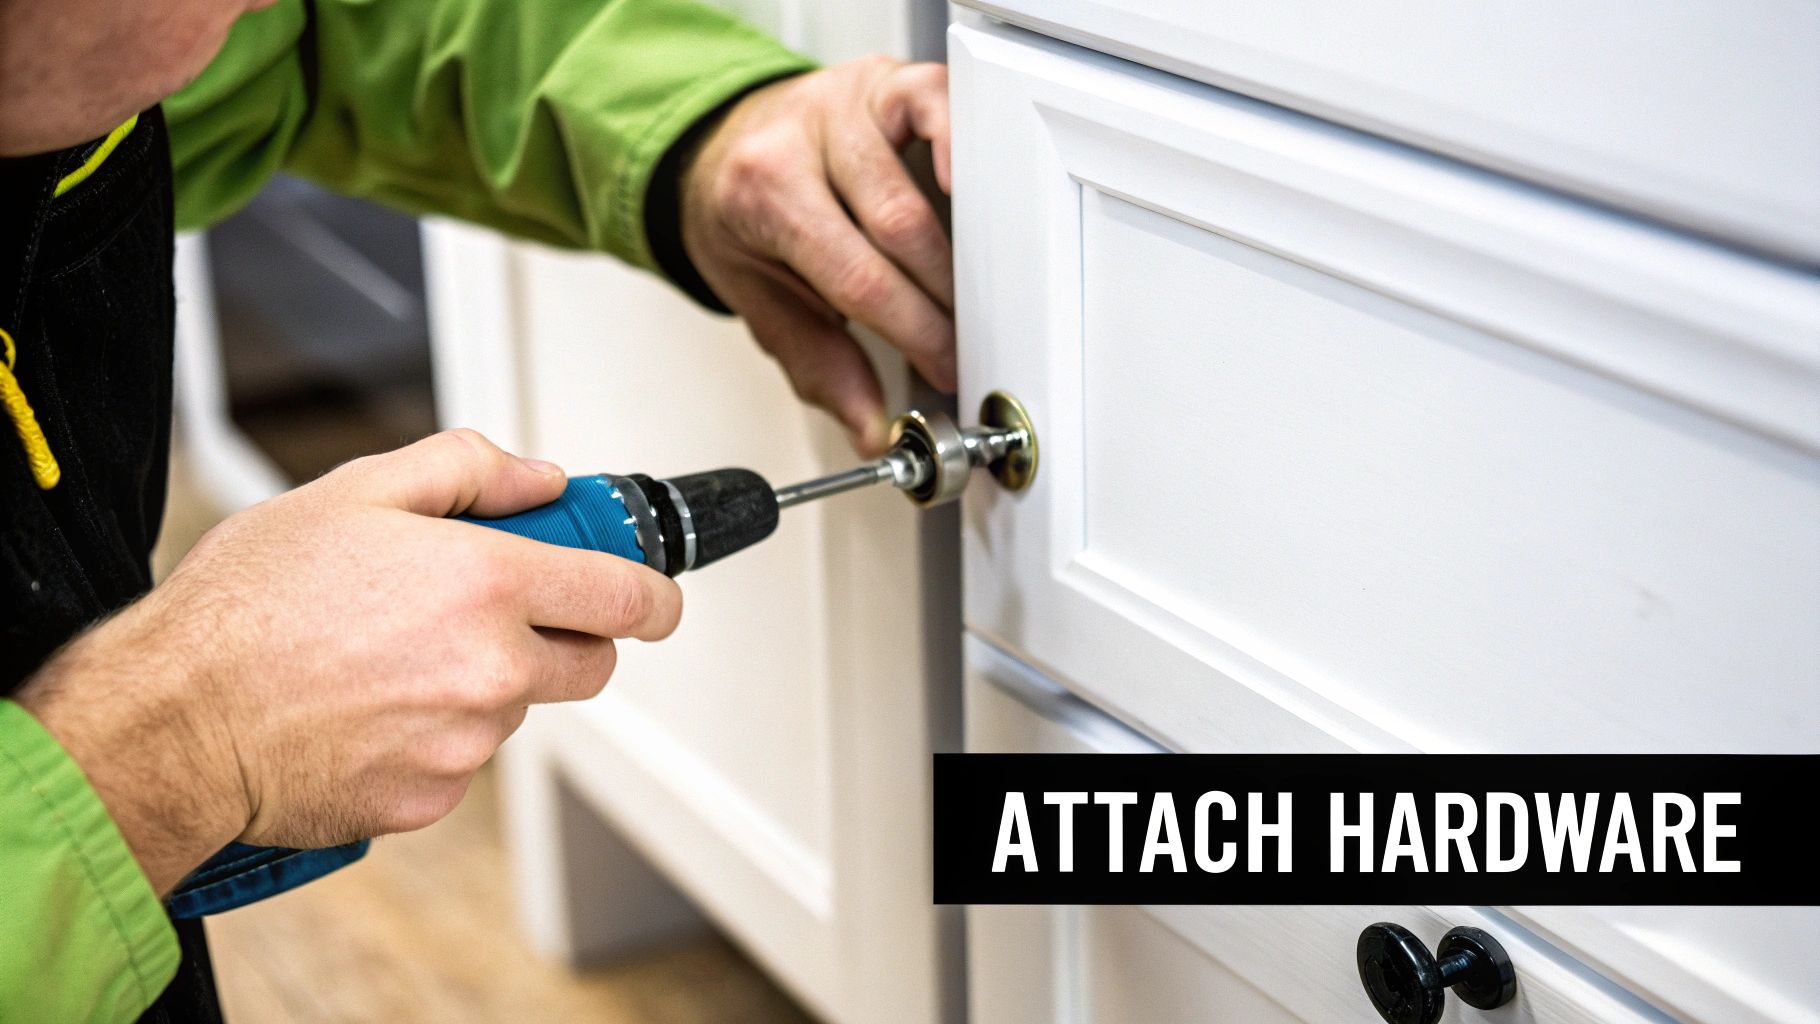
- Install New Hardware: This is the perfect time to upgrade your knobs or pulls. Fresh hardware can completely change the look of your newly painted cabinets and is one of the best finishing touches you can make.
- Use Bumper Pads: Before you close any doors or drawers for the first time, stick small felt or silicone bumper pads on the inside corners. This tiny step is a game-changer—it prevents the freshly painted surfaces from sticking or chipping and gives you a soft, quiet close.
Achieving Perfect Door Alignment
Getting cabinet doors to hang perfectly straight can be a bit fussy, but it’s essential for that polished, professional look. Thankfully, most modern cabinet hinges are adjustable. You’ll usually find two or three screws on each hinge that control the door’s position.
One screw will move the door up and down, another shifts it left and right, and a third can adjust the depth, moving it closer to or further from the cabinet frame. Just take your time and make small, incremental adjustments until you have even, consistent gaps between all your doors and drawers. It is tedious, but worth it.
Once everything is rehung and aligned, do one last quality check. Walk around the kitchen and look at every surface in different lighting to catch any minor imperfections or spots you might have missed. It is a good idea to keep a small artist's brush and a bit of leftover paint handy for tiny touch-ups.
This meticulous final approach ensures your beautiful new kitchen not only looks fantastic but also functions perfectly and is ready to stand up to daily use. Your patience during this final phase is what guarantees a long-lasting, durable finish.
Professional Insights and Common Mistakes to Avoid
After walking countless homeowners through this process, you start to see the same handful of mistakes trip people up time and time again. Learning how to paint kitchen cabinets is one thing; knowing what not to do is just as important for getting a finish that lasts.
This is where professional experience can save you from serious headaches and costly errors down the road. Let's talk about the common pitfalls that plague many DIY projects so you can sidestep them and get a result you will be proud of for years.
The Biggest Painting Blunders to Sidestep
Certain shortcuts might seem tempting in the moment, but they almost always lead to regret. Here are the most critical mistakes we see and exactly why you need to avoid them for a durable, beautiful finish.
- Using Standard Wall Paint: This is a recipe for disaster. Wall paint is designed for a vertical, low-contact surface. Kitchen cabinets, on the other hand, are high-traffic, high-abuse areas. You need a specialized cabinet paint, like an acrylic-alkyd hybrid, that cures to a hard, enamel-like shell capable of withstanding daily wear and tear.
- Applying Paint Too Thickly: More is not better. Trying to get full coverage in one thick coat will lead to drips, an uneven texture, and an extremely long and problematic curing time. The objective is always multiple thin, even coats, which dry faster and cure harder.
- Rushing the Prep Work: As we've covered, your final paint job is only as good as the surface underneath. Skipping the de-greasing step is a non-starter; any remaining kitchen grime will stop the primer from bonding, causing inevitable peeling. Likewise, inadequate sanding results in poor adhesion and a finish that chips with the slightest bump.
The single most damaging mistake is impatience. Rushing the drying and curing times between coats will give you a soft, vulnerable finish. It can be ruined by simply reassembling your kitchen too soon. Patience truly is your most valuable tool.
DIY vs. Hiring a Professional: The True Cost Breakdown
So, should you tackle this yourself or call in the pros? The decision often comes down to budget and time. But it’s crucial to look beyond just the cost of paint to understand the full picture, especially for homeowners in busy areas like Mississauga or the greater Toronto area (GTA). The right choice depends on a realistic look at your skills, your available time, and what you expect from the final result.
A DIY project is undoubtedly cheaper on paper. The time commitment, however, is significant.
Recent industry data from 2025 shows that professional kitchen cabinet painting can range from $2,095 to $6,764 for a standard kitchen. In stark contrast, a DIY project might only cost $200 to $600 in materials but demands a staggering 40 to 60 hours of intense, focused labour. You can dive deeper into these cabinet painting cost trends and statistics to see the full scope.
That huge time investment, plus the risk of a subpar finish that doesn't last, is what leads many homeowners to seek out the best professionals near them.
Comparing Your Options
To help you make an informed choice, let's put the two approaches side-by-side.
DIY vs. Professional Cabinet Painting Cost and Effort
Deciding whether to paint your cabinets yourself or hire a professional involves weighing cost against time, effort, and the quality of the final outcome. This table breaks down what you can expect from each path.
| Factor | DIY Project | Professional Service |
|---|---|---|
| Upfront Cost | Low ($200 – $600) | High ($2,000+) |
| Time Commitment | Very High (40-60+ hours) | Minimal (Your time is free) |
| Required Skill | Moderate to High | None required |
| Finish Quality | Variable; risk of errors | Guaranteed smooth, durable finish |
| Tools Needed | Must purchase or rent all tools | All equipment included |
| Project Stress | High; kitchen is disrupted for days | Low; project is managed for you |
Ultimately, the best path forward is a personal one. If you have the time, patience, and attention to detail, a DIY project can be incredibly rewarding.
However, if your objective is a guaranteed flawless finish without sacrificing weeks of your time, exploring options with expert painters for kitchen cabinets is a worthwhile investment in your home's value and your own peace of mind.
Got Questions About Painting Your Cabinets? Let's Get Them Answered.
Even the most detailed guide cannot cover every single question that pops up during a big project. Tackling your kitchen cabinets is a major undertaking, and it is totally normal to have a few "what ifs" along the way.
Getting solid answers is the key to pushing forward confidently and dodging those little mistakes that can derail a project. Let's dig into some of the most common questions we get from homeowners.
How Long Does This Whole Project Actually Take?
This is always the first question, and the honest answer is: it really depends on the size of your kitchen and how many hours you can put in each day.
For an average-sized kitchen, you should plan for at least four to five full days of work. Don't let anyone tell you it's a weekend project—it's not, if you want it to last.
Here's a more realistic timeline to expect:
- Day 1: This is all about prep. You will spend the entire day removing doors and hardware, cleaning every surface, and sanding everything down.
- Day 2: Priming day. Every surface gets a coat of primer.
- Days 3-4: Now for the colour. You will be applying two coats of your final paint, and you absolutely must let it dry properly between each one.
- Day 5 (and maybe 6): This is for the final curing and very careful reassembly. Rushing this last step can ruin all your hard work.
Is Sanding Between Coats Really Necessary?
One hundred percent, yes. This is the step that separates a good-enough job from a truly professional one.
After your primer is dry, and then again after your first coat of paint is dry, give everything a quick, light scuff with 220-grit sandpaper. All you are doing is knocking down any little dust specks or tiny bumps that have settled on the surface. It is a bit tedious, but it's the secret to getting that buttery-smooth finish you're after.
A durable paint job is built on process, not shortcuts. That quick sanding between coats creates a stronger, smoother bond for the next layer, which is exactly what you need for a finish that will stand up to daily use.
Can I Paint Over My Oak Cabinets Without the Grain Showing?
This is a classic oak grain dilemma. Oak has a strong, deep grain that's beautiful in its natural state but can be a real challenge to cover with paint. While you can't make it disappear completely without a ton of extra work with grain fillers, you can absolutely minimize how much you see.
Your best bet is to use a high-quality, thick-bodied primer followed by a flat or satin topcoat. The shinier the paint, the more light it reflects, which will highlight every single line and texture in the wood grain. A lower sheen, on the other hand, absorbs light, making the grain far less obvious and giving you a much more uniform look. It's the go-to strategy for tackling textured woods like the oak we see in so many homes around Toronto and the GTA.