

Painting your kitchen cabinets isn't just about slapping on a new colour; the real magic, the secret to a professional job, lies in the prep work. This is the part of the process where meticulous dismantling, deep cleaning, and a bit of smart labelling make all the difference. Get this foundation right, and you're on your way to a durable, flawless finish that will completely transform your kitchen.
Laying the Groundwork for a Flawless Finish
Jumping into a cabinet painting project without a plan is a recipe for disaster. I've seen it countless times. The best professional painters, whether they're in Toronto or anywhere across the GTA, will tell you the same thing: it's not about a secret paint formula. The real craft is in the rigorous, almost ceremonial, preparation that happens long before a can of paint is even cracked open.
This initial phase is what dictates the quality and lifespan of your new finish. Cutting corners here is the single biggest mistake people make, and it almost always leads to peeling paint, an uneven look, and a whole lot of wasted effort.
A pro-level job begins with systematically taking your kitchen apart. This is more than just yanking the doors off the hinges; it's about having a structured approach so reassembly is a breeze, not a nightmare.
Creating a System for Disassembly
First things first, you need to remove all the cabinet doors, drawers, and every last piece of hardware—every hinge, knob, and pull. This is where a simple but absolutely critical labelling system comes into play.
Grab some painter's tape and give each door and drawer a unique code. Something like "U1" for the first upper cabinet or "L3" for the third lower one works perfectly. Pop a matching piece of tape inside the cabinet frame itself. This little bit of effort now saves you from a massive headache-inducing puzzle later.
Toss all the corresponding hardware into labelled plastic bags. A bag for "U1 Hardware" holds the specific hinges and screws for that door, ensuring everything goes back exactly where it came from.
The Critical Deep Clean
With your cabinets disassembled, it's time to get serious about cleaning. Think about it: kitchen cabinets are constantly battling airborne grease, cooking splatters, and fingerprints. This nearly invisible layer of grime is the mortal enemy of paint adhesion. A quick wipe-down just won't cut it. You need a powerful degreaser to slice through years of buildup.
Professional Insight: Years of accumulated kitchen grime create a barrier that even the best primers can't penetrate. A deep clean with a dedicated degreaser is the only way to guarantee the new paint will bond securely to the cabinet surface, preventing future peeling or chipping.
Products like TSP (Trisodium Phosphate) or a good commercial-grade citrus degreaser are what you need. Apply the cleaner generously with a scrub sponge, giving extra attention to the cabinets around the stove and sink. Once you've scrubbed everything, wipe it all down with a clean, water-dampened cloth to get rid of any residue. Let every surface dry completely. This step is a total game-changer for anyone wanting to know how to paint kitchen cabinets professionally.
This trend of refinishing cabinets to achieve a fresh, modern look has become incredibly popular. For example, in many North American markets, transforming dated wood cabinets with a clean, white finish is a top request, as it brightens the entire kitchen and adds significant value. You can find more insights on the popularity of white painted cabinets on certapro.com.
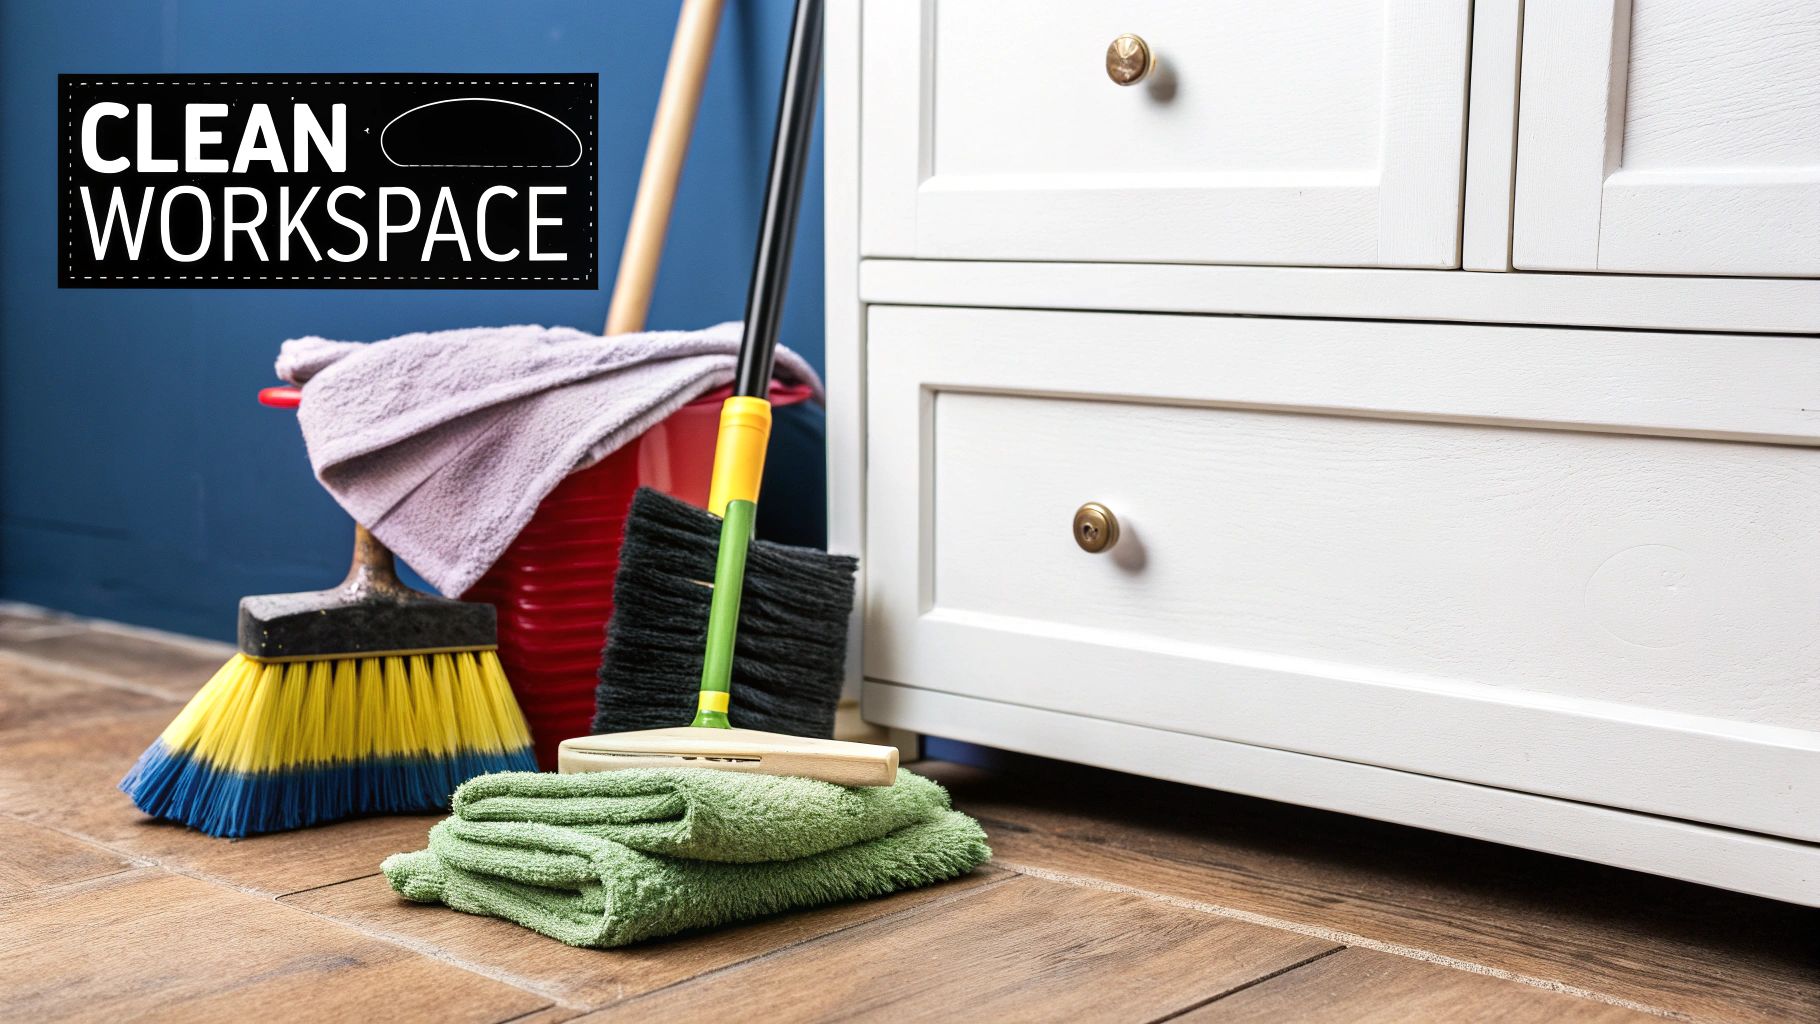
Setting Up an Efficient Workspace
Finally, setting up a proper workspace is key to keeping the project clean and organised. A garage, basement, or even a spare room will do the trick.
Lay down drop cloths to protect your floors. To make painting the doors and drawers much easier, set up a series of work surfaces—sawhorses or a few folding tables are perfect. Here's a pro tip: get yourself some painter's pyramids. These little cones elevate the cabinet doors, letting you paint one side and the edges, then flip them over to paint the other side much sooner without smudging your fresh coat.
An organised setup like this doesn't just protect your home; it streamlines the entire painting process, moving you one big step closer to that perfect, professional finish.
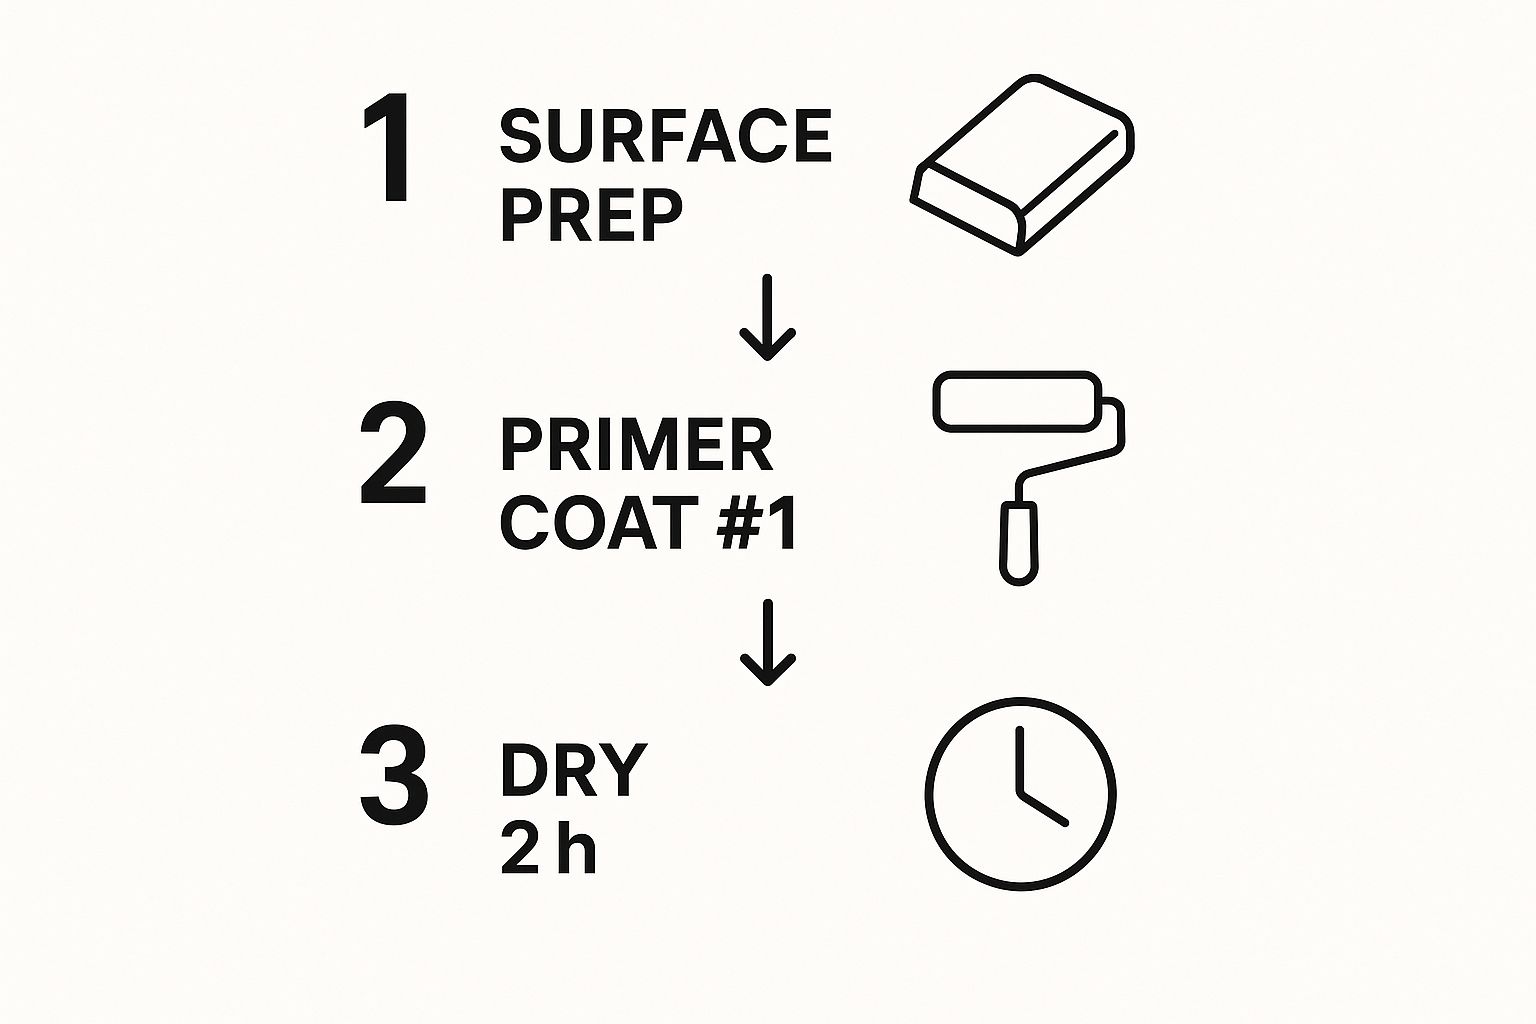
Mastering Surface Prep for Ultimate Durability
Now that your cabinets are clean and your workspace is set, we've arrived at the most critical phase for a professional-grade finish: surface preparation. Let me be clear—this isn't just a suggestion. It's the one step that truly separates a quick-fix paint job from a lasting, beautiful transformation.
Think of it this way: paint needs something solid to grab onto. Proper prep creates the unshakeable foundation that allows the finish to withstand the chaos of a busy kitchen. Skip this, and you're just asking for chips and peels down the road.
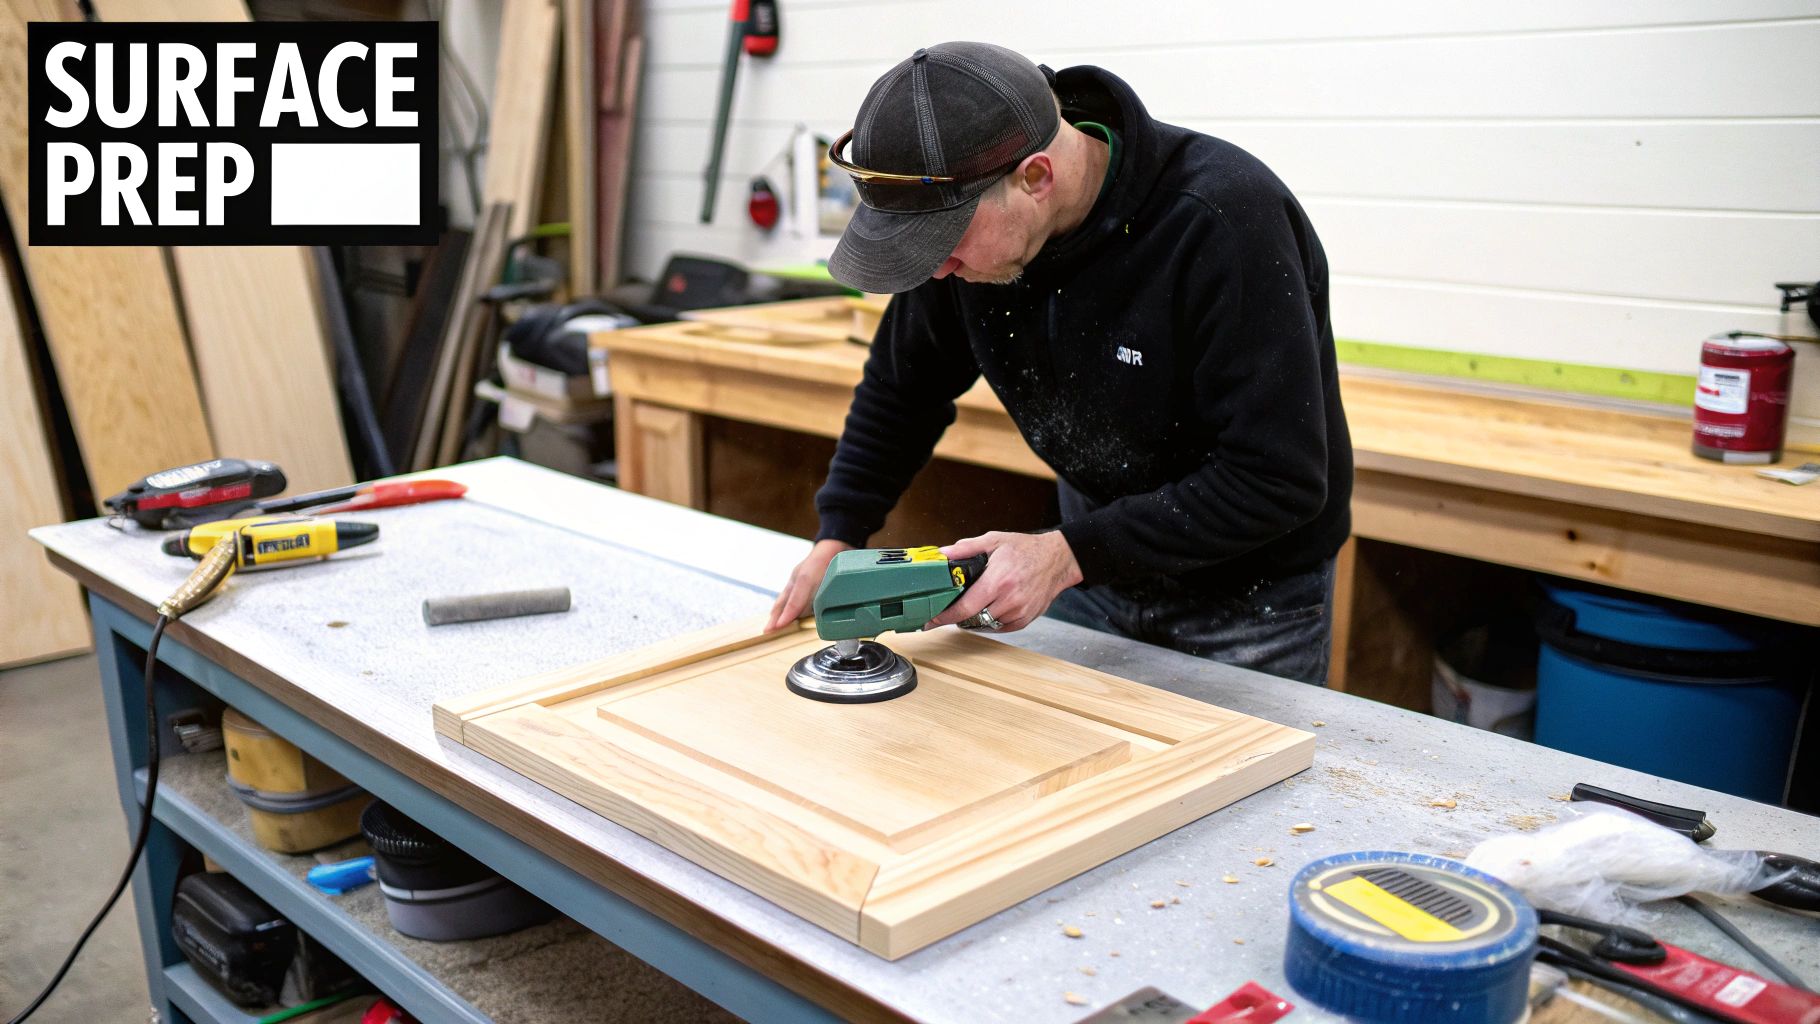
The Essential Art of Sanding
I know it’s tempting to grab a "no-sand" paint and call it a day. While those products have their uses, they can't replicate the mechanical bond you get from proper sanding. For a finish that will genuinely last for years, you need to give the surface a bit of "tooth."
You're not trying to strip the cabinets down to bare wood. All we're aiming for is a "scuff sand" to knock the sheen off the old finish. This light abrasion is what gives the primer and paint something to really bite into, and it makes all the difference.
My Go-To Sanding Grits:
- Initial Scuff: I always start with a medium-grit sandpaper, usually around 120-grit, to effectively rough up the existing glossy finish.
- Between Coats: For the sanding between primer and paint coats, I switch to a fine 220-grit paper. It just needs a whisper-light touch to knock down any tiny bumps and get that surface feeling glass-smooth for the next layer.
You can absolutely sand by hand, and it's necessary for getting into detailed profiles. But for the large, flat areas like door panels and drawer fronts, a random orbital sander is a game-changer. It'll save you a ton of time and deliver a far more even result. Once you're done, wipe every last particle of dust away with a tack cloth. Seriously, don't leave any dust behind.
Choosing the Right Primer for Your Cabinets
With a perfectly sanded, dust-free surface, you’re ready for primer. Primer is the unsung hero of cabinet painting. It’s what blocks stains, seals the surface, and gives your paint a uniform base to adhere to. The right primer for your project depends entirely on what your cabinets are made of.
Choosing the correct primer is arguably the most critical decision you'll make. Get it right, and you prevent problems before they even start—from stopping tannin bleed on old oak cabinets to making sure paint actually sticks to slick, modern laminate.
Let's break down the options so you can make the best choice for your kitchen, whether you’re in a downtown Toronto condo or a house in Mississauga. Each type has a specific job.
Primer Types Explained
Making the right call here will save you so many headaches later. It’s the key to an even topcoat and maximum durability.
Shellac-Based Primer: This is my problem-solver. If you have oak or cherry cabinets, you've probably heard of "tannin bleed"—that yellowish or pinkish stain that can creep through light-coloured paint. A shellac primer is the best defence against it. It's also a powerhouse for blocking stubborn stains and odours.
Oil-Based Primer: This is a classic for a reason. Oil-based primers offer incredible adhesion and create a tough, easily sandable surface. If you’re working with most types of wood cabinets and want a rock-solid base, this is an excellent choice.
Water-Based (Acrylic) Primer: Modern water-based bonding primers have improved immensely. They are a fantastic option for previously painted surfaces or for tricky materials like MDF and laminate. They provide great adhesion with the major benefits of low odour and simple soap-and-water cleanup.
Many pros here in the GTA prefer to spray both the primer and paint to achieve that flawless, factory-like finish. If you're curious about that route, you can dive deeper into the process of spray painting kitchen cupboards and see if it’s a good fit for you.
No matter how you apply it, aim for one to two thin, even coats of primer. Let it dry completely based on the can's instructions, then give it that final, light scuff sand with 220-grit paper before you even think about cracking open the paint.
Choosing Your Tools and Paint Like a Pro
The real difference between a DIY paint job that looks just "okay" and one that looks truly professional often boils down to the materials. Selecting the right paint and application tools isn't about spending the most money; it's about making smart choices that will deliver the finish and durability you’re after. This is where you set yourself up for success before a single drop of paint even leaves the can.
Walking into a paint store can be overwhelming. You're faced with an entire wall of options, and they all promise the best results. But for a high-traffic area like a kitchen, not just any paint will do. Your cabinets need a finish that can stand up to daily use, shrug off stains, and be easy to clean.
Selecting the Best Paint for Cabinets
The paint aisle has come a long way. While traditional oil-based paints were once the gold standard for their hard finish, modern chemistry gives us much better alternatives without the harsh fumes and brutal cleanup. Today, the top choice among professionals is an acrylic-alkyd hybrid, often called a waterborne alkyd.
These advanced paints really give you the best of both worlds:
- The Durability of Oil: They cure to an incredibly hard, resilient finish that mimics old-school oil-based enamel, standing up exceptionally well to wear and tear.
- The Ease of Water-Based: You get all the user-friendly benefits of acrylic paint, including low odour and a simple soap-and-water cleanup.
Brands like Benjamin Moore’s ADVANCE or Sherwin-Williams’ Emerald Urethane Trim Enamel are industry leaders for a reason. They level out beautifully as they dry, which helps to minimize brush and roller marks for a smooth, almost factory-like appearance. Yes, they might cost a bit more per litre, but their superior coverage and long-term durability make them a worthwhile investment for a project of this scale.
The Right Tools for a Flawless Finish
Your choice of application tool is just as crucial as the paint itself. The method you go with will directly impact the final texture and overall quality of your cabinets. Believe me, there's a perfect tool for every part of this job.
The secret to a truly professional finish isn't one single tool, but knowing how to use a combination of them. A high-quality sprayer delivers an unmatched smoothness on doors, while a premium brush is essential for getting those crisp, clean lines on the cabinet frames.
High-Quality Angled Brush: A top-tier angled brush, about 2 to 2.5 inches wide, is non-negotiable. It's what you'll use for "cutting in" around the edges of the cabinet frames and for painting any detailed moulding where a roller or sprayer just can't reach. Don’t skimp here—a cheap brush will shed bristles into your fresh paint and leave ugly streaks.
High-Density Foam Roller: For the flat surfaces of the cabinet frames (the "boxes"), a small, high-density foam roller is a fantastic tool. It lays down a thin, even coat of paint with very little texture, often called "stipple." It’s much faster than brushing everything and gives a much smoother result.
HVLP Sprayer: If you want the absolute smoothest, most professional finish on your cabinet doors and drawer fronts, nothing beats an HVLP (High Volume, Low Pressure) sprayer. It atomizes the paint into a fine mist, creating a flawless, glass-like surface with zero brush or roller marks. There’s definitely a learning curve and more prep work involved to control overspray, but the results are undeniable.
Paint Application Method Comparison
Choosing how to apply the paint is a major decision. A sprayer gives you that factory finish, but a brush and roller can still produce beautiful results with the right technique. The key is understanding the trade-offs.
| Application Method | Best For | Pros | Cons |
|---|---|---|---|
| HVLP Sprayer | Doors and drawer fronts. | Flawless, factory-like smooth finish. Fastest application for multiple pieces. | Requires significant prep to manage overspray. Has a learning curve. Higher initial cost. |
| High-Density Foam Roller | Flat surfaces of cabinet frames and simple, flat doors. | Good, smooth finish with minimal texture. Faster than brushing large areas. | Can't get into corners or detailed profiles. Can leave a slight "stipple" texture. |
| High-Quality Brush | "Cutting-in" edges on frames and detailed/moulded areas. | Excellent control for crisp lines. Perfect for intricate trim and corners. | Can leave visible brush strokes if not used correctly. Slowest method for large areas. |
Ultimately, a hybrid approach often works best: spray the doors and drawers in a controlled area, and use a brush and mini-roller for the cabinet boxes that are fixed to the wall.
This workflow shows how each step—from sanding to priming and allowing proper dry time—is a critical link in the chain. Rushing any of these will compromise the final quality.
For homeowners in the Greater Toronto Area, from Mississauga to downtown Toronto, finding the right professionals can make all the difference. If you're considering hiring the best painters near me for this crucial project, you can learn more about local painters for kitchen cabinets to ensure a perfect outcome.
Your Complete Shopping List
There’s nothing worse than having to stop mid-project for a trip to the hardware store. Get everything you need on hand before you start. It’s the key to maintaining your momentum and focus.
Essential Supplies Checklist:
- Paint: High-quality acrylic-alkyd hybrid paint (1 gallon is typically enough for an average-sized kitchen).
- Primer: A stain-blocking bonding primer (shellac or water-based, depending on your cabinet material).
- Cleaning: TSP or another strong degreasing cleaner.
- Sanding: 120-grit and 220-grit sandpaper or sanding sponges. An orbital sander can be a huge timesaver.
- Application: A 2-inch angled brush, a 4-inch high-density foam roller and tray, and painter's pyramids for drying doors.
- Prep: Painter's tape, drop cloths, wood filler, a putty knife, and tack cloths.
- Safety: Gloves, safety glasses, and a respirator mask (especially if you plan on spraying).
Gathering these items first means you're prepared to tackle the job with the confidence and efficiency of a seasoned pro.
The Art of a Smooth, Even Paint Application
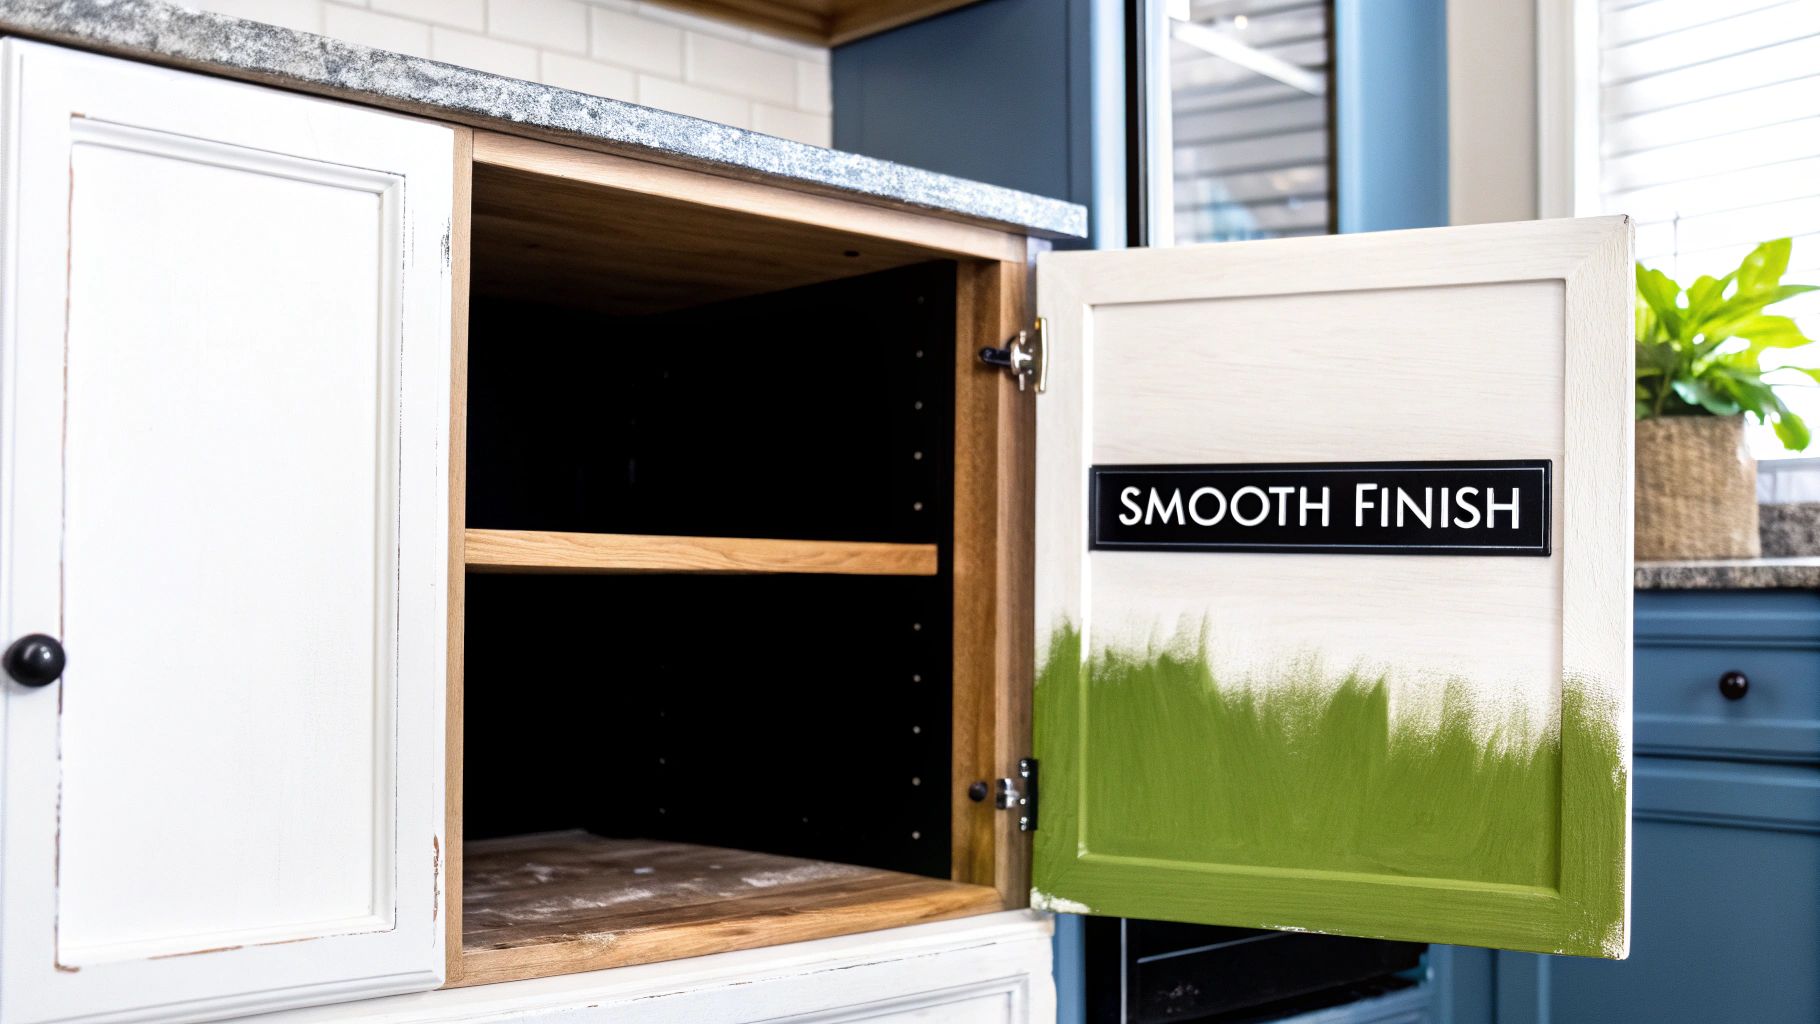
With all the meticulous prep work behind you, it's finally time for the satisfying part—the actual painting. This is where your patience truly pays off, turning those primed surfaces into a finish that looks like it came straight from the factory. A flawless result isn't about speed; it's all about technique.
Think of it like this: the objective is to lay down thin, consistent coats that level out beautifully on their own. Piling on thick coats is a one-way ticket to drips, runs, and a messy drying process that’s a nightmare to fix.
Applying Your First Coat of Paint
Whether you’re wielding a high-quality brush, a foam roller, or an HVLP sprayer, the core principles don't change. Start with a tool that's properly loaded—not dripping wet, but not starved for paint either. A good rule of thumb is to dip only the bottom third of your brush bristles or to make sure your roller is evenly saturated without being overloaded.
When tackling doors and drawers, I always start with the detailed bits first. Use a brush for those tricky inside panels and any moulding. Once those are done, switch to your foam roller or sprayer for the large, flat areas. And always, always work in the same direction as the wood grain for a seamless look.
The same strategy works for the cabinet frames. Use an angled brush to "cut in" along the edges and corners first. Then, grab your mini foam roller to coat the flat stiles and rails evenly. This little trick ensures you won't see any rogue brush marks on the most visible parts of your frames.
Navigating Tricky Areas with Finesse
Corners, inside edges, and detailed moulding can feel intimidating, but they’re completely manageable if you know how to approach them. The key is to avoid letting paint pool in these spots, which is what causes those ugly drips and a messy finish.
- Inside Corners: Just use the very tip of your angled brush to apply a light amount of paint, gently "feathering" it out onto the flat surfaces next to it.
- Moulding and Trim: Follow the lines of the moulding with your brush, using long, steady strokes to avoid those tell-tale stop-and-start marks.
- Cabinet Edges: I always paint the edges of doors and drawer fronts last. A light touch here is crucial to prevent a thick ridge of paint from forming on the front or back.
Professional Takeaway: If I can give you one piece of advice, it’s this: to avoid brush marks, apply thin coats and fight the urge to keep fussing with the paint. Lay it on and let it be. Modern paints, especially the good acrylic-alkyds, are designed to level themselves out as they dry.
This is the stage where a lot of DIY projects go sideways. For anyone in the Greater Toronto Area who wants an impeccable result without the steep learning curve, exploring professional kitchen cabinet painting in places like Toronto and Mississauga can save a ton of time and headache.
The Importance of Drying and Curing Times
Patience is a virtue, and nowhere is that more true than with painting. It’s absolutely critical to understand the difference between paint being "dry to the touch" and being "fully cured."
- Dry Time: This is simply when the paint no longer feels tacky. You can usually apply another coat after this period, which is often around 4-6 hours (but always check the can).
- Cure Time: This is how long it takes for the paint to harden completely and reach its maximum durability. This process is a marathon, not a sprint, and can take anywhere from 7 to 30 days, depending on the paint, temperature, and humidity.
Rushing this part is a recipe for disaster. Handling doors or re-installing hardware before the paint has fully cured will almost certainly lead to smudges, dents, and chips, undoing all your hard work in an instant.
Lightly Sanding Between Coats for a Silky Finish
Want a truly glass-smooth finish? The secret is to lightly sand between each coat of paint. Once your first coat is completely dry, take a very fine-grit sandpaper (220-grit is perfect) and give every painted surface a quick, gentle scuff.
You’re not trying to remove the paint you just put on. The objective here is to knock down any tiny dust nibs, faint roller texture, or other minor imperfections that settled into the finish while it was wet. Wipe every speck of dust away with a tack cloth before your next coat. Trust me, this simple step is what separates a good finish from an exceptional one.
Achieving Full Coverage with Multiple Coats
How many coats will you need? That really depends on the quality of your paint and the colour change you're making. As a general rule, plan on applying at least two full coats of paint over your primer.
If you're going from a very dark wood to a light colour, you might even need a third coat to get that rich, solid coverage you're after. Just remember: multiple thin coats will always give you a stronger, more beautiful, and more professional-looking result than one or two thick, heavy ones.
Reassembly and Long-Term Care: Finishing Strong
This is the home stretch, and I'll be honest, it’s where patience really pays off. After all that hard work, you're going to be itching to get those doors back on and see your new kitchen in its full glory. But hold on—rushing this last part is the quickest way to ruin a perfect finish.
We need to talk about curing. It’s the single most misunderstood part of any painting project. Paint that is "dry to the touch" is not fully cured. Think of it like a cake that's golden on top but still gooey inside. The surface might feel solid in a few hours, but the paint is still undergoing a chemical hardening process underneath. This can take up to 30 days, depending on the paint you used and the humidity in your home.
The Critical Curing Window
During this curing time, your new paint job is incredibly fragile. Bumping a door against the frame, reinstalling hardware too soon, or even an aggressive wipe-down can leave a permanent dent or smudge in the still-soft finish.
So, fight that urge to reassemble everything right away. Let your doors and drawers continue to harden in a safe spot, away from kids, pets, and general household chaos. While you should always follow the paint manufacturer's specific guidelines, a good rule of thumb is to wait at least 48 to 72 hours before you even think about handling the pieces for reassembly.
A Pro Painter's Reality Check: We always tell our clients to treat their newly painted cabinets with kid gloves for the first month. This means no harsh cleaners, no slamming doors, and being mindful when putting away pots and pans. Achieving full durability is a marathon, not a sprint. Respecting the cure time is absolutely non-negotiable if you want that finish to last.
Careful and Precise Reassembly
Once you’ve given the paint a few days to harden up, you can start putting your kitchen back together. This is where that labelling system you set up at the very beginning becomes your best friend, turning what could be a frustrating puzzle into a simple, straightforward task.
Here’s a tip: reinstall the hinges on the doors first, not the cabinet frames. Lay a soft microfibre cloth or a piece of cardboard on your work surface to protect that new paint while you work.
When you're ready to hang the doors, grab a helper if you can. It makes a world of difference. One person can hold the door steady while the other drives in the screws, which dramatically cuts down on the risk of slipping and scratching that beautiful new finish. Your shiny new knobs and pulls should be the very last thing you install.
Keeping Your Cabinets Looking New
With the right care, your beautifully painted cabinets will look amazing for years. The secret is to be gentle. For everyday cleaning, all you need is a soft microfibre cloth with a simple mix of mild dish soap and warm water.
Steer clear of abrasive cleaners, scrubby sponges, or anything with ammonia. These harsh products will dull the sheen and can even start to strip the paint off over time, undoing all your hard work. If you have a stubborn, greasy spot, just let the soapy water sit on it for a few minutes to loosen it up.
For anyone thinking about selling their home, a project like this can have a massive impact. In a competitive market like Toronto's, professionally painted cabinets offer an incredible return on investment. For example, a $4,500 investment to paint dated oak cabinets in a Folsom, CA, home helped it sell for $25,000 over the asking price. It just goes to show how a refreshed kitchen can capture buyer interest and generate returns that dwarf the initial cost.
Handling Quick Touch-Ups
Life happens. Even with the toughest paint, a stray pot or a dropped can might cause a nick or scratch in a high-traffic kitchen. Don't panic—it's an easy fix. This is exactly why you should always save a small, well-sealed container of your leftover paint and primer.
The Easy Touch-Up Process:
- First, gently clean the damaged spot.
- Use a very fine-grit sandpaper (220-grit or higher) to lightly feather the edges of the chip. You just want to smooth it out.
- With a small artist's brush, apply a tiny dab of primer only to the raw, exposed area.
- Let it dry, then use the same brush to apply a thin coat of your cabinet paint. Blend it carefully at the edges, and it will disappear.
When you do it right, this project delivers one of the most rewarding transformations you can do in your home. Of course, if you want that guaranteed flawless result without the learning curve, calling in a professional is always an option. You can learn more about what to look for when hiring the best cabinet painter to ensure you get the quality you’re paying for.
Your Top Cabinet Painting Questions, Answered
Even with a solid game plan, you’re bound to have questions when you’re painting your kitchen cabinets for the first time. Getting straight answers from someone who's been there is the key to feeling confident and getting a finish you’ll love for years. Let’s dive into some of the most common questions I hear from homeowners.
One of the first things people ask about is wood grain, especially if they have oak cabinets. They worry that the texture will telegraph right through the new paint. And you know what? They're right. It will, unless you put in the work to fill it.
Can You Completely Hide Wood Grain?
If you're dreaming of a perfectly smooth, factory-like finish, you’ll need to get friendly with a grain filler. It’s a paste-like product that you work into the wood’s pores with a putty knife before you even think about priming. Once it dries, you sand it all smooth.
I won't sugarcoat it—this is a very labour-intensive step. It can add a serious amount of time to your project. Honestly, for a lot of people, a little bit of grain texture peeking through adds some welcome character. But if you’re set on that sleek, ultra-modern look, filling the grain is a non-negotiable step in learning how to paint kitchen cabinets professionally.
Next up: do you really need to take the doors and drawers off? It’s tempting to look for a shortcut here, but this is one corner you just can't cut. Trust me, it almost always backfires.
Expert Insight: Skipping the removal of doors and drawers is one of the biggest mistakes a DIYer can make. It’s nearly impossible to paint the edges properly, and you’re almost guaranteed to get paint on the hinges. The result is a messy, unprofessional look that just won't hold up.
Why You Must Remove Doors and Drawers
Taking the time to remove everything lets you lay each piece on a flat, horizontal surface. This simple change is a game-changer for preventing drips and runs, and it helps you apply a much more even coat. It’s the only way to make sure every single edge and corner gets the durable, flawless coverage it needs.
Think of it this way: the best professional painters in the GTA, from Mississauga to Toronto, wouldn't even consider painting cabinets with the doors still hanging. It's a fundamental part of a quality job.
DIY vs. Hiring a Pro: The Cost Breakdown
Naturally, people want to know about the cost. Is it worth it to hire someone or should you do it yourself? The price can swing quite a bit depending on your location and the size of your kitchen.
For a real-world example, professional kitchen cabinet painting in the GTA typically costs between $4,000 and $8,000. The final number depends on kitchen size and the paint you choose.
A good rule of thumb when budgeting for a pro is to expect to pay around $100 to $200 per cabinet door or drawer front. Of course, doing it yourself will always be the more budget-friendly route if you have the time and patience. For more detailed numbers, you can find great insights on cabinet painting costs on angi.com.
After tackling a project of this scale and seeing the amazing results, some people get the bug and want to turn their new skills into a side hustle. If that's you, you might find our guide on how to start a painting business helpful.
Can You Use Regular Wall Paint on Cabinets?
Finally, let's talk about paint. I get this one a lot: "Can I just use the leftover latex paint from my living room walls?"
The answer is a hard no. Wall paint isn’t designed for this. It’s not formulated to stand up to the daily abuse kitchen cabinets take—the constant touching, bumping, and scrubbing. Using it will give you a soft finish that will chip and scuff almost immediately. You need to invest in a high-quality paint made specifically for cabinets, like an acrylic-alkyd hybrid, to get a finish that's as durable as it is beautiful.
Ready to give your kitchen the professional refresh it deserves without the stress and guesswork? The experts at Soca Services deliver flawless, durable cabinet finishes that completely transform your space. Contact us today for a free estimate and see how we can bring your vision to life.