

Selecting the right paint brushes and rollers is a critical first step for any painting project. The choice is determined by a simple trade-off: brushes offer the precision needed for details and edges, while rollers provide speed and smooth coverage on large, flat areas.
Choosing The Right Tool For A Flawless Paint Job
Embarking on a new painting project requires careful planning, and selecting the correct tools from the start is the secret to a professional-looking finish. Painting tools can be compared to a chef's knives; each is designed for a specific purpose. Just as a chef wouldn't use a cleaver for delicate garnishes, a painter must choose the right tool for the job. Paint brushes and rollers are each designed for different, but equally important, tasks.
When to Use a Brush
A brush is the ideal tool for control and fine-detail work. It is used for "cutting in"—the process of creating crisp, clean lines where a wall meets the ceiling, along baseboards, or around window and door frames.
Brushes are also the best choice for painting anything with intricate shapes, such as decorative mouldings, detailed furniture, or window grilles where a roller cannot physically reach. A good quality brush provides complete command over paint application, down to the millimeter.
When a Roller is the Best Choice
A roller is the primary tool for efficiency on large surfaces. When faced with a large, empty wall or a ceiling, nothing applies a consistent coat of paint as quickly and evenly as a roller. Its main purpose is to cover a lot of ground fast, without leaving behind the brush strokes that are almost impossible to avoid over a large area.
This efficiency makes rollers a staple for both professionals and DIY enthusiasts. The market for these tools is substantial; in North America, it was valued at around USD 3.22 billion and continues to grow, driven by a robust DIY culture. The U.S. alone accounts for over 78.8% of that market, demonstrating the widespread reliance on rollers for home projects. More details can be found in this complete market analysis about paint roller trends.
This visual guide helps clarify the decision:
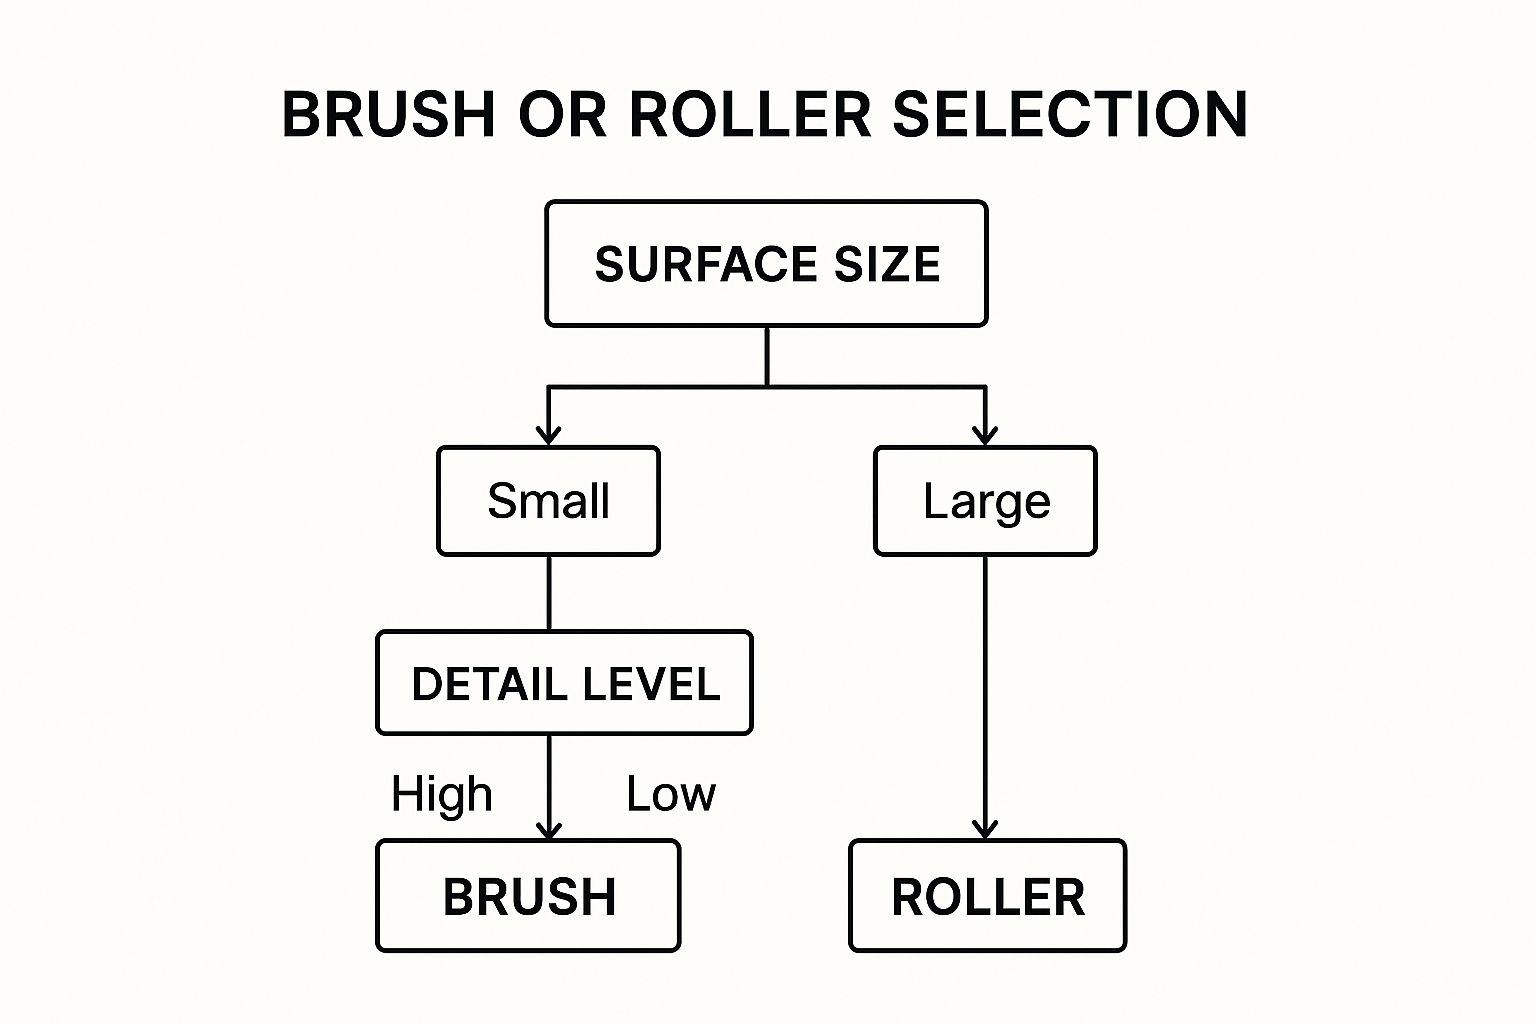
As illustrated, for anything small, detailed, or with difficult angles, a brush is the appropriate tool. For large, open spaces, a roller is the most effective choice.
To simplify the decision further, the following table provides a quick reference for common household painting jobs.
Quick Guide: Brush vs. Roller for Common Painting Tasks
| Painting Task | Best Tool | Rationale |
|---|---|---|
| Walls & Ceilings | Roller | Offers fast, even coverage over large, flat surfaces. |
| Cutting In Edges | Brush (2-3" Angled) | The angled tip provides precise control for clean lines. |
| Doors (Flat Panel) | Roller (Small Foam) | Delivers a super smooth, spray-like finish with no brush marks. |
| Doors (Raised Panel) | Brush & Roller | Use a brush for the detailed panels and a small roller for the flat sections. |
| Window & Door Trim | Brush (1.5-2.5" Angled) | The size and shape are ideal for navigating narrow surfaces and corners. |
| Furniture | Both (depends on design) | A brush is essential for legs and details; a small roller works for flat tops. |
| Fences & Decks | Both (depends on style) | A roller or pad covers flat boards quickly, while a brush handles spindles and gaps. |
Ultimately, choosing between a brush and a roller is not an "either/or" situation. Most jobs require both to achieve a polished, professional look.
The golden rule is: Use a brush for control and a roller for coverage. The standard process involves cutting in all the edges with a brush, then switching to a roller to fill in the large, open areas. This two-step method is key to a flawless finish.
A Deep Dive into Paint Brush Selection
Once it's determined that a brush is needed, the selection process begins. Not all brushes are created equal. It's a common mistake to view a paint brush as a simple tool; in reality, it’s a precision instrument. Choosing the correct one is what separates a satisfactory paint job from a professional-looking finish.
The most important factor is the bristle material. This detail dictates how the paint is transferred from the brush to the surface. The right choice leads to a flawless result, while the wrong one can cause significant frustration.
Natural vs. Synthetic Bristles
Natural bristles are derived from animal hair (like hog or ox) and have microscopic split ends and scales that allow them to absorb moisture. This property makes them perfect for holding thick, oil-based paints, varnishes, and stains, enabling the paint to flow off the brush in a smooth, even stroke.
Synthetic bristles, typically made from nylon, polyester, or a blend, are engineered to be non-porous and repel water. This makes them ideal for water-based (latex) paints. They maintain their stiffness and shape, ensuring crisp control and a beautiful finish.
Key Takeaway: Always match bristle material to the paint type. Use natural bristles for oil-based paints and synthetic bristles for water-based (latex) paints. Using the wrong combination can result in a limp brush and a streaky, uneven paint job.
Understanding Brush Shapes and Sizes
After selecting the bristle material, the next consideration is the brush's shape and size. This choice affects control and efficiency. Each design is purpose-built for a specific task, helping to improve speed and accuracy. This is the difference between simply applying paint and painting with skilled technique.
The thriving DIY culture in North America, where about 75% of homeowners undertake their own renovation projects, has encouraged manufacturers to develop a wide variety of specialized tools. With the U.S. market for paint rollers alone reaching approximately USD 2.67 billion, it’s evident that consumers value having the right equipment. Further details are available in this market analysis of the paint roller industry.
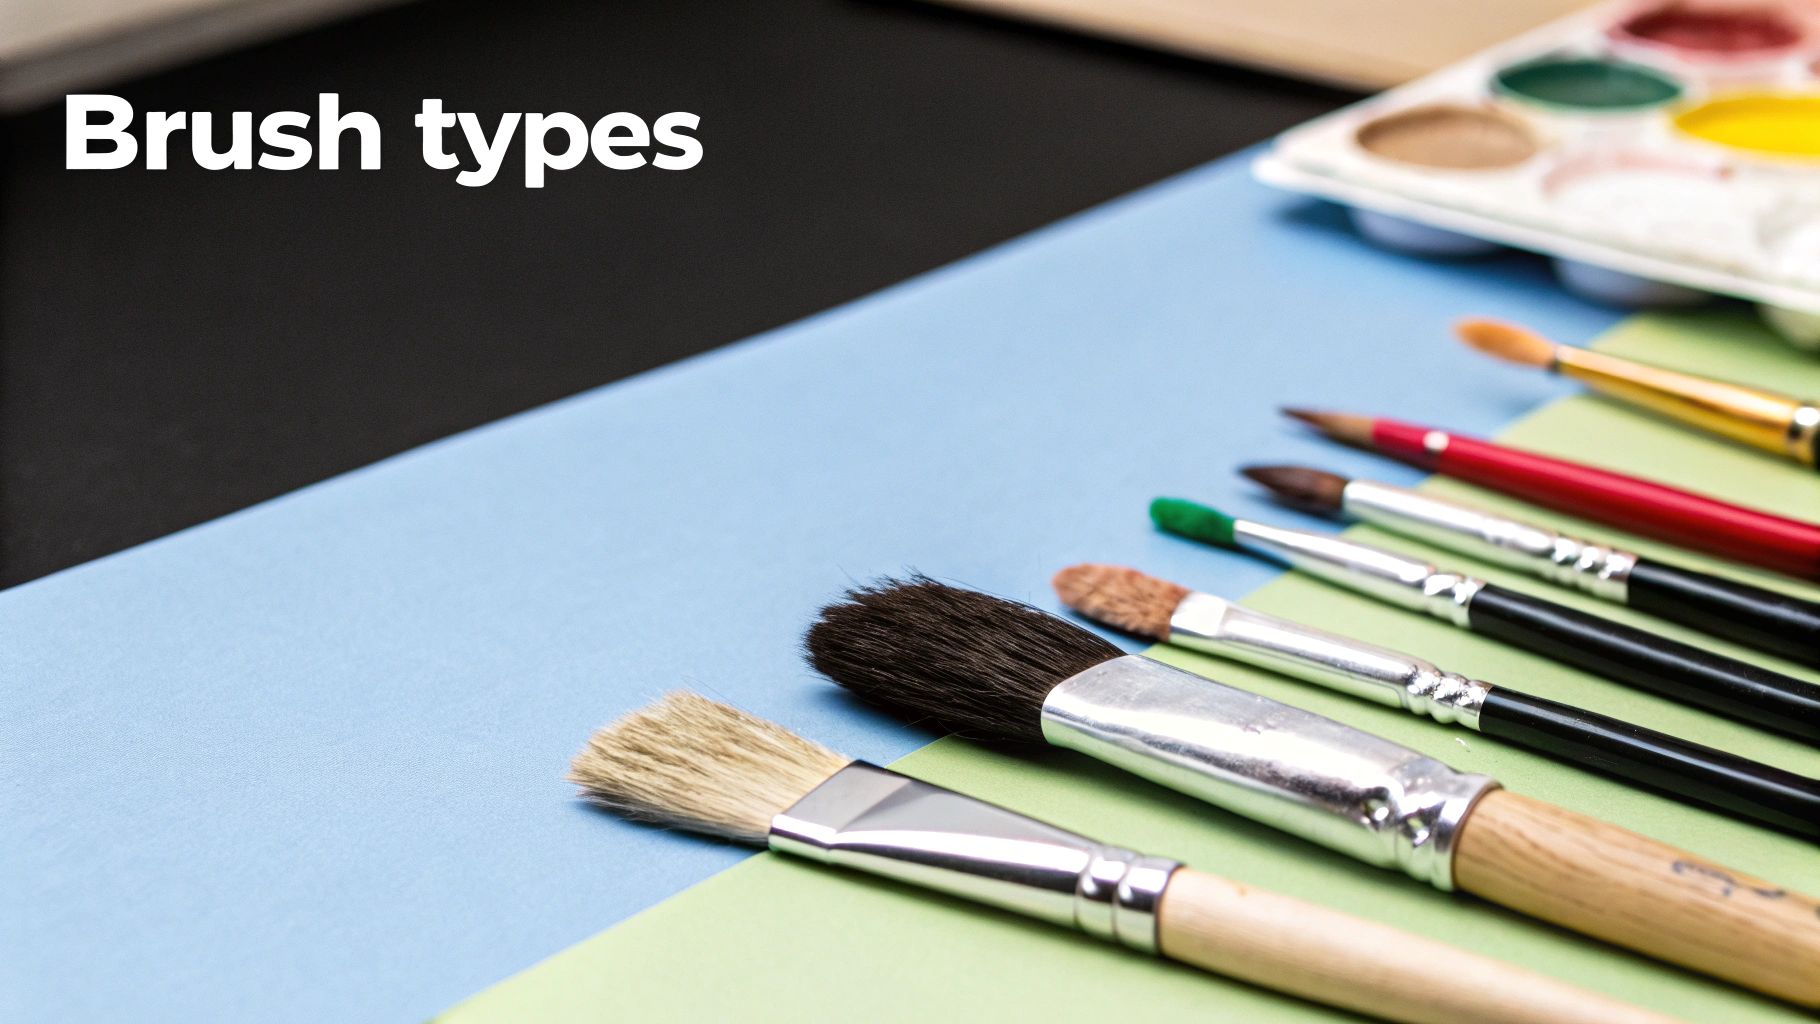
Here are the most common brush types available:
- Angled Sash Brushes: These are essential for precision work. The angled tip provides excellent control for "cutting in"—creating sharp lines where the wall meets the ceiling, trim, or corners. A 2.5-inch angled brush is a versatile choice for most window and door frames.
- Flat Brushes: With a straight, blunt edge, flat brushes are workhorses for larger flat surfaces where a roller is not suitable. Examples include wide skirting boards, flat door panels, or the sides of a bookshelf.
- Wall Brushes: These are larger versions of flat brushes, usually 4 inches or wider. They are designed to hold a large amount of paint and are ideal for quickly covering large areas where a roller might leave too much texture, or "stipple."
How to Master Paint Roller Nap and Materials
While the right brush is the secret to detail work, the roller is what conquers large surfaces with speed and precision. The key to a flawless roller finish is not just technique; it comes down to a crucial factor: nap. This is arguably the most important element to understand when selecting from the variety of paint brushes and rollers on the market.
A roller's nap can be compared to the tread on a tire. A tire with deep, rugged tread is built to grip rough, uneven terrain. Similarly, a roller with a long, thick nap is designed to hold a large volume of paint and push it deep into textured surfaces like stucco, brick, or popcorn ceilings.
Conversely, a slick racing tire with minimal tread provides the smoothest possible contact on a flat track. A roller with a short, thin nap functions the same way. It is designed for smooth surfaces like new drywall or plaster, applying a thin, even coat without creating unwanted texture.
Matching Roller Nap to Your Surface
Selecting the wrong nap is a common DIY painting mistake that leads to frustration. Using a long nap on a smooth wall will result in a stippled, "orange peel" texture and wasted paint. Using a short nap on a rough surface means it cannot hold enough paint to fill crevices, requiring multiple passes over the same area.
To achieve the best result, match the nap length—measured in millimeters (mm)—to the wall's texture. This simple choice is what distinguishes an amateur finish from professional-looking coverage.
For a consistently beautiful finish, remember this rule of thumb: The rougher the surface, the longer the nap needs to be. This principle ensures the paint gets into every nook and cranny for truly uniform colour and coverage.
Selecting the right roller nap is crucial for an even, professional-looking finish. The following table breaks down which nap length works best for different surfaces, helping you avoid common pitfalls and achieve the best results.
Paint Roller Nap Guide: Matching Nap Length to Surface
| Nap Length (mm) | Surface Texture | Ideal For | Paint Type |
|---|---|---|---|
| 5 mm | Ultra-Smooth | Metal doors, cabinets, high-gloss trim | Gloss & Semi-Gloss |
| 10 mm | Smooth | Standard drywall, smooth plaster, ceilings | Flat, Eggshell, Satin |
| 13 mm | Lightly Textured | Most common walls, lightly textured plaster | Flat, Eggshell, Satin |
| 15 mm | Medium Texture | Textured drywall, concrete, paneling | Flat & Matte |
| 20-25 mm | Rough | Stucco, brick, masonry, popcorn ceilings | Flat & Matte |
By keeping this guide handy, anyone can enter a paint store with confidence, knowing exactly which roller sleeve will deliver the best performance for their specific project.
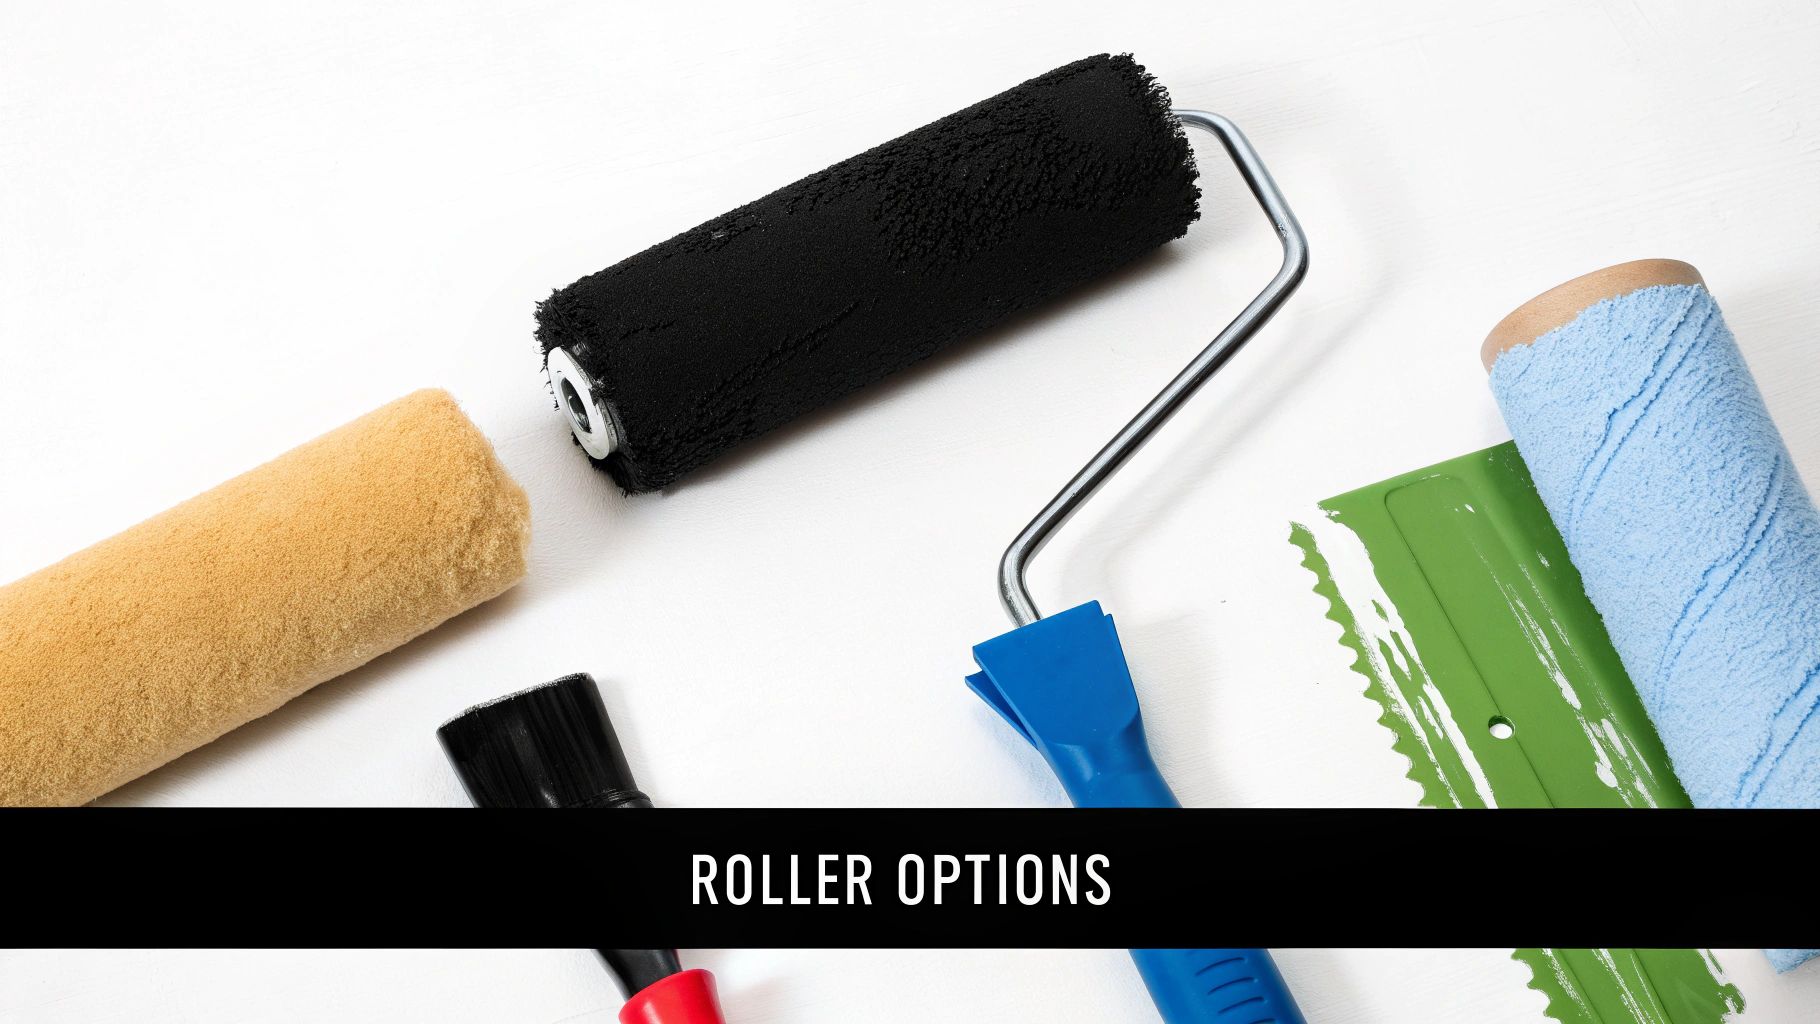
Choosing the Right Roller Material
Beyond the nap, the fabric of the roller sleeve plays a significant role, particularly with different paint sheens. Just as brush bristles are specialized, so are roller materials.
- Microfibre: These have become a popular choice for many painters as they are fantastic all-rounders. They hold a generous amount of paint and release it smoothly and evenly, which is excellent for achieving a pristine finish with both flat and satin paints. They are also known for minimal shedding.
- Woven Fabrics: Usually made from a durable polyester blend, these are reliable, lint-free options. They perform well with most latex paints and are a solid choice for eggshell or satin sheens where a fibre-free finish is essential.
- Foam: For a glass-like finish, a high-density foam roller is the correct tool. These do not have a traditional nap, so they apply an incredibly thin, smooth layer of paint. They are perfect for doors, cabinets, and trim when using high-gloss or semi-gloss paints.
Thoughtfully selecting the right combination of nap and material is not just buying a tool; it is setting the project up for success. This is the kind of practical knowledge that companies like Soca Services use to deliver impeccable results on projects throughout Toronto. It elevates a standard paint job into a stunning transformation.
Applying Paint Like a Professional
Having the right paint brushes and rollers is a great start, but technique truly makes the difference. This is where the work of turning a blank wall into something professionally finished begins. Mastering a few core skills is what separates a good DIY job from one that looks truly impeccable.
These techniques form the foundation of smart, efficient painting. They help maximize the performance of the tools, saving time, paint, and the effort of fixing mistakes later.
Mastering the Art of Cutting In
Professionals achieve perfectly crisp lines where a wall meets the ceiling or trim by "cutting in"—painting those edges freehand without painter's tape.
The key is in loading the brush. Only the first third of the bristles should be dipped into the paint. Afterwards, gently tap—do not wipe—both sides of the brush on the inside of the can to remove excess paint. Wiping it on the rim forces paint deep into the bristles, leading to drips.
Start by painting a band about an inch away from the edge. Then, using the angled tip of the brush and a steady hand, gently push the paint up to the line. With practice, this technique will produce sharp, clean borders.
The Secret to Streak-Free Walls: The "W" Pattern
When it's time to paint large, open walls, the roller is the main tool. To get a beautiful, even finish without roller marks, the "W" or "M" pattern is an effective method for distributing paint smoothly.
Here’s the process:
- Load the Roller: Dip the roller into the deep end of the paint tray, then roll it back and forth on the ribbed section. This removes excess paint and ensures the nap is evenly coated.
- Paint the "W": Start about a foot from a corner and roll a large "W" (or "M") onto the wall, covering a patch roughly three feet by three feet.
- Fill It In: Without lifting the roller from the wall, fill in the shape using straight, parallel strokes.
- Blend and Repeat: Go back over the entire section with light pressure to blend everything seamlessly. Reload the roller and start the next section, slightly overlapping the previous one.
This technique is a game-changer for anyone working with paint brushes and rollers. The demand for tools that facilitate these methods is growing. The U.S. market for paint rollers was valued at roughly USD 3.05 billion in 2023 and is projected to reach USD 3.29 billion in 2024. This growth is fuelled by painters seeking better ergonomic designs. More details can be found about these market trends on Einpresswire.
Protecting Your Tools for Future Projects
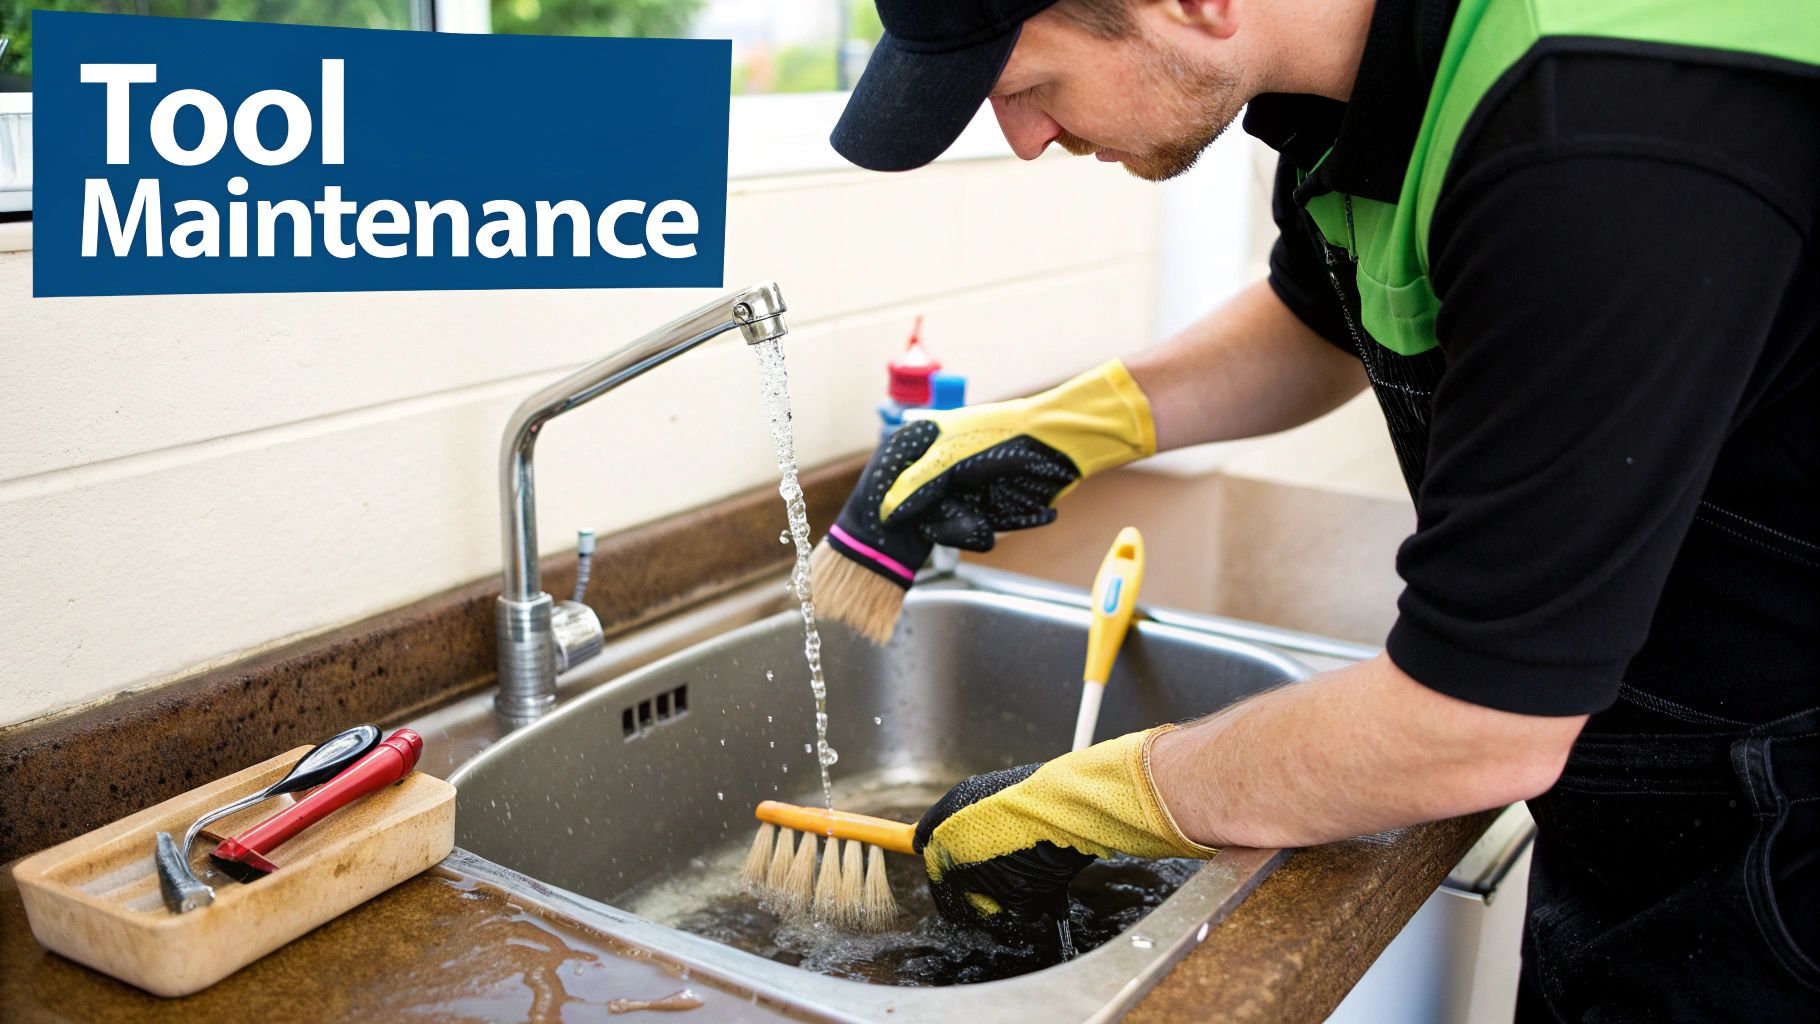
A painting project is not complete until the tools are clean, dry, and stored properly.
Treating paint brushes and rollers with care is an investment. Good quality tools are not disposable, and with proper maintenance, they can last for years, saving significant money over time.
The cleaning method depends on the type of paint used. Using the wrong cleaning agent can ruin a brush or roller.
Cleaning for Water-Based (Latex) Paints
For latex or other water-based paints, cleanup is straightforward, requiring only warm water and mild dish soap.
Scrape Off the Excess: Remove as much paint as possible from the tools. Use the curved edge of a 5-in-1 tool or a putty knife to scrape paint from the brush. For rollers, squeeze the sleeve from one end to the other to push out paint from the nap.
Rinse and Work It Out: Run the brush or roller under warm water. Use fingers to gently work the leftover paint out of the bristles, starting near the ferrule (the metal part) and massaging towards the tips.
Lather and Rinse Again: Add a small drop of mild soap and work it into a lather. Continue rinsing until the water runs completely clear, which indicates the tool is clean.
Cleaning for Oil-Based Paints
Oil-based paints require a solvent like mineral spirits to break them down, as water is ineffective.
A quick but important safety note: Always handle solvents in a well-ventilated space, ideally outdoors. Wear protective gloves. The fumes can be strong, so prioritize safety.
Pour a small amount of mineral spirits into an old can or container and swish the brush around until the paint dissolves. For rollers, a small tray works best. After the paint is gone, gently reshape the brush bristles and let it air dry.
To prevent a permanent flat spot on a roller cover, stand it on its end to dry. This ensures it will roll smoothly in the future.
Frequently Asked Painting Questions
Even experienced painters encounter questions. Clear answers can prevent a project from becoming a chore. Here are some of the most common questions about paint brushes and rollers.
Addressing these details is what separates a standard paint job from a professional one.
Can I Use the Same Roller for Different Types of Paint?
No, this is not advisable, especially when switching between oil-based and water-based (latex) paints. The solvents required to clean oil-based paint, such as mineral spirits, are aggressive and will break down the roller fabric, causing it to shed fibres on the next paint application.
The best practice is to maintain separate rollers for different paint types. If switching between colors within the same latex line, a thorough cleaning may suffice. However, when moving from a dark to a light color, using a new roller is the only certain way to prevent color bleed.
Why Are My Brush Strokes Visible After the Paint Dries?
Visible brush marks are a common issue but are easily fixed. The problem usually stems from one of three causes:
- The brush quality is poor: A cheap brush with stiff, uneven bristles cannot apply paint smoothly.
- Too much pressure is applied: Forcing the brush into the wall creates ridges as paint is squeezed out from the sides.
- The paint is overworked: Going back over an area that is already beginning to dry will drag the surface and ruin a smooth finish.
To resolve this, use a quality brush with soft, flagged tips that release paint evenly. Apply light pressure, letting the tips of the bristles do the work. Once an area is covered, "tip it off" with a final, feather-light stroke to smooth the surface. A paint extender additive can also be beneficial, providing more open time for the paint to level out, especially on warm days.
How Do I Avoid Roller Lint on My Freshly Painted Wall?
Fuzzy bits stuck to a new paint job are frustrating but preventable with a simple preparation step. The cause is almost always a new roller sleeve, which has loose fibres from the manufacturing process.
Before use, the roller must be de-fuzzed. An easy method is to wrap the entire sleeve in painter’s tape and then remove it. The tape will pull away all loose lint. Repeat this process with fresh tape until it comes off clean.
Alternatively, wash the roller with soap and water and allow it to dry completely before use. A few minutes of prep will ensure the first coat is perfectly smooth.
For any painting project, big or small, having the right expertise and tools is key. If you're looking for a professional touch that guarantees stunning, long-lasting results for your Toronto property, trust the team at Soca Services. Visit us online to see how we can transform your space.
Article created using Outrank