Painting exterior brick is a popular method for updating a home's appearance, but it is a significant undertaking. A successful project requires a structured approach involving thorough cleaning, necessary repairs, proper priming, and the application of a high-quality, breathable masonry paint. Executing these steps correctly protects the home and can increase its value.
Is Painting Your Brick a Sound Decision?
Before selecting paint colours, it is critical to evaluate the long-term implications of painting brick. This decision affects the home's exterior and future maintenance requirements.
Painting brick is a largely permanent alteration. Once paint is applied, the original brick surface is concealed indefinitely. While this can modernize an outdated exterior, it also commits the homeowner to ongoing upkeep. Unlike natural brick, which ages over time, a painted surface will require re-coating every 5 to 10 years to maintain its appearance.
The Benefits of Painting Exterior Brick
The primary benefit of painting brick is aesthetic. A new coat of paint can modernize a home, unify disparate additions, and significantly enhance curb appeal. Beyond aesthetics, a professional paint job offers a crucial layer of protection.
- Shields from the Elements: The best exterior paints seal porous brick, defending it against moisture, dirt, and weathering.
- Easier Cleaning: A smooth, painted surface is simpler to clean than the rough texture of bare brick.
- Hides Imperfections: Paint effectively covers old stains, discolouration, or minor repairs, resulting in a clean, uniform finish.
Understanding the Downsides and Risks
There are significant drawbacks to consider, particularly in the Greater Toronto Area (GTA), where freeze-thaw cycles can be detrimental to exteriors. Brick is a porous material that must be able to release absorbed moisture—a process known as "breathing."
Using a non-permeable paint traps moisture inside the brick. When temperatures drop below freezing, this trapped water expands, causing the paint to bubble, chip, and peel. This phenomenon, known as spalling, can cause structural damage to the brick and mortar. If this occurs, it is essential to know how to fix peeling paint correctly to prevent further damage.
Before purchasing paint, conduct a thorough inspection of your brickwork. If you observe crumbling, flaking, or deteriorated mortar, these issues must be addressed first. Painting over damaged brick conceals a larger problem that will lead to premature paint failure. For any homeowner in Toronto, Mississauga, or the surrounding GTA, ensuring the structural integrity of the brick is the most critical first step.
Your Essential Brick Painting Toolkit
Attempting to paint exterior brick without the correct equipment will likely result in a subpar finish. Assembling all necessary tools beforehand streamlines the process and is key to achieving a professional, long-lasting result. This checklist will help you prepare for the project and avoid interruptions.
It is crucial to have the right tools on hand before beginning. The following table outlines the essential items for each stage of the project.
Essential Toolkit for Painting Exterior Brick
| Phase | Essential Item | Pro Tip/Purpose |
|---|---|---|
| Preparation | Pressure Washer | Necessary for removing accumulated grime, mildew, and loose debris. |
| Preparation | Stiff-Bristled Brush | Effective for scrubbing stubborn efflorescence (chalky salt deposits) after washing. |
| Preparation | Masonry Repair Compound | Used to fill non-structural cracks and chips, creating a smooth, sound surface. |
| Preparation | Safety Gear (Goggles, Respirator) | Non-negotiable for protecting eyes from debris and lungs from dust and mould spores. |
| Application | High-Nap Roller (¾-inch or thicker) | The thick pile ensures paint penetrates deep into mortar joints and the brick's texture. |
| Application | Paint Sprayer | For large-scale projects, an airless sprayer significantly reduces application time and provides an even coat. |
| Application | High-Quality Painter's Tape | Use exterior-grade tape designed for masonry for superior adhesion on rough surfaces. |
| Application | Drop Cloths | Protects landscaping, driveways, and walkways from paint drips and overspray. |
Gathering these items before starting will transform a potentially difficult project into a well-executed plan.
A Closer Look at Your Prep Tools
The preparation phase is the most critical part of the process. Inadequate prep is the leading cause of paint failure. The primary objective is to create a clean, solid surface that allows for optimal paint adhesion.
A pressure washer is the best tool for this, especially for homes in the GTA that have been exposed to the elements. It removes dirt more effectively than manual scrubbing. Follow up with a stiff-bristled wire brush to eliminate any remaining white, chalky efflorescence. For any cracks or chips, a quality masonry repair compound is essential.
A professional tip for older brick homes, particularly those located "near me" in Toronto or Mississauga: power washing is not merely a suggestion—it is essential. The deep clean it provides is critical for ensuring proper paint adhesion and preventing peeling.
Gearing Up for Application
Once the brick is clean, repaired, and completely dry, you can begin painting. The use of proper applicators is crucial, as the texture of brick can be challenging.
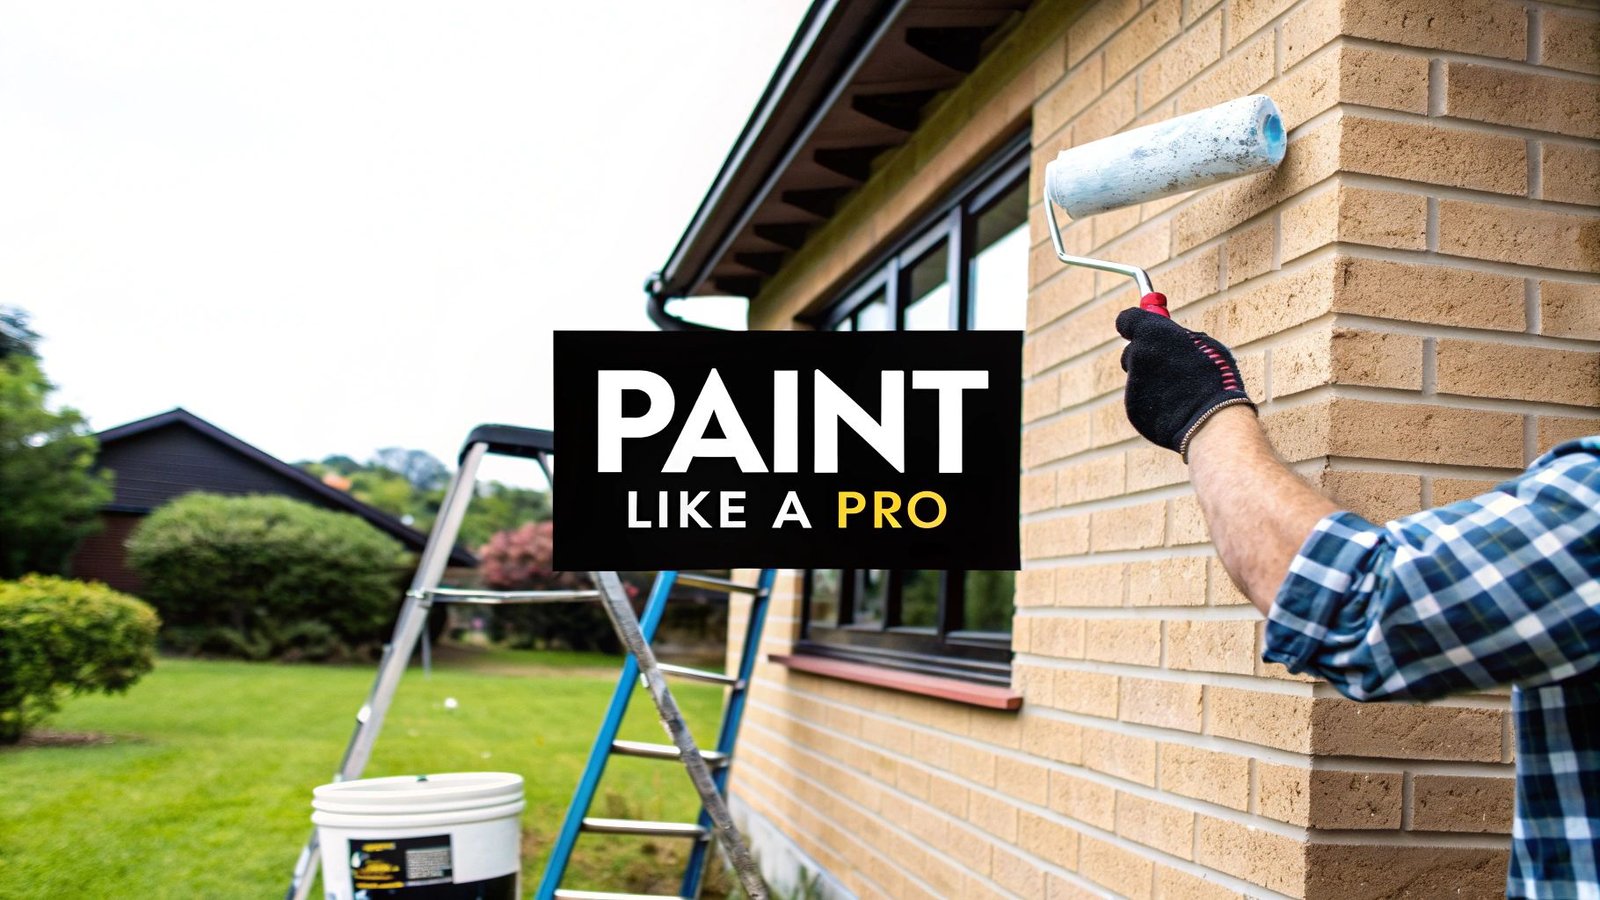
The primary tool for manual application is a high-nap roller with a pile of at least ¾-inch. This thickness allows the roller to push paint into all crevices and mortar lines. For an entire house, an airless paint sprayer is the best option, dramatically reducing application time.
Do not overlook the details. Invest in high-quality painter’s tape specifically designed for outdoor masonry. Standard tape will not adhere properly. Use ample drop cloths to protect all non-painted surfaces. The choice between brushes and rollers often depends on the specific area. For more detailed guidance, consult our breakdown of the best paint brushes and rollers for various projects.
Getting Your Brick Ready for a Flawless Finish
The difference between a painted brick home that lasts a decade and one that peels within a year is almost always preparation. Neglecting these steps is a common mistake. The objective is to create a clean, stable surface that allows the primer and paint to form a durable bond.
Painting over a dirty interior wall is ill-advised; the same principle applies to exterior surfaces, where the stakes are higher. Exterior brick is exposed to years of dirt, mould, and moisture. Painting over these contaminants will cause the paint to adhere to the dirt, not the brick, leading to failure.
Starting with a Deep Clean
Before conducting repairs, the surface must be thoroughly cleaned. Begin by moving furniture, planters, and other items away from the walls.
A pressure washer is the best tool for cutting through years of grime and ensuring optimal paint adhesion. For severe buildup, consider renting one of the heavy-duty diesel pressure cleaners for maximum efficiency.
After washing, inspect the brick for a white, chalky substance known as efflorescence. These are salt deposits left as water evaporates from the brick. Efflorescence must be completely removed with a stiff wire brush, as it will push the new paint off the wall.
This infographic outlines the workflow and highlights the importance of each stage.
As shown, the process is logical: inspect, repair, and then clean. Following these steps in order ensures no critical task is missed.
Repairing Mortar and Cracks
Once the brick is clean, its true condition becomes apparent. Conduct a detailed inspection of the entire house, looking for any damage and paying close attention to mortar joints.
- Crumbling Mortar: If mortar crumbles when probed with a screwdriver, it requires repair. This process, called repointing, involves removing the old mortar and packing in a fresh mix.
- Hairline Cracks: For minor cracks in brick or mortar, a high-quality masonry caulk is suitable. Apply it into the crack and smooth it flush with the surface.
- Bigger Problems: Large cracks or spalling (flaking of the brick face) may indicate a more significant issue, such as trapped moisture or a structural problem. If these are present, it is best to consult a local masonry expert before proceeding.
Never paint over damaged brick or failing mortar. This conceals the underlying problem, which will worsen over time and cause the new paint to fail.
After all cleaning and repairs are complete, patience is required. The brick and new mortar must be completely dry before applying primer. This can take several days to a week, depending on weather conditions. Trapping moisture behind paint is the primary cause of blistering and peeling. This final drying period is non-negotiable for a professional, long-lasting finish.
Choosing Paint That Can Handle Canadian Weather
The paint selection is the most critical decision for an exterior brick project. This choice is about durability, not just colour. In Southern Ontario, homes are subjected to humid summers and harsh freeze-thaw cycles. Standard exterior paint is not sufficient.
The right paint choice determines whether the finish lasts for a decade or fails after a single winter.
The single most important characteristic is breathability. Brick naturally absorbs and releases moisture. A non-breathable paint traps this moisture, which can freeze, expand, and push the paint off the surface. For this reason, using a proper masonry paint is non-negotiable. It represents the best choice for durability.
Your Go-To Paint Options for Brick
Paint retailers offer several products specifically for masonry. The best option depends on the condition of your brick and the desired aesthetic. For most homeowners in the GTA, the choice is between two primary types.
- Acrylic Latex Masonry Paint: This is the most reliable and commonly used option for painting brick. A high-quality acrylic paint is permeable, allowing moisture to escape. It also offers excellent adhesion and flexibility, enabling it to expand and contract with temperature fluctuations without cracking.
- Elastomeric Paint: This is a thick, heavy-duty coating that is highly flexible and waterproof. It is an effective solution for brick with numerous hairline cracks, as it can bridge these gaps to create a seamless barrier. However, it is less breathable than acrylic paint, so the brick must be perfectly dry and properly prepared before application.
A professional tip: Always use a primer. A high-quality masonry primer is formulated to adhere to porous brick and neutralize its high pH. It is essential for ensuring proper paint adhesion and achieving a rich, even colour.
Finding the Right Sheen for Your Brick
After selecting the paint type, you must choose a sheen. This affects both the appearance and the durability of the paint job.
- Flat/Matte: This finish provides a classic, non-reflective look and is excellent at hiding imperfections on older, rough brick. Its drawback is lower durability and more difficult cleaning compared to glossier options.
- Satin/Eggshell: This is the recommended sheen for most projects. A satin finish offers a subtle, low lustre that provides a balance of durability and aesthetics. It is more durable and easier to clean than flat paint while still masking minor flaws. It is often considered the best all-around choice.
- Semi-Gloss: This sheen should be avoided for large brick surfaces. While highly durable and easy to clean, its high shine accentuates every imperfection. It can appear harsh and unnatural on a textured surface like brick.
For most brick homes, a breathable, high-quality acrylic latex paint in a satin finish is the optimal choice. This combination delivers both aesthetic appeal and long-term performance.
To explore specific brands and products, you can learn more about choosing the right paint for your brick exterior. Proper selection ensures your work will withstand Canadian weather for years.
Applying Paint for a Professional Look
With preparation complete, the final stage is the application of paint. The technique used is as important as the preceding steps for achieving a durable, professional-quality finish. This requires patience and the correct use of tools.
The primary challenge with a textured surface like brick is achieving smooth, even coverage. It is essential to avoid drips, heavy spots, and visible brush marks. Overloading a roller with paint to speed up the process is a common mistake that leads to poor results.
Choosing Your Application Method
For most exterior brick projects, there are three main application options: brush, roller, or paint sprayer. The best results often come from using a combination of these methods.
- Paint Sprayer: For large, flat brick walls, an airless paint sprayer is the most efficient tool. It atomizes the paint, forcing it into every pore for a consistent coat. While there is a learning curve, it saves a significant amount of time on large projects.
- High-Nap Roller: For manual application, a roller with a thick nap (at least ¾-inch) is the best tool. It holds a substantial amount of paint and can push colour into the rough surface and deep mortar lines, preventing missed spots ("holidays").
- Brush: A good-quality nylon/polyester brush is necessary for "cutting in"—creating clean lines around windows, doors, soffits, and trim. This step is required even if a sprayer is used for the main walls.
If you are considering a sprayer, research is recommended. Our guide on finding the best paint sprayer for home use provides a breakdown of options suitable for a project of this scale.
The Art of Application
Before painting the main walls, begin by cutting in around all edges. Use a brush to paint a two-to-three-inch band around all trim and corners. This creates a clean border and allows for faster work with a roller or sprayer.
When moving to large wall sections, work in manageable, four-by-four-foot areas. Apply the paint in a "W" or "N" pattern, then immediately back-roll with straight, slightly overlapping strokes to even out the coverage. This technique is the best way to prevent lap marks, which are visible lines where one painted section dries before the next is applied.
The cardinal rule of painting brick is that two thin coats are always superior to one thick coat. A single heavy coat does not cure properly, is prone to drips, and is more likely to peel and fail prematurely.
Finally, adhere to the drying times specified on the paint can. Applying a second coat before the first is fully cured will compromise the finish. Allowing each coat adequate time to dry creates a strong, durable bond that will protect your work for years.
Budgeting Your Exterior Brick Painting Project
Before beginning any work, it is essential to establish a budget. Understanding the potential costs is a critical first step for a successful brick painting project. Whether you plan a DIY project or hire the best painters in Toronto, a solid budget prevents unexpected expenses.
The final cost will vary based on factors such as the home's square footage and the specific paint selected.
A significant portion of the budget will be allocated to materials, and this is not an area for compromise. To achieve a finish that withstands the GTA's climate, a top-quality, breathable masonry paint and a suitable primer are necessary. A gallon of premium paint typically costs between $60 and $100, with primer in a similar price range.
For a DIY project, tool costs must be factored in. Renting a pressure washer or paint sprayer is a cost-effective option. Smaller items such as rollers, brushes, painter's tape, and drop cloths also contribute to the total cost.
Breaking Down Professional Painter Rates
Hiring a professional crew in Mississauga or elsewhere in the GTA provides a flawless finish and peace of mind. Labour is the largest component of a professional quote, and its cost is directly related to the condition of your brick.
If your mortar is crumbling or extensive prep work like stripping old paint is required, labour hours and costs will increase. The complexity of the house also plays a role; a multi-storey home with intricate trim is more labour-intensive than a single-storey bungalow. If this project is part of a larger renovation, exploring renovation financing options like an FHA 203(k) loan can help manage the overall investment.
Pro Tip: When gathering quotes, request an itemized breakdown. Reputable painting contractors will separate the costs for preparation, materials, and labour. Transparency is a key indicator of professionalism.
Costs can fluctuate based on location. For context, homeowners in California might see an average cost of $5,000 to $10,000 for a 2,500-square-foot house, with labour rates between $30 to $40 per hour. While the Toronto market has its own pricing structure, these figures illustrate the relationship between square footage and labour. For pricing more relevant to our region, our guide on the cost to paint an exterior house offers a local breakdown.