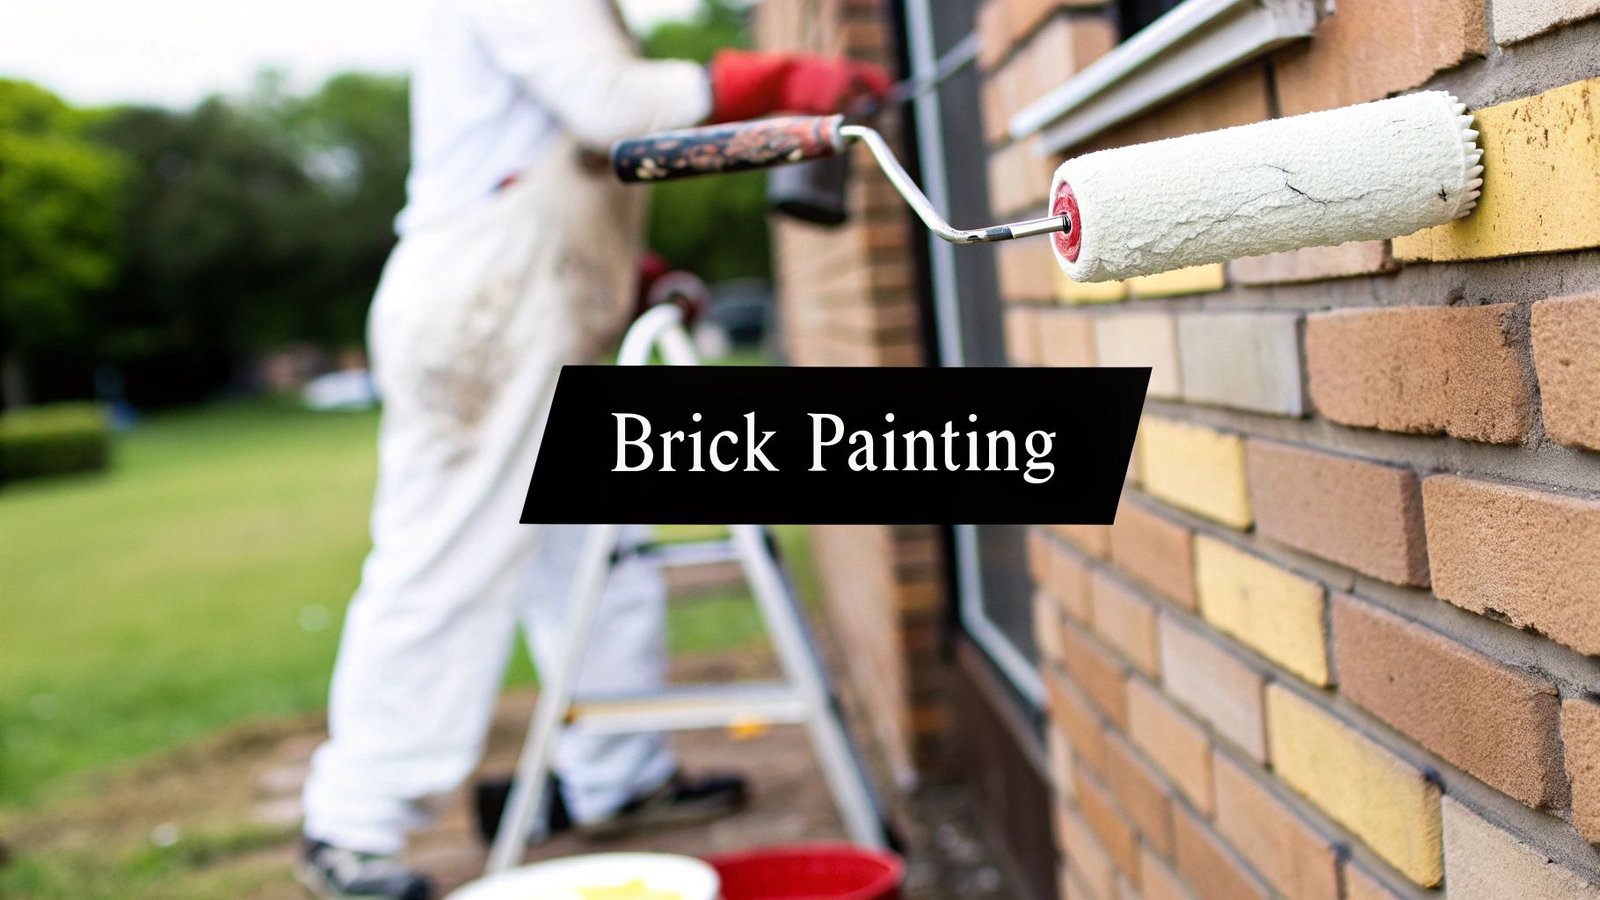
Painting brick isn't a weekend whim—it's a real commitment. Get it right, and you've got a stunning, modern look. But if you rush it, you’re in for a world of peeling, bubbling paint that’s a nightmare to fix. The secret to a lasting finish lies in the prep work: a thorough clean, careful repairs, the right primer, and crucially, breathable paint.
Why Painting Your Brick Is a Big Decision
Learning how to paint your brick walls goes beyond just picking a new colour. It’s a choice that permanently changes your home's character and future maintenance requirements. Whether you're planning a sleek, updated fireplace in your Mississauga home or a complete exterior makeover for your house in the Greater Toronto Area (GTA), it is critical to understand the full scope of the project. Once you paint brick, reversal is a difficult and expensive process.
Before picking up a brush, consider what this decision entails.
- Aesthetic Transformation: A coat of paint can instantly modernize an old brick wall or facade. It can dramatically boost curb appeal and align the space with your personal style.
- Maintenance Shift: Natural brick is famously low-maintenance. Painted brick, however, requires regular cleaning and a fresh coat of paint every 7-10 years to prevent it from looking chalky and faded.
- Permanent Change: It is essential to understand that painting brick is a lasting choice. Stripping paint from brick is a labor-intensive, expensive job that can easily damage the surface underneath.
This infographic captures the key stages of a successful brick painting project.
As you can see, the process involves a careful balance between the desired aesthetic and the practical preparation and future upkeep required.
If you're weighing your options, it’s worth seeing what professional house painting services can offer, as it'll give you a benchmark for quality and scope. A clear budget is always a factor, and understanding painting costs will help you plan properly. Taking the time to prepare ensures your hard work results in a beautiful finish that lasts for years.
Getting Your Brick Surface Ready for Paint
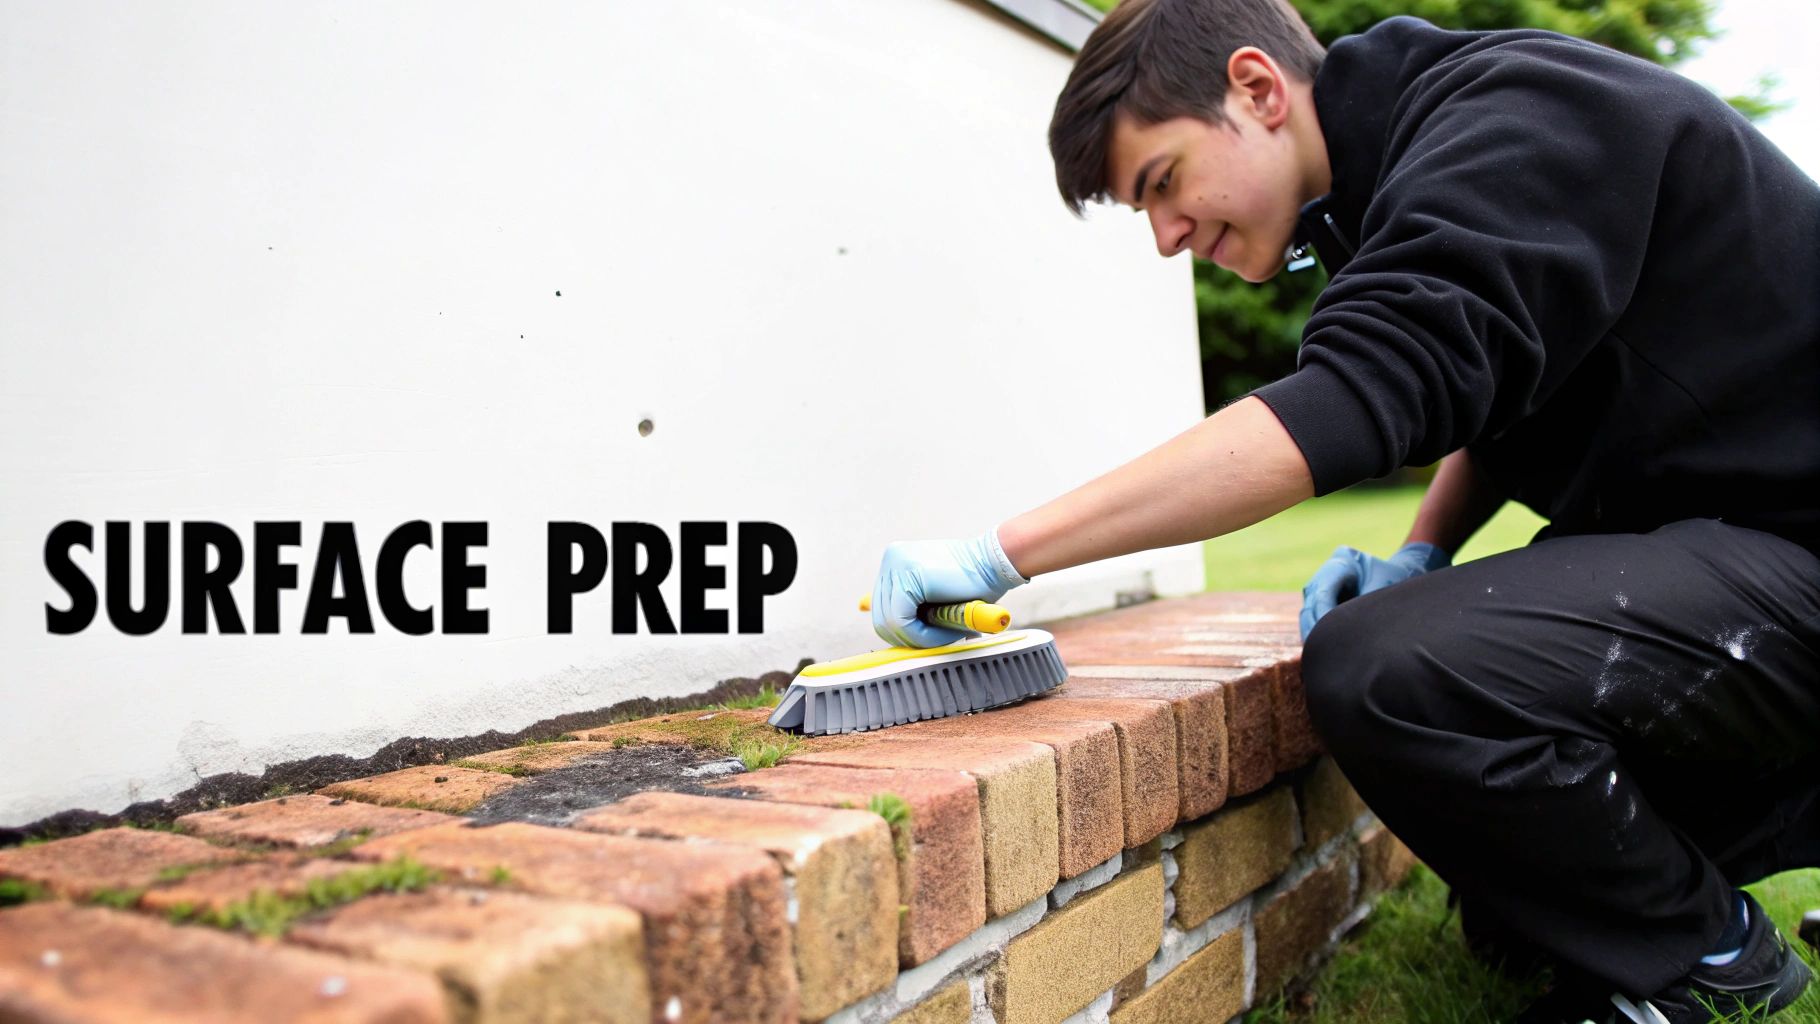
The single most important factor for a great, long-lasting paint job on brick isn't the paint itself—it's the prep work.
Rushing this stage is the fastest way to guarantee a finish that peels, bubbles, and flakes off within a year. Think of it like this—you wouldn't try to create a masterpiece on a dirty, damaged canvas, and the same logic applies here. Proper preparation gives the primer and paint a clean, solid foundation to adhere to, which is essential for a durable finish.
The Essential Cleaning Phase
First, the brick must be spotless. This means removing all dirt, grime, and especially efflorescence—the chalky, white residue often seen on masonry.
For an interior fireplace or a small outdoor wall, a stiff wire brush and a bucket of soapy water should be sufficient. For tougher stains, a trisodium phosphate (TSP) solution is effective. Scrub vigorously to get rid of any loose mortar or caked-on dirt.
For a large exterior wall with decades of buildup, manual cleaning is a monumental task. To get the surface perfectly clean and ready for paint, consider hiring professional pressure washing services. They can make short work of it, ensuring all debris is gone and setting you up for a flawless finish.
Key Takeaway: Do not skimp on cleaning. Any dirt or efflorescence left behind will prevent the paint from bonding properly, leading to near-certain failure. A pristine surface is non-negotiable.
Repairing and Patching Imperfections
With the brick clean, it's time for a detailed inspection. Get up close and examine the entire wall for any cracks, chips, or crumbling mortar joints. Painting over these flaws won't hide them; in fact, it often makes them stand out more while compromising the paint's integrity.
Use an acrylic caulk or a dedicated masonry filler for repairs. Carefully work the filler into any cracks and smooth it flush with the surrounding mortar. This simple step significantly improves the final look and prevents moisture from penetrating behind the new paint.
The Critical Drying Period
After cleaning and rinsing, a waiting period is necessary. Brick is extremely porous and holds a surprising amount of water.
Painting over damp brick traps moisture inside. This is a recipe for disaster, leading to blistering, peeling paint, and potential mould growth.
Depending on humidity and weather, allow at least 24 to 48 hours for the brick to dry completely. For exterior walls in the GTA, waiting a full week is a safer bet. To check for dryness, tape a small plastic bag over a patch of brick. If condensation appears inside after a few hours, it needs more time. Patience here will pay off tenfold.
Brick Preparation Checklist
Follow these essential prep steps to ensure your brick wall is ready for a long-lasting paint finish.
| Task | Objective | Recommended Tools |
|---|---|---|
| Thorough Cleaning | Remove all dirt, grime, and efflorescence. | Stiff wire brush, soapy water/TSP, pressure washer. |
| Inspect and Repair | Fill cracks and patch crumbling mortar. | Masonry filler, acrylic caulk, putty knife. |
| Allow to Dry | Ensure all moisture has evaporated from the brick. | Time (24-48+ hours), plastic bag for moisture test. |
Methodically completing each of these tasks is the difference between a paint job that lasts a couple of seasons and one that looks fantastic for years.
Choosing the Right Primer and Paint for Brick
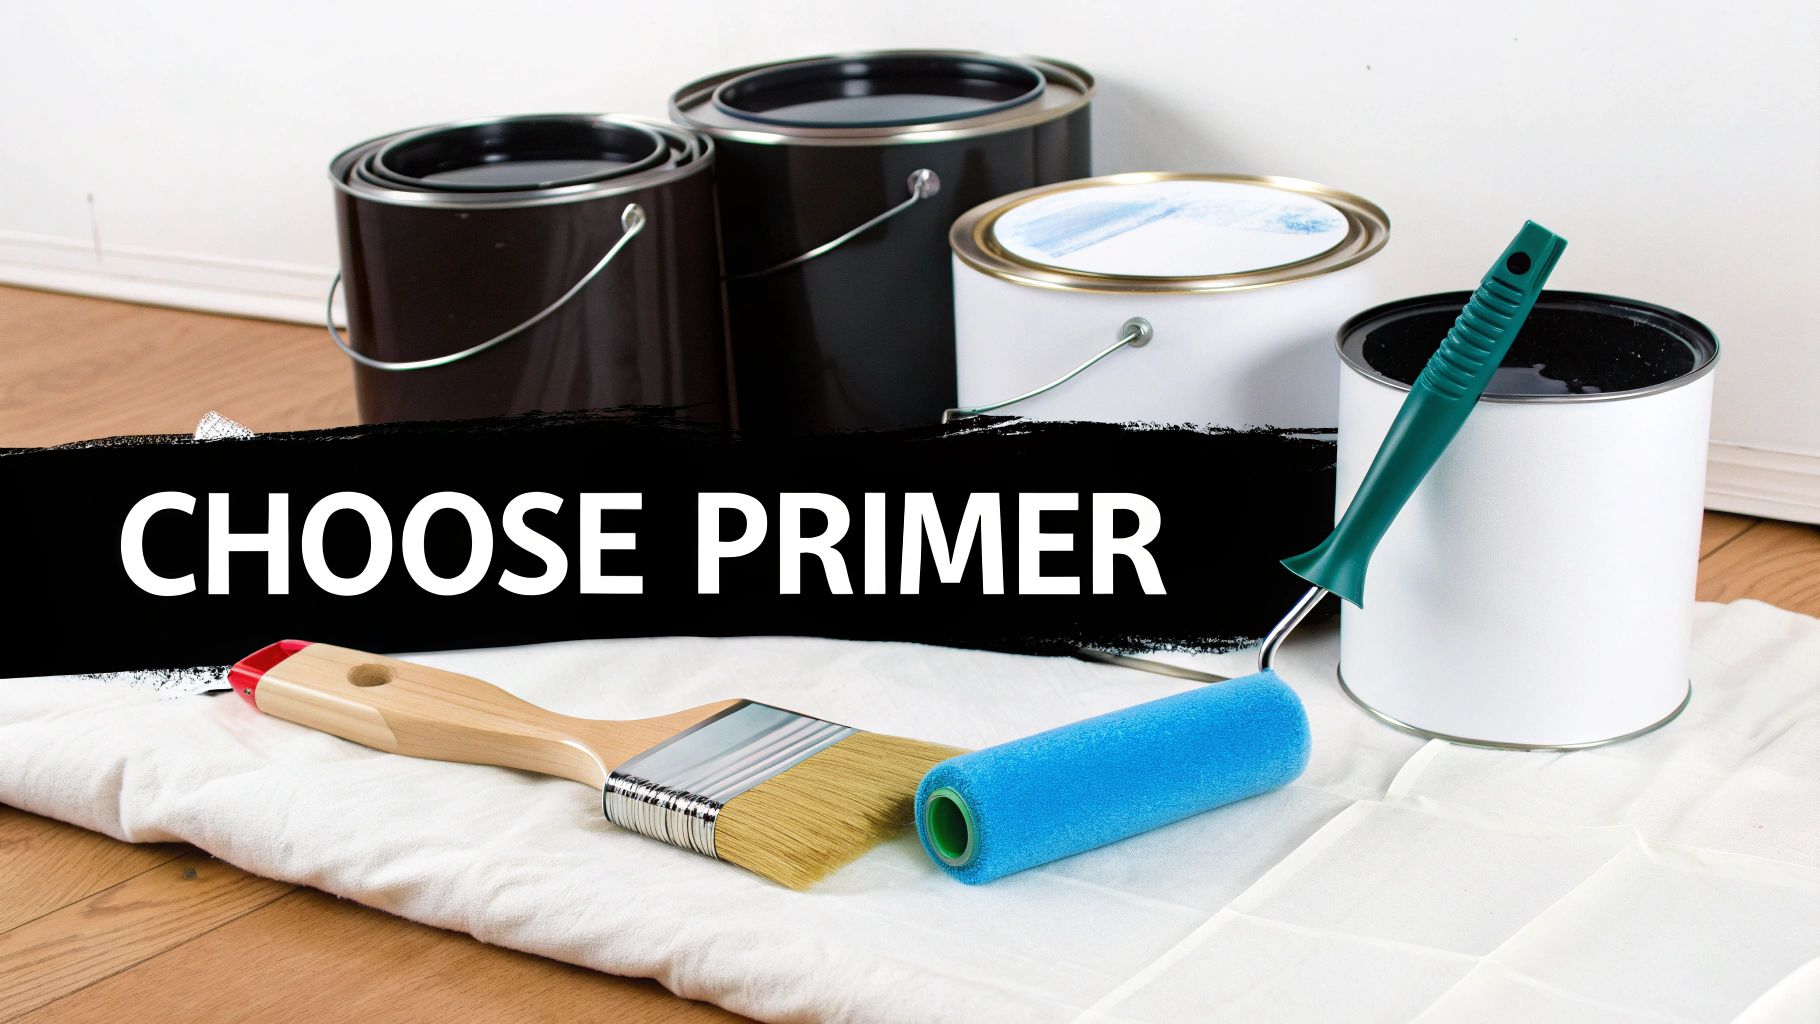
When dealing with brick, grabbing just any can of paint off the shelf can create significant problems. Brick is porous, needs to breathe, and its naturally high pH (alkaline) will destroy regular paint. You must use products specifically formulated for masonry.
The most important step is the primer. You must use an alkali-resistant masonry primer. This acts as a barrier, stopping the lime in the brick and mortar from "burning" through your topcoat. Skipping this will lead to blistering and peeling, sometimes within a few months.
Selecting the Perfect Paint Type
With the primer selected, you can now consider the paint. The key attribute is breathability. You need a paint that allows any trapped moisture inside the brick to escape. In a climate like Toronto's, with its significant temperature swings, this is absolutely essential.
There are two primary options for the best results:
- Latex Paint: A high-quality, 100% acrylic latex paint is the standard for most brick projects. It’s durable, flexible enough to expand and contract with temperature changes, and offers good colour retention against UV exposure.
- Elastomeric Paint: This is a heavy-duty option. It is a much thicker coating that creates a waterproof yet breathable layer over the brick. It's excellent for filling hairline cracks and provides a strong shield against driving rain, making it ideal for older GTA homes that have weathered many harsh winters.
A word of warning: Never use a non-breathable paint. It traps moisture. When that water freezes and thaws, it will force the paint to bubble and can cause the face of the brick to crumble away—a process called spalling. Always look for "masonry paint" or "for brick and concrete" on the label.
Choosing the right materials will also affect your budget. Professionally painting a brick house can cost anywhere from $1.40 to $4.20 per square foot once you factor in the intense prep work, labour, and specific products required.
Choosing the Right Sheen for Your Space
The final product choice is the paint sheen, which affects both the final look and the durability of the finish. For brick, it is almost always best to stick with lower-sheen options.
A matte or flat finish does an excellent job of hiding imperfections in the brick and mortar, giving an interior accent wall a modern, uniform appearance.
For exteriors, a satin or low-lustre finish is usually the most practical choice. It has a slight sheen that makes it much easier to clean than a flat finish and offers better resistance to mildew and moisture.
High-gloss paints are rarely recommended for brick. They tend to highlight every flaw and can make a natural material look artificial. For homeowners looking for the best paint for brick exterior, getting the right combination of primer, paint type, and sheen is what guarantees a finish that not only looks great but also performs for years.
Mastering Your Brick Painting Technique
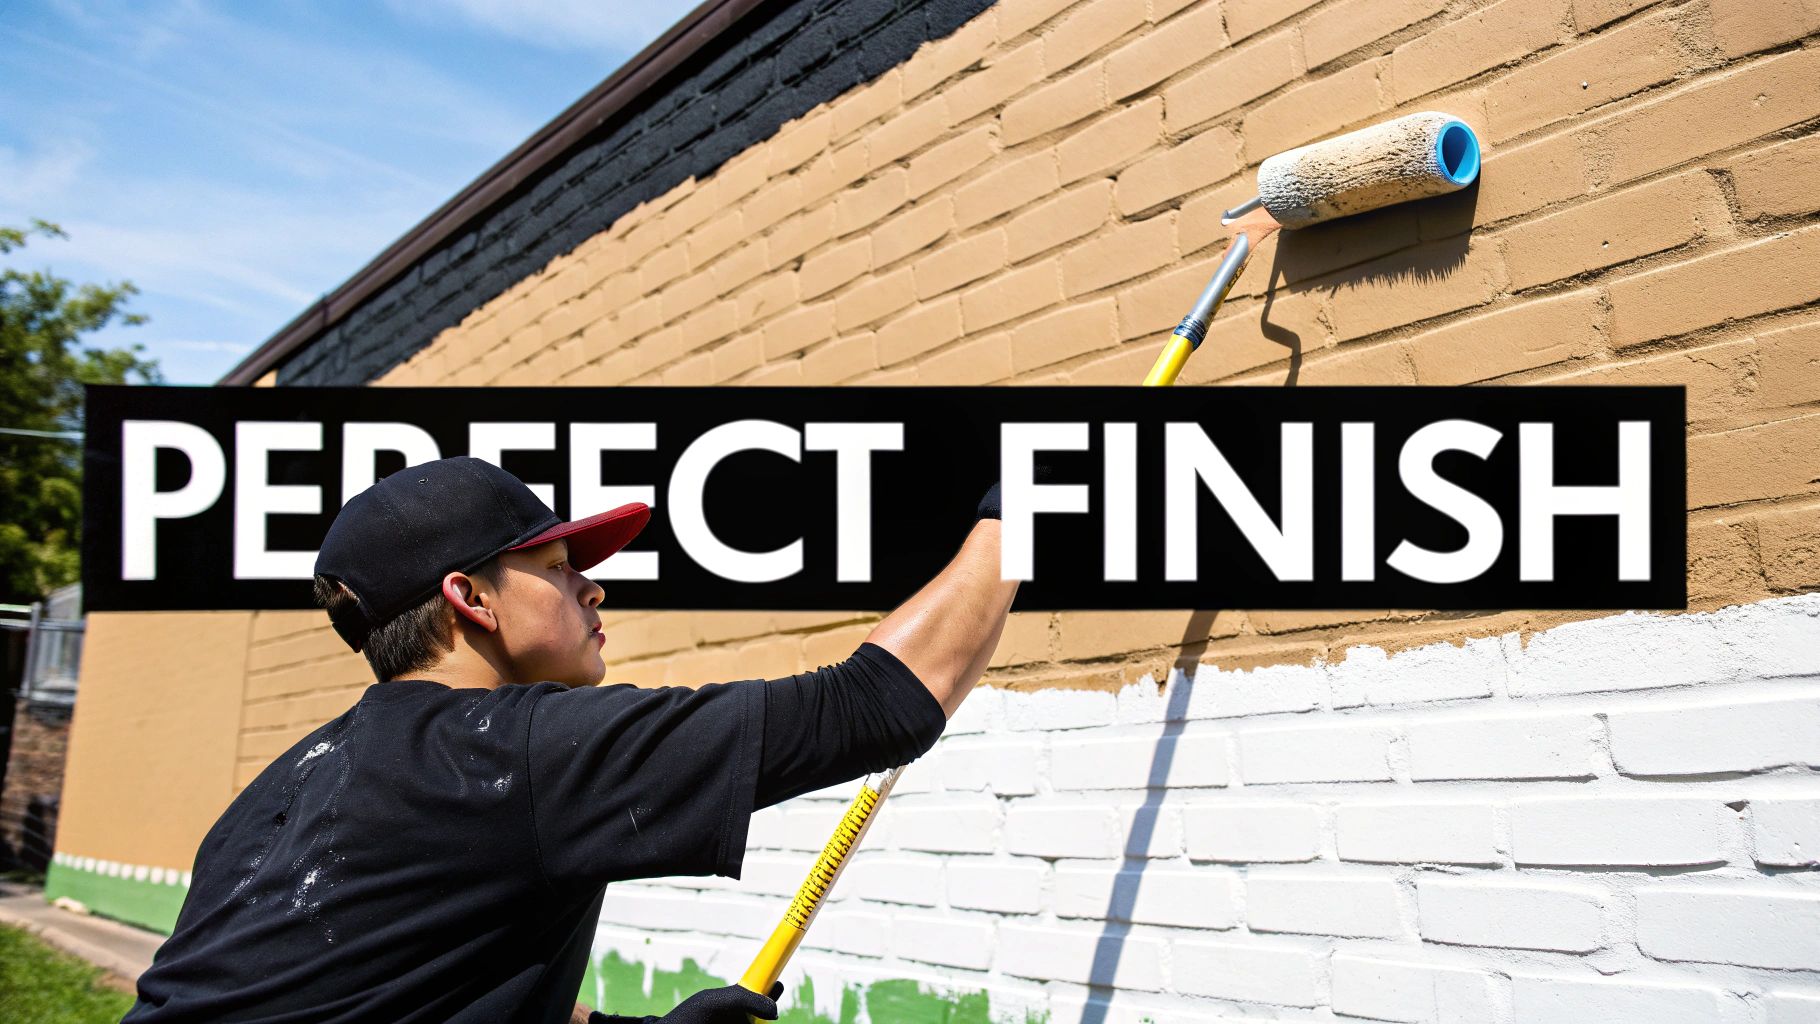
Once the prep work is done and your paint is ready, the application phase begins. The objective is to achieve a smooth, professional-looking finish without drips, thin spots, or brush marks.
The method for achieving this finish comes down to your choice of tools.
Sprayer Versus Roller: The Great Debate
The first major decision is whether to use a paint sprayer or a traditional roller-and-brush combination. Both have advantages, especially for the textured surface of a brick wall.
A paint sprayer is the best choice for speed. For a large exterior wall, it will apply a uniform coat in a fraction of the time required for manual application. The fine mist penetrates deep mortar joints and the tiny pores of the brick. However, sprayers require practice to avoid drips and runs. They also demand extensive prep work to mask off all surrounding areas you don't want painted, such as windows, trim, and landscaping.
The roller-and-brush method is more forgiving and cost-effective. It provides excellent control, which is ideal for an interior fireplace or an accent wall. The trade-off is that it requires significantly more time and physical effort.
A Pro's Tip: When using a sprayer, it is highly recommended to "back-roll" the surface. Immediately after spraying a section, go over it lightly with a roller. This technique pushes the paint deep into the brick's texture, ensuring a stronger bond and a more uniform appearance.
A Proven Workflow for Flawless Coverage
A systematic approach is needed for a polished, professional finish. Follow this order of operations to ensure every inch is perfectly coated for a look that lasts.
This is a standard professional workflow:
- Cut in the Edges First: Always begin here. Use a quality angled paintbrush to carefully paint along the ceiling, floor, corners, and around any trim. This creates a clean border for the roller to meet.
- Apply Your Primer Coat: Next, apply the alkali-resistant masonry primer. Work in small, manageable sections, applying a full, even coat. Do not be stingy with the primer; its job is to seal the porous brick and provide a solid foundation for the topcoat.
- Let It Cure Properly: This step is critical. Check the manufacturer's recommended drying time on the can before proceeding. Rushing this can ruin the entire job.
- Apply Two Topcoats: A single coat of paint on brick is insufficient. The first coat will often look patchy as the brick absorbs it. The second coat delivers the rich, solid colour and the durable finish you are aiming for.
Your Go-To Tools for Painting by Hand
When rolling and brushing, the right tools are essential. For the large, flat surfaces of the wall, the most important tool is a thick-nap roller. The nap should be at least 1 inch (2.5 cm) thick.
This deep, shaggy texture forces paint into every crevice and mortar joint. A standard roller will glide over the top, leaving thousands of tiny unpainted specks behind. A detailed guide on paint brushes and rollers can provide further insight into selecting the perfect applicator for a solid, professional coverage.
Protecting Your Newly Painted Brick Wall
Once the final coat of paint is dry to the touch, it's tempting to consider the job finished. However, the final steps are what distinguish a good job from a great one that lasts. This stage is about protecting your work and establishing a simple maintenance plan to keep your Toronto home looking its best for years.
It is important to understand the difference between 'dry time' and 'cure time'. They are not the same. Your painted brick may feel dry in a few hours, but the paint is still chemically hardening. This curing process can take anywhere from a few days to a full 30 days, depending on the paint type and weather conditions.
For an exterior wall, protection from rain during this curing phase is non-negotiable. A sudden downpour on paint that hasn't fully cured can cause streaks, water spots, and even blistering. Avoiding the need for touch-ups will save significant frustration.
Adding an Extra Layer of Defence
To extend the life of your paint job, consider applying a clear, non-yellowing sealer. This step is optional but highly recommended. It acts as an additional shield against the elements, especially the harsh UV rays that cause colours to fade. A quality masonry sealer also enhances moisture resistance.
Here’s a simple way to look at the layers:
- Primer: Grips the brick and creates a solid foundation.
- Paint: Delivers the colour and the first line of defence.
- Sealer: A sacrificial topcoat that takes the beating from sun, rain, and dirt.
This final layer can seriously prolong the time between repainting.
A Simple Maintenance Plan for Lasting Beauty
With the brick painted and protected, minimal upkeep will go a long way. The goal is to identify small issues before they become large, expensive problems. A quick annual inspection is all that is required.
Every spring, conduct a close visual inspection of the painted surfaces. Look for small chips, hairline cracks, or any spots where the paint may be starting to lift. Catching these early prevents moisture from getting behind the paint.
For cleaning, use a gentle approach. A soft-bristled brush and a bucket of mild, soapy water are perfect for washing away accumulated grime. Do not use a pressure washer, as the high-powered stream can easily damage the paint.
If you do see peeling paint, don't panic. Our guide on how to fix peeling paint walks you through the correct repair process.
Got Questions About Painting Brick? We've Got Answers
Painting brick walls often raises several questions. Even after researching prep work, primers, and colours, some uncertainties can remain. Let’s address some of the most common inquiries from homeowners across Mississauga and the Toronto area.
Is Painting Brick a Forever Thing?
In short, yes. Painting brick should be considered a permanent alteration. While it is technically possible to strip paint from brick, the process is difficult, expensive, and messy. It typically involves harsh chemicals or abrasive blasting that can damage the brick and mortar. The result is often worse than the initial state.
The best mindset is to view painting brick as a permanent commitment. Before applying any paint, be 100% certain you will be happy with the look long-term, because reversal is rarely a practical option.
How Long Will My Painted Brick Actually Last?
When done correctly, a quality paint job on brick can easily last 7 to 10 years, and sometimes longer. The key to longevity is the entire system: meticulous cleaning, proper repairs, using the correct alkali-resistant primer, and applying two full coats of high-quality, breathable masonry paint.
Several factors can affect durability:
- Weather Exposure: An exterior wall in Toronto that endures harsh winter conditions will require maintenance sooner than an interior fireplace surround.
- The Prep Work: This is the most critical factor. Cutting corners during preparation is the primary reason for premature paint failure on brick.
- Paint & Primer Quality: Using products designed specifically for masonry is the only way to achieve a durable, lasting finish.
Could Painting Actually Damage My Brick?
This is an excellent question. The answer is no—if the correct materials are used. The horror stories about crumbling brick occur when non-breathable paint is applied.
Brick is porous and needs to release moisture. Sealing it with a non-breathable paint traps that moisture inside. This leads to blistering and peeling. In Canada's climate, it creates a destructive freeze-thaw cycle that can cause the face of the brick to pop off (a process called spalling). To prevent this, always use a breathable paint, such as an acrylic latex or elastomeric formula specifically made for masonry.
Thinking about giving your brick a fresh new look but want to ensure it's done right the first time? Soca Services Painting offers the best professional brick painting services across Toronto and the GTA. We handle everything, from detailed prep work to the perfect final coat. Let's discuss your project today!