

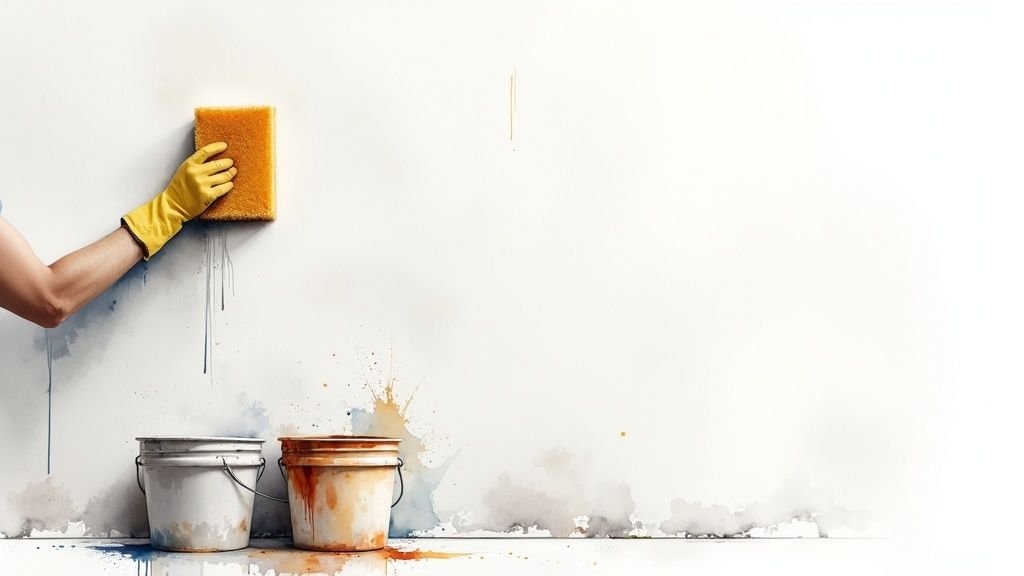
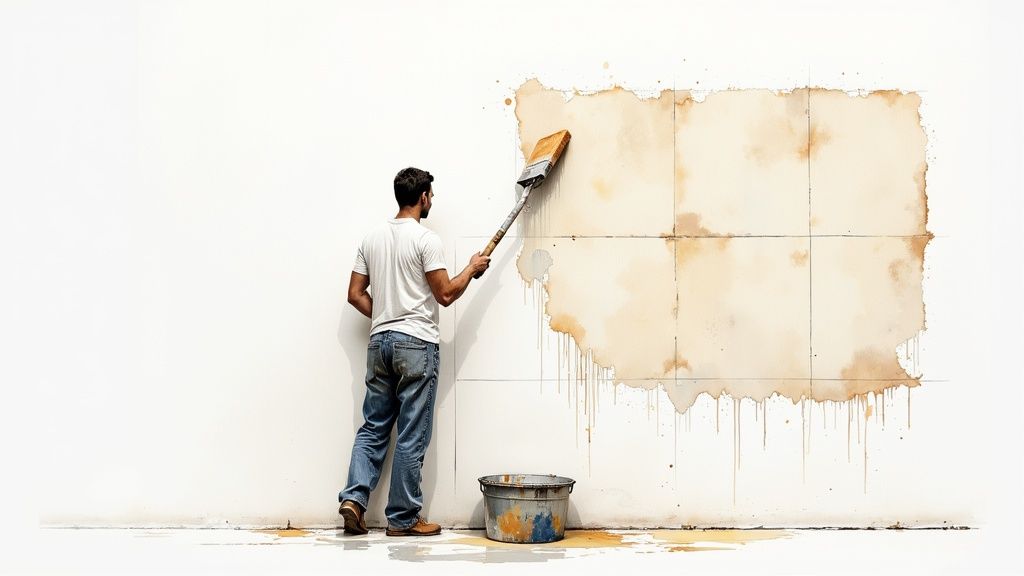
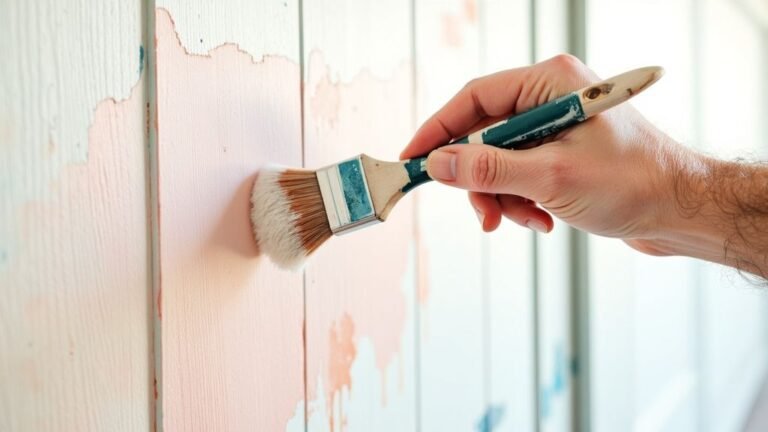
Yes, you absolutely must clean a wall before painting. This is the one prep step that prevents a world of future headaches like peeling, bubbling, and uneven patches. Skipping this crucial step is the fastest way to guarantee your hard work won't last. A professional finish, whether in a downtown Toronto condo or a family home in Mississauga, depends on it.
Why Wall Cleaning Is the Unskippable Step to a Perfect Paint Job
When you’re ready to paint, it's tempting to jump right in, but this is a critical error that leads to a disappointing finish. The best paint job is built on a foundation of meticulous prep, making it the most objective measure of a professional project in the GTA.
Think of it this way: you'd never wax a dirty car. The wax wouldn't bond, and it would look terrible. It’s the exact same principle with paint—it needs a perfectly clean surface to grab onto and form a strong, lasting bond.
The Invisible Grime on Your Walls
Even a wall that looks perfectly clean is secretly covered in a thin film of contaminants that will ruin a paint job. This invisible layer acts as a barrier, preventing the new paint from ever truly touching the drywall. It's the number one reason for paint failure.
Here’s what you’re really up against:
- Dust and Cobwebs: Every wall collects a fine layer of dust, pet dander, and other airborne particles over time.
- Kitchen Grease: In kitchens and even adjacent rooms, microscopic cooking oils settle on walls, creating a slick film that actively repels water-based paints.
- Fingerprints and Oils: High-traffic spots like the areas around light switches and door frames are covered in natural oils from our hands, which are notorious for causing paint adhesion issues.
When you paint over these contaminants, the paint isn't sticking to the wall—it's sticking to a weak layer of grime. As it dries and cures, that bond inevitably fails, leading to the frustrating peeling and bubbling that can show up weeks or even months down the road.
A clean surface is non-negotiable for a professional finish. It’s the difference between a paint job that lasts a decade and one that needs to be redone in a year. For a complete overview, check out our detailed guide on how to prep walls for painting.
The Professional Take in the GTA
Across the Greater Toronto Area, any professional painter will tell you that skipping the wash-down is a rookie mistake that costs time and money. Industry surveys consistently find that improper surface cleaning is a top cause of paint failure, contributing to as much as 30% of warranty claims.
That statistic alone tells you everything you need to know. Taking a little extra time to properly wash your walls is a small investment that protects the significant effort and expense of your entire painting project. If you're looking for the best painting services near you, this is a non-negotiable step they will take.
Assembling Your Wall Cleaning Toolkit
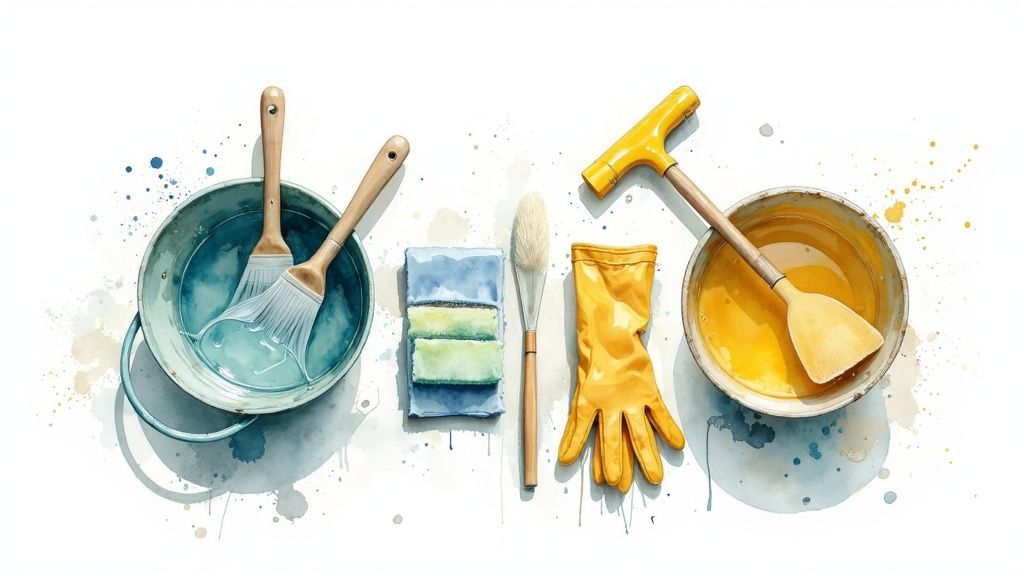
Before cracking open a can of paint, getting your walls properly clean is the secret to a flawless finish. The good news is you don’t need a whole aisle of fancy equipment. In fact, you probably have most of the best tools for the job sitting in a cupboard right now.
Getting everything together first saves you from those annoying mid-job trips to find a cloth or another bucket. It’s all about working smarter, not harder. For most rooms you'll encounter in a typical Toronto or Mississauga home, a simple, effective kit is all it takes.
Core Cleaning Supplies
Let's start with the basics. The objective is to be tough on dirt but gentle on your walls. Anything too abrasive, like a scouring pad, can leave behind fine scratches that will telegraph right through your beautiful new coat of paint.
Here's what professionals always have on hand:
- Two Buckets: This is the top tip for getting a pro-level clean. One bucket is for your cleaning solution, and the other is just for clean rinse water. This simple setup stops you from smearing grimy water all over the surface you just cleaned.
- Soft Sponges: A couple of large, soft sponges are perfect for the job. Steer clear of any sponge with a scrubby side—they’re just too aggressive for drywall.
- Microfibre Cloths: These are your best friend for the final wipe-down. Microfibre grabs onto any leftover dust and moisture without leaving lint behind, which is crucial for a perfectly prepped surface.
The two-bucket method isn't just a fancy trick; it's fundamental to good prep. By rinsing with a sponge dipped in clean water, you remove any lingering soap residue that could prevent your new paint from sticking properly. It’s a small step that makes a huge difference.
Essential Protection and Prep Gear
Cleaning is only half the battle. You also need to protect yourself and the room you're working in. A few simple items can save you a lot of hassle later on.
Don't skip these essentials:
- Rubber Gloves: A good pair will keep your hands from getting dry and irritated after being in water and cleaning solutions.
- Protective Eyewear: It might seem like overkill, but a simple pair of safety glasses is a smart move, especially when you’re washing ceilings or areas above your head.
- Drop Cloths: Canvas or plastic drop cloths are a must for protecting floors and furniture. No matter how careful you are, drips and splashes happen.
With this kit, you're set to tackle the cleaning for almost any standard paint job. Of course, some walls present bigger challenges. If you're staring down layers of old, stubborn wallpaper, you've got a different task ahead of you. Our guide on how to remove wallpaper easily walks you through that process before you can even get to the washing stage.
Choosing the Right Cleaning Solution for Your Walls
Let's talk about cleaning. While it's not the most exciting part of a painting project, getting it right is non-negotiable. The dust in a bedroom is a world away from the stubborn, sticky grease that builds up in a kitchen, and using the wrong cleaner can completely sabotage your paint job.
The real goal here is to match the strength of your cleaning solution to the severity of the dirt. For the vast majority of walls in a typical home, a gentle approach is all you need—and it’s often the best way to protect your drywall from unnecessary harshness.
Starting Mild: The Go-To for General Cleaning
For most rooms—think living rooms, bedrooms, and hallways—the first line of defence should be simple and mild. A bucket of warm water with a small squirt of gentle dish soap is surprisingly effective. It easily cuts through everyday dust, light scuffs, and the minor grime that settles on surfaces over time.
Think of it as giving your walls a gentle bath. You're just trying to lift off the surface contaminants without leaving behind any chemical film that could mess with paint adhesion. This simple mix is usually all that's needed to perfectly clean a wall before painting.
Stepping It Up for Tougher Spots
Of course, sometimes you'll run into more stubborn areas that just laugh at soap and water. This is where a simple, homemade solution of white vinegar and water really shines. It's fantastic for tackling tougher grime or light stains without having to reach for aggressive chemicals right away.
A good starting ratio is about one part vinegar to three parts water. The mild acidity in the vinegar is great for breaking down the kind of grime that soap might leave behind. It’s the perfect intermediate step before you bring out the heavy hitters.
This visual guide is a great way to think about the process, starting with the mildest option and only escalating when you really need to.
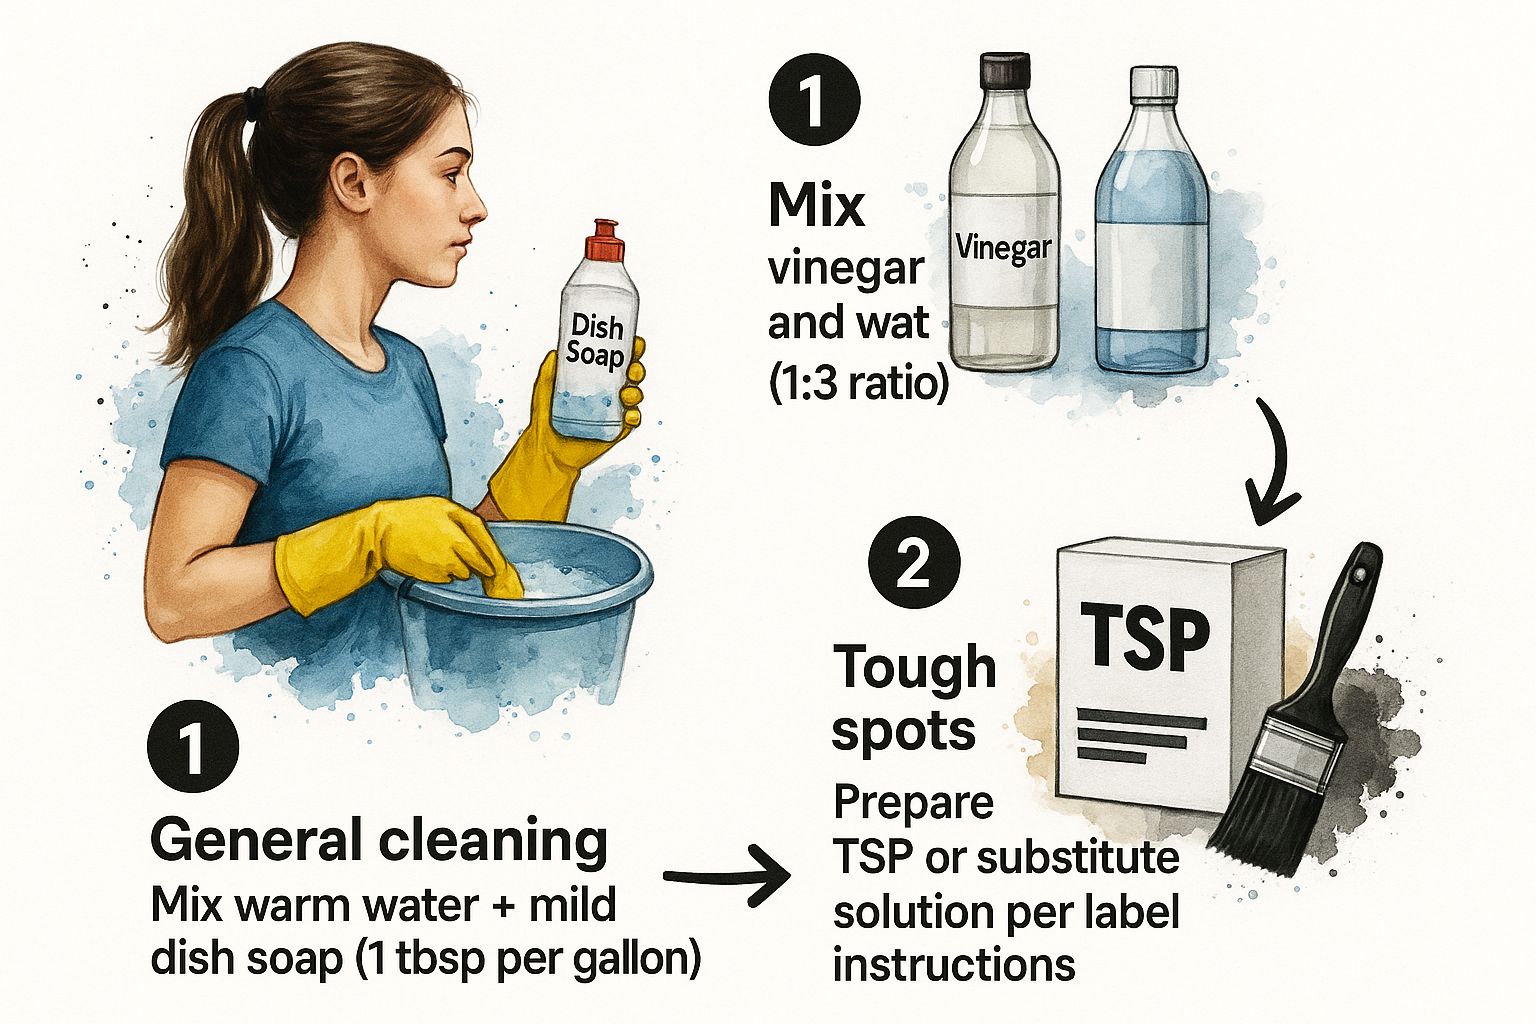
As you can see, the strategy is to be methodical. You don't use a sledgehammer to crack a nut, and you don't need a heavy-duty degreaser for simple dust.
When to Bring in a Heavy-Duty Degreaser
Now, for the really tough jobs. This means years of built-up kitchen grease, heavy nicotine stains from smoke, or soot near a fireplace. For that kind of battlefield, a specialized degreaser is necessary. The old-school choice for painters has always been Trisodium Phosphate (TSP), a powerful chemical cleaner.
These days, however, many pros opt for TSP substitutes. They're formulated to be less harsh on both you and the environment but are still incredibly effective at cutting through the worst gunk.
Important Takeaway: Whether you use TSP or a substitute, always follow the manufacturer's instructions to the letter. That means wearing gloves and eye protection and making sure the room is well-ventilated. A thorough rinse afterward is absolutely critical, as any leftover residue will repel your new paint.
To help you decide, here’s a quick rundown of your options and where they work best.
Wall Cleaner Selection Guide
| Cleaning Solution | Best For | Mixing Ratio | Application Notes |
|---|---|---|---|
| Mild Dish Soap | General dust, light scuffs, everyday grime in bedrooms, living rooms. | 1-2 tsp per gallon of warm water. | Apply with a soft sponge, rinse with a clean, damp cloth. No harsh scrubbing needed. |
| White Vinegar | Mildew spots, water stains, tougher grime than soap can handle. | 1 part vinegar to 3 parts water. | Great for bathrooms. Test on a small spot first. Let it sit for a few minutes on stains. |
| TSP or TSP-Free Substitute | Heavy kitchen grease, nicotine/smoke stains, soot, crayon marks. | Follow package directions precisely. | Requires gloves/goggles. Needs excellent ventilation. Must be rinsed thoroughly. |
| Rubbing Alcohol | Ink marks, permanent marker, scuffs from furniture. | Apply directly to a cloth. | Use sparingly on a clean cloth to dab the spot. Works well for targeted stain removal. |
Choosing the right cleaner really comes down to assessing the wall and picking the right tool for that specific job.
If you prefer to avoid harsh chemicals altogether, you can always look for the best non-toxic all-purpose cleaner for the more general cleaning tasks. The principles of starting mild and working your way up remain the same, even when you're dealing with tricky surfaces. For more specific advice on those, check out our guide on how to clean ceilings with popcorn: https://socaservicespainting.com/how-to-clean-ceilings-with-popcorn/
The Pro Technique for Washing Walls Without Streaks
Alright, you’ve got your cleaning solution mixed and your gear is laid out. Now comes the part that really separates the pros from the DIY crowd. The objective isn't just to get the wall clean; it's to create a perfectly uniform surface with no drips, water marks, or residue that could ruin your new paint. The whole technique boils down to control, using gravity to your advantage, and a rinsing trick that might seem a little counter-intuitive at first.
The secret to a flawless finish is to stop thinking about it as one giant wall. Instead, break it down into small, manageable sections. Picture a grid of squares, each about one metre by one metre. Working this way stops the wall from drying too quickly and gives you total control over the cleaning process.
The Top-Down Wash Method
Always start washing at the top of your section and work your way down. It's a simple habit that lets gravity work for you. As you clean, the soapy water runs down over the grimy areas you haven't touched yet, preventing dirty drips from ruining your clean work.
Dip your sponge into the cleaner, but make sure to wring it out really well. You want it damp, not sopping wet. A dripping sponge is the fastest way to get runs and streaks all over the place.
Use gentle, circular motions to lift the dirt. You don't need to put a lot of muscle into it; aggressive scrubbing can actually tear the paper on the drywall. Let your cleaning solution do the real work.
The Bottom-Up Rinse Technique
Once a section is washed, it's time to rinse—and this is where the real pro tip comes in. You’re going to rinse from the bottom up. It sounds backwards, but this is the key to getting a streak-free wall.
When you rinse from the bottom, you prevent clean water from creating "clean streaks" as it runs down the wall. Those little streaks are a painter's nightmare because they can telegraph right through your final coat of paint.
- Take your second sponge and dip it in the bucket of clear rinse water.
- Again, wring it out thoroughly until it's just damp.
- Start at the bottom of the section you just washed and wipe upwards, removing every trace of soap residue.
- Rinse this sponge out constantly in the clean water. If you don't, you're just smearing diluted grime back onto the wall.
The bottom-up rinse is the single most important trick to prevent water marks. It ensures you're always working against gravity in a way that protects the already-cleaned surfaces below.
Taking the time to do this right is non-negotiable for a professional finish. In fact, many painters will tell you that poor prep is the number one cause of paint failure. Some industry reports even suggest that nearly 25% of service calls are to fix problems that started with a poorly cleaned surface.
After rinsing a section, grab a clean, dry microfibre cloth and gently pat the area dry. This picks up any lingering moisture and leaves the surface perfectly prepped. Once you get a rhythm going—wash down, rinse up, pat dry—you can move through your grid efficiently. This systematic approach guarantees every square inch of your wall is ready for a stunning, long-lasting paint job. For more on the next steps, check out our complete guide on how to paint interior walls.
How to Tackle Stubborn Stains and Problem Areas
A standard wash is great for getting rid of everyday dust and grime, but some walls have a history. We’ve all seen them: the mysterious scuffs, the greasy film in the kitchen, or a child’s impromptu crayon mural.
Simply painting over these problem spots is asking for trouble. It's a classic rookie mistake. That stain you thought you covered will almost certainly bleed through the new paint, sometimes weeks or even months later. Taking the extra time now to spot-treat these areas is a non-negotiable step to clean a wall before painting and get that professional, long-lasting finish you're after.
Handling Greasy Kitchen Walls
Kitchens are a painter's nightmare. Over time, a sticky, invisible film of cooking grease builds up on the walls, especially near the stove. This residue is the arch-nemesis of fresh paint, causing it to bead up and refuse to stick properly. adhesion is practically guaranteed to fail.
A simple soap-and-water mix just won’t cut it here. You need to bring out the big guns—a powerful degreaser like a TSP-substitute. Follow the package directions, mix it up, and get scrubbing. Pay special attention to the backsplash and the walls right next to your cooking area. Once you’re done, you absolutely must rinse the wall with a sponge and clean water to get rid of any chemical residue that could interfere with the new paint.
Erasing Common Household Marks
Life happens, and it usually happens all over our walls. From scuffs in the hallway to a permanent marker incident, most of these everyday blemishes can be dealt with if you know the right tricks.
- Crayon and Scuff Marks: A simple paste of baking soda and water works wonders. It sounds too easy, but it’s incredibly effective. Just apply the paste to a damp cloth and gently rub the mark in a circular motion. The baking soda acts as a mild abrasive, lifting the stain without damaging the paint underneath.
- Ink and Permanent Marker: These can be tricky. Your first line of attack should be rubbing alcohol. Lightly dampen a cloth and dab—don't rub—the spot to break down the ink. If that doesn't do it, you might need a more targeted solution. You can learn how to make an ultimate stain remover spray for the really tough stuff.
A word of caution: resist the urge to scrub too hard. Aggressive scrubbing can burnish the surface, creating a shiny patch that will be glaringly obvious through your new coat of paint. The goal is to lift the stain, not sand down the wall.
Addressing Water Stains and Mildew
When you see water stains or mildew, you're looking at more than just an ugly spot. These are symptoms of a bigger problem that needs to be solved before you even think about opening a can of paint.
Water stains, those dreaded brown rings on ceilings or near windows, have to be sealed. After you've cleaned the area, you must apply a high-quality stain-blocking primer. This special primer creates an impenetrable barrier, preventing the discolouration from bleeding through your beautiful new topcoat.
Mildew is a whole different beast. Those black or dark green specks are a living organism, and you have to kill it, not just cover it up. Grab a specialized mildew cleaner or make your own solution with one part bleach to three parts water. Apply it, let it sit for 10-15 minutes to kill the spores, then scrub away and rinse thoroughly with clean water. Make sure the wall is bone-dry before moving on.
If you don't fix the source of the moisture, the problem will just come back, ruining your new paint job and potentially leading to bigger issues. If the damage is pretty bad, you might need to learn how to fix peeling paint before you can proceed.
Your Wall Cleaning Questions Answered
Even with the best instructions laid out, a few questions always seem to surface right as you're about to get started. It makes sense—you want to be absolutely certain you're doing things right before you commit to the important job of prepping your walls for a new look. From century homes in downtown Toronto to new builds in Mississauga, these are the questions we hear most often from homeowners across the GTA.
Do I Really Need to Clean Walls That Look Clean?
In a word, yes. If you take only one thing away from this guide, let it be this: clean your walls, even if they look spotless.
Over time, walls become magnets for all sorts of invisible grime—airborne cooking oils, fine layers of dust, and even fingerprints leave behind residue that can completely ruin your paint job. To the naked eye, the wall might look fine, but these contaminants create a barrier that stops the new paint from gripping the surface properly. This is exactly what leads to peeling, blistering, and chipping down the road.
Think of a quick, thorough wash as your insurance policy for a professional-looking, durable finish. It’s all about creating the perfect canvas; if you skip this step, you’re starting with a flawed foundation right from the get-go.
When Should I Use a Heavy-Duty Cleaner Like TSP?
Trisodium Phosphate (TSP) is a fantastic degreaser, but honestly, it’s usually overkill for a typical interior paint job. You really only need to break out the heavy-duty stuff for the most stubborn surfaces.
Save TSP (or a modern, eco-friendlier substitute) for situations like these:
- Kitchen walls with a visible, greasy film from years of cooking.
- Walls with heavy nicotine stains or soot residue from a fireplace.
- Extremely old walls that haven't seen a fresh coat of paint in decades and have accumulated layers of grime.
For most rooms in your house, a simple bucket of warm water with a squirt of mild dish soap is all you need to clean a wall before painting. If you do end up using TSP, remember to wear gloves and safety glasses, keep the area well-ventilated, and rinse the walls meticulously afterwards to get every last trace of it off.
Any cleaning residue left on the wall is a paint job’s worst enemy. A lingering film of TSP will actively prevent the new paint from adhering, causing the exact problem you were trying to solve in the first place.
How Long Should Walls Dry Before I Can Paint?
This is where a little patience pays off big time. Once you’ve finished washing and rinsing, you absolutely have to let the walls dry completely before a drop of paint touches them. Trying to paint over a damp surface is just asking for trouble.
As a rule of thumb, give it a minimum of 24 hours. Trapping even a little bit of moisture behind a fresh coat of paint can lead to mould, mildew, and peeling. You can definitely help things along by setting up a fan or opening a few windows to get the air moving, but there’s no real shortcut for time.
Before you even think about grabbing your primer, run your hand over the wall. It needs to feel completely dry to the touch everywhere, with no cool or damp spots.
For a flawless finish without the hassle, trust the experts. The team at Soca Services Painting has the experience to handle every aspect of your painting project, from perfect preparation to the final coat. Get your free estimate today.


One Comment