Table of Contents
- Why Surface Preparation Matters for Toronto Homes
- How to Clean Walls Before Painting
- Essential Surface Repairs and Sanding
- How Long Does Paint Take to Dry in Toronto Humidity
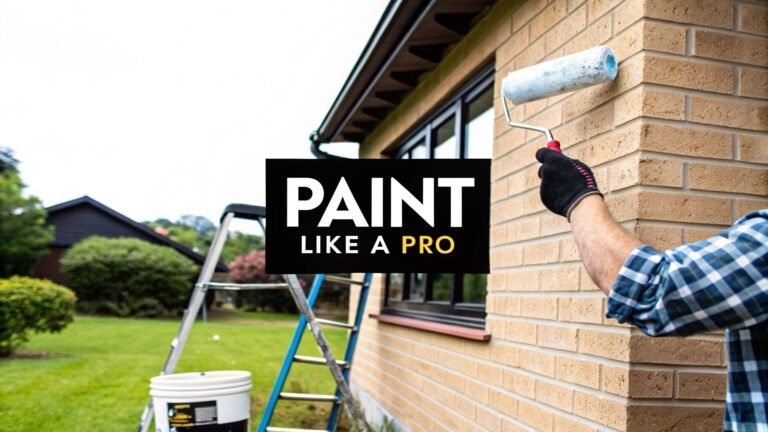
How to Prepare Surfaces for Painting Toronto
Last Updated: June 27, 2026
Proper surface preparation is the foundation of any professional painting project. In Toronto’s humid climate, skipping this critical step leads to peeling paint, uneven finishes, and costly touch-ups within months. Learning how to prepare surfaces for painting Toronto will save you time, money, and frustration, whether you’re tackling a DIY project or hiring professionals.
At Soca Services Painting, we’ve spent over a decade helping Toronto residents achieve flawless, long-lasting finishes. The difference between a paint job that lasts five years and one that lasts fifteen often comes down to surface preparation.
Why Surface Preparation Matters for Toronto Homes
Paint cannot adhere to dirt, loose coating, rust, or mildew. In Toronto’s humid climate, especially near Lake Ontario, moisture and organic growth accelerate paint failure.
Proper surface preparation ensures better paint adhesion, longer-lasting finishes (7-10 years instead of 2-3), fewer coats needed, professional appearance, and moisture resistance during Toronto’s freeze-thaw cycles. Older Toronto homes, particularly Victorian and Edwardian properties, often have multiple paint layers and settling issues that demand meticulous prep work.
In Toronto’s climate, surface prep is not optional, it’s an investment in durability. A single day spent preparing surfaces can add five years to your paint’s lifespan.
How to Clean Walls Before Painting
Before sanding, repairing, or priming, surfaces must be completely clean. Dust, grease, mildew, and organic growth prevent paint adhesion.
Vacuum with a HEPA filter to capture dust without spreading it. For interior walls, warm water and mild dish soap work for light cleaning; use TSP (Trisodium Phosphate) for heavier soiling. For exterior surfaces or mildew, power wash at 1,500-2,000 PSI to remove algae, mold, and weathered paint. Allow surfaces to dry completely, typically 24-48 hours.
For mildew on north-facing walls, mix one part bleach to three parts water, apply with a stiff brush, let sit 10-15 minutes, then scrub and rinse thoroughly.
Never paint over mildew or mold, it will continue growing beneath the paint and cause failure. Complete removal is essential.
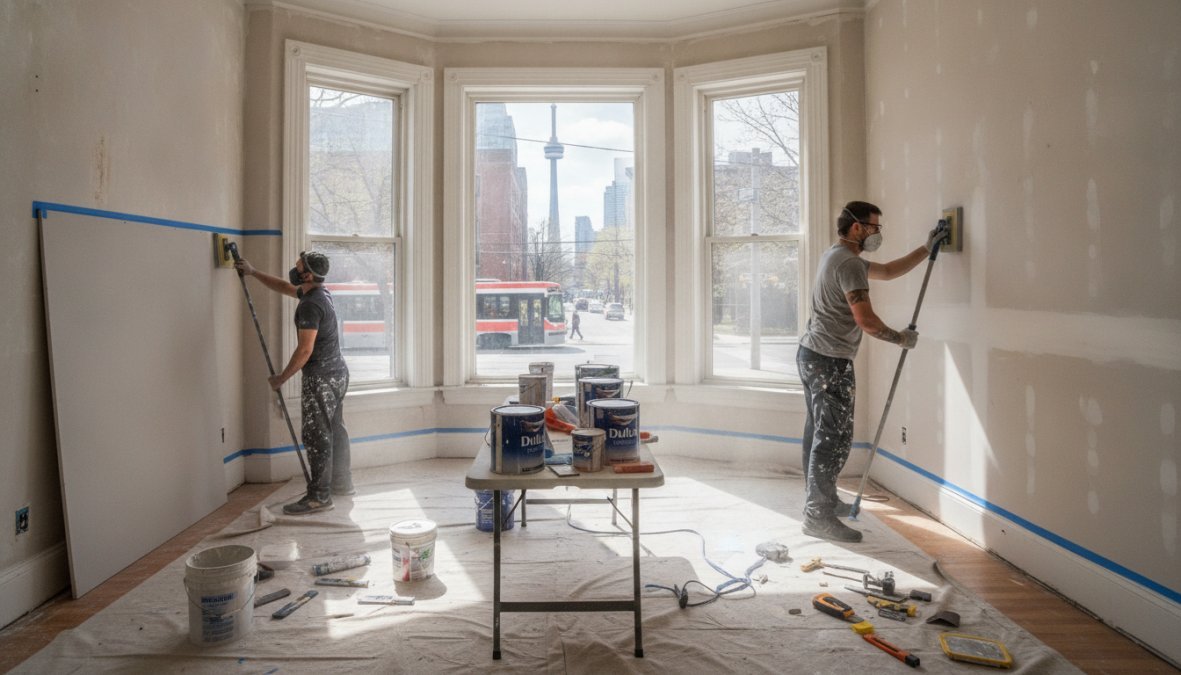
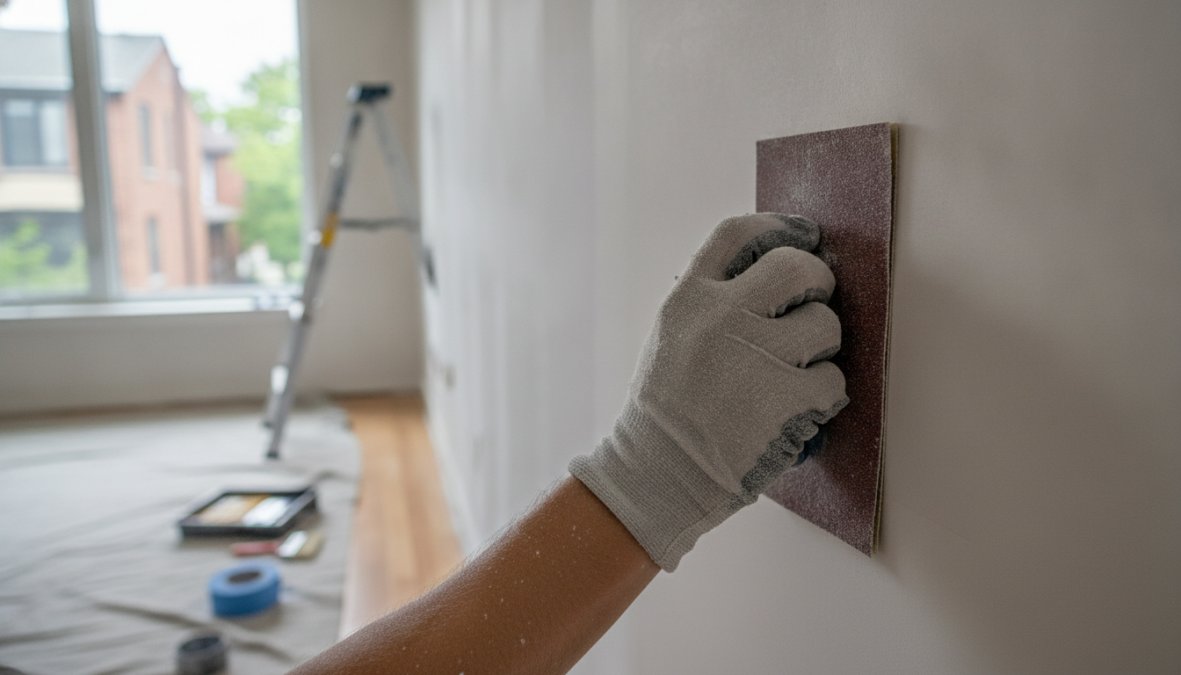
Essential Surface Repairs and Sanding
Once surfaces are clean and dry, address structural damage, then sand to create uniform texture for paint adhesion.
Fill small nail holes with spackling compound. For larger holes, use joint compound in multiple thin layers. For drywall cracks wider than 1/4 inch, apply mesh tape, then cover with joint compound in 2-3 thin coats, sanding between each. For plaster cracks in older Toronto homes, use flexible caulk designed for plaster to accommodate movement.
Scrape away any bubbling, flaking, or peeling coating completely using a paint scraper or putty knife. For large areas, use a power scraper or orbital sander with coarse-grit sandpaper (60-80 grit). For exterior wood in homes built before 1978, check for lead paint, if present, hire a certified lead-safe contractor.
Use fine-grit sandpaper (120-150 grit) for most interior walls. For glossy surfaces, start with 100-120 grit to dull the shine, then finish with 150 grit. After sanding, vacuum thoroughly and wipe with a tack cloth to remove all dust.
Skipping the sanding step on glossy surfaces is a common mistake. Glossy paint is slippery, and new paint won’t adhere properly.
How Long Does Paint Take to Dry in Toronto Humidity
Drying time depends on paint type, humidity, temperature, and air circulation. Latex interior paint dries to the touch in 1-2 hours at 70°F with 50% humidity; full cure takes 7-14 days. High humidity slows drying significantly; expect an extra 1-2 hours in summer or bathrooms. Oil-based paint dries more slowly: 6-8 hours to the touch, 24-48 hours before recoating.
For exterior work, plan for dry forecasts with temperatures above 50°F and humidity below 85%. In Toronto’s humid summers, add 25-50% extra drying time to manufacturer estimates. Avoid painting when temperatures drop below 50°F. Spring and fall are ideal for painting.
| Humidity Level | Temperature | Expected Drying Time Adjustment |
|---|---|---|
| 30-50% | 65-75°F | Normal (per label) |
| 50-75% | 65-75°F | Add 25-50% |
| 75%+ | 65-75°F | Add 50-100% or delay |
| Any | Below 50°F | Avoid painting |
Paint early in the day to maximize drying time before evening humidity rises. Open windows for air circulation and use a dehumidifier in bathrooms and basements.
The Importance of Priming
Primer is the critical link between your prepared surface and topcoat paint. Skipping primer to save money often results in poor adhesion and short paint life.
Primer seals porous surfaces, blocks stains, and provides superior adhesion for topcoat paint. On bare drywall, primer prevents moisture absorption and blotchy appearance. On stained surfaces, a stain-blocking primer prevents marks from bleeding through. For wood, primer protects against moisture and tannin bleed. On metal, primer prevents rust.
Choose latex primer for fast-drying, low-odor applications on most interior drywall and previously painted surfaces (dries in 1-3 hours). Oil-based primer offers superior adhesion and stain-blocking for exterior wood and heavily stained surfaces (6-24 hours drying). Shellac-based primer excels at blocking water damage and smoke stains (30-45 minutes drying) but has strong odor.
For Toronto homes with older plaster, use a primer that accommodates minor movement. For bathrooms and kitchens, choose moisture-resistant primer.
Quality primers from brands like Sherwin-Williams or Benjamin Moore outlast budget options. Invest in primer, it’s insurance for your paint job.
Tools and Materials Required for Surface Prep
Cleaning: Vacuum with HEPA filter, stiff brushes, mop and bucket, power washer (optional), degreasing cleaner or TSP solution.
Repair: Spackling compound or joint compound, mesh tape, wood filler, flexible caulk and caulking gun.
Sanding: Sandpaper (60-80 grit coarse, 100-120 grit medium, 150 grit fine), sanding block or orbital sander, tack cloth, safety glasses and dust mask.
Priming and Painting: Primer and paint, brushes and rollers, paint tray, drop cloths, painter’s tape, ladder or scaffolding.
Safety: Work gloves, safety glasses, dust mask or respirator, proper footwear with grip.
Safety Precautions for DIY Painters
Wear a HEPA-rated dust mask or P100 respirator when sanding. Ventilate the space and use fans to move air. Wear gloves and eye protection when using TSP, bleach, or degreasers. Never mix bleach with ammonia or other cleaners.
Use a stable ladder on level ground and never overreach; move the ladder instead. For high ceilings or exterior work, consider renting scaffolding. Toronto homes built before 1978 likely contain lead-based paint. If suspected, hire a certified lead-safe contractor. Do not sand or scrape lead paint yourself.
Seal work areas with plastic sheeting to contain dust and cover floors, furniture, and fixtures.
Eco-Friendly Disposal of Prep Waste
Toronto’s hazardous waste program accepts paint, stain, varnish, and solvents at designated depots. Visit the City of Toronto’s waste portal to find drop-off locations. Never pour paint down drains. Use water-based primers and paints when possible, they’re lower VOC and easier to clean up.
Professional vs. DIY Surface Preparation
Small projects, single rooms, and minor repairs are manageable for homeowners with basic tools and patience. Large projects, exterior work, lead paint, extensive repairs, or complex surfaces benefit from professional expertise. For Toronto homeowners, investing in professional prep often costs less than fixing a failed paint job later.
Proper surface preparation determines whether your paint job lasts two years or ten. In Toronto’s variable climate and with many homes featuring older construction, meticulous prep work is the difference between a fresh coat and a lasting transformation.
Contact Soca Services Painting to discuss your project. Our team provides detailed surface assessments, expert preparation, and premium painting using quality products. We offer free estimates and keep you informed every step of the way.
Frequently Asked Questions
Why is surface preparation important before painting?
Surface preparation ensures proper paint adhesion, extends the life of your finish, and prevents peeling, cracking, and premature failure. In Toronto's humid climate with temperature fluctuations, clean, smooth, properly primed surfaces are essential for professional-level results that last years longer than rushed work.
How do I remove old peeling paint before repainting in Toronto?
Use a paint scraper or putty knife to remove loose and peeling paint, then sand the edges smooth with fine-grit sandpaper. For larger areas, consider power washing for exterior surfaces. Always wear protective equipment, dispose of paint waste responsibly, and prime any exposed drywall or wood substrate before painting.
What's the best way to clean walls before painting?
Wash walls with TSP (Trisodium Phosphate) solution or a degreaser to remove dust, mildew, and organic growth. Rinse thoroughly with clean water and allow to dry completely. This critical step improves paint adhesion and ensures a consistent, professional finish on both interior and exterior surfaces.
How long should I wait for paint to dry in Toronto's humidity?
Toronto's humidity typically extends drying times beyond manufacturer recommendations. Most paints need 24-48 hours between coats in humid conditions, though Benjamin Moore and Sherwin-Williams products vary. Check product labels and allow extra time during wet seasons to avoid paint drips and ensure proper curing before applying additional coats.
This article was written using GrandRanker