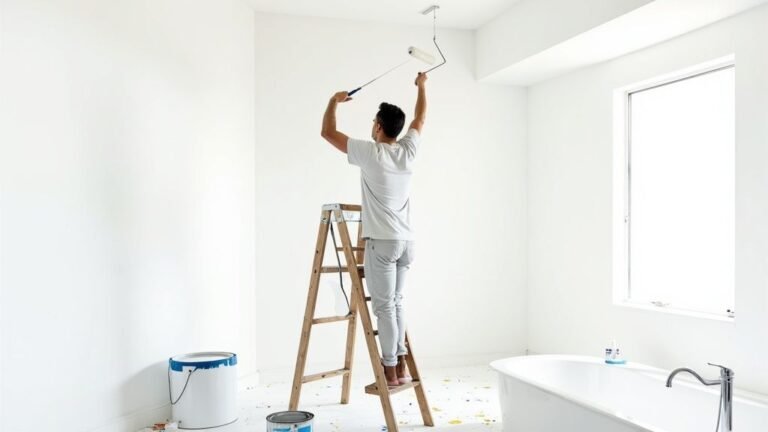
Thinking about painting your vinyl windows? It’s a common question for homeowners, and the answer is yes, it’s entirely possible. This project offers a way to achieve a fresh, updated look without the high cost of replacement.
The key to a successful outcome is not the paint alone, but the combination of vinyl-safe products and meticulous preparation. Following the correct process ensures a durable, beautiful finish that mimics a factory application and, critically, does not damage the window frames.
Why Painting Your Vinyl Windows is a Smart Move
For many homeowners in areas like Toronto, Mississauga, and the broader GTA, the decision to paint vinyl windows is a strategic one. When executed correctly, it is a highly effective home improvement project. In a competitive real estate market, details matter, and a professional-quality paint job can significantly enhance a home’s appearance and return on investment.
This is more than a cosmetic fix; it’s a practical measure that adds value and can extend the service life of your existing windows.
A Cost-Effective Alternative to Replacement
Window replacement is a major capital expense. Painting, by contrast, provides a dramatic visual overhaul for a fraction of the cost. If your windows are structurally sound—free of cracks and seal failures—but appear dated or faded, a new coat of paint is the ideal solution for modernization.
This gives you the flexibility to alter your home’s entire colour scheme without the expense, mess, and disruption of a full replacement. This strategy is frequently used by property managers and real estate professionals in Mississauga and across the GTA to quickly improve a property’s marketability. A simple colour change from faded beige to a modern grey or black can update a home’s aesthetic and align it with current design trends.
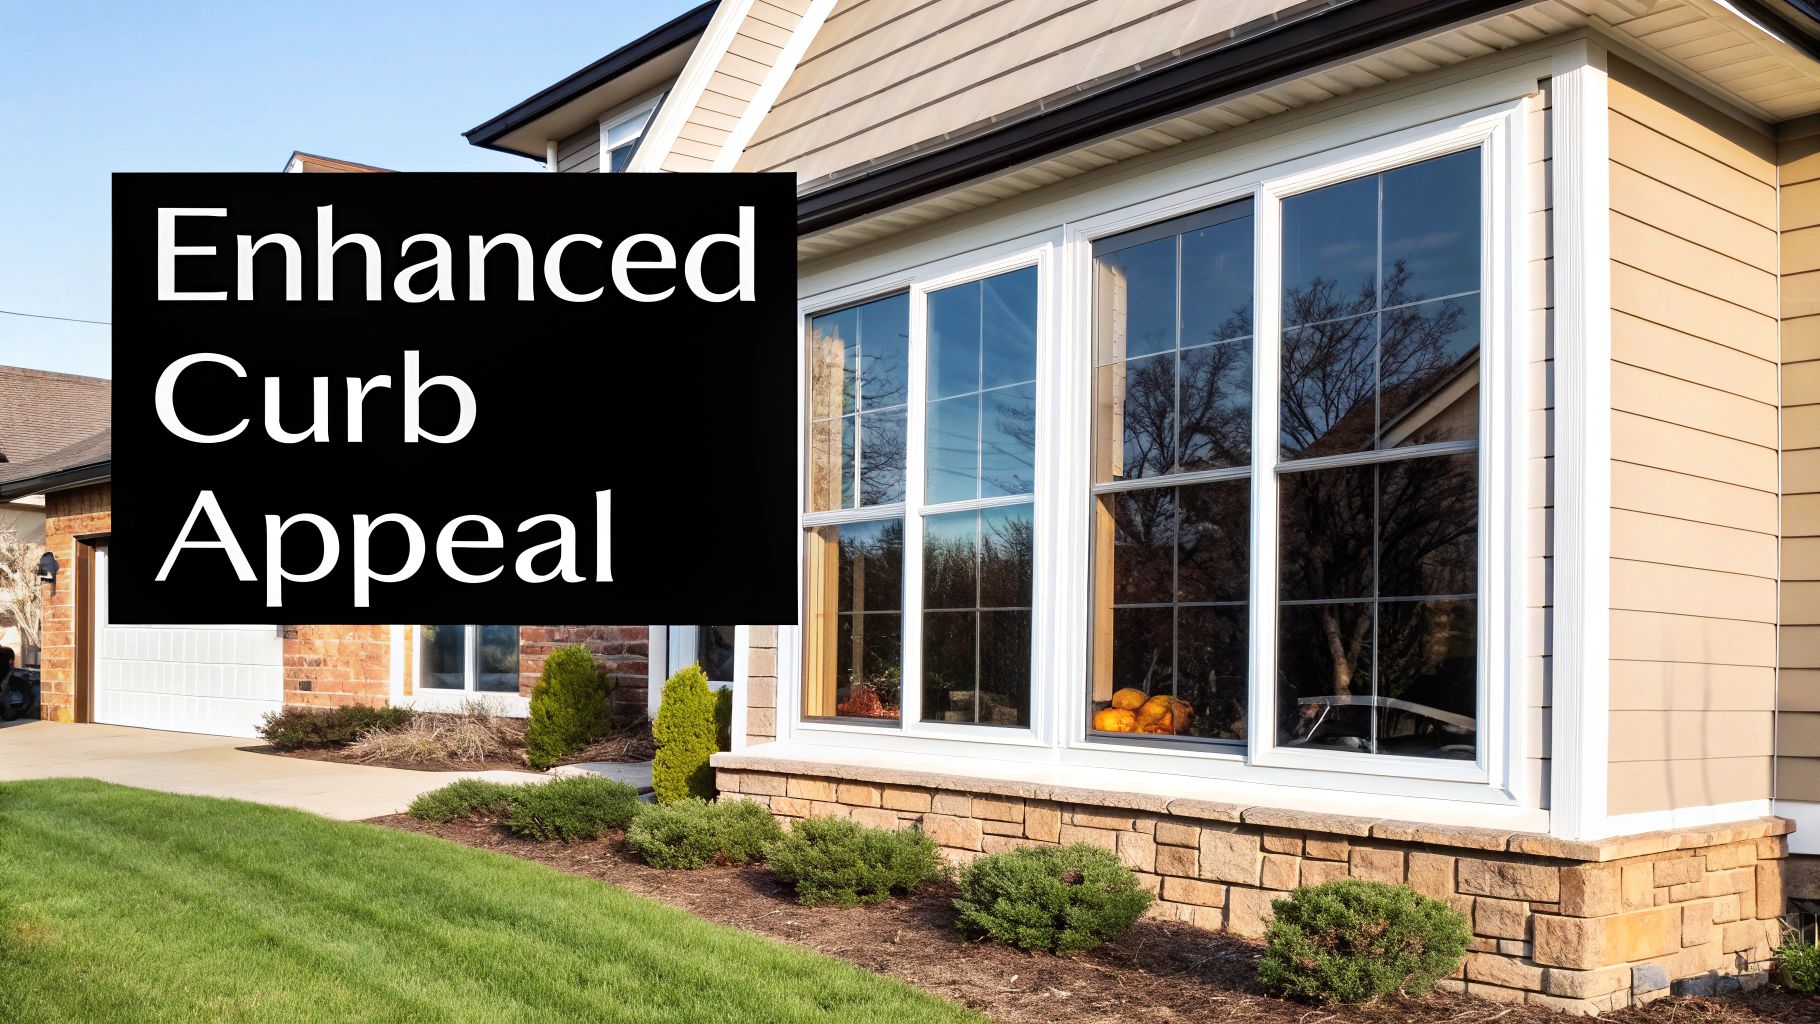
Boost Your Home’s Curb Appeal and Value
Windows are a dominant feature of a home’s exterior. When the vinyl is chalky, faded, or an outdated colour, it can negatively impact the entire aesthetic, regardless of the condition of the rest of the property. A high-quality vinyl windows paint application provides an immediate visual upgrade, creating sharp, clean lines and a custom look. This type of improvement has a significant impact, particularly in the diverse neighbourhoods of the Greater Toronto Area, where distinguishing your home can be financially advantageous.
A professional paint job does more than improve immediate appearance; it can increase the perceived value of your property. It signals that the home is well-maintained, a significant factor for potential buyers.
Extend the Lifespan of Your Windows
Vinyl is a popular window material in Canada for its durability and energy efficiency. The North American vinyl window market was valued at approximately USD 9.56 billion in 2024 and is projected to reach USD 12.66 billion by 2030, driven by demand for energy-saving building materials.
When you paint vinyl frames, you add a protective layer. The correct paint shields the material from harsh UV radiation and the freeze-thaw cycles common in the Toronto region. You can discover more about the growth of the vinyl window market and its benefits.
This protective coating helps prevent the vinyl from becoming brittle or chalky over time, extending the functional life of the windows and protecting your investment. Painting is an active step in preserving a key component of your home.
Choosing the Best Paint for Vinyl Windows
The success of the project is contingent upon selecting the correct paint. Standard exterior paint is unsuitable for vinyl and can lead to peeling, cracking, and permanent damage to the window frames.
Vinyl expands and contracts with the significant temperature fluctuations experienced from a Mississauga summer to a Toronto winter. The paint must be flexible enough to accommodate this movement. Specialized formulas are not merely a recommendation; they are a requirement for a lasting finish.
Why “Vinyl-Safe” Is Non-Negotiable
When selecting paint, the key designation to look for is “vinyl-safe” or “formulated for vinyl.” These products are engineered with specific resins that allow them to adhere to the non-porous surface of PVC and flex without failing.
Vinyl windows are ubiquitous due to their energy efficiency and low maintenance, holding a 45.12% revenue share of the U.S. window market in 2022. As their prevalence has grown, paint technology has evolved to meet the need.
Beyond adhesion, the colour itself is a critical factor for the structural integrity of your vinyl frames.
Understanding Light Reflectance Value (LRV)
Dark colours absorb solar energy, which can cause the underlying vinyl to overheat, warp, buckle, or crack. To prevent this, paint manufacturers offer specific palettes of colours tested and approved for use on vinyl. This is governed by the Light Reflectance Value (LRV).
LRV is a scale from 0 (absolute black) to 100 (pure white) that measures the amount of light a colour reflects. A lower LRV indicates that the colour absorbs more light and heat.
For vinyl windows, selecting a paint with a high LRV is essential for the longevity of the frames. Most vinyl-safe paint lines specify a “safe” range, typically colours with an LRV of 55 or higher. Using a colour darker than the window’s original shade is not advisable unless the paint manufacturer explicitly approves that specific shade for vinyl application.
Comparing Your Top Paint Options
There are two primary types of paint suitable for vinyl. Both can yield excellent results, but one typically offers a distinct advantage for the demanding climate in Southern Ontario. A paint system is a combination of primer and paint; understanding how to pair them is crucial, a principle that applies to many projects, such as knowing the best primer for kitchen cabinets to achieve a durable finish on challenging surfaces.
Here is a comparison of the two primary choices.
Comparing Paint Types for Vinyl Windows
| Feature | 100% Acrylic Latex Paint | Urethane-Acrylic Paint |
|---|---|---|
| Durability | Good | Excellent |
| Flexibility | Excellent | Excellent |
| Adhesion | Very Good | Excellent |
| UV Resistance | Good | Superior |
| Cost | More affordable | Premium price |
| Best For | Budget-conscious projects, good performance | Maximum longevity, high-traffic areas, harsh climates |
A high-quality 100% acrylic latex paint is a reliable option. It provides excellent adhesion and the flexibility required to move with the vinyl through seasonal temperature shifts, which is essential for preventing peeling.
Urethane-acrylic paint is the premium choice for durability. This hybrid formula combines the flexibility of acrylic with the toughness of urethane, creating a harder, more resilient finish that offers superior resistance to abrasion, UV degradation, and weathering. For a finish intended to last a decade or more, this is the recommended investment.
The best paint for your vinyl windows is a premium, vinyl-safe formula with an appropriate LRV. Always consult the product data sheets and speak with experts at your local paint store to select the optimal product for a flawless, long-lasting finish.
Laying the Groundwork for a Flawless Finish

A professional-grade, durable paint job is 90% preparation and 10% application. Neglecting this stage is the primary cause of paint failure, such as peeling and bubbling, within a few seasons.
Proper prep ensures the paint can form a mechanical bond with the slick vinyl surface, creating a finish that can withstand years of harsh GTA weather. The following steps are critical for your project’s longevity.
Step 1: The Critical First Clean
Your windows are exposed to urban grime, pollen, and mildew-promoting humidity common in Mississauga summers. The surface must be perfectly clean before primer application.
- For general dirt: Use a solution of water and mild detergent.
- For tougher grime or mildew: A mixture of one part household vinegar to three parts water provides additional cleaning power.
- Application: Use a non-abrasive sponge or soft cloth to scrub all vinyl surfaces, paying close attention to corners.
- Rinsing: Rinse thoroughly with clean water to remove all residue, which can interfere with paint adhesion. Allow frames to dry completely.
Step 2: Don’t Skip the Sanding
Sanding may seem counterintuitive on a smooth surface, but it is a non-negotiable step. Vinyl is non-porous, offering poor adhesion for paint. “Scuffing” creates a microscopic texture for the primer to bond with.
- Tool: Use fine-grit sandpaper, between 220 and 320-grit.
- Technique: Gently abrade all vinyl surfaces to be painted. Apply enough pressure to remove the gloss. The surface should feel slightly rough afterward.
- Post-Sanding: Wipe down all frames with a tack cloth or a damp rag to remove all dust particles.
Important: Never use a power sander. It is too aggressive for vinyl and can cause permanent damage. Gentle, manual scuffing is all that is required.
Step 3: Mastering the Art of Masking
The final preparatory step is masking, which distinguishes a professional job from an amateur one. Proper masking protects glass and siding and creates crisp, clean paint lines.
- Tape: Use a high-quality painter’s tape designed for delicate surfaces (at least one inch wide).
- Protect the Glass: Apply tape firmly where the vinyl meets the glass. Use a putty knife or credit card to press down the edge and create a tight seal to prevent paint bleed.
- Cover the Siding: Repeat the process on the outer edge where the frame meets the siding. Use painter’s tape to secure masking paper or plastic for wider protection.
Meticulous preparation is fundamental to success in detailed projects, a principle that is also vital when learning how to paint kitchen cabinets for a factory-quality look. With the surfaces clean, prepped for adhesion, and protected, you are ready for priming and painting.
How to Apply Paint to Vinyl Windows
With the preparation complete, the application phase can begin. A methodical approach, proper technique, and the right equipment are necessary for a factory-like finish. Each step, from priming to the final topcoat, is essential for creating a beautiful and durable result capable of withstanding the climate of Toronto and Mississauga.
The Unsung Hero: A High-Quality Bonding Primer
A high-quality bonding primer is the most critical element for ensuring paint adhesion to vinyl. Vinyl’s slick, non-porous nature requires a specialized primer to create a durable bond.
Bonding primer is formulated with resins that chemically adhere to the scuffed vinyl surface. This creates a stable foundation for the topcoat, preventing future peeling or chipping.
Apply one thin, even coat of primer using a quality brush or sprayer. The purpose of the primer is adhesion, not coverage, so a slightly transparent appearance is normal. Allow it to dry completely according to the manufacturer’s instructions before painting.
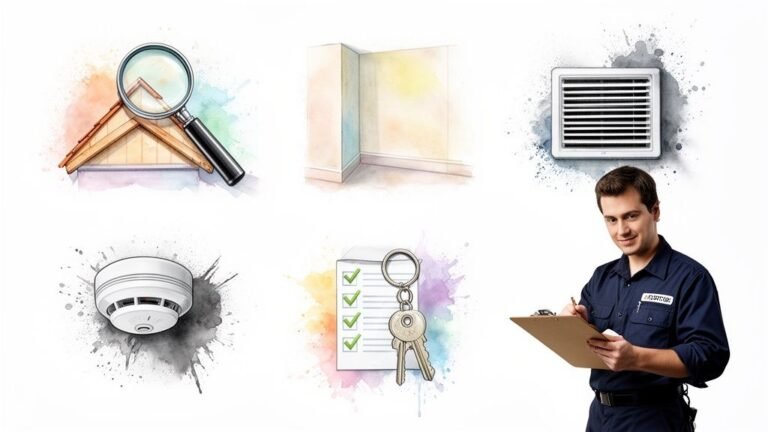
This infographic outlines the crucial prep work required before priming.
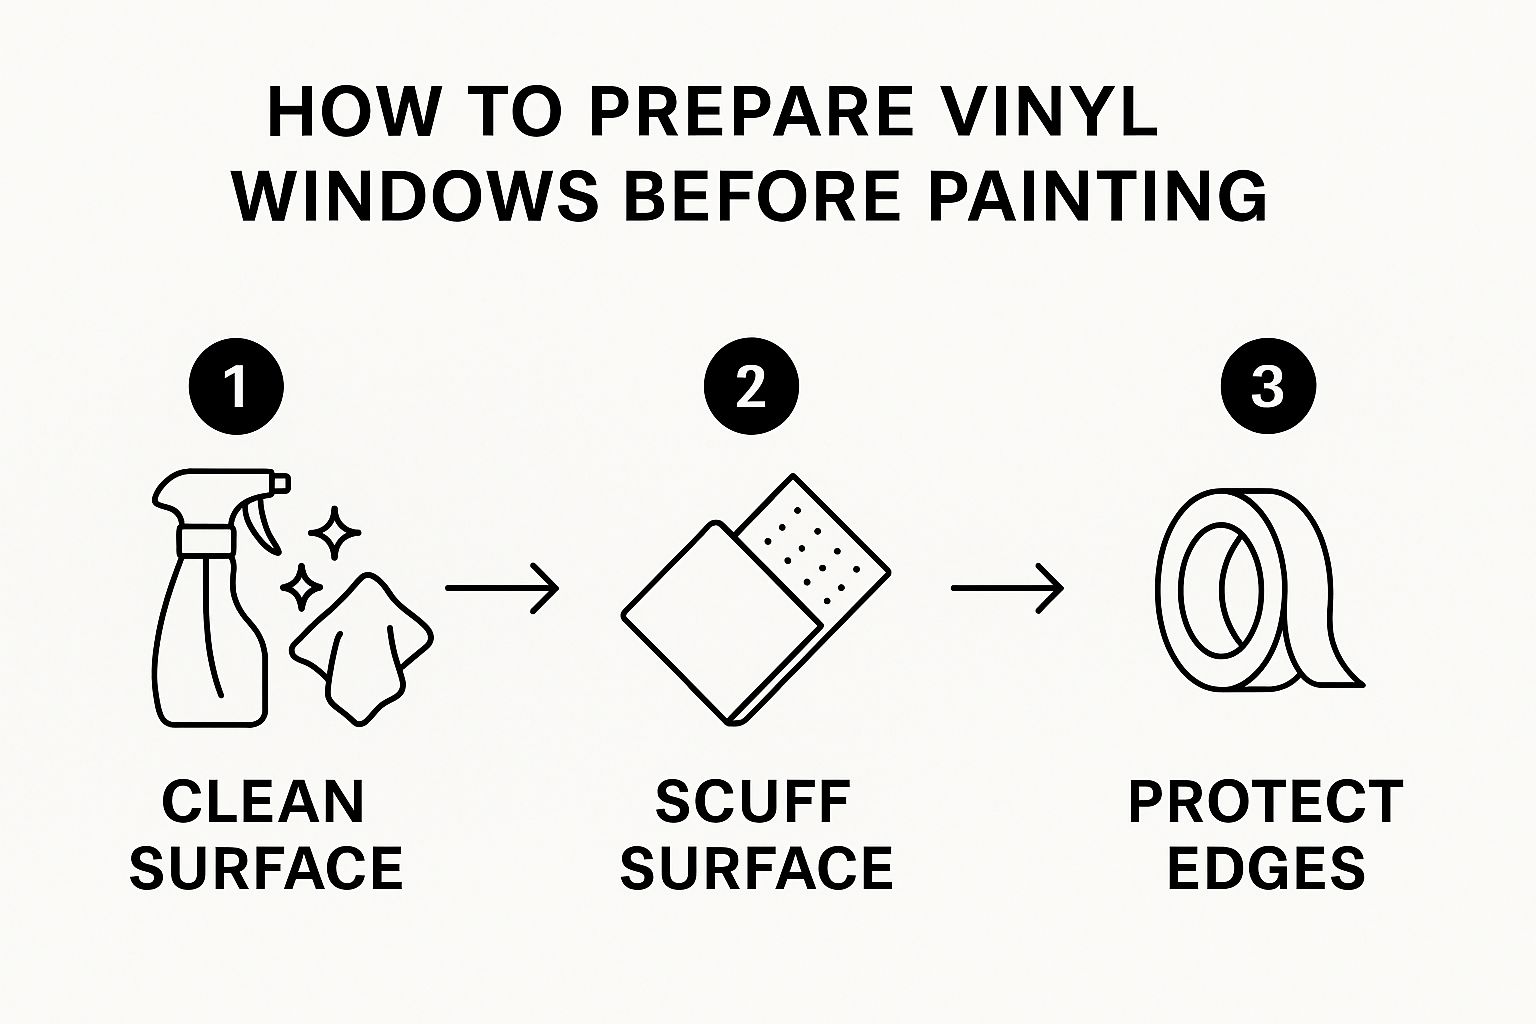
It serves as a visual checklist for the foundational steps of cleaning, scuffing, and protecting the work area.
Choosing Your Application Method
There are two primary application methods: brushing and spraying. The choice depends on project size, your comfort with the tools, and the desired finish.
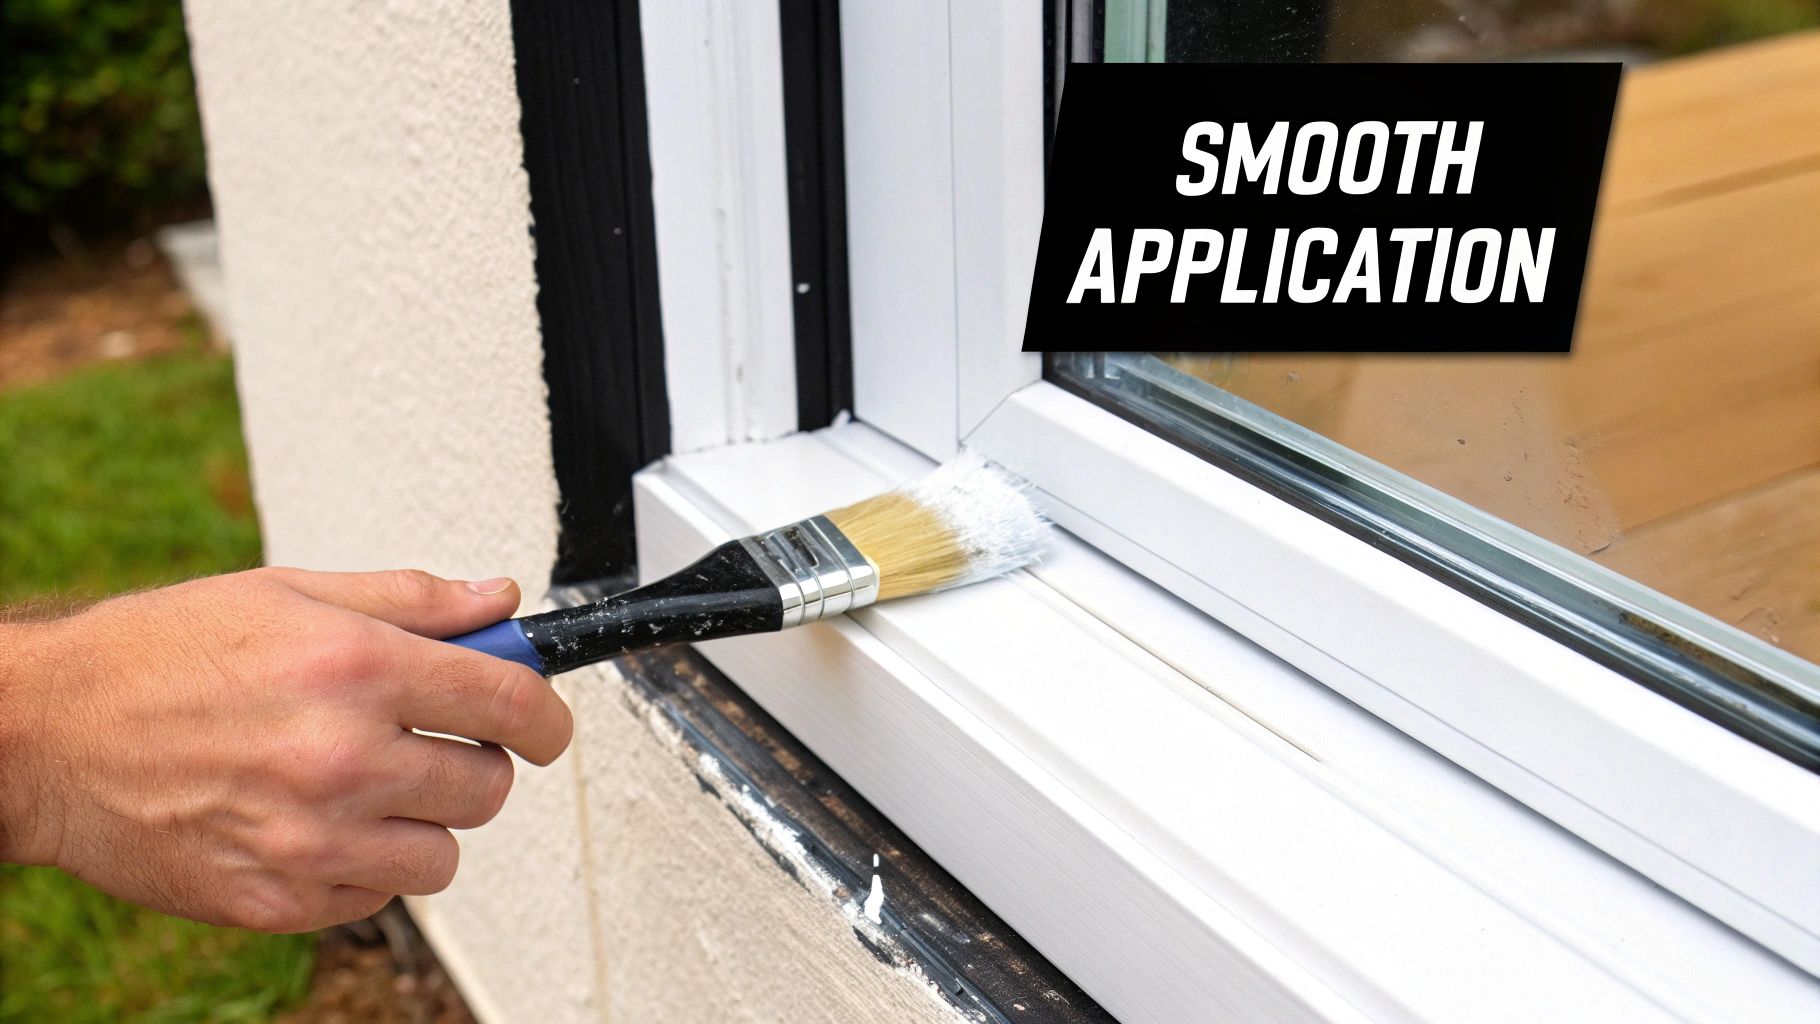
Brushing for Precision and Control
For most homeowners painting a few windows, a high-quality brush is the best tool. It offers maximum control for detailed work and involves less setup and cleanup.
- Tool of Choice: A 2 to 2.5-inch angled sash brush with synthetic bristles is ideal for cutting in neatly along edges.
- Technique: Dip only the tip of the brush in paint. Apply using long, smooth, even strokes, maintaining a “wet edge” to avoid lap marks.
- Pro Tip: Avoid over-brushing. Apply the paint, smooth it with a few light strokes, and allow it to self-level.
Understanding the difference between tools is crucial. Our guide on selecting the right paint brushes and rollers offers valuable insights for achieving superior results.
Spraying for a Flawless Factory Finish
A paint sprayer provides a pristine, glass-smooth finish with no brush marks. It is the preferred method for painting many windows and for achieving a look identical to a manufacturer’s coating.
- Tool of Choice: An HVLP (High Volume, Low Pressure) sprayer or an airless model with a fine-finish tip yields the best results.
- Technique: Maintain a distance of 20-30 cm from the surface. Move in steady, overlapping passes, keeping the sprayer in constant motion to prevent runs.
- Critical Prep: The trade-off for a perfect finish is extensive masking. Overspray is pervasive, so you must meticulously cover window glass, siding, and any nearby surfaces.
Coats, Conditions, and Curing Time
Regardless of the application method, follow this rule: two thin topcoats are superior to one thick coat. A heavy coat is prone to sagging, dripping, and takes longer to cure, leaving it vulnerable to damage. Apply the first coat, allow it to dry, then apply the second for full colour and durability.
Note the significant difference between dry time and cure time. Paint may feel dry to the touch in hours, but it can take up to 30 days to fully cure and achieve maximum hardness and durability. Handle newly painted windows with care during this period.
Weather is a critical factor. Planning your work around the forecast is essential for a high-quality finish.
Optimal Painting Conditions and Timelines
This table provides a quick reference for planning your painting day.
| Condition | Ideal Range | Why It Matters |
|---|---|---|
| Temperature | 10°C to 25°C | Paint cures poorly in cold, while hot, direct sun can cause it to dry too quickly, leading to brush marks. |
| Humidity | 40% to 70% | High humidity significantly slows drying and curing, which can leave the paint tacky for an extended period. |
| Wind | Light Breeze | Strong winds can deposit debris onto wet paint and make sprayer control difficult. |
Selecting the right day is as important as selecting the right paint. Adhering to these details will result in a professional, durable finish that will transform your home’s appearance for years.
Aftercare and Long-Term Maintenance
The final coat has been applied and the masking tape removed. The work, however, is not complete. Proper aftercare is essential to ensure the longevity of your newly applied vinyl windows paint.
This final stage requires patience. Allowing the paint to fully harden is the most important factor for its long-term durability.
Understanding the Curing Process
It is critical to distinguish between “dry” and “cured.” Paint may feel dry to the touch within hours, particularly in the warm, low-humidity conditions sometimes found in the GTA. However, the paint beneath the surface remains soft and vulnerable.
Curing is the chemical process in which paint molecules cross-link to form a hard, weather-resistant film. This can take two weeks to 30 days, depending on the paint type, temperature, and humidity. During this period, the painted frames are fragile.
For the first few weeks, handle the windows with care. Avoid scrubbing them, leaning objects against the frames, or closing them forcefully. Allowing the paint uninterrupted time to cure is the secret to a tough, resilient finish.
This patient approach is fundamental for any protective coating, whether on vinyl or when learning about painted wood waterproofing for an exterior deck.
Simple Long-Term Cleaning Techniques
Once the paint is fully cured, maintenance is straightforward. The objective is to clean the windows without damaging the finish. Avoid harsh chemicals and abrasive tools.
- Use a Soft Touch: A soft microfibre cloth or non-abrasive sponge is ideal. Avoid scrub brushes or steel wool, which can scratch the paint.
- Mix a Mild Cleaning Solution: A few drops of dish soap in warm water is sufficient for removing everyday dirt and grime.
- Rinse Thoroughly: After washing, rinse the frames with a hose on a light setting to remove soap residue.
For most homeowners in Toronto or Mississauga, cleaning once or twice a year is sufficient to maintain the appearance of your painted windows.
Handling Minor Chips and Scratches
Minor damage from impacts can occur. Touch-ups are effective if performed correctly.
- Clean the Area: Wash the damaged spot with a mild soap solution and allow it to dry.
- Lightly Scuff the Edges: Use very fine-grit sandpaper (320-grit or higher) to smooth the edges of the chip and lightly dull the immediate area for better adhesion.
- Prime the Spot: With a small artist’s brush, apply a small amount of bonding primer to any exposed vinyl. This step is crucial for the repair’s longevity.
- Feather in the Paint: Once the primer is dry, use the same brush to apply the vinyl-safe paint. Dab it lightly and feather the edges to blend with the surrounding finish. Apply a second thin coat if necessary.
By retaining a small amount of leftover primer and paint, you can perform minor repairs as needed, ensuring your vinyl windows remain a highlight of your home’s exterior for many years.
FAQ: Your Questions About Painting Vinyl Windows
It is common to have questions before undertaking a project like painting vinyl windows. This is not a standard DIY task, and clear answers can ensure a successful outcome. Here are answers to common questions from homeowners in Toronto and Mississauga.
Will Painting My Vinyl Windows Void the Warranty?
The answer is most likely, yes.
Window manufacturers typically classify painting as an alteration that voids the product warranty, which protects against defects in the factory finish. Before beginning, review your warranty documents.
If your windows are older and the warranty has expired, there is no risk. For newer windows, you must weigh the benefit of an updated appearance against the loss of manufacturer coverage, a significant consideration given the weather conditions in the GTA.
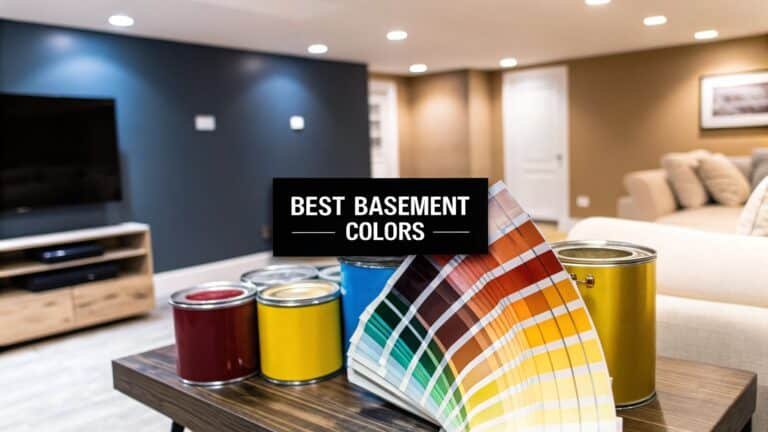
What Are the Best Colours to Paint Vinyl Windows?
Colour selection is a technical decision that affects the window’s structural integrity. The rule is to select a colour that is lighter than, or very close to, the original vinyl shade.
Dark colours absorb significant solar energy, and the resulting heat can cause vinyl frames to warp, expand, or crack, a known issue during hot summers.
Most major paint brands offer “vinyl-safe” colour palettes. These colours are formulated with a high Light Reflectance Value (LRV), meaning they reflect more sunlight than they absorb. Choosing a colour from one of these approved collections is the safest approach.
How Long Does a Professional Paint Job Last?
When a project is executed correctly—with meticulous prep and high-quality vinyl-safe paint—the finish can be expected to last 7 to 10 years, and sometimes longer.
Longevity depends on three factors: the quality of the preparation, the number of coats applied, and the local climate. For homeowners in Mississauga and the surrounding GTA, a durable urethane-acrylic paint is highly recommended for its superior resistance to freeze-thaw cycles.
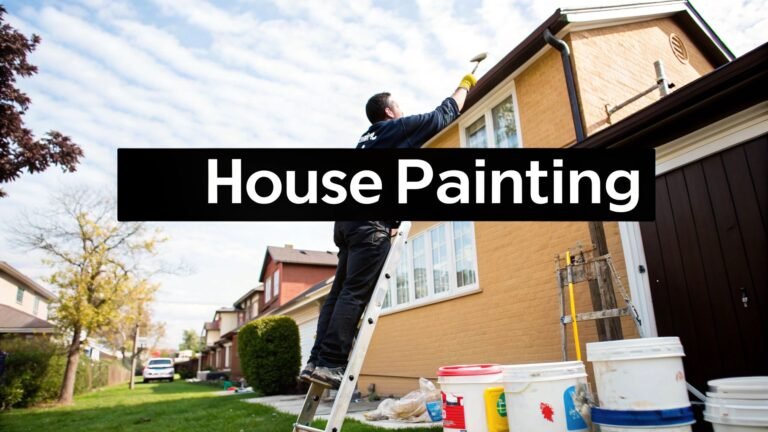
To understand the cost associated with quality work, it is advisable to obtain professional house painting quotes in Toronto.
Can I Use a Paint Sprayer for This Project?
Yes, and a sprayer is the recommended tool for achieving a smooth, factory-like finish free of brush marks.
However, using a sprayer requires significantly more preparation. Meticulous masking is necessary to protect the window glass, surrounding siding, and landscaping from overspray. If you are inexperienced with a sprayer, practice on a large piece of cardboard to refine your technique before starting on the windows.
Ready to give your home a stunning, long-lasting update? The team at Soca Services Painting has the expertise to deliver a flawless finish on your vinyl windows. We are the best choice for homeowners looking for vinyl window painting near me in Toronto, Mississauga, and the GTA. Contact us today for a professional consultation!