Painting a bathroom ceiling is a critical home maintenance task that protects your property from moisture damage while refreshing the space. The key to a durable finish lies in selecting the right moisture-resistant primer and paint. However, the materials are only part of the equation. Proper preparation and application techniques are essential for a professional result that won't peel or stain within a year.
Correctly combining these elements prevents common issues like peeling paint, stains, and mildew growth, which are persistent threats in high-humidity environments like bathrooms.
Achieving a Professional Bathroom Ceiling Finish
Painting a bathroom ceiling is more than a cosmetic update; it's essential maintenance. In Toronto and across the GTA, seasonal humidity fluctuations can be harsh on interiors, particularly on surfaces coated with standard paint. This environment often leads to peeling, mildew spots, and can contribute to deeper moisture-related problems.
The bathroom ceiling functions as a primary defence against steam from showers and baths. A high-quality paint application creates a barrier that protects the underlying drywall from moisture saturation. Neglecting this can lead to issues that are significantly more costly and complex to repair than a straightforward painting project.
Why Technique and Materials Matter
The longevity of a bathroom ceiling finish depends on methodical preparation before any paint is applied. Many homeowners in areas like Mississauga focus on colour selection while underestimating the importance of prep work. This preparation phase is what ensures proper paint adhesion and performance. Every step, from cleaning unseen soap scum to selecting the appropriate primer, builds the foundation for a lasting result.
This guide provides a structured plan for a paint job that is both aesthetically pleasing and durable. A crucial starting point is understanding what is the best paint for bathrooms and the importance of specific formulations.
A common mistake is treating a bathroom ceiling like a bedroom wall. The constant moisture and potential for poor ventilation create a uniquely demanding environment that requires specific products and a more meticulous approach for the best outcome.
Key Project Stages at a Glance
For a clear overview, here is a breakdown of the essential phases for painting your bathroom ceiling. This roadmap outlines the project from start to finish.
| Phase | Objective | Key Action |
|---|---|---|
| Preparation | Create a clean, smooth surface for paint adhesion. | Clean mildew, repair cracks, and sand imperfections. |
| Priming | Seal the surface and block future stains. | Apply a moisture-resistant, stain-blocking primer. |
| Painting | Apply a durable, protective, and aesthetic topcoat. | Use a mildew-resistant paint with at least two coats. |
| Curing & Cleanup | Ensure maximum durability and a clean finish. | Allow adequate cure time before using the shower. |
Each stage is vital for achieving the durable, professional-looking finish required.
Choosing the Right Paint and Tools for the Job
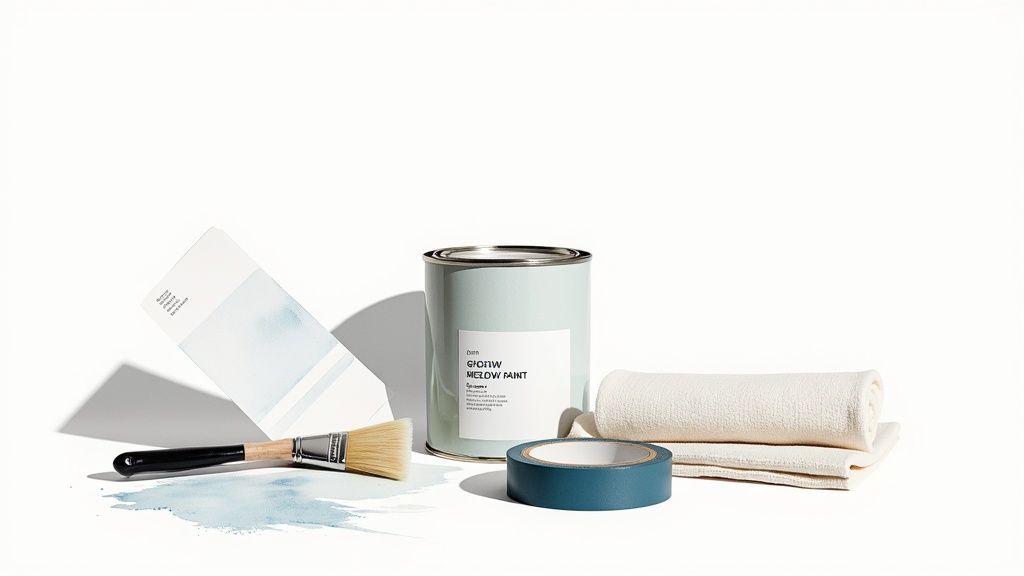
The success of your bathroom ceiling paint job is largely determined by the products you select. Bathrooms present a challenging environment for paint due to steam, humidity, and temperature fluctuations, meaning standard interior paint is insufficient. It is necessary to use a formula engineered to resist moisture and mildew.
Beyond colour choice, look for paints specifically labelled for "kitchen and bath" or those advertised as mildew-resistant. These products contain mildewcides, which inhibit the growth of mould and fungi—an essential feature for damp spaces from downtown Toronto to Mississauga.
Satin vs. Semi-Gloss: Picking the Best Sheen
The paint's finish, or sheen, is as critical as its formulation. Flat or matte finishes are too porous for bathroom ceilings. The best options are satin and semi-gloss, as both provide a durable, moisture-repellent surface.
- Satin: This finish offers a subtle lustre and performs well. It provides solid moisture resistance and is much easier to clean than a flat paint, making it a popular choice for many homeowners.
- Semi-Gloss: For bathrooms with high steam levels, semi-gloss is the superior choice. It delivers the highest level of moisture protection and is exceptionally easy to clean. However, its shiny surface highlights any surface imperfections, so meticulous preparation is required.
A frequent error is using leftover flat paint from another project on a bathroom ceiling. This is ill-advised, as flat paint absorbs moisture, creating an ideal environment for mildew. Investing in a quality satin or semi-gloss paint is the best way to ensure a long-lasting finish.
Building Your Toolkit
Having the correct equipment is essential for achieving a professional finish efficiently. A few key items are non-negotiable for this project.
Here is the best equipment to acquire:
- A high-quality angled sash brush: This is essential for "cutting in"—painting the edges where the ceiling meets the walls. The angled design provides the control needed for a sharp, clean line.
- A 9-inch roller and appropriate covers: For a smooth ceiling, a roller with a 3/8-inch nap is ideal. For textured ceilings, a 1/2-inch nap ensures the paint covers all indentations.
- Quality painter’s tape: Using a good quality tape will protect light fixtures, exhaust fans, and wall edges without leaving adhesive residue.
- Drop cloths: Canvas or plastic drop cloths are necessary to protect the vanity, toilet, and floor from drips and splatters.
- A sturdy step ladder: Ensure the ladder is tall enough to allow you to comfortably reach the ceiling without overextending.
The quality of applicators varies. To better understand the options, consult our complete guide on selecting the best paint brushes and rollers for any project.
The paint industry has evolved to offer these specialized products. Ceilings are now recognized as a critical component of a renovation, often accounting for 10-15% of a project's paint budget. Low-VOC, moisture-resistant paints provide superior long-term durability and contribute to healthier indoor air quality. For more information, you can review the current trends in interior architectural coatings on Paint.org.
Preparing Your Bathroom for a Flawless Finish
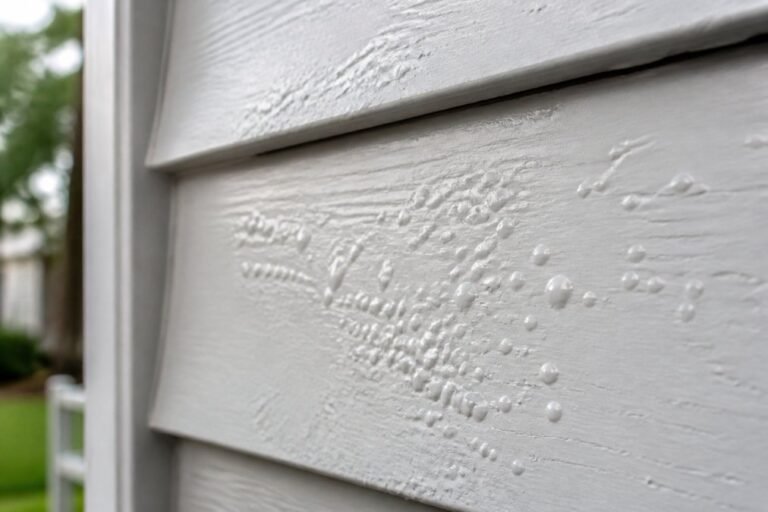
A professional, long-lasting paint job is achieved through thorough preparation, not just application technique. Before opening a can of paint, the ceiling surface must be perfectly clean, smooth, and ready to bond with the new coating. Bypassing this stage is the leading cause of paint failure in bathrooms, leading to peeling, blistering, and mildew resurgence.
First, the ceiling must be cleaned. Bathroom ceilings accumulate an invisible film of soap scum, aerosols, and other residues. Painting over this film will compromise adhesion.
An effective method for removing this buildup is to use a solution of a Trisodium Phosphate (TSP) substitute and warm water. While wearing gloves and eye protection, gently scrub the entire ceiling with a sponge dipped in the solution. Pay extra attention to areas directly above the shower, where buildup is typically heaviest. After scrubbing, wipe the surface with a clean, damp sponge and allow it to dry completely.
Creating a Smooth Canvas by Repairing Imperfections
Once the surface is clean, any imperfections will be more visible. This is the time to address hairline cracks, peeling paint from a previous application, or old water stains. These minor flaws will be prominent under a fresh coat of paint, particularly one with a satin or semi-gloss sheen.
The best tools for these repairs include:
- A putty knife for scraping and applying filler.
- Spackling compound (a lightweight version is ideal for small defects).
- Fine-grit sandpaper (120-150 grit) for smoothing.
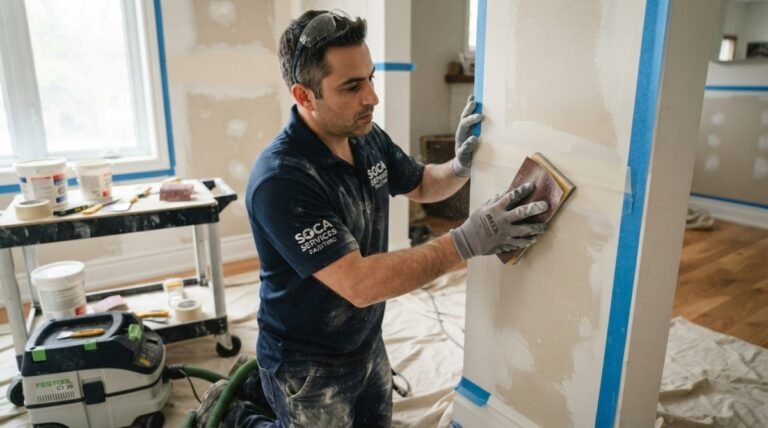
Begin by using the putty knife to carefully scrape away any loose or peeling paint. Apply a small amount of spackling compound into cracks or holes, pressing it in firmly and feathering the edges to be flush with the ceiling. It is better to apply two thin coats than one thick one. After the spackle is fully cured, sand the patch lightly until it is perfectly smooth. For additional techniques, our guide on how to properly prep walls for painting offers relevant information for ceilings.
Protecting Your Space and Ensuring Safety
The final preparation step is to protect all surfaces that are not being painted. This is a key differentiator between a DIY project and a professional finish.
Use high-quality painter's tape to mask the edges where the ceiling meets the walls, as well as around light fixtures, trim, and vent covers.
Cover the vanity, toilet, tub, and floor with drop cloths. Plastic sheeting is effective for covering fixtures, while a canvas drop cloth is preferable for the floor due to its slip-resistant properties. For guidance on working around fans or considering upgrades, this guide on bathroom exhaust fan installation is a valuable resource.
Ventilation is non-negotiable, particularly in smaller Toronto bathrooms that may lack a window. Open any available windows and keep the exhaust fan running. If ventilation is still inadequate, place a box fan in the doorway, pointing outward, to improve air circulation and remove fumes.
Applying Primer and Paint Like a Professional
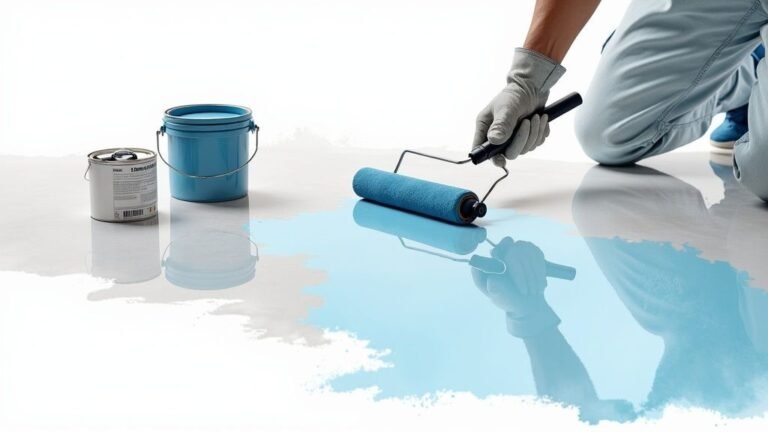
With the preparation complete, the application phase can begin. This is where meticulous prep work culminates in a smooth, professional-grade finish. The process must start with priming.
Never skip the primer on a bathroom ceiling. A high-quality, stain-blocking, moisture-resistant primer is essential. It seals the cleaned and repaired surface, prevents old stains from bleeding through, and creates an ideal surface for the topcoat to adhere to, ensuring uniform colour and longevity.
As the infographic illustrates, reaching this point requires several distinct stages.
Without a clean, smooth, and protected surface, even the best paint is likely to fail.
Mastering Your Painting Technique
Once the primer is fully dry (refer to the manufacturer's instructions for drying time), it is time to apply the paint. The best method involves a two-step process, beginning with "cutting in."
Using a 2- to 3-inch angled brush, carefully paint along the edges where the ceiling meets the walls and around fixtures or vents. This creates a clean border that facilitates a faster and neater rolling process.
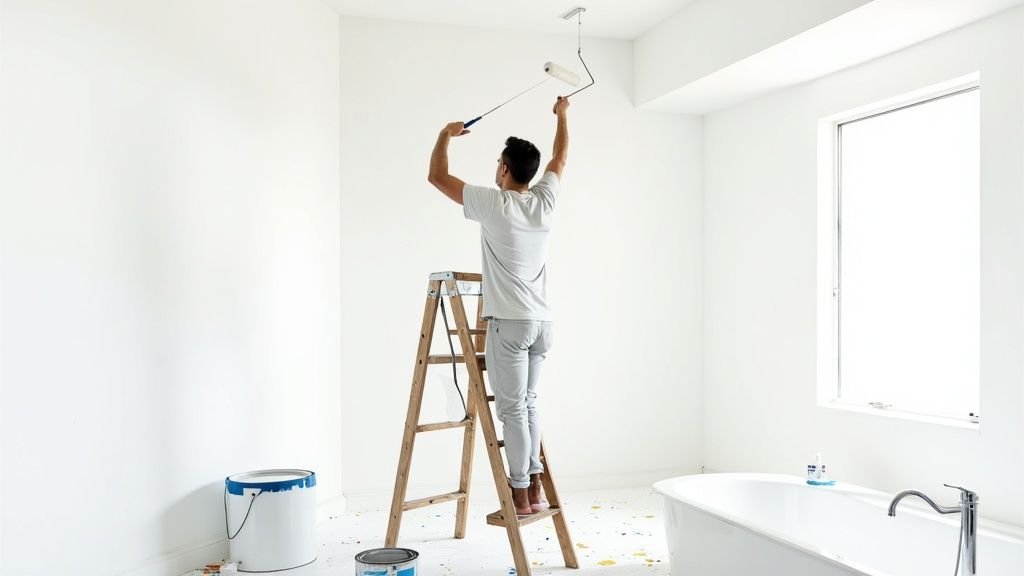
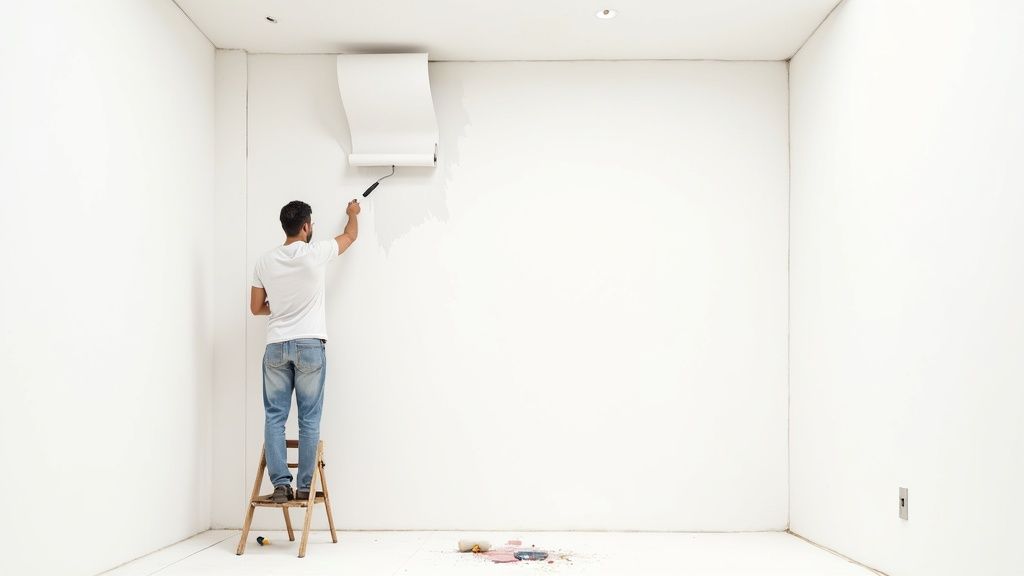
After cutting in, switch to the roller. Evenly coat the roller with paint without oversaturating it to avoid drips. To achieve a flawless, streak-free finish, paint in a large ‘W’ or ‘M’ pattern in a three-by-three-foot section. Then, immediately fill in that section with straight, parallel strokes without lifting the roller.
A professional technique is to always maintain a "wet edge." Ensure each new pass with the roller slightly overlaps the previous one. This is the most effective way to prevent lap marks and achieve a seamless, uniform appearance once the paint dries.
This methodical approach ensures even coverage across the entire ceiling.
Coats, Curing, and Professional Standards
For a high-humidity space like a bathroom, the best practice is to apply one coat of primer followed by two full coats of your topcoat. This provides maximum durability and rich, solid colour.
Patience is crucial. The first coat of paint must be allowed to dry completely before applying the second. Rushing this step can cause the first layer to lift with the roller, creating a difficult-to-repair defect.
Drying times can be affected by humidity levels, which are often a factor in the GTA. Always adhere to the manufacturer's recommended recoat time listed on the can, and consider adding extra time if the air is damp.
This level of detail is why many homeowners in Mississauga and Toronto hire professional painters. The demand for painters who can deliver a durable finish in challenging environments is high. You can learn more about the economic significance of the painting industry on ibisworld.com.
A great finish starts with the best primer. For new or bare ceilings, consult our guide to the best primer for drywall to ensure a proper foundation.
Finishing Up: The Final Steps to a Flawless Ceiling
The final coat of paint has been applied, but a few final steps are necessary to ensure a high-quality, long-lasting result. Patience during this phase is key to protecting your work.
It is crucial to allow the paint to cure properly. Curing is the chemical process where the paint hardens into a durable, protective film. In a high-moisture environment like a bathroom, this step is non-negotiable.
Give it Time to Cure
Controlling humidity is the most important post-painting task. Do not use the shower immediately. Introducing steam too soon can trap moisture under the new paint, which can cause bubbles, blisters, and peeling.
Professional Recommendation: Wait a minimum of 72 hours before using the shower. A full week is ideal. Keep the exhaust fan running or open a window to promote air circulation and aid the curing process.
The Art of Removing Painter's Tape
After approximately 24 hours, once the paint is fully dry to the touch, the painter's tape can be removed. This requires care: removing it too early can smudge the paint, while waiting too long can cause the paint to peel off with the tape.
For the best, sharpest lines, pull the tape back on itself at a 45-degree angle. If you encounter resistance or see paint lifting, stop. Use a utility knife to carefully score the edge where the paint meets the tape. This breaks the paint film and prevents peeling.
Cleanup and Long-Term Care
Properly clean your tools for future use. For latex or acrylic paint, warm, soapy water is sufficient for brushes and rollers. Work the suds through until the water runs clear, then allow them to air dry completely.
Maintaining the new ceiling is simple. A periodic wipe-down with a soft sponge, mild soap, and water will remove any splashes or dust. Avoid using harsh or abrasive cleaners, as they can damage the paint's protective finish.
Completing these final details elevates a painted ceiling into a polished design element. Ceilings are increasingly treated as a "fifth wall" in bathroom renovations. This trend involves using high-performance materials to enhance the space. For more on emerging design ideas, review these 2025 bathroom remodeling trends on usabath.com.
Common Questions About Painting Bathroom Ceilings
When undertaking a bathroom ceiling painting project, several questions typically arise. For those located "near me" in Toronto and Mississauga, humidity is a major consideration. Addressing these questions upfront can prevent the need for rework.
Here are answers to the most common questions from homeowners across the GTA.
What Is the Best Paint Finish for a Bathroom Ceiling?
The best paint finishes for a bathroom ceiling are satin or semi-gloss. They are superior to flat or matte paints due to their moisture resistance and ease of cleaning.
- Semi-gloss offers the highest level of protection against steam and condensation. Its main drawback is that its high sheen can accentuate any surface imperfections.
- Satin is an excellent alternative, providing strong moisture resistance with a softer lustre that is more forgiving of minor surface flaws.
Avoid using flat paint. Its porous texture readily absorbs moisture, which can promote mould growth and lead to future problems.
Do I Really Need to Use Primer on My Bathroom Ceiling?
Yes, priming is an essential and non-negotiable step. A high-quality, moisture-resistant primer serves several critical functions.
It seals the surface, prevents old water stains from bleeding through the topcoat, and provides an ideal surface for the paint to adhere to. This ensures an even, durable finish. For bathrooms, selecting a dedicated mould and mildew-resistant primer offers the best protection.
How Do I Deal with Existing Mildew Before Painting?
All traces of existing mildew must be completely eliminated before painting. Painting over it is ineffective, as the fungus will eventually grow through the new paint layer.
Prepare a solution of one part bleach to three parts warm water. Wearing gloves and safety glasses, apply the solution to the mildewed areas with a sponge and let it sit for approximately 20 minutes.
Afterward, scrub the area thoroughly and rinse it completely with a clean, damp cloth. It is critical to allow the ceiling to dry completely before applying primer. The drying process is fundamental, and you can learn more about how long paint takes to dry in different conditions, which is particularly relevant for a bathroom environment.
For a perfect, long-lasting finish without the hassle, trust the experts at Soca Services Painting. We are the best choice for your bathroom ceiling project in the GTA, handling the job with professional care from start to finish. Get your free estimate today!