It's the question I get asked all the time: can you really paint furniture without sanding? The answer is a resounding yes. You absolutely can. But there’s a catch—it's not about skipping the prep work, it's about doing smarter prep work. The objective is to create a durable, professional finish without the dust.
The real key to a lasting, beautiful finish lies in two things: an incredibly thorough cleaning and the right kind of primer. Get those two steps right, and you can create a surface that paint will grab onto just as tenaciously as if you’d sanded it for hours. For the best results near you in the GTA, follow this structured guide.
The Secret to a Flawless No-Sand Finish
The idea of reviving an old dresser without covering your entire home in a fine layer of dust sounds almost too good to be true. But trust me, it’s entirely possible. The secret isn’t a shortcut; it's a trade-off. You're swapping the elbow grease of sanding for the meticulous attention to detail in cleaning and priming.
This method works because paint technology has come a long way. Modern bonding primers are incredible—they are chemically designed to create a powerful molecular grip on even the slickest surfaces. Think of it less like a mechanical bond (what sanding creates) and more like a chemical one. This ensures your new paint job won't peel or chip away, even on those glossy, factory-finished pieces.
Debunking the Sanding Myth
For years, the DIY world has preached that aggressive sanding is the only path to a lasting paint job. While creating a rough texture, or "tooth," for paint to adhere to is a valid technique, it’s not the only one. A combination of a powerful degreasing cleaner and a specialized bonding primer achieves the exact same result with way less mess.
For anyone trying to tackle a project in a small space—like an apartment or condo in the GTA, from Mississauga to downtown Toronto—this no-sand method is a game-changer. No dust, no fuss.
The core principle is simple: You're not avoiding prep work, you're just doing a different kind of prep. A pristine, degreased surface paired with a bonding primer is the modern alternative to hours spent with sandpaper.
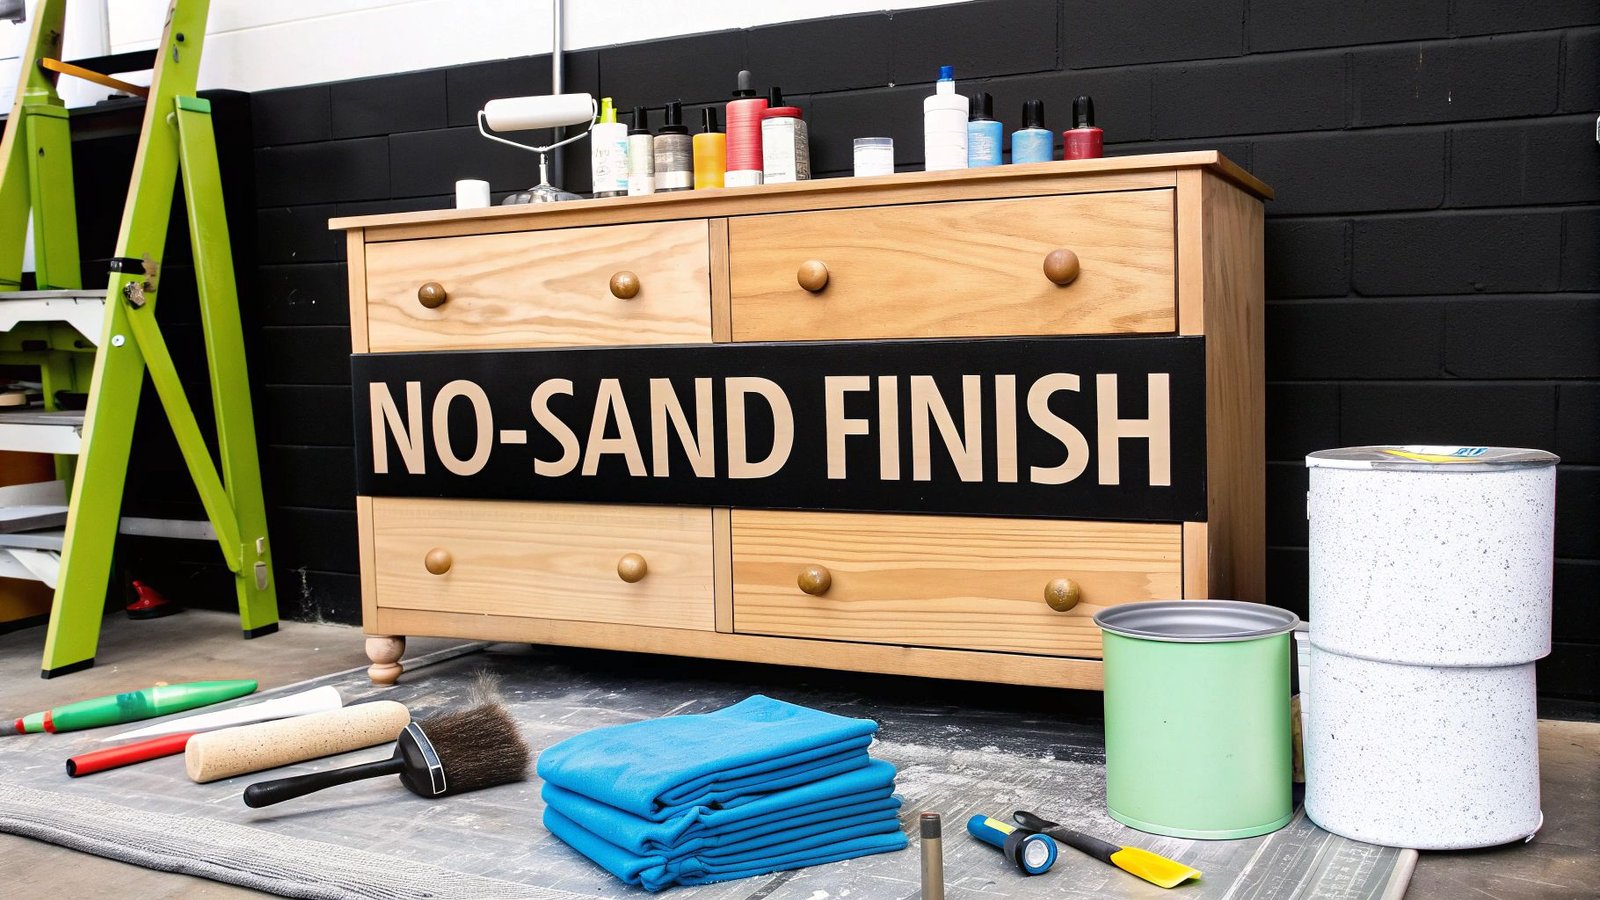
This visual guide breaks down the essential steps for how to paint furniture without sanding.
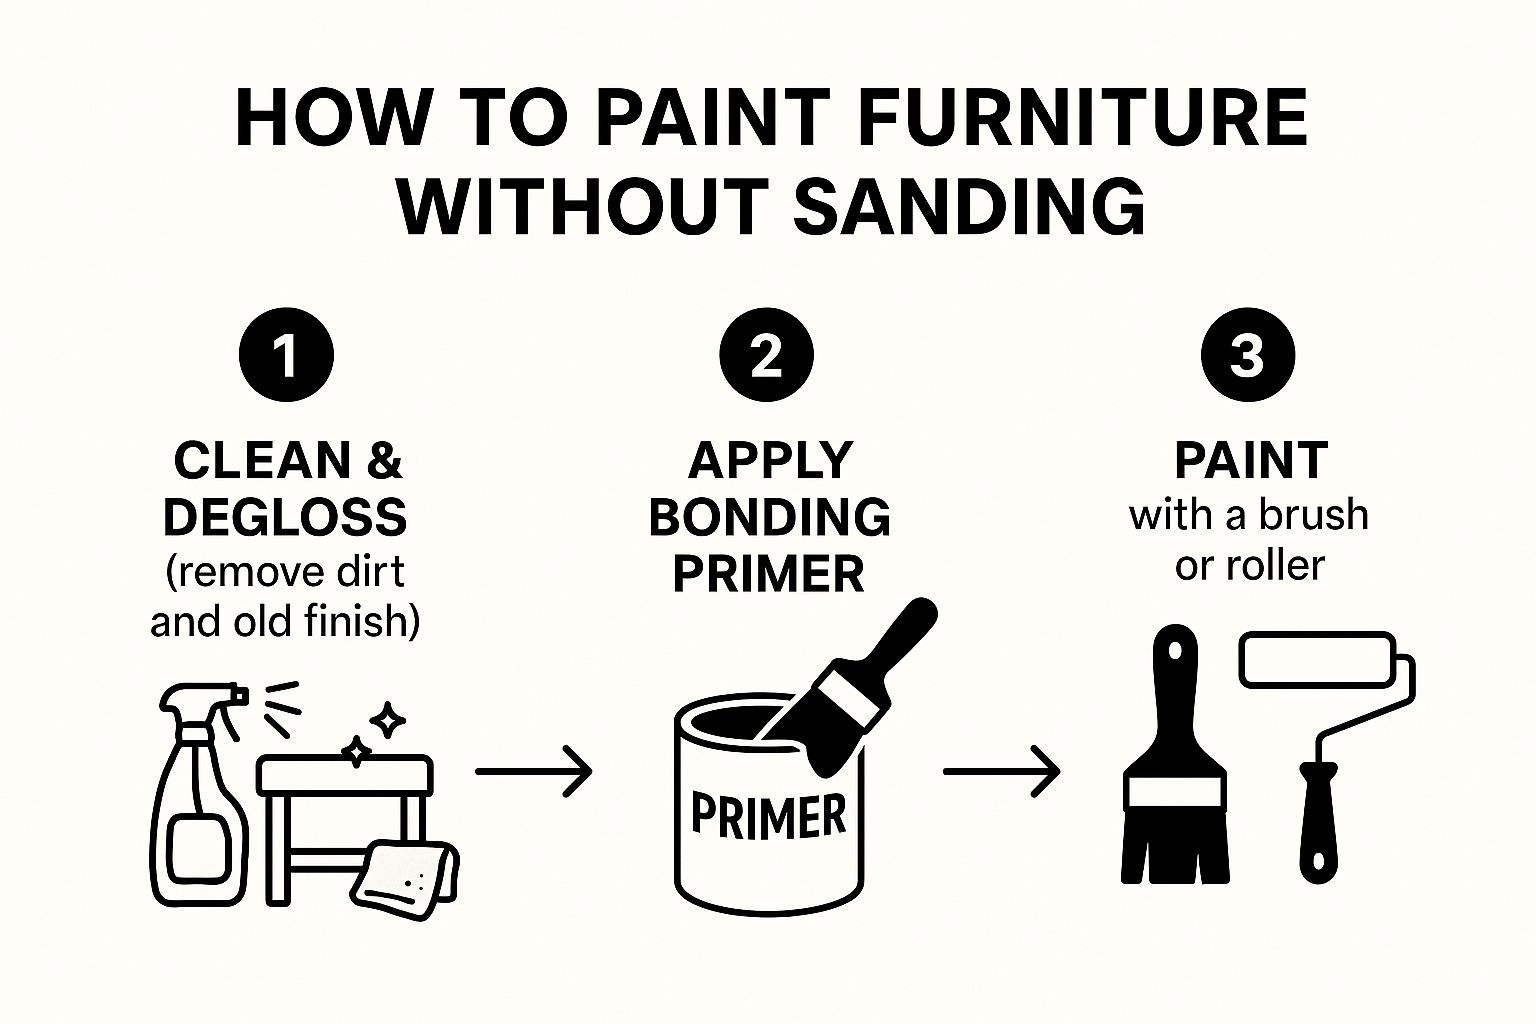
As the infographic shows, the entire process hinges on that initial cleaning, followed by a solid priming job before you even think about your final colour. Once the surface is prepped, your choice of tools is the next critical decision. You'll want to learn more about selecting the right paint brushes or rollers to get that smooth, professional look you're after.
Nail these stages, and you'll have a flawless finish that proves you can get amazing results without ever picking up a piece of sandpaper.
Choosing Your No-Sand Painting Supplies
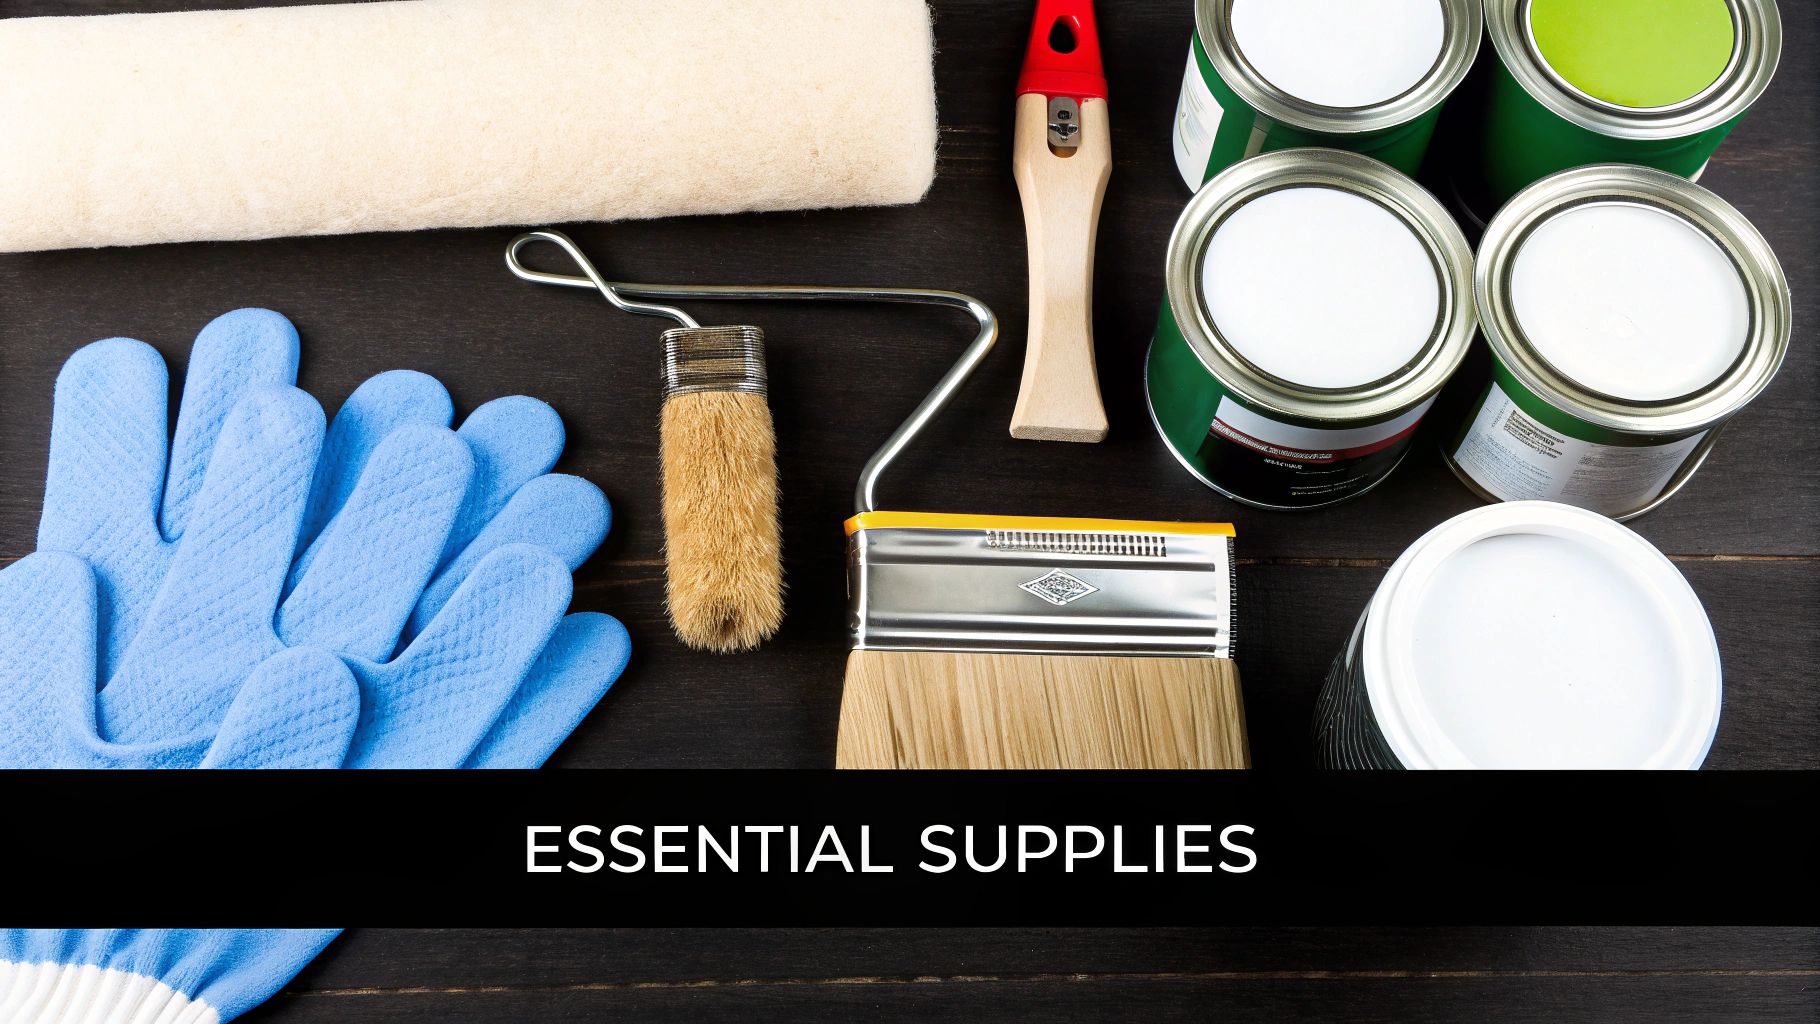
Getting that flawless, professional-looking finish without touching a piece of sandpaper starts way before you even open a can of paint. Your success really comes down to the products you choose. Think of it as a complete system—every single component has a job to do. The right supplies don't just make the work easier; they are the work.
Let’s go beyond a simple shopping list and dig into the "why" behind each item. This way, you’re not just buying stuff, you’re investing in a durable, beautiful result for your furniture.
Laying The Foundation: Cleaners And Primers
Paint can't stick to a dirty surface, period. For furniture that's seen years of use, accumulating layers of grime, dust, or furniture polish, a quick wipe with soap and water just won't cut it. You need something with a bit more muscle.
This is where a heavy-duty cleaner becomes your best friend. While traditional Trisodium Phosphate (TSP) is a powerhouse degreaser, I often steer people towards a TSP substitute. These formulas are typically phosphate-free, making them a more eco-friendly option that still does an amazing job of cutting through stubborn grease and grime.
After a thorough cleaning, the most crucial product in your toolkit is a bonding primer. This is not your everyday drywall primer. Bonding primers are engineered with special resins that literally create a chemical grip on slick, non-porous surfaces—think old varnish, shiny laminate, or even metal.
The real secret to painting furniture without sanding is a top-notch bonding primer. It essentially works like a super-strong double-sided tape, grabbing onto the old finish with one side while creating the perfect canvas for your new paint on the other.
Selecting The Perfect Paint
The whole trend of no-sand furniture painting has exploded, and we have modern paint formulas to thank for it. These specialized paints are designed for incredible adhesion, which makes the entire process so much more approachable.
Here’s a look at the best paint options for a no-sand project:
- Chalk and Mineral Paints: Famous for their unbelievable adhesion and velvety matte finish. They require very little prep and are incredibly forgiving, which makes them great for beginners. Just remember, they almost always need a protective topcoat to stand up to daily use.
- Alkyd Enamel Paints: These are my personal favourites for high-traffic pieces. Modern water-based alkyd formulas give you the best of both worlds: the rock-hard, durable finish of an old-school oil-based paint, but with the easy water cleanup of latex. Paired with a good bonding primer, the finish is incredibly resilient.
To help you decide, here's a quick breakdown of what to use and when.
Primer and Paint Selection for No-Sand Projects
| Product Type | Best For | Key Feature |
|---|---|---|
| Bonding Primer | Slick, glossy, or non-porous surfaces (varnish, laminate, metal) | Creates a powerful chemical bond for maximum paint adhesion. |
| Chalk Paint | Beginners, achieving a matte or distressed look, intricate pieces | Extremely forgiving, sticks to almost anything with minimal prep. |
| Mineral Paint | A smooth, low-sheen finish with more built-in durability | Excellent adhesion with a slightly tougher finish than chalk paint. |
| Alkyd Enamel | High-traffic furniture (tabletops, cabinets, chairs) | Cures to a very hard, scrubbable, factory-like finish. |
Choosing the right combination from this table is the key to ensuring your project not only looks great but also lasts for years to come.
Don't Forget The Application Tools
Finally, the tools you use to apply your paint will make or break your finish. Don't sabotage all your careful prep work by using cheap, low-quality applicators.
A high-quality angled brush is non-negotiable for cutting in around edges and getting into detailed areas without shedding bristles all over your masterpiece.
For big, flat surfaces like tabletops, dressers, or cabinet doors, a high-density foam roller is the best way to get a smooth, professional finish without any brush strokes. If you're tackling a larger set of furniture, you might even consider other methods. For a truly flawless and fast application, it could be worth looking into the best paint sprayer for home use.
The Critical Prep Work That Replaces Sanding
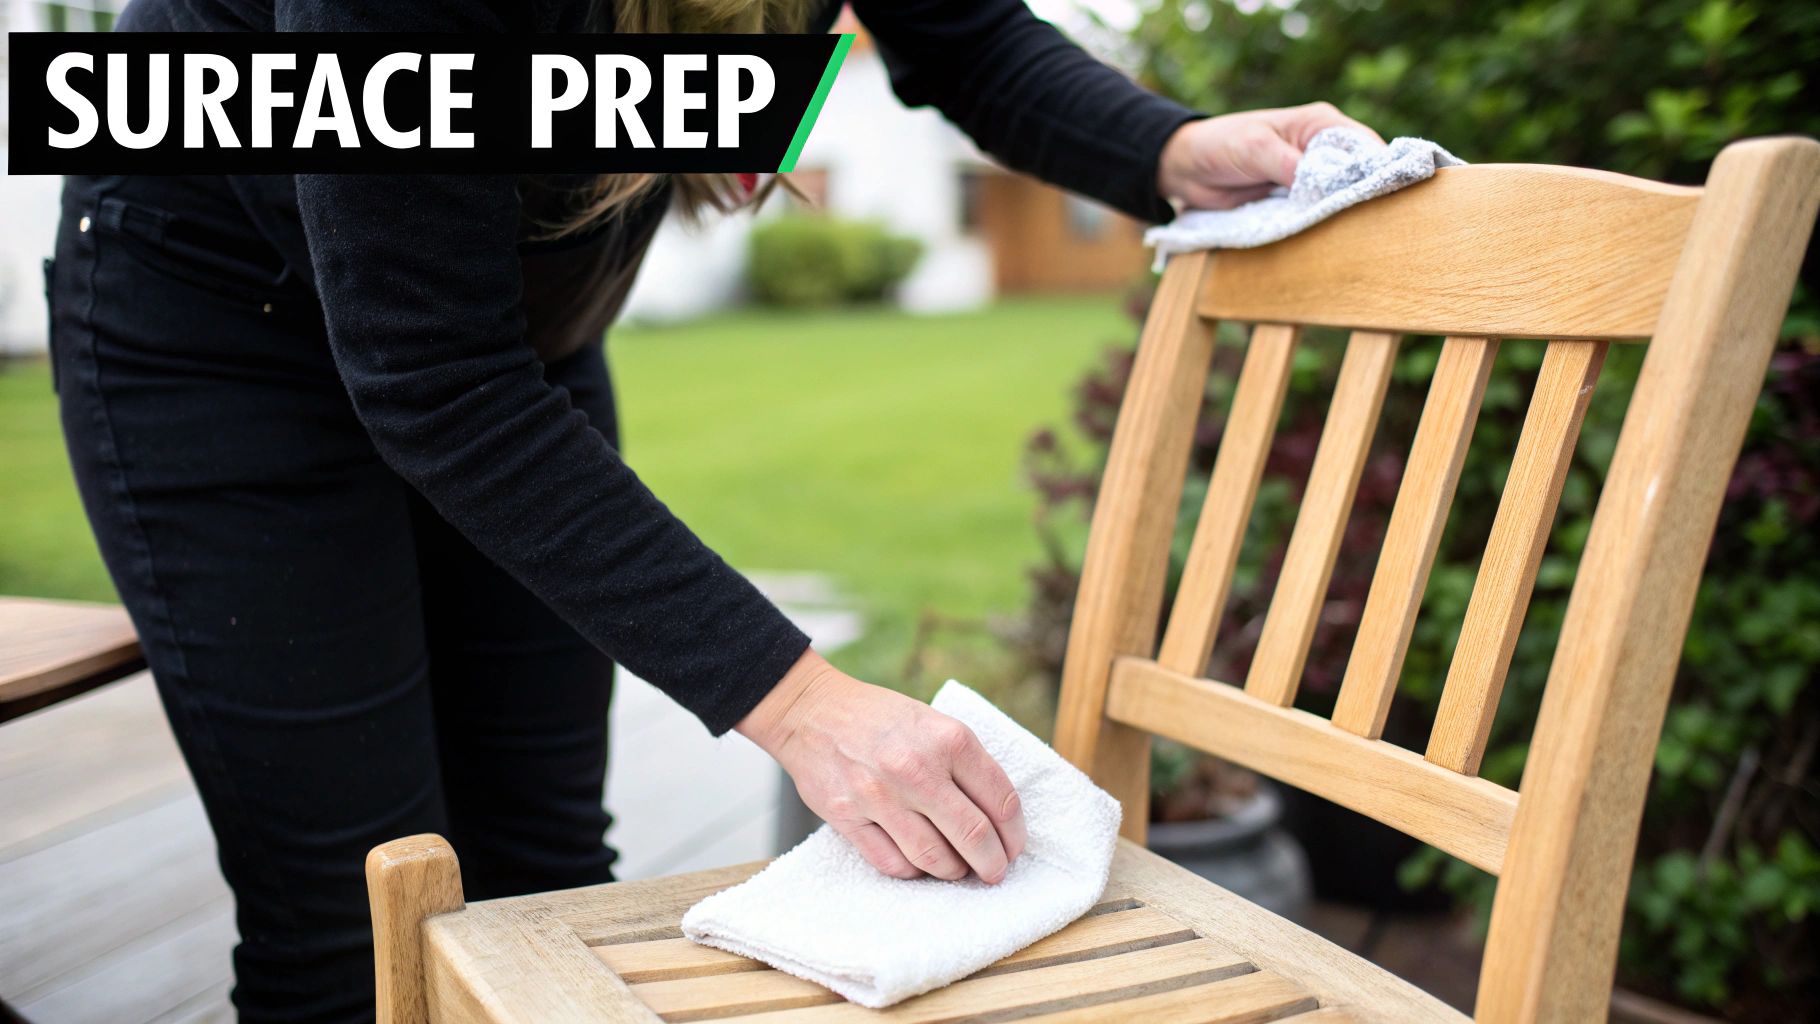
The idea of "painting furniture without sanding" is a bit of a misnomer. It doesn’t mean you get to skip the prep work entirely; you’re simply swapping one kind of labour for another. Instead of creating a cloud of dust, your focus shifts to a meticulous and strategic preparation that gives your paint the perfect surface to grab onto.
Honestly, this stage is probably the most important part of the whole project. Paint just won't stick to years of built-up grease, furniture polish, or everyday grime. Getting this part right is the absolute foundation for a durable, long-lasting finish that won’t peel or chip a few months down the line.
A Deep Clean Is Non-Negotiable
Every piece of furniture, no matter how clean it looks on the surface, is hiding an invisible layer of contaminants. Think about a dresser that’s been sitting in a busy Toronto home—it's been exposed to everything from cooking oils to aerosol sprays and cleaning product residue.
Your first move is to cut through all of that with a powerful degreasing cleaner. A solution of TSP (Trisodium Phosphate) or a good TSP substitute is my go-to for this. Mix it up according to the package directions, pull on some durable gloves, and get to work scrubbing every single surface you intend to paint.
Don't just skim the surface. Pay extra attention to the nooks, crannies, and any areas that get touched a lot, like around drawer pulls or along tabletops. Once you’re done scrubbing, you have to rinse the piece thoroughly with a clean, damp cloth. Any leftover cleaning residue will interfere with paint adhesion just as much as the original grime did.
Think of it like this: you're creating a pristine canvas. Every single spot you miss is a potential point of failure for your paint job. This isn’t a quick wipe-down; it’s a deep, restorative clean.
Making Minor Repairs for a Flawless Surface
After the piece is completely dry, give it a close inspection under good light. The no-sand painting method is great, but it can't magically hide dents, deep scratches, or dings. If you want that truly professional, smooth-as-glass finish, now is the time to deal with them.
For any minor damage, grab a high-quality wood filler. Apply it with a putty knife, overfilling the spot just a little to account for any shrinkage as it dries. Here's where a tiny bit of sanding comes in: once the filler is fully cured, you'll need to sand only the filler itself until it’s perfectly flush with the surrounding surface. This tiny step ensures your final coat of paint will be perfectly smooth.
When to Use a Liquid Deglosser
What about those exceptionally slick or glossy surfaces? I'm talking about old-school varnish or that factory-finished laminate. For these, an extra step can make all the difference.
A liquid deglosser, sometimes called liquid sandpaper, is a chemical product that does the etching for you. Instead of physically roughing up the finish, a deglosser chemically micro-etches the top layer, creating a dull, grippy texture that primer can lock onto for dear life.
The process is simple: wipe it on with a lint-free rag, follow the product's instructions for wait time, and then wipe off any excess. This is an essential technique when you're painting laminate cabinets and want to guarantee you have the best possible adhesion.
Bringing Your Vision to Life with Primer and Paint
You’ve done the hard part – the cleaning and prepping. Now for the fun part where your furniture really starts to transform. But hold on, this is where a little patience goes a long way. Rushing the painting is the single biggest mistake I see people make, and it can undo all that great prep work you just finished.
First up is your bonding primer. This isn't just a preliminary coat of paint; it's the glue that makes everything else stick. Think of it as the foundation for your project. A weak foundation means a weak finish, no matter how great the paint is. If you're curious about the science behind it, our guide explains in detail what primer paint is used for.
Grab a good-quality brush or a small foam roller and apply a thin, even coat. The key here is coverage, not thickness. Slathering on a thick layer of primer is a recipe for drips, pools in corners, and an uneven texture that will definitely show through your final colour.
Getting the Primer Just Right
To avoid those annoying lap marks, work in smaller, manageable sections. This helps you maintain what's called a "wet edge." For instance, if you're working on a dresser, focus on finishing one entire drawer front before starting the next. On a chair, do one full leg, then move on. This systematic approach is your best defence against drips.
Have a piece with some fancy details, like carved legs or intricate trim? Use a small artist's brush to get the primer into those nooks and crannies without globbing it on. This keeps the primer from filling in and hiding all the character that made you choose the piece in the first place.
Don't stress if your primer coat looks a bit see-through. Its job is to create a bond, not to provide perfect, opaque coverage. A slightly transparent but even coat is exactly what you're aiming for.
Once the piece is fully primed, the hardest part begins: waiting. You have to let it dry completely. Check the can for the manufacturer's recommended time—it could be anywhere from one to four hours. Seriously, don't jump the gun. Painting over wet primer is a surefire way to get a gummy, uneven mess.
How to Get a Brush-Stroke-Free Paint Finish
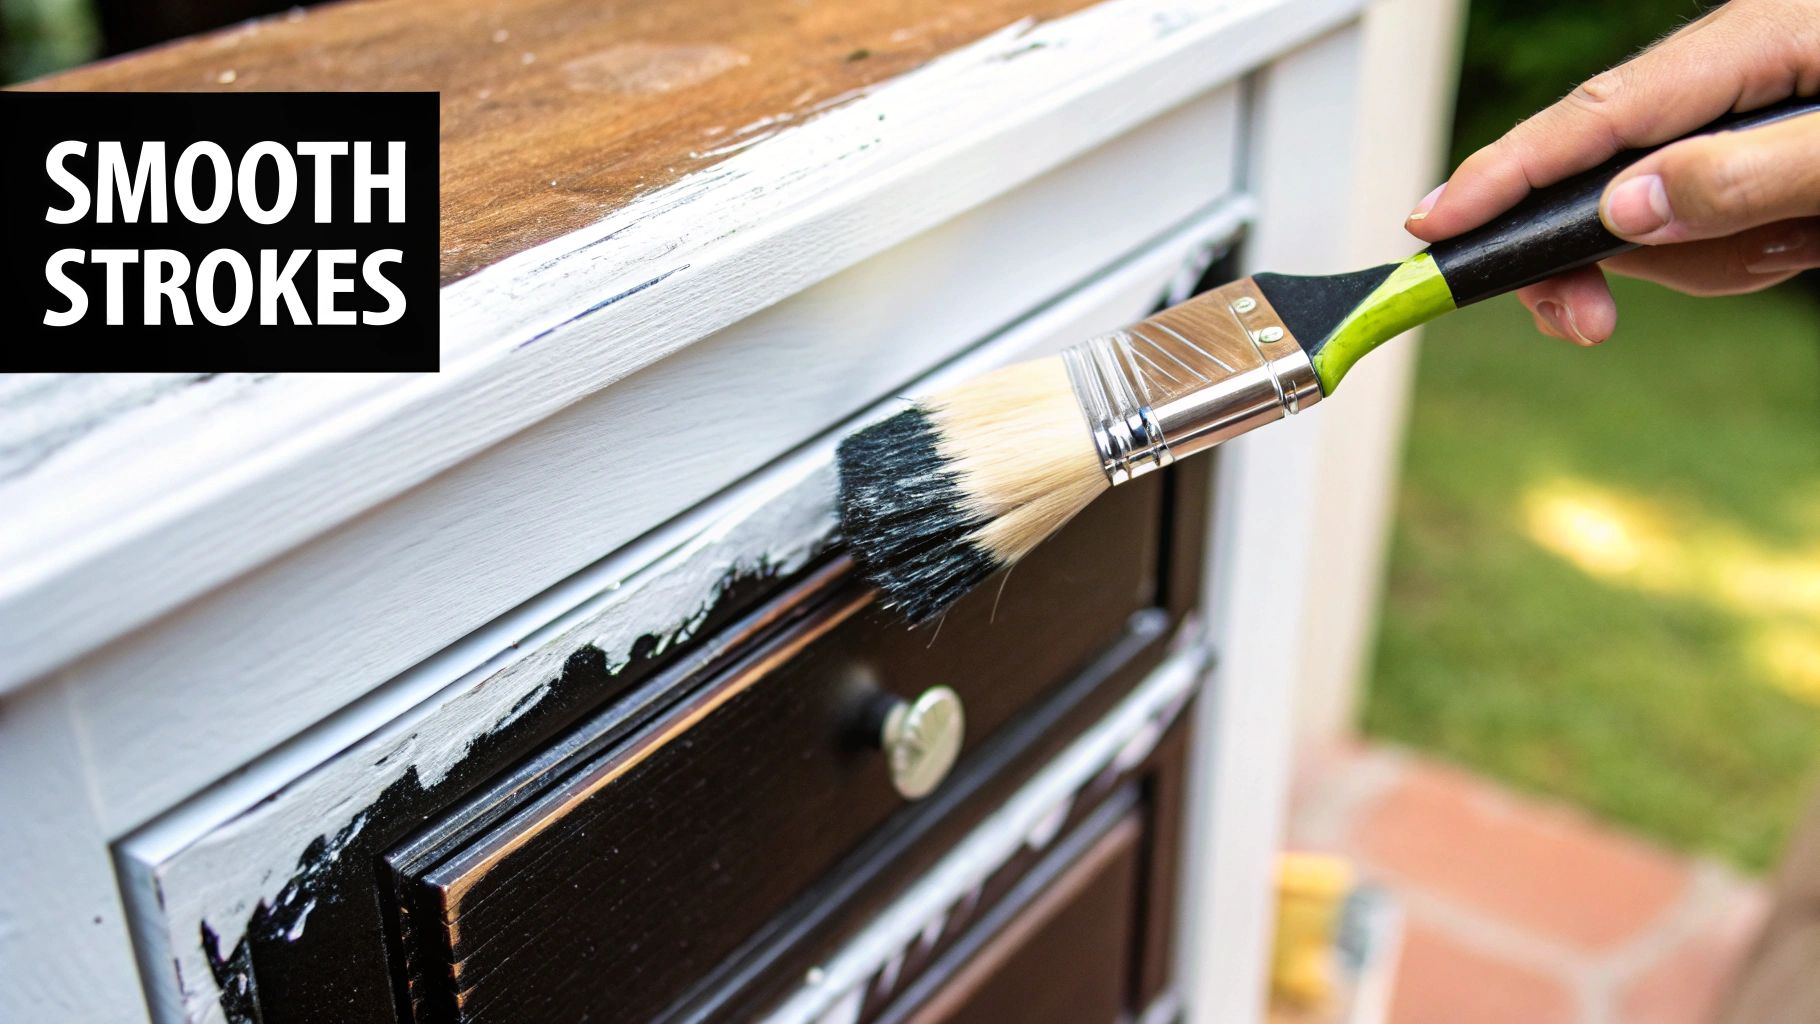
Alright, it's time for the colour! The same rule from priming applies here: thin coats are everything. You’ll almost certainly need at least two coats to get that deep, solid colour you're picturing. Overloading your brush is a direct path to drips, runs, and a lumpy finish.
Here are a few tricks I've picked up over the years for a flawless application:
- Choose Your Weapon Wisely: I always have a high-quality angled brush for cutting in edges and getting into details. For big, flat areas like a tabletop or dresser sides, a high-density foam roller is your best bet for a smooth, almost-sprayed-on look.
- Be Systematic: Always paint in the direction of the wood grain, even if you can't see it. For flat surfaces, roll on your paint and then, without adding more paint to the roller, go back over the section with long, light strokes from end to end.
- Learn to "Tip Off": This is a classic painter's technique. After you've brushed paint onto a section, lightly glide just the very tips of your brush bristles across the wet surface in one long, smooth motion. It magically smooths out the brush marks.
Let each coat of paint dry completely before starting the next. For an ultra-smooth, professional-grade finish, you can gently scuff the dried paint with a super fine-grit sanding sponge (220-grit or higher) between coats. Just make sure you wipe every speck of dust away with a tack cloth before applying the next layer. It's this final bit of patience that separates a good DIY project from a great one.
How to Protect Your Newly Painted Furniture
Alright, you’ve put in the work. The prep is done, the paint is on, and your furniture is looking fantastic. It’s so tempting to just stop here and admire your handiwork, but don't skip this final, critical step: the topcoat.
Think of a topcoat as armour for your furniture. Without that protective layer, your beautiful new finish is left exposed to the realities of daily life—scratches, scuffs, dreaded water rings, and all the little bumps and knocks that happen. This is especially true for any piece that gets a lot of action, like a coffee table, dining table, or the top of a dresser. A good sealer is what makes the difference between a finish that looks good for a week and one that lasts for years.
Choosing The Right Sealant For Your Project
Not all topcoats are created equal, and picking the right one comes down to the piece itself, how you plan to use it, and the final look you're going for. Each type has its own personality, so knowing the differences will help you make the best choice.
- Polycrylic: This is my go-to for light-coloured furniture. It's a water-based protector that dries crystal clear and, most importantly, won't yellow over time. It gives you great durability, doesn't have a strong odour, and dries pretty quickly. It's the best choice for white or light-coloured paint.
- Polyurethane: You'll find this in both water-based and oil-based versions. It's known for creating a super durable, scratch-resistant finish. Just a heads-up: the oil-based kind can add a slight amber tint, which can look really rich on dark colours but might give your lighter shades an unwanted yellowish hue.
- Finishing Wax: If you're after a soft, velvety sheen, wax is a beautiful option, especially over chalk or mineral paints. It creates a gorgeous, hand-rubbed look, but it offers the least amount of protection and you’ll likely need to reapply it every so often to maintain the finish.
The boom in DIY furniture projects has pushed paint companies to innovate. Some of the newer paints on the market actually have a sealer built right in. This really simplifies things and is a big part of why so many people are successfully learning how to paint furniture without sanding. If you want to check out some of these all-in-one products, you can find more pro painting advice at Glidden.com.
Application Tips for a Flawless Finish
Applying the topcoat is just as important as choosing the right one. Your goal here is a smooth, invisible shield—not a mess of streaks, bubbles, or drips. Grab a high-quality synthetic brush and focus on applying thin, even coats.
I always work in long, smooth strokes, making sure to keep a "wet edge" to prevent any ugly lap marks from showing up. The old rule of thumb definitely applies here: it’s much better to apply two or three thin coats than to slop on one thick, goopy one. For pieces that are going to get a lot of wear and tear, like kitchen furniture, this protective step is absolutely essential. Our detailed guide on how to paint kitchen cabinets dives deeper into creating a finish that can really stand up to daily use.
Make sure you let each coat dry completely based on the manufacturer's instructions before you even think about adding the next one. A little bit of patience in this final stage will lock in all your hard work, leaving you with a tough, long-lasting finish you can be proud of for years to come.
Answering Your Top No-Sand Painting Questions
Even after you've got the plan down, a few nagging questions can pop up right before you start a furniture project. Getting those sorted out beforehand is the key to a stress-free transformation. Let's tackle some of the most common things people ask when painting furniture without all that dusty sanding.
Can I Really Paint Over a Glossy or Varnished Piece?
Yes, you absolutely can, but this is where your prep work really has to shine. On a high-gloss piece, a deep clean with a good degreaser isn't just a suggestion—it's your first and most critical step. It gets rid of all the gunk and grime that would otherwise kill your paint's ability to stick.
After cleaning, the magic happens with a bonding primer. This is the product that grips onto that slick surface for you. For those really tricky surfaces, like the old, stubborn varnish or lacquer you find on vintage pieces in many Toronto homes, I’d go one step further. Wiping it down with a liquid deglosser before you prime is the best insurance for a finish that’s going to last.
What’s the Best Paint for a No-Sand Project?
The right paint really comes down to the final look you're after and how much wear and tear the piece will face.
- Chalk and Mineral Paints: These are brilliant for no-sand projects because their claim to fame is incredible adhesion with very little prep. They’re also super forgiving, which makes them a fantastic starting point if you're new to this.
- High-Quality Acrylic or Alkyd Enamel Paints: If you want a tougher, more factory-like finish, this is your best bet. When you team these up with the right bonding primer, the result is a rock-solid surface that's perfect for high-traffic items like kitchen cabinets or a busy hallway table.
The success of your project all comes down to the powerful duo of a meticulous clean and the right primer. You're not really skipping a step; you're just swapping the hard work of physical sanding for the smart work of a chemical bond.
How Can I Avoid Brush Strokes and Get a Smooth Finish?
Getting that flawless, professional-looking surface is all about your technique and your tools. First off, invest in a high-quality synthetic brush—it makes a world of difference. When you're painting, try to resist the urge to load it up with too much paint. Light, even pressure is the way to go.
For bigger, flat areas like the top of a dresser or the side of a cabinet, I always grab a high-density foam roller. It’s my go-to for a completely streak-free look. Here’s another pro tip: add a little paint extender or conditioner to your paint. It slows the drying time just enough to let the paint level itself out, which helps all those potential brush marks just melt away.
Is a Topcoat Always Necessary?
That’s a great question, and the answer is: it depends. For any piece of furniture that's going to get regular use—we're talking coffee tables, chairs, dressers, or anything in a high-traffic area of your GTA home—a protective topcoat is highly recommended. It’s your shield against scuffs, scratches, and spills.
On the other hand, if you're painting something that’s purely decorative and sits in a quiet corner, you can probably get away without one. This is especially true if you’ve chosen one of those durable, all-in-one paint formulas that are built to be tough from the get-go.
Ready to give your space a professional refresh without the mess? For the best painting results in Toronto, Mississauga, and across the GTA, trust the experts. Contact Soca Services Painting today for a flawless finish every time at https://www.socaservicespainting.com.