


Staring at dated wallpaper can feel like a monumental task, but stripping it yourself is often much easier than you think. The secret to how to remove wallpaper easily isn't brute force; it's about identifying the type of wallpaper first and using the right technique. The best method, often just hot water and vinegar, can work wonders once you know what you're dealing with.
This initial step dictates the entire removal strategy and is the best way to prevent unnecessary damage to your walls.
Your Strategy for Flawless Wallpaper Removal
Tackling wallpaper removal requires a clear, objective plan. The biggest mistake homeowners make is grabbing a scraper and starting to peel without any prep work. This almost always leads to gouged drywall and hours of frustrating, painstaking labour.
A much better approach is to first figure out what you're up against. For instance, a modern peel-and-stick vinyl in a newer Mississauga condo will likely come off with minimal effort, sometimes in full, satisfying sheets. On the other hand, an older, paper-based wallpaper in a classic Toronto home might have been applied with a heavy-duty adhesive that requires a lot more persuasion. The best strategy is always tailored to the material.
Understanding Your Wallpaper Type
Before soaking or scraping, you need to identify the kind of wallpaper on your walls. This single detail is the most critical factor for a smooth project.
A quick test can tell you everything. Try to gently lift a corner with a putty knife. If it comes off easily and feels like plastic, you're probably dealing with a strippable or peel-and-stick variety—the easiest kind.
What if only the top decorative layer peels away, leaving a paper backing stuck to the wall? That means you have a peelable vinyl, which will require a two-step process. The most challenging type is traditional paper wallpaper, which absorbs water and tears into small, frustrating pieces unless it soaks properly.
The secret to easy removal isn't expensive chemicals; it's patience and proper technique. Letting a soaking solution fully penetrate the old adhesive does 90% of the work, turning a scraping battle into a simple peel.
Knowing your wallpaper type helps you gather the right tools and set realistic expectations for the job ahead. For homeowners near Toronto or anywhere in the GTA, identifying the wallpaper correctly is the best first step.
Quick Guide: Wallpaper Type and Removal Method
| Wallpaper Type | How to Identify It | Recommended Removal Method |
|---|---|---|
| Peel-and-Stick | Peels off easily from a corner, often in one large piece. Has a vinyl or plastic-like feel. | Gently pull from a corner at a 45-degree angle. No soaking needed. |
| Strippable | Similar to peel-and-stick, comes off in full or large strips without leaving residue. | Start at a seam and pull away from the wall. May require gentle prying to start. |
| Peelable Vinyl | The top vinyl layer peels off, but a paper backing remains on the wall. | Peel off the top layer first, then soak and scrape the paper backing. Scoring is often necessary. |
| Traditional Paper | Tears easily when you try to peel it. Absorbs water quickly. No separate layers. | Score the surface, then soak thoroughly with a removal solution before scraping. |
Once you've identified your wallpaper and chosen your method, you're well on your way to a clean slate. After the wallpaper is gone, you'll have a blank canvas ready for a fresh look. For tips on what comes next, our guide on how to paint interior walls provides expert advice for achieving a perfect finish.
Prepping Your Room for a Mess-Free Project
Before peeling that first corner, remember this: a little prep work now will save hours of headaches later. A classic rookie mistake is to jump right in, but that path leads to damaged floors, sticky furniture, and potentially dangerous electrical situations. The goal is to create a controlled ‘splash zone’ where the job can be done without wrecking the rest of the room.
First, clear the room as much as possible. If all furniture cannot be moved out, push what’s left into the centre of the room and drape it with heavy-duty plastic sheeting. A complete seal is needed to protect it from water, old glue, and wallpaper fragments.
Protecting Your Workspace
With the furniture out of the way, the floor is the next priority. There's no way around it—wallpaper removal is a wet, sticky, and messy job.
- Start by laying down plastic sheeting or a canvas drop cloth across the entire floor. Make sure it runs a few centimetres up the baseboards.
- Grab some painter's tape and secure the edges of the sheeting directly to the baseboards. This creates a simple but effective waterproof barrier, stopping any removal solution from seeping under and ruining your floors.
Now for the most important part: electrical safety. Water and electricity are a seriously dangerous mix, so this step is not optional. Head to your circuit breaker and shut off all power to the room you're working in. Once you're sure the power is off, carefully unscrew and remove every outlet and light switch cover.
Here’s a pro tip that’ll save a ton of frustration later: pop all those covers and their tiny screws into a labelled sandwich bag. This bit of organisation means you won't be on your hands and knees searching for missing hardware when it's time to put everything back together.
Once the room is prepped, you have a safe, contained workspace ready for action. You might find more tips on managing mess during redecorating helpful for keeping the project tidy. It’s also common to deal with lingering smells during these projects; you can learn more about how to get rid of paint odors in our other guide.
How to Score and Soak Stubborn Wallpaper
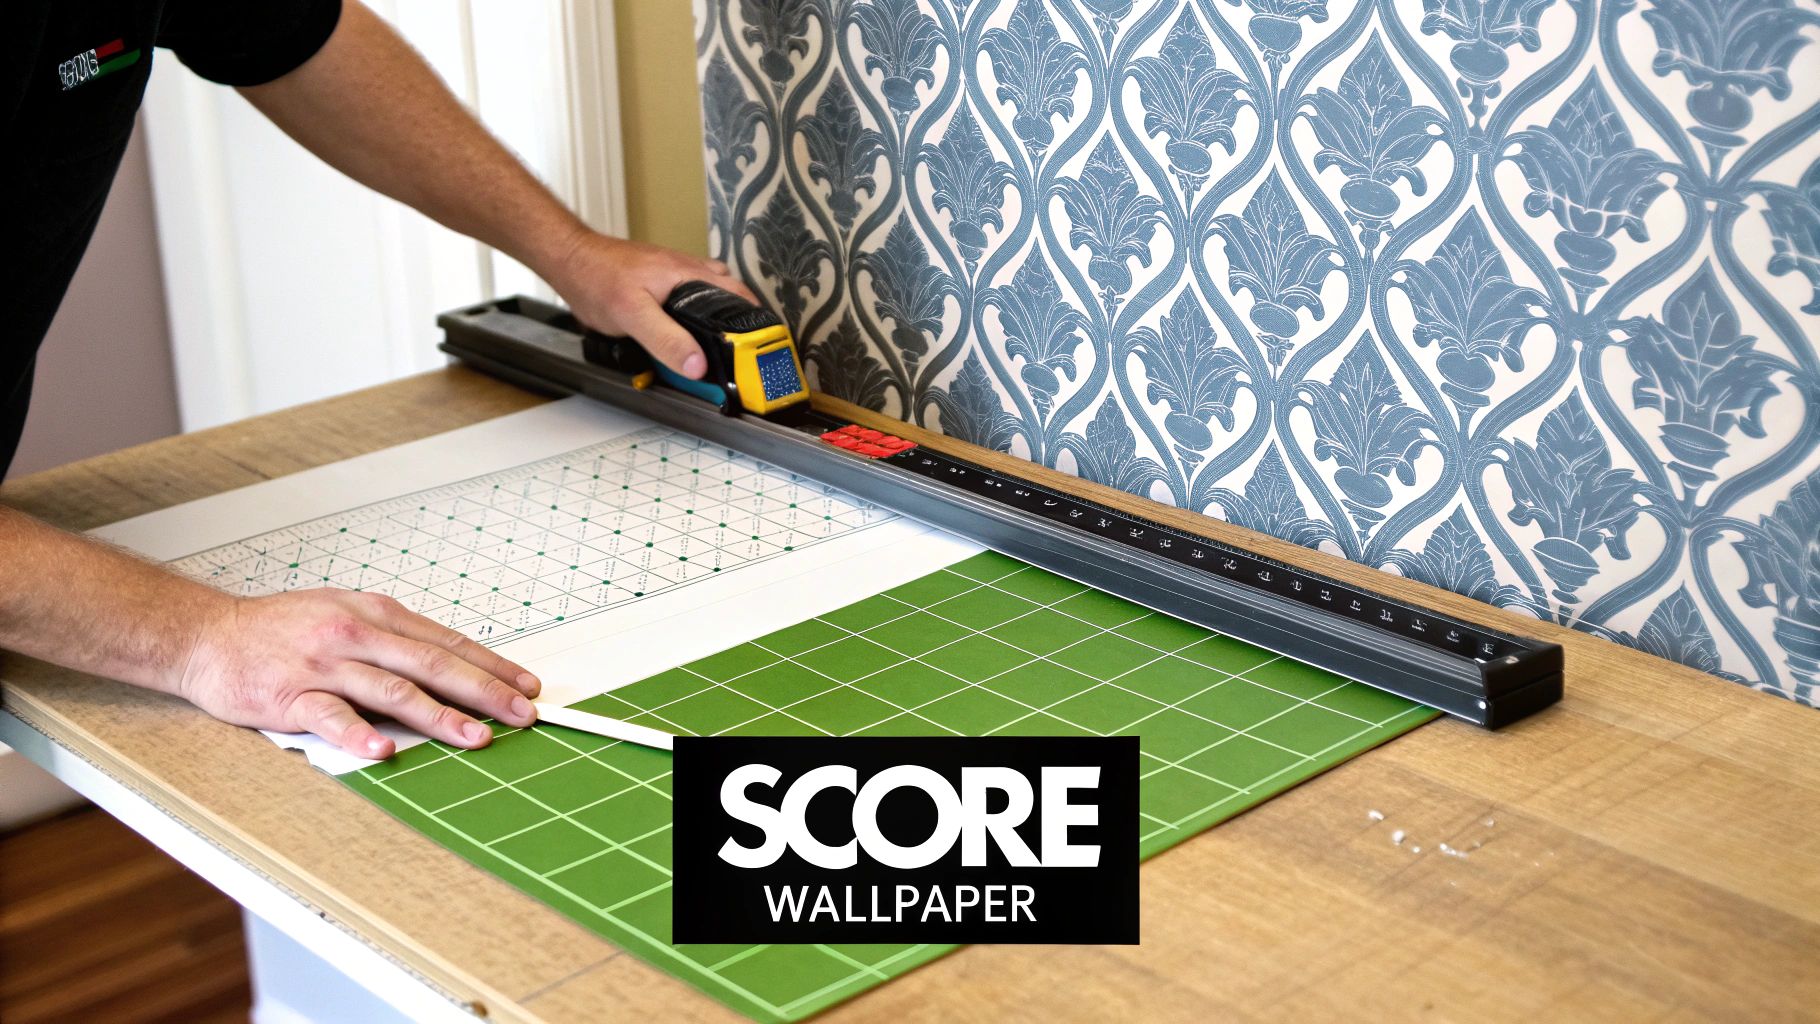
Now that your room is protected, it's time to tackle the wallpaper itself. The secret to getting wallpaper off easily is breaking through its surface so your remover solution can get to the adhesive underneath. This one-two punch of scoring and soaking is what separates a frustrating day of scraping from a job that goes smoothly.
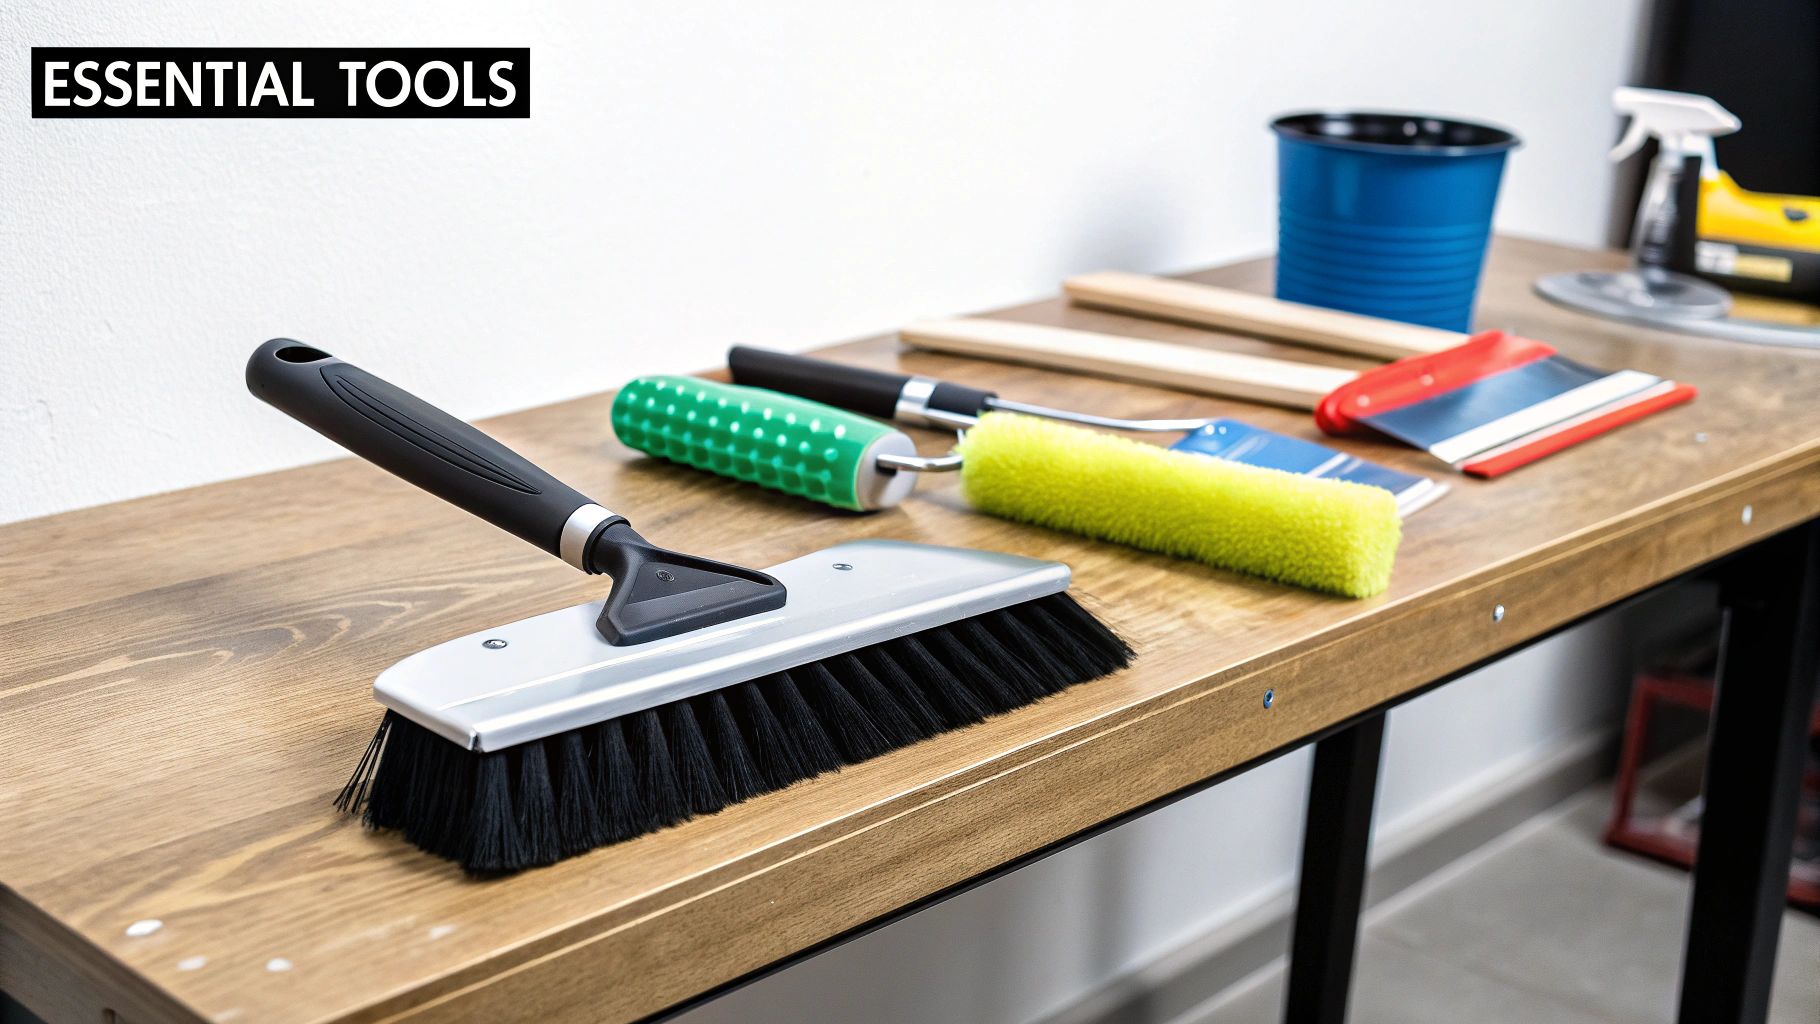
First, perforate the wallpaper. For this, a wallpaper scoring tool is your best friend. These gadgets create thousands of tiny holes in the paper, giving the liquid a path to the glue without tearing up your drywall. Just roll the tool over the entire wall using gentle, overlapping circles. A light crunching sound indicates success. The key is to apply just enough pressure to pierce the paper, not gouge the wall.
Choosing Your Removal Solution
Once the wall is scored, it's time to get it wet. You have a few choices for a removal solution, from simple homemade recipes to heavy-duty commercial products.
- Hot Water and Vinegar: The classic DIY mix. Combine equal parts white vinegar and hot water in a spray bottle. It’s cheap, surprisingly effective on older papers, and the ingredients are likely already in your kitchen.
- Fabric Softener and Water: Another handy trick. Mix one part liquid fabric softener with about three parts hot water. The ingredients that soften clothes also do a great job of breaking down old-school wallpaper paste.
- Commercial Wallpaper Stripper: If you're up against a tough, non-porous vinyl or painted-over wallpaper, a concentrated commercial stripper is the best option. These are engineered to dissolve stubborn, modern adhesives quickly.
The infographic below gives you a great visual on the basic process for using a commercial remover.
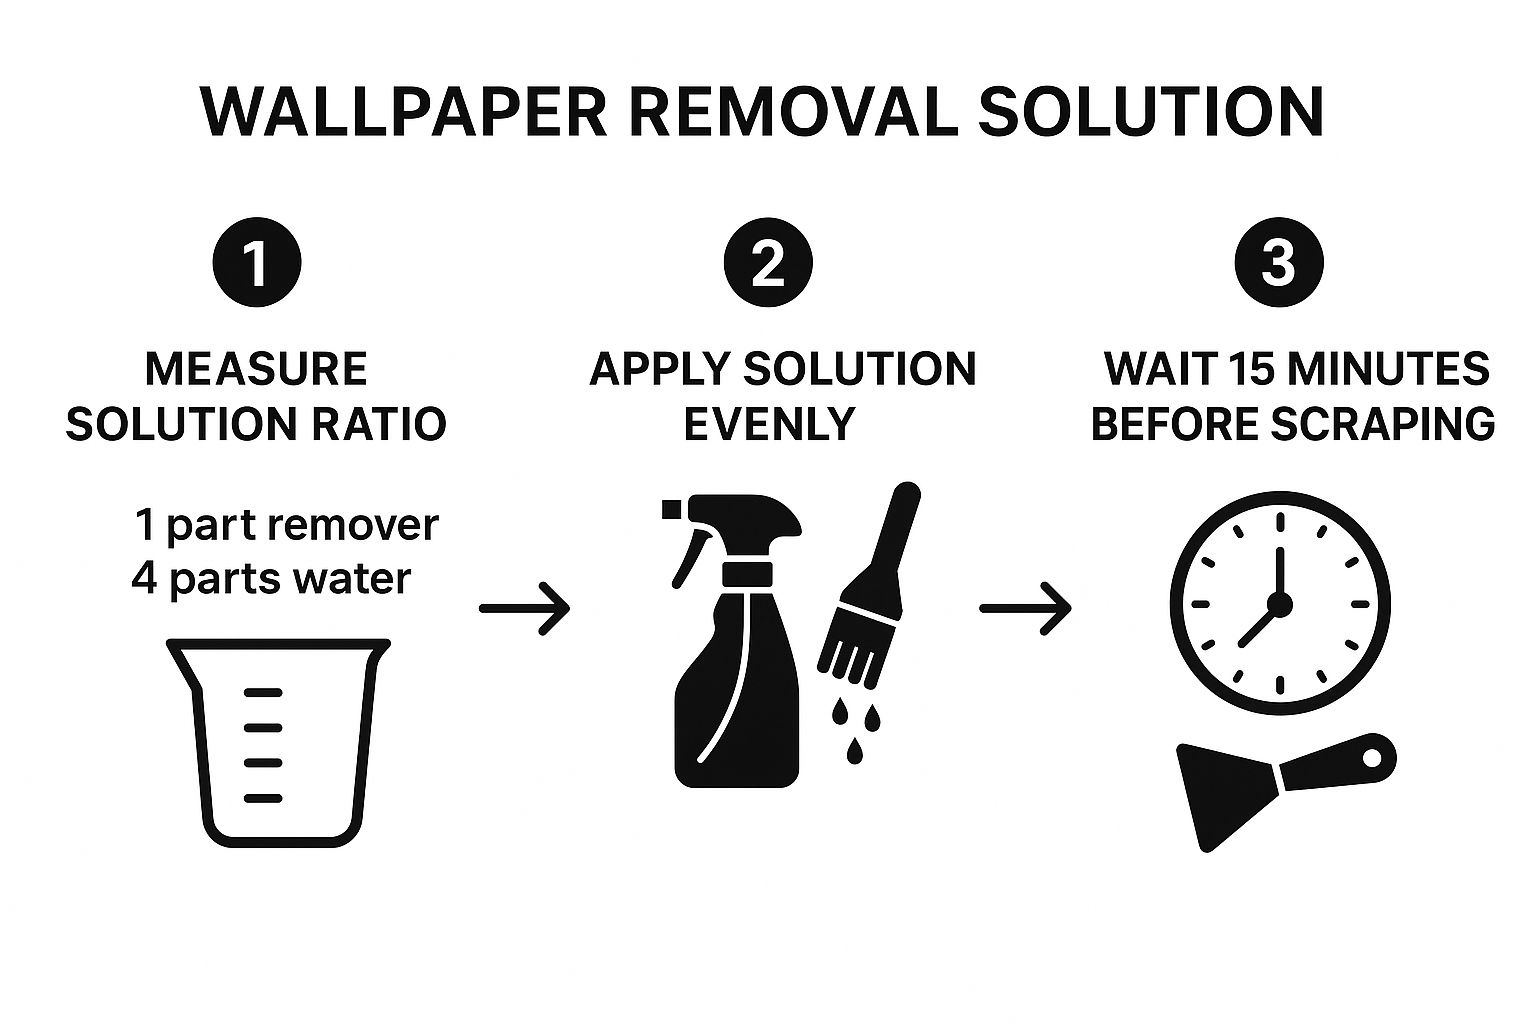
It really boils down to that simple mix-apply-wait formula. That’s the core of any successful wallpaper removal job.
Grab a spray bottle, sponge, or paint roller and apply your solution generously. Don't try to do the whole room at once; work in manageable sections, about one square metre at a time. Now for the most important part: let it sit for at least 10-15 minutes. This dwell time is when the magic happens, giving the liquid a chance to penetrate and dissolve the glue.
For the most stubborn sections, steam can be a game-changer. It’s incredibly effective at loosening old, hardened adhesive. If you don't want to buy a steamer, you can always look into professional steam cleaning services to handle it.
Don’t rush the soaking process. Be patient. When the wallpaper is ready, it will often start to look bubbly or almost translucent. That’s your sign that the adhesive has finally let go, making the next step a whole lot easier.
Working on other home renovation projects? The right removal technique is crucial for every surface. You can learn more in our detailed guide on how to use paint remover on wood.
The Art of Stripping Wallpaper Without Damaging Your Walls
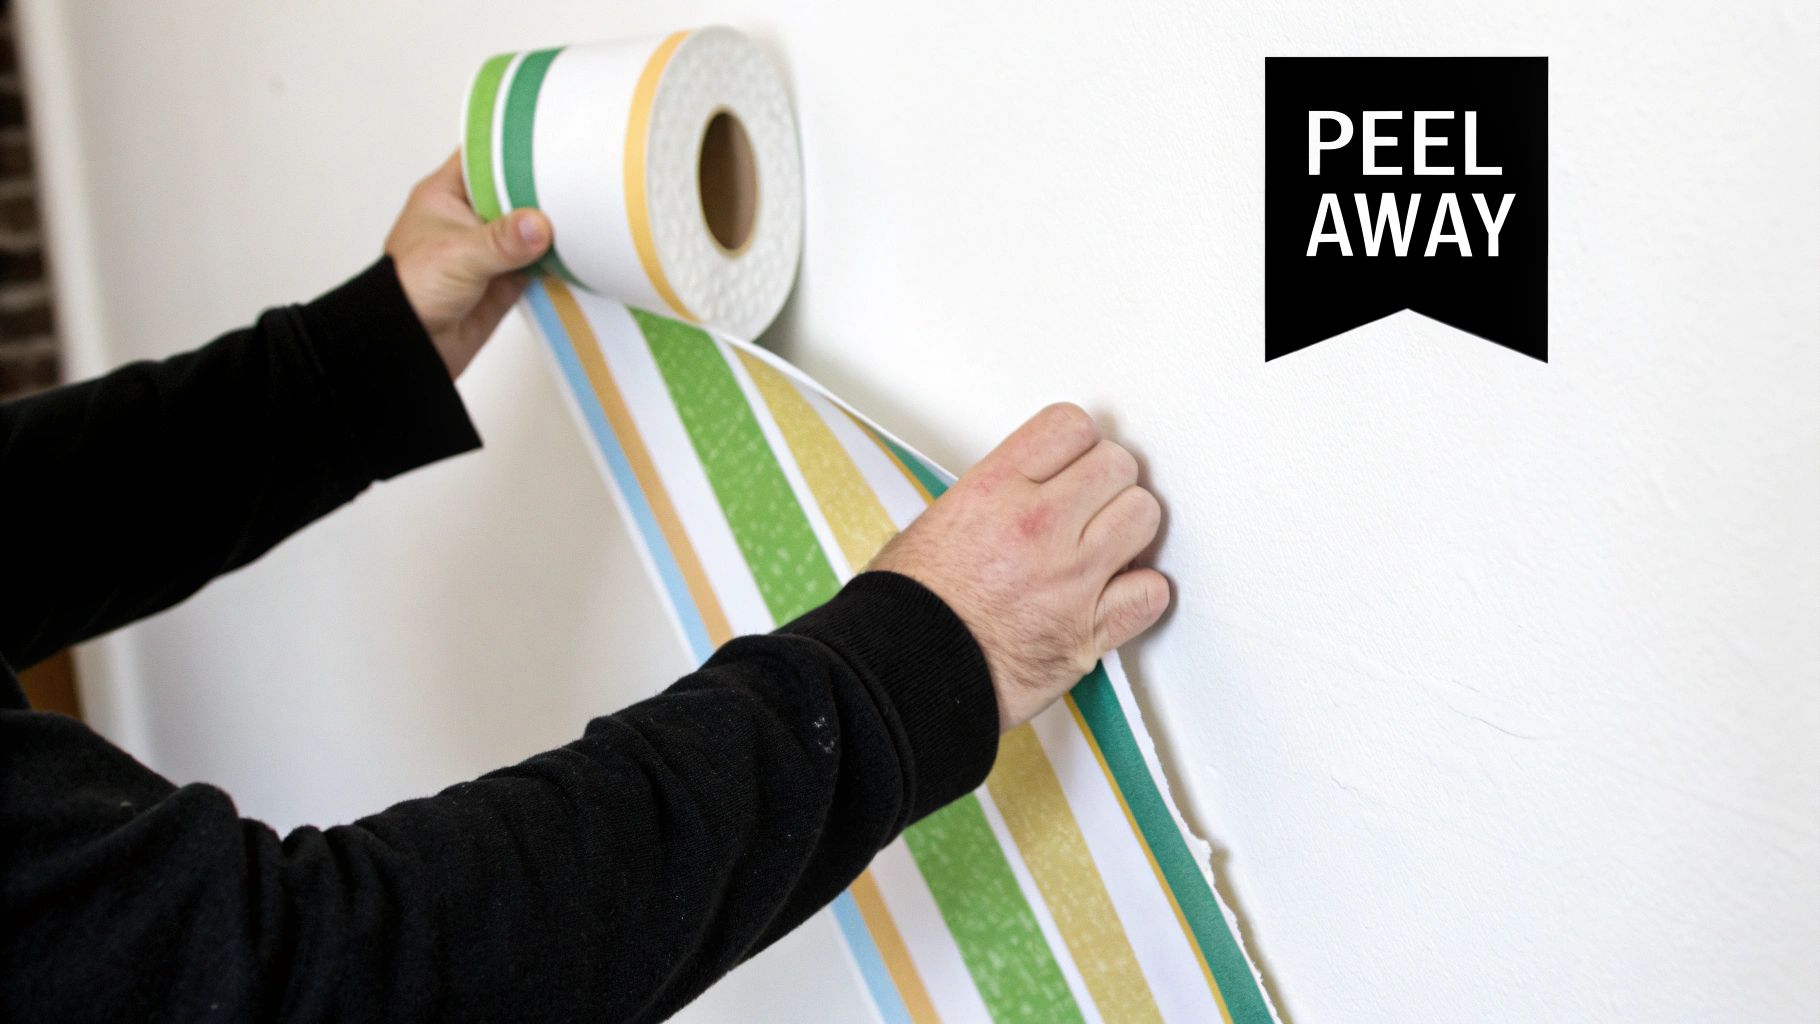
The prep work is done. The paper is soaked, the glue is soft, and now for the most satisfying part of the job. The trick to getting wallpaper off easily isn't about muscle; it's all in the technique. Start by looking for a loose corner or a seam that’s already lifting a bit—that's the perfect starting point.
Grab a corner and begin pulling the paper away from the wall. The key here is to pull down and away at a low, 45-degree angle. This angle is your best friend because it helps you peel off bigger, cleaner sheets and minimizes stress on the drywall underneath. Do not yank it straight out; that's a surefire way to end up with a wall full of tiny, annoying paper shreds.
Tackling Those Stubborn Sections
No matter how well you prep, you will almost certainly run into a few spots where the adhesive just doesn't want to cooperate. When this happens, reach for your flexible putty knife. Remember, this is a tool for finesse, not for aggressive scraping. Gently work the blade under the paper's edge and carefully pry it away from the wall.
Keep the putty knife almost flat against the wall to avoid gouging the surface. Think of it more like a lever than a chisel. If you notice paint peeling off with the paper, it could point to a deeper moisture problem. You can learn more about how to handle that in our guide on how to fix peeling paint to get to the root of the issue.
The go-to trick for a stubborn patch? Just soak it again. If a section refuses to budge, give it another spray, let it sit for five more minutes, and try again. Patience will get you much further than brute force.
A classic problem, especially with older vinyl papers, is when the decorative top layer peels right off, leaving the paper backing stuck to the wall. Do not panic. Just treat that backing like a fresh layer of wallpaper. Soak it down with your removal solution until it’s saturated, then you can scrape it away.
It's worth noting that the home renovation boom since 2020 has pushed the market toward more user-friendly options like peel-and-stick papers. Homeowners want simpler decorating processes, and manufacturers are listening. This shift means your next redecorating project might be a whole lot easier from the get-go.
Cleaning and Repairing Walls for a Perfect Finish
Getting that last strip of wallpaper off the wall is a huge victory, but you're not at the finish line yet. To get a truly professional result, the wall needs final prep before its new look. Any leftover adhesive will sabotage a fresh coat of paint, leaving you with a blotchy, uneven surface that seems to magnify every little flaw.
The best way to tackle any lingering glue is with a solution of warm water mixed with a splash of dish soap or a bit of trisodium phosphate (TSP) substitute. Grab a large sponge and wash the walls from top to bottom. It helps to use a two-bucket method here—one for your cleaning solution and another with clean water for rinsing your sponge. This trick stops you from just smearing diluted glue all over the place.
Repairing Minor Wall Damage
Let the walls dry completely, then it's time to inspect the surface. Get up close and check for any nicks, gouges, or small holes your scraper might have left behind. Fixing these tiny imperfections makes a massive difference in the final look.
For each flaw, apply a small amount of spackling compound with a flexible putty knife, smoothing it so it’s flush with the wall. Give it a few hours to dry completely. Once it’s dry, a quick, light sanding with fine-grit sandpaper is all you need to make the patched spots perfectly smooth to the touch.
A flawless finish depends on a flawless foundation. Skipping this final cleaning and repair stage is the difference between a DIY project that looks DIY and one that rivals professional work.
Once you’ve done this, your hard work will pay off with a pristine surface ready for its next chapter. This is also the perfect time to apply a high-quality primer to seal the wall and ensure your new paint absorbs evenly. If you want to dive deeper into why this step is so crucial, check out our guide on what primer paint is used for and how it sets your project up for success.
Keep in mind that the effort involved can vary. For perspective, professional removal prices can range from $0.60 to $3 per square foot, often depending on the type of wallpaper and the condition of the walls underneath. You can find more details about wallpaper removal costs on Angi.com.
A Few Common Wallpaper Removal Questions Answered
Even with the best instructions, every project hits a snag. Whether working on an older home in Toronto with decades of decorating history or a newer build in Mississauga, you'll likely run into some familiar challenges. Here are the answers to some of the most frequent questions about getting wallpaper off the easy way.
Can I Just Wallpaper Over the Old Layer?
It's tempting to take a shortcut, but this is one you'll almost certainly regret. As soon as you apply new, wet adhesive, the old wallpaper underneath will start to bubble, lift, and peel away from the wall.
The result? A lumpy, unprofessional finish where the seams will never line up properly. For a durable, high-quality look that you'll be proud of for years, you should always take the time to strip the old wallpaper first. It's the only way to get a perfectly smooth foundation.
How Do You Remove Painted-Over Wallpaper?
Painted-over wallpaper is one of the toughest removal jobs. The paint creates a waterproof seal that stops a removal solution from reaching the old adhesive.
Your scoring tool is your best weapon here. Be aggressive and thorough, creating thousands of tiny holes for the solution to seep through. A wallpaper steamer is also a lifesaver in this situation. The hot steam gets into those perforations much better than a liquid solution alone and really helps soften that stubborn, old glue. It takes patience, but it can be done.
Painted wallpaper is a test of patience, not strength. The more you score and steam, the less you'll have to scrape. A methodical approach will always win against a stubborn wall.
What Is the Best Way to Remove Stubborn Wallpaper Glue?
Once the paper is gone, you'll almost always have some sticky adhesive residue left behind. For most of it, a simple mix of hot water and a splash of either fabric softener or vinegar does the trick. Wipe it on with a sponge, let it sit for a few minutes to work, and then scrub the glue away with a nylon pad.
If you hit some really tough spots, it's worth picking up a commercial adhesive remover from a hardware store. No matter which method you use, always give the wall a final rinse with a clean, damp sponge. This ensures you have a pristine surface ready for primer and a fresh coat of paint.
If you're facing a challenging wallpaper removal project near you in the Greater Toronto Area and would rather find the best professional to handle it, Soca Services Painting offers expert services to ensure a flawless finish. Visit us at https://www.socaservicespainting.com to get a quote today.
3 Comments