

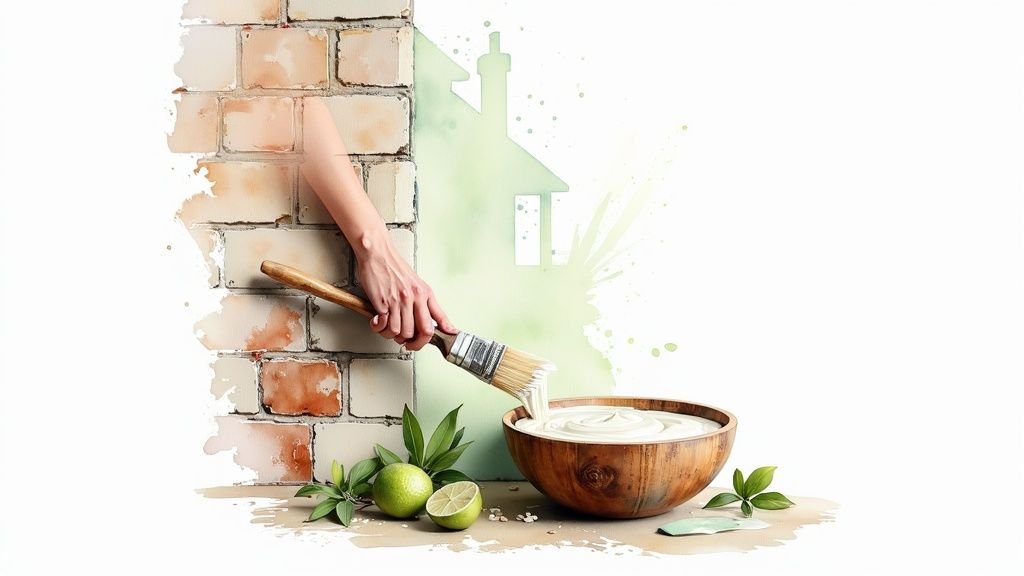
Limewash is a breathable, eco-friendly finish crafted from slaked lime and water. It delivers a soft, matte appearance on masonry and interior walls.
Heritage enthusiasts prize limewash for its natural patina that deepens with time, and its built-in antimicrobial properties.
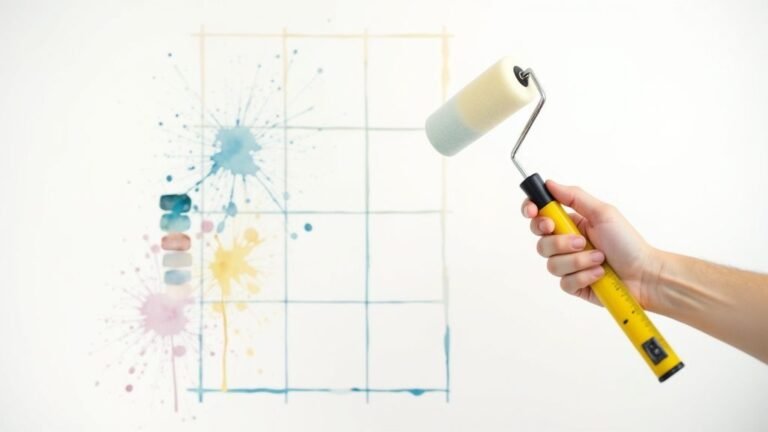
Discover Why Limewash Matters
In this guide, we’ll journey from the simplest ingredients to timeless heritage applications. You’ll learn how to select the right surfaces, apply each coat correctly, maintain the finish and estimate your project budget.
- Ingredients: Slaked lime mixed with water, curing by natural carbonation into durable calcium carbonate.
- Heritage: Used in California missions and Gold Rush-era buildings for durability and charm.
- Benefits: Breathability, an antimicrobial barrier, UV resistance and passive thermal regulation.
- Core Topics: Chemistry, history, surface suitability, application basics, upkeep and cost planning.
Early lime production in California shaped entire communities. The Davis and Jordan operation, launched in California in 1853, became the state’s largest lime producer within years—fueling San Francisco’s Gold Rush boom. Learn more about Davis and Jordan’s legacy.
What You’ll Master
We’ll break down each concept using clear analogies and real-world stories. Carbonation, for example, behaves like a sponge releasing moisture as it sets.
Every section builds on the last—from the chemistry underpinning limewash to timely maintenance tips—so you can create a finish that honours traditional methods while meeting modern performance goals.
Understanding The Chemistry And Properties
Limewash starts with a straightforward mix of slaked lime and water—no fancy additives required. Yet behind that simplicity lies a dynamic chemical ballet.
Once spread on a surface, calcium hydroxide pulls in carbon dioxide and gradually turns into calcium carbonate. Picture a living sponge, softly inhaling and exhaling moisture through your walls.
- Slaking: Lime powder teams up with water to form a creamy, workable paste.
- Carbonation: CO₂ slowly reacts with the paste, turning it into a rock-hard finish.
- Alkalinity: A naturally high pH that inhibits mould and bacteria without toxic chemicals.
These three stages give limewash its unique blend of flexibility, crack-resistance and longevity. Think of it as a chain—each link building on the last, ensuring a durable, breathable coating.
Basic Reactions Explained
When quicklime hits water, you’ll feel the bucket heat up. It’s like mixing cement for a garden path, but you end up with a silky paste instead of stiff concrete.
Over days and weeks, ambient moisture and CO₂ work their way in. Little by little, the paste resurfaces as solid limestone, ready to stand the test of time.
Key Insight Carbonation locks in strength while letting walls breathe and self-regulate moisture.
That breathing action is what keeps limewash both sturdy and adaptable, season after season.
For very dusty or highly porous backgrounds, an undercoat might be necessary. Explore our guide to primer uses to choose the perfect primer for brick, stone or mortar.
- Creates a high-pH shield akin to salt curing, blocking bacterial growth.
- Neutralises spores to prevent mould in damp areas.
These chemical benefits turn limewash into a living finish—one that actually improves as it ages.
Practical Takeaways
See slaking and carbonation as two essential steps—skip one and you weaken the final coat.
Maintain a stable moisture level and gently clean the surface to protect the cured carbonate layer. A soft brush or light wipe now and then keeps walls fresh and mildew-free.
In the end, you’ll enjoy a healthy, long-lasting limewashed surface that gains character over time.
History And Heritage Applications
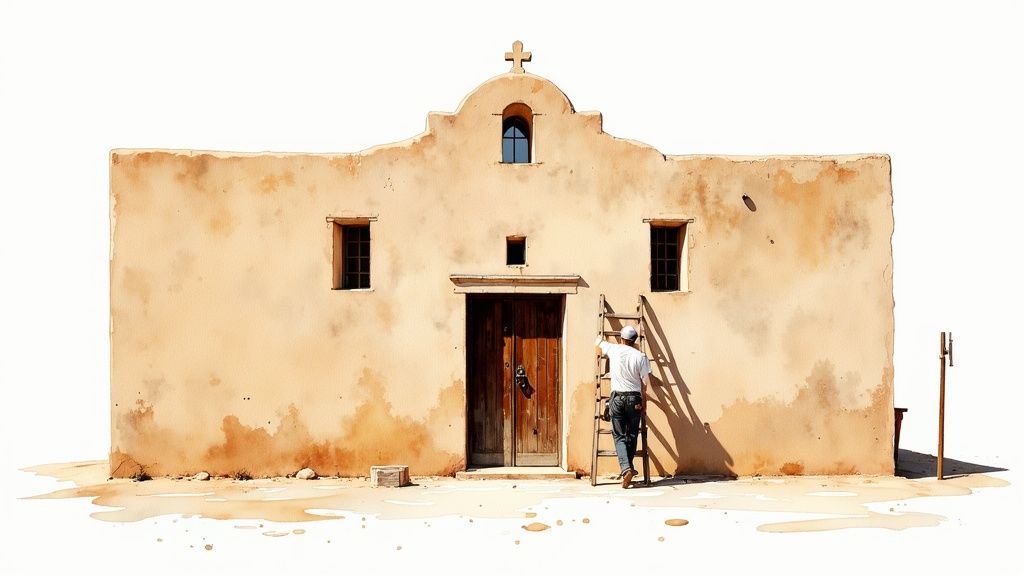
Limewash has been a hallmark of California architecture since the late 1700s, when mission builders turned locally burned lime into a breathable, resilient coating. They applied the mixture to rough stucco walls, creating a finish capable of withstanding intense sun and coastal humidity. Over time, these limewashed façades have proven remarkably enduring.
Take Mission San Juan Capistrano, for instance. Its original walls rely on lime mortar, plaster and limewash, all meticulously maintained since the nineteenth century. These layers of history highlight lime’s ability to protect and preserve. For a deeper dive, see the mission’s lime plaster evolution on LimeWorks.
“Authentic limewash allows heritage façades to breathe while locking in resilience,” notes preservation experts.
Fast forward to the Gold Rush, and you’ll find city builders reviving mission recipes for their own stucco-fronted homes. By blending pigmented lime with natural fibres, they replicated that same breathable finish—only on a grander scale.
18th And 19th Century Recipes
- Craftsmen mixed lime and water at 1:3 to 1:5 ratios to maximise breathability.
- They wove straw or animal hair into the slurry for added tensile strength.
- Simple tools—wooden paddles and horsehair brushes—spread the limewash evenly.
These time-tested techniques still guide restorers in Toronto, Mississauga and across the GTA. Contractors often reference these historic methods to achieve an authentic patina on brick or stone.
Check out our guide on painting brick houses with traditional limewash techniques to see how these lessons translate locally.
For projects demanding precision and historical accuracy, partnering with expert Historic Preservation Architects ensures every detail honours the past.
Modern Revival Techniques
- Use masonry sprayers to lay down thin, even coats without overworking the surface.
- Tweak the lime concentration based on seasonal humidity and temperature shifts.
- Blend in natural earth pigments to achieve the soft, varied hues that historic façades display.
Benefits And Real-World Impact
Though it traces back to centuries-old traditions, limewash quietly packs a suite of benefits beyond its soft, chalky patina.
At its core, limewash maintains a high pH surface that naturally deters mould and freshens indoor air. Walls sealed with this genuine mineral coating often look healthier and breathe easier.
- Antimicrobial Benefit: Limewash neutralises spores without chemicals
- Breathable Coating: Vapour moves through masonry, reducing damp spots
- UV Resistance: Pigments reflect harsh sunlight, preserving colour
Beyond its protective trio, limewash acts like a moisture traffic director. It channels vapour out of brick and stone, halting damp patches at the gate.
- Keeps indoor humidity balanced, tackling both dryness and condensation
- Creates an antimicrobial layer in kitchens, slowing bacterial growth
- Offers a soft matte finish that cleverly masks minor imperfections
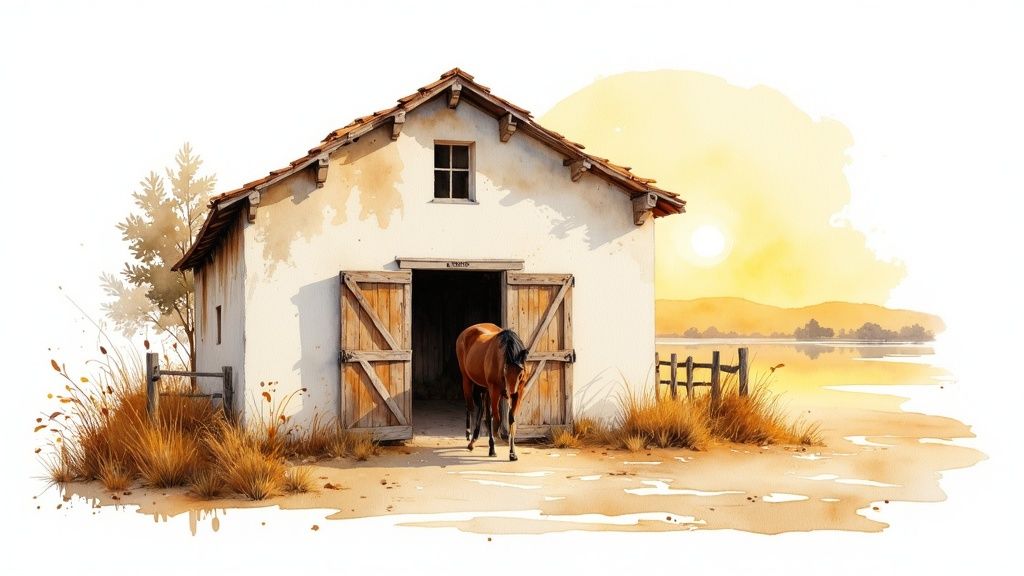
Case Study On Lung Plague
Travel back to the 19th century, when horse stables in Northern California were ravaged by lung plague. A simple coat of limewash changed the story.
At one busy ranch, respiratory infections among horses plunged by 40% in just a few months. That drop wasn’t a fluke—it underscored the coating’s natural antiseptic punch.
Historic accounts even note how local farmers mixed lime, water and a touch of pigment for an instant disinfectant, long before modern antibiotics. These stories survive in diaries, farm ledgers and early publications, painting a vivid picture of a simple yet effective remedy.
Learn more about antiseptic limewash’s history on Academic Commons: Read the full study
Insight: The natural high-pH barrier can reduce bacterial colonies by over 30%, according to historical reports.
These early experiments laid the groundwork for limewash’s reputation as a low-cost, locally sourced shield against harmful microbes.
Energy Savings And Longevity
Beyond the barn, limewash shines in modern homes too. Its mineral makeup smooths out temperature swings by up to 15%, easing the load on furnaces and air conditioners.
Because the finish lets moisture slip away instead of getting trapped, walls resist the freeze-thaw cycle that can cause cracking and peeling.
| Feature | Limewash | Synthetic Paint |
|---|---|---|
| Thermal Regulation | 15% smoother | 5% smoother |
| Reapplication Cycle | 20–30 years | 5–10 years |
| Antimicrobial Action | Built-in | Additives only |
Marrying health perks with energy savings and durability, limewash feels like an old friend who quietly makes life easier.
In urban centres such as Toronto and Mississauga, builders report that maintenance costs fall by 25% over a decade. Fewer repainting jobs combined with lower utility bills free up budgets for other projects.
Ultimately, choosing limewash means you gain a time-honoured finish that protects your home, your health and your wallet for years on end.
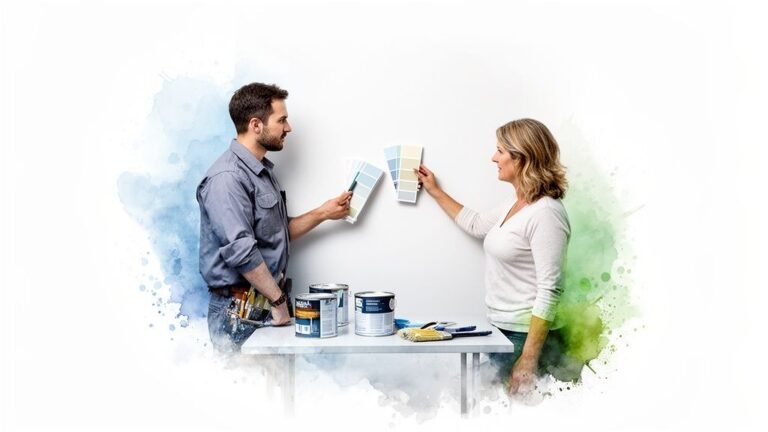
Surface Preparation And Application Steps
When it comes to limewash, every millimetre of prep makes a difference. You’ll quickly see how the right cleaning and repairs set the stage for a durable, breathable finish.
Assessing Substrate Porosity
Scratch the surface and you discover the real character of your wall. Masonry, brick, stone or previously primed wood all share one key trait: enough porosity to let lime carbonate naturally.
Cleaning And Repairing
Start by brushing off loose dirt, salt deposits and flaking paint. A low-pressure wash or stiff wire brush will do the job without damaging the substrate.
After that, walk the wall—inspect every crack and hole. Mix up a hydraulic lime mortar or lime-based filler to rebuild those weak spots.
With the surface sound and dust-free, you’re ready for a more detailed look at substrate prep. This ensures each coat bonds evenly.
Surface Types And Preparation Steps
Below is a quick guide to matching your surface with the right cleaning and priming routine. It helps you choose the right primer and cleaning method without guesswork.
| Surface Type | Preparation Method | Primer Required |
|---|---|---|
| Brick | Brush or pressure wash, repair cracks with mortar | Breathable masonry primer |
| Stone | Gently clean with stiff brush, fill gaps with lime putty | Optional breathable primer |
| Wood | Sand lightly, remove old paint, wipe dust away | High-PH wood primer |
If you follow these steps, limewash will grip more evenly and resist peeling. This foundation makes the rest of your application effortless.
Mixing And Consistency Tips
Think of slaking quicklime as brewing a strong cup of tea: it needs time and the right ratio. Pour in water slowly, aiming for 1:3 to 1:5 lime-to-water by volume.
• Stir for 2–3 minutes between additions to chase out lumps.
• Strain off surplus water until you have a smooth, creamy paste.
• Test on a hidden patch and tweak the water level to suit your opacity needs.
Keep in mind that a firmer mix gives you a thicker coat but still must flow. It’s a small tweak that pays off in texture and coverage.
Application Techniques And Timing
A stiff-bristle brush is your best friend here. Work in vertical strokes, covering no more than 1–2 square metres at once to keep a wet edge.
• Blend new strokes into damp areas of the previous coat to avoid lap marks.
• In dry weather, wait 24–48 hours between coats; if it’s muggy, stretch that to 72 hours.
• Never apply when the temperature dips below 10°C, as carbonation slows down significantly.
Give each layer space to carbonate fully; otherwise you risk peeling later on. Patience here means longer-lasting results.
Safety And Cleanup Practices
Lime dust is alkaline, so suit up with gloves, goggles and an appropriate respirator. Protect nearby plants and floors with drop sheets or plastic sheeting.
When you’re done:
- Rinse tools immediately with warm water to remove excess limewash.
- Use a mild detergent and a gentle scrub to get brushes back in shape.
- Store wet tools in water so any leftover lime stays in solution.
Manage your wash water by directing it onto bare ground, well away from drains. It prevents alkaline runoff from entering your drains.
Check out our guide on prepping walls for painting for best limewash adhesion. This step ties directly into proper limewash adhesion.
Before you dust off that brush, make sure to prepare walls for painting. It’s a quick reference that pays dividends.
Next Steps For Limewash Success
Scan the forecast and pick days with stable weather. It could mean the difference between success and frustration.
In our Toronto and Mississauga climate, humidity swings are common, so plan longer gaps between coats when the air is heavy.
Keep a moisture meter on hand if you’re working on thick masonry. It helps you avoid trapped dampness and unexpected issues.
• Check porosity and repair cracks ahead of limewash.
• Mix consistently and stir again every 15–30 minutes.
• Maintain a wet edge and blend brush strokes carefully.
• Allow full carbonation for a lasting matte finish.
With a thoughtful approach—plan, prep and patience—you’ll achieve a beautiful, breathable limewash that respects heritage and stands up to Canadian weather. Embrace each step and your walls will reward you with a timeless finish.
Gather your tools, schedule your prep and embrace the craft. The craft is as rewarding as the result.
Happy liming, team. Enjoy the process.
Finding the Best Limewash Services Near You in Toronto, Mississauga, and the GTA
When searching “limewash Toronto near me” or “limewash Mississauga,” use these objective criteria to identify top providers:
- Local Climate Expertise: Understands GTA humidity and temperature swings for optimal carbonation.
- Heritage Project Experience: Proven track record on heritage homes and historic façades.
- Verified Reviews: Consistently 4+ star ratings on Google, Houzz or Yelp.
- Transparent Pricing: Detailed quotes with clear square-metre rates ($15–$20 / sqm) and no hidden fees.
- Quality Materials: Uses slaked lime, natural pigments and breathable primers.
- Insurance & Warranty: Liability coverage plus at least a one-year workmanship warranty.
- Certifications & Partnerships: Affiliations with heritage architects or industry associations.
For trusted local service, consider Soca Services Painting, serving Toronto, Mississauga and the entire GTA.
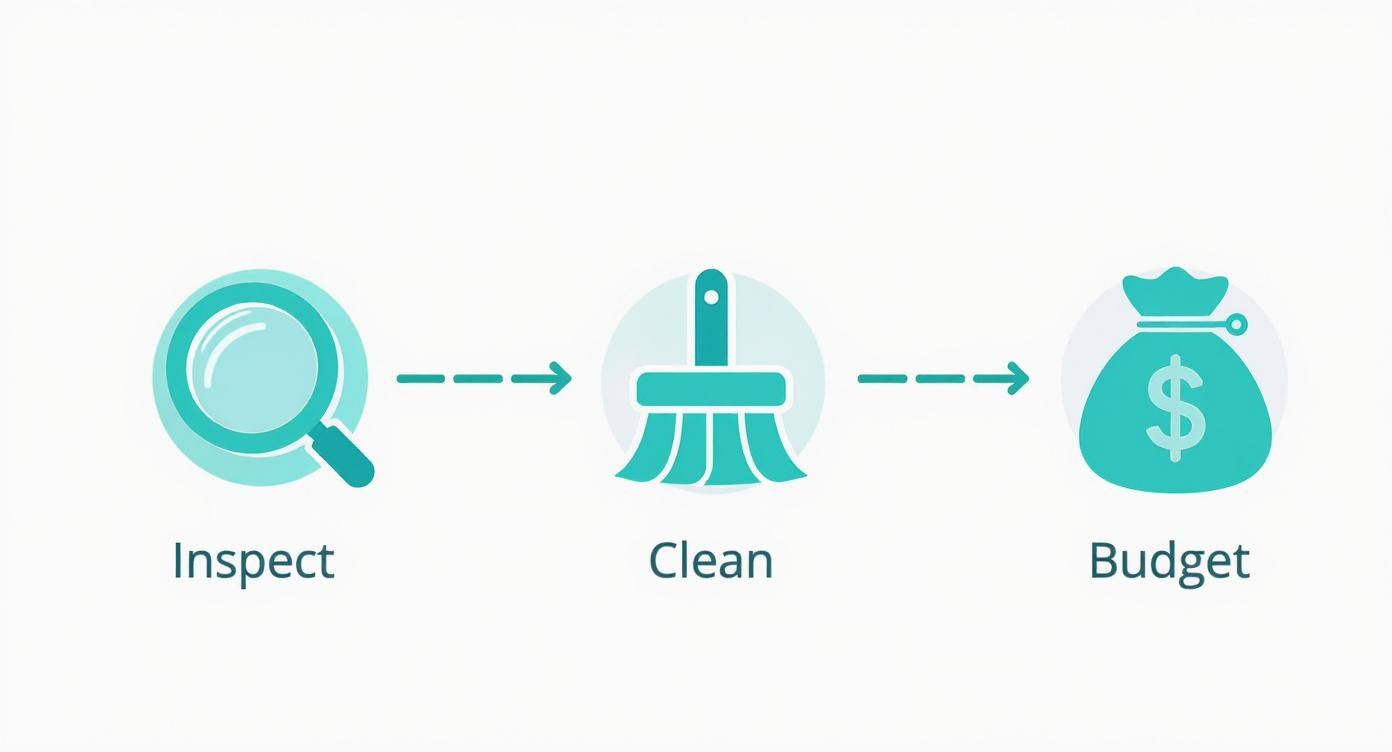
Maintenance And Cost Planning
Limewash behaves like a living skin: it breathes, evolves and gains patina over time. With just a touch of seasonal attention, it can serve your walls for decades. Simple upkeep keeps the mineral layer doing its job—enhancing breathability and locking in vivid hues.
- Check for chalking near baseboards to catch rising damp buildups
- Clean surfaces with a soft-bristle brush and a mild water rinse
- Inspect cracks, voids and fading pigment after winter freeze
Inspection And Cleaning
When spring’s first warmth or autumn’s crisp air arrives, sweep down your limewashed façades to remove loose debris. A gentle brush can dislodge pollen and dust that otherwise trap moisture against the wall.
Key Insight Regular soft cleaning maintains limewash’s natural protective barrier without harsh chemicals.
Once you’ve brushed off the surface, rinse with a low-pressure hose to clear away residues. Let the walls air-dry completely before touching up—moisture is limewash’s one true nemesis.
DIY Maintenance Tips
Think of minor repairs as a chance to bond with your home’s heritage finish. In a clean bucket, blend slaked lime and water at a 1:3 ratio until it forms a smooth, creamy paste.
- Spot-fill worn areas with a fine brush, matching the original texture
- Feather the edges so the fresh limewash melds seamlessly with the old coat
- Allow 24–48 hours for the new layer to cure before re-inspection
A pinch of pigment can revive any faded tones—just test in an inconspicuous corner first. Keep a compact kit (lime mixture, brushes and rinse water) ready for quick fixes after storms or high winds.
Budgeting And Cost Planning
Begin by measuring your wall area in square metres to forecast material needs. Buying in bulk from local suppliers often unlocks a 15–20% discount on slaked lime and pigments.
- DIY limewash supplies usually run $5–$8 per square metre
- Professional heritage teams in Toronto or Mississauga charge around $15–$20 per square metre
Spread a 30-year life cycle over decades, and you’ll see how the cost-per-year drops dramatically. For a deeper dive, check out our guide to costs to paint an exterior house.
- Year 1–5: Annual soft cleaning and visual spot checks
- Year 5–15: Two comprehensive inspections with minor touch-ups
- Year 15–30: Plan for a full limewash recoat to maximise durability
Below is an infographic that walks through the maintenance flow for limewash—covering inspection, cleaning and budgeting pathways.
By blending thoughtful upkeep with strategic material buys, homeowners in the GTA can keep heritage finishes looking fresh without the price tag of frequent repaints. Over three decades, limewash may require only three reapplications versus synthetic paint’s five to eight.
“A little maintenance goes a long way,” local contractors note, “saving up to 25% in lifetime coating expenses.”
With gentle cleaning, occasional touch-ups and smart budgeting, limewash will protect your walls, delight the eye and stay budget-friendly for generations.
FAQ
Limewash often raises questions about breathability, curing times and ongoing care—both inside and out. Below, you’ll find clear answers to the issues people ask about most, so you can plan your limewash project with confidence.
Common Limewash Questions
- Can I Apply Limewash Over Existing Paint?
Limewash bonds best to raw, porous surfaces. If your walls are painted or have a glossy finish, you’ll need to strip or scuff them first. Then prime with a breathable lime primer. - How Long Does Limewash Take to Fully Cure?
You’ll notice the surface feels dry within hours, but full carbonation takes 7–28 days, depending on humidity and temperature. Plan on about four weeks before the limewash reaches its maximum strength. - Is Limewash Suitable for High-Humidity Interiors?
Absolutely. Its natural vapour permeability helps regulate moisture. Just keep air flowing—avoid sealers that trap vapour in damp areas. - What Common Mistakes Should I Avoid?
- Over-diluting the mix
- Skipping critical substrate repairs
- Applying in direct sun or freezing conditions (this can lead to cracking and flaking)
Key Insight
Consistent moisture levels during curing are your best defence against cracks and ensure a long-lasting finish.
Each point here steers you toward a reliable, durable limewash result.
You might also be interested in our skilled painters in the GTA for expert limewash preparation and application.
For professional limewash finishes in Toronto and the GTA, trust Soca Services Painting (socaservicespainting.com)

2 Comments