

Removing a popcorn ceiling is a multi-step process that involves testing for hazardous materials, preparing the room, soaking and scraping the texture, and finishing the drywall underneath. The most critical part of this project is preparation and, above all, safety. If your home was built before the 1990s, an asbestos test is an essential first step.
Guide to Popcorn Ceiling Removal in the GTA
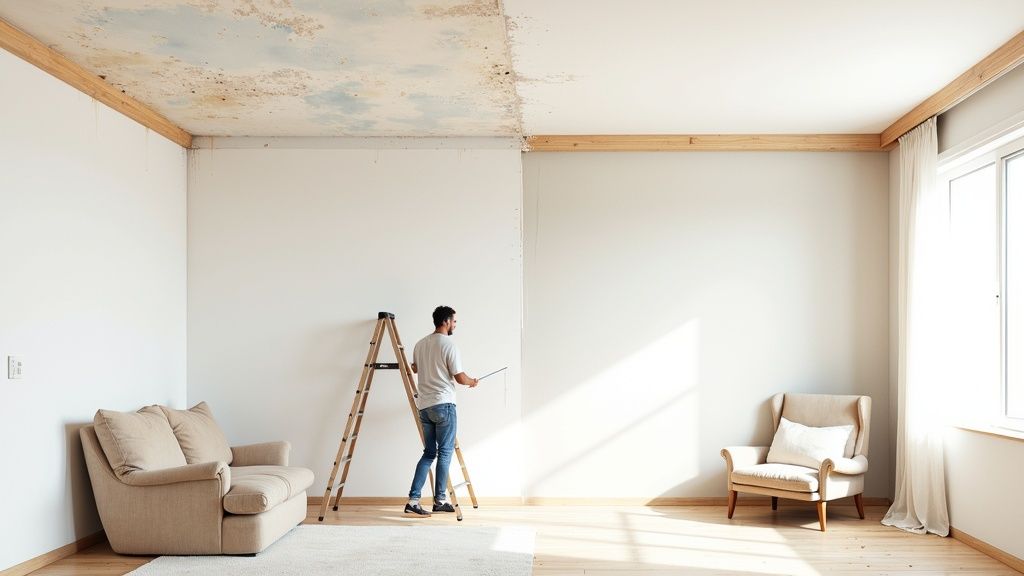
Dated popcorn ceilings can detract from a home's aesthetic, making rooms feel smaller while trapping dust and allergens. Many homeowners across the Greater Toronto Area (GTA), from Toronto to Mississauga, are choosing a smooth, modern finish. This guide provides an objective structure for the entire project, from initial safety checks to the final coat of paint.
The benefits of this renovation extend beyond aesthetics, and understanding the full project scope is key before beginning. For context on similar home projects, you can review a comprehensive DIY guide covering tips and costs for various home projects. This context helps in appreciating the planning and skill required for popcorn ceiling removal.
Why Update Your Ceilings
Homeowners in the GTA are motivated by several key factors to remove popcorn ceilings. The decision is often based on a combination of practical and aesthetic reasons.
- Improved Aesthetics: A smooth ceiling provides a modern look, making a room feel brighter and more open.
- Increased Home Value: In the competitive Toronto and Mississauga real estate markets, updated finishes are a significant advantage.
- Better Air Quality: The porous texture of popcorn ceilings can trap dust, allergens, and odours.
- Easier Maintenance: A smooth ceiling is simpler to clean and repaint compared to a textured surface.
This guide will provide the information needed to determine if this is a suitable DIY project or if professional services are required. For additional context, see these 5 signs it’s time to say goodbye to popcorn ceilings. An objective assessment of the work involved is the best approach for any home renovation project.
How to Prepare Your Room for Removal
Proper room preparation is the most important factor for a successful popcorn ceiling removal project. This step prevents the spread of dust and debris and ensures a clean and manageable workspace.
The objective is to completely seal the room from the rest of the home. This containment strategy is crucial for managing the wet, heavy debris and fine dust generated during the removal process. In high-density areas like the GTA, dust containment is essential to avoid contaminating adjacent living spaces.
Clearing and Protecting Your Space
First, remove all items from the room, including furniture, rugs, curtains, and wall decor. If a large item cannot be moved, position it in the centre of the room and cover it with a thick plastic sheet, securely taped at the base.
Next, protect the floors and walls with quality plastic sheeting.
- Floor Protection: Begin with a layer of painter's paper or rosin paper to absorb drips. Over this, lay heavy-duty plastic sheeting (at least 4-mil-thick) across the entire floor. Extend the plastic 15 centimetres up the walls to create a containment basin.
- Wall Protection: Use a lighter plastic (around 2-mil) to drape the walls from the ceiling down, overlapping the floor plastic. Secure all seams with painter's tape.
For best results, double-tape the top edge of the wall plastic. Use a quality painter's tape to adhere the plastic just below the ceiling, then add a second strip of tape over the first. The weight of wet popcorn texture can pull down a single strip of tape.
Dealing with Fixtures and Electrical
Once the room is sealed, address all ceiling-mounted fixtures. This is a mandatory safety step.
Turn off the power to the room at the electrical panel. Always verify that the power is off using a non-contact voltage tester before touching any wiring. After confirming the circuit is de-energized, remove ceiling fans, lights, and other fixtures. Cap the wires with wire nuts and place them inside the electrical box.
Cover the open electrical boxes, light switches, and outlets with painter's tape to protect them from water and debris. This step also facilitates an unobstructed scraping process.
If you are not yet committed to full removal, you can find information on how to clean popcorn ceilings as an alternative.
Assembling Your Tools and Materials
Gather all necessary tools and materials before starting the removal process. Having everything organized and accessible prevents interruptions and improves safety.
Establish a dedicated tool station on the protected floor. This organization ensures focus on the task and minimizes movement on the ladder. A well-prepared workspace is a key element of the best professional projects and is essential for achieving optimal results.
The Best Way to Scrape Popcorn Ceilings
With the room prepared, the removal process can begin. This stage involves scraping away the texture to reveal the underlying drywall. The success of this step depends on proper technique and patience.
The most effective method is to moisten the texture to soften it before scraping. Insufficient water will make scraping difficult, while excessive water can damage the drywall paper and tape, creating more repair work.
Mastering the Art of Wetting the Ceiling
A garden pump sprayer is the ideal tool for applying an even mist of water to the ceiling. Adding a small amount of vinegar to the water (1:10 ratio) can help dissolve textures that have been painted over.
A systematic approach is required to prevent the ceiling from drying out before it can be scraped.
- Define Your Workspace: Divide the ceiling into manageable sections, such as four-by-four-foot squares (approximately 1.2 by 1.2 metres).
- Apply a Light Mist: Spray the first section with a light, even coat of water until the surface appears consistently damp.
- Let It Soak: Allow the water to penetrate for 10-15 minutes. This soaking time is crucial for softening the texture completely.
The texture is ready for scraping when it softens to a consistency similar to wet oatmeal.
To check for readiness, test a small area with the corner of a scraper. The texture should come off easily in a sheet. If it requires significant force, apply more water or allow more time for soaking. This is a standard practice for professional results in Toronto and Mississauga homes.
The Scraping Technique for a Flawless Finish
Once the texture is soft, the scraping process can be straightforward. The objective is to remove the popcorn layer without damaging the underlying drywall paper or tape seams.
Use a wide drywall knife or a ceiling scraper (15 to 30 centimetres wide). Hold the tool at a low angle (approximately 30 degrees) to the ceiling. A steep angle is a common cause of drywall gouges, which require additional patching.
The room preparation steps are crucial for containing the mess created during this stage.
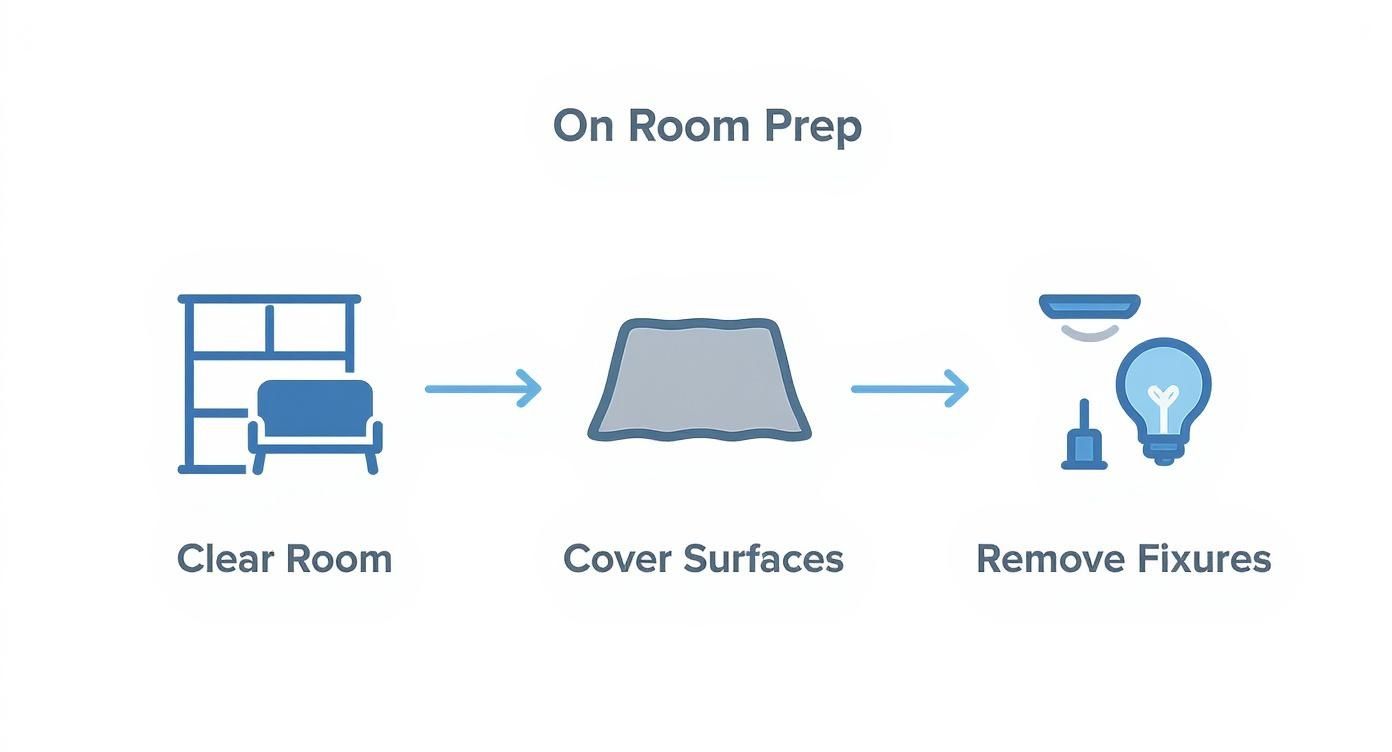
This graphic illustrates the non-negotiable preparation tasks: clearing the room, covering all surfaces, and removing fixtures before scraping begins.
Allow the wet debris to fall onto the plastic sheeting. Overlap scraping strokes to avoid leaving lines of texture. Proceed section by section, misting the next area as you complete the previous one. This methodical rhythm is the most efficient approach.
Navigating Corners and Obstacles
Work around corners, edges, and fixtures requires more detailed work.
For tight corners where the ceiling meets the wall, use a smaller putty knife (around 6 centimetres) for better control and to avoid damaging the wall paint. Use the same technique around taped-over electrical boxes.
This phase can be physically demanding, particularly for large or high ceilings. For more information on the challenges of working with elevated spaces, see this guide on painting high ceilings to understand the complexities involved.
Time to Repair and Finish Your New Ceiling
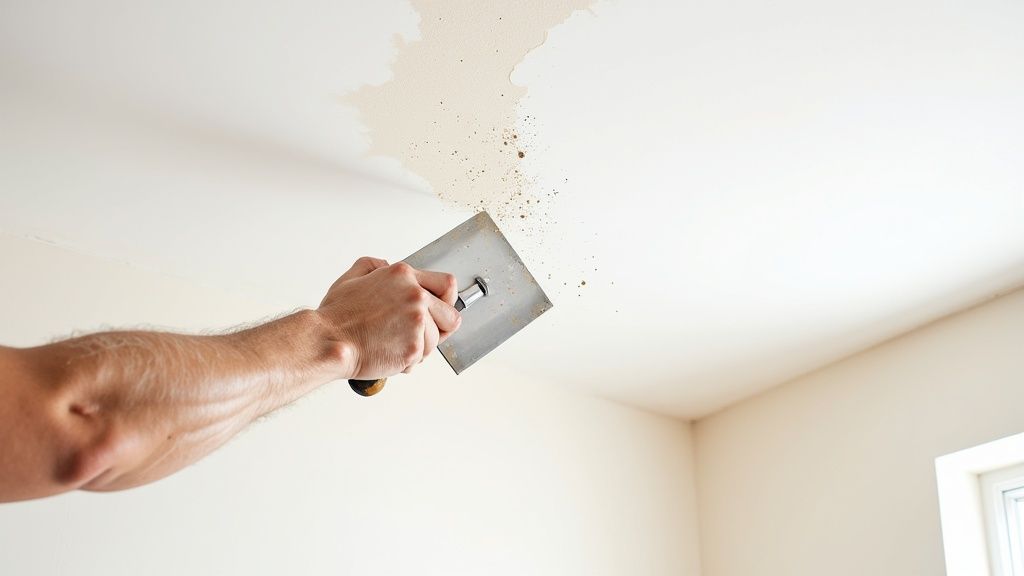
With the texture removed, the next step is to create a smooth, finished surface suitable for painting. This phase involves repairing imperfections and requires attention to detail to achieve a professional-quality result.
It is normal to find nicks, gouges, and exposed drywall seams after scraping. These must be repaired before finishing.
Before beginning repairs, a thorough cleanup is necessary to remove all dust and debris, which can compromise the quality of the finish. For detailed cleanup procedures, a comprehensive post-construction cleanup guide can provide valuable information.
Applying Joint Compound Like a Pro
Joint compound (drywall mud) is used to fill imperfections and create a seamless surface. For most repairs, an all-purpose, pre-mixed joint compound is a suitable choice for DIY projects in the GTA.
Inspect the entire ceiling for damage. Using a 6-inch (15-centimetre) drywall knife, apply a thin, even layer of compound over screw heads, gouges, and damaged tape seams. Apply enough pressure to fill the void, then "feather" the edges smoothly onto the surrounding drywall.
Apply two or three thin coats, allowing each to dry completely, rather than one thick coat which can crack and shrink.
Sanding for That Perfectly Smooth Surface
Once the final coat of joint compound is completely dry (allow 24 hours), sanding can begin. This step creates a flat, uniform surface for painting. Wear a dust mask and safety glasses.
A pole sander is recommended for this task. Use fine-grit sandpaper (120- to 150-grit) to sand the entire ceiling evenly.
Follow these sanding tips for best results:
- Use a Light Touch: Apply gentle, consistent pressure and let the sandpaper do the work to avoid creating divots.
- Work in Overlapping Sweeps: Use smooth, overlapping motions to blend repaired areas seamlessly.
- Check Your Work with Light: Use a bright work light held at an angle to the ceiling ("raking light") to reveal any high or low spots.
After sanding, wipe the ceiling with a tack cloth or a damp sponge to remove all dust. A clean surface is essential for proper primer and paint adhesion.
The objective is a completely uniform surface. Any visible or tactile imperfections will be amplified by paint. Investing extra time in sanding ensures a superior final product.
Priming Your Ceiling: A Non-Negotiable Step
Priming the ceiling before painting is a mandatory step. New joint compound and exposed drywall paper are highly porous and will absorb paint unevenly, resulting in a blotchy finish.
A quality drywall primer-sealer performs two key functions:
- It seals porous surfaces: This creates a uniform base for the topcoat of paint.
- It boosts paint adhesion: Primer helps the paint bond to the surface for a more durable finish.
Apply one even coat of a high-quality PVA (polyvinyl acetate) drywall primer over the entire ceiling with a roller, ensuring full coverage.
Choosing the Right Paint and Getting it on the Ceiling
With the ceiling repaired, sanded, and primed, it is ready for paint. A flat or matte finish paint is recommended for ceilings as it effectively hides minor surface imperfections.
Use a high-quality roller with a 3/8-inch nap for smooth surfaces. Work in small sections and maintain a "wet edge" by overlapping roller strokes to prevent roller marks and achieve a streak-free finish. Two coats of ceiling paint are typically required for optimal coverage and colour.
If significant damage was uncovered during scraping, refer to our guide on how to repair popcorn ceilings for more advanced repair techniques.
Budgeting Your Popcorn Ceiling Removal Project
https://www.youtube.com/embed/ZMNQgY88m0g
Before beginning a popcorn ceiling removal project, it is important to establish a budget. Costs can vary based on location, from downtown Toronto to suburban Mississauga, and a clear budget helps prevent unexpected expenses.
The total cost depends on room size, ceiling height, and the potential need for asbestos testing and abatement. Understanding these costs is crucial for deciding between a DIY approach and hiring a professional service.
DIY vs. Professional Services in the GTA
The primary budget decision is whether to perform the work yourself or hire a professional. A DIY approach saves on labour costs but requires an investment in tools, materials, and personal time.
Hiring one of the best professional services in the Greater Toronto Area ensures an efficient, clean, and high-quality result. Professionals manage all aspects of the project, from preparation to cleanup.
The following table provides a cost comparison for a typical 150 sq. ft. room in the GTA.
Estimated Popcorn Ceiling Removal Costs (DIY vs. Professional)
For a typical 150 sq. ft. room in the Greater Toronto Area.
| Expense Item | DIY Estimated Cost (CAD) | Professional Service Estimated Cost (CAD) |
|---|---|---|
| Asbestos Test Kit | $50 – $100 | Included in Quote |
| Tools & Supplies (scraper, sprayer, masks, plastic sheeting, tape, etc.) | $150 – $250 | Included in Service |
| Drywall Repair & Finishing Materials (mud, primer, paint) | $100 – $200 | Included in Service |
| Your Labour & Time | Significant (15-25 hours) | N/A |
| Waste Disposal | $20 – $50 | Included in Service |
| Labour & Overhead | N/A | $600 – $1,100 |
| Total Estimated Cost | $320 – $600 | $750 – $1,500+ |
While the DIY option has a lower material cost, hiring a professional service provides a guaranteed result without the time commitment and potential for error.
Key Factors That Influence Your Budget
Several variables can affect the final project cost.
-
Asbestos Testing and Abatement: This is a non-negotiable step for homes built before the 1990s. If the test is positive, a certified asbestos abatement company must be hired for removal.
-
Room Size and Ceiling Height: Larger rooms and higher ceilings require more materials and labour, increasing the overall cost.
-
Condition of the Ceiling: Painted-over popcorn texture is significantly more difficult to remove, as the paint acts as a sealant. This increases labour time and professional service costs.
-
Finishing Work: The budget must include costs for drywall repair, sanding, priming, and painting to achieve a smooth finish.
The most accurate way to budget is to obtain multiple quotes. Get at least three quotes from reputable contractors in the Toronto area. Understanding these factors will help you evaluate them. If you are looking for a contractor "near me," ensure they service your specific location, whether it's Toronto, Mississauga, or another part of the GTA.
For a more detailed analysis of local pricing, consult our guide on the cost to remove a popcorn ceiling, which provides specific information for GTA homeowners.
Common Questions About Popcorn Ceiling Removal
Addressing common questions can help in planning and executing the project effectively. Below are answers to frequent inquiries from homeowners considering popcorn ceiling removal.
How Do I Know if My Popcorn Ceiling Contains Asbestos?
This is the most critical question for homes in older Toronto neighbourhoods built before the 1990s. It must be assumed that the texture contains asbestos until professional testing proves otherwise.
The only definitive method is to have a sample tested by an accredited laboratory. While DIY kits are available, hiring a certified professional is recommended for safety and accuracy. Do not disturb the ceiling until a negative test result is confirmed.
If the test is positive, you must hire a professional asbestos abatement company. Attempting to remove asbestos-containing materials yourself is extremely hazardous and may have legal implications.
What’s the Biggest Mistake People Make?
The most common mistake is underestimating the amount of mess the project generates and failing to adequately prepare the room. Inadequate sealing and protection of surfaces can lead to extensive cleanup and damage to flooring and furniture.
Another frequent error is over-saturating the ceiling with water. Applying too much water can damage the underlying drywall and tape seams, creating significant additional repair work.
A light, even spray is the correct technique. Allow sufficient time for the water to soften the texture. Rushing this step typically results in a longer, more difficult project.
Is Removing a Popcorn Ceiling Worth It in the GTA?
For most homeowners in a competitive real estate market like the GTA, removing a popcorn ceiling is a valuable investment. It is an effective way to modernize a home's interior, which can increase its appeal to potential buyers and enhance its resale value.
The benefits extend beyond aesthetics:
- Smooth ceilings make a space feel taller and brighter.
- They do not trap dust and allergens like textured ceilings.
- They are easier to clean, repair, and repaint.
Although it is a labour-intensive project, the visual impact and potential return on investment make it a worthwhile home improvement in the Greater Toronto Area.
Can I Just Paint Over a Popcorn Ceiling Instead of Removing It?
Painting over popcorn texture is a faster and cleaner alternative to removal. However, there are trade-offs to consider.
Painting can make future removal more difficult, as it seals the texture and prevents water penetration. It also does not address the dated look of the texture itself.
Furthermore, if the ceiling has existing damage or is beginning to flake, the weight of new paint can cause the texture to detach from the drywall. If the ceiling is in excellent condition and the goal is a minor refresh, painting is a viable option. For a comprehensive and lasting update, removal is the superior choice.
When you want a flawless, professional finish without the DIY headache, trust the experts. Soca Services Painting has the experience to handle your popcorn ceiling removal project efficiently and cleanly, delivering a beautiful, modern look for your home. Learn more about our services.





One Comment