

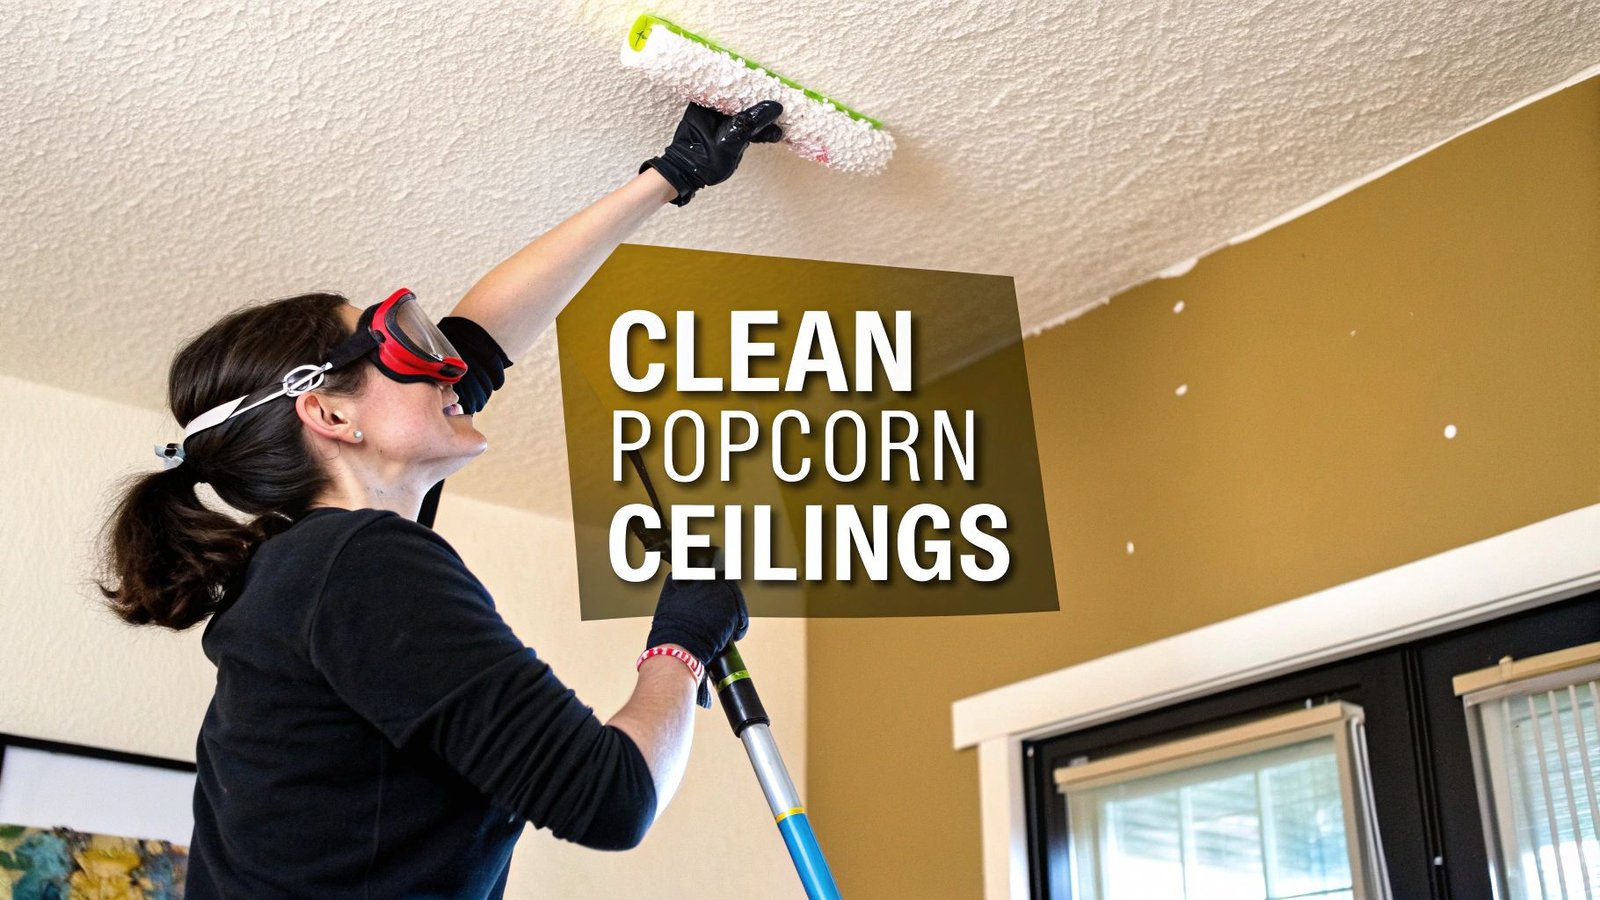
Cleaning a popcorn ceiling might seem daunting, but it’s often more straightforward than you’d expect. In most cases, a simple vacuum with a soft brush attachment or even a sticky lint roller will do the trick. The objective is to start with a dry cleaning method to avoid damaging the delicate, bumpy texture. For tougher stains, a gentle blotting approach with minimal moisture is the correct procedure.
This guide provides a structured approach for homeowners in Toronto, Mississauga, and across the GTA on how to clean popcorn ceilings effectively and safely.
What to Know Before Cleaning Your Popcorn Ceiling
Before beginning, a proper assessment of your ceiling is necessary. Popcorn ceilings, a common feature in many Toronto and Mississauga homes for decades, are excellent at hiding minor flaws but are also magnets for dust, cobwebs, and airborne grime.
The first step is identification. Determine the nature of the accumulation on your ceiling. Is it simple household dust, yellowish stains from kitchen grease, or discolouration from a past water leak? Each issue requires a specific cleaning protocol.
The Asbestos Risk in Older Homes
A critical safety consideration, particularly for homes in the GTA built before the mid-1980s, is the potential presence of asbestos. It was a common additive for durability and fire resistance, and its presence cannot be confirmed visually.
The only definitive method to determine if a ceiling contains asbestos is professional testing. Disturbing asbestos-containing material can release hazardous fibres into the air. The best practice is to assume an older ceiling contains asbestos and proceed with caution.
This infographic outlines the key considerations for homes built before and after the 1980s.

As shown, professional testing for any home built before 1980 is mandatory for safety. The material is often 'friable,' meaning it crumbles easily and can become airborne if scraped or scrubbed.
The health risks are significant. Research, including a notable case study, has documented severe lung conditions from exposure to this type of ceiling material. You can read the full research about asbestos exposure from textured ceilings for a detailed understanding of the risks.
If a test confirms asbestos, the best and safest course of action is professional removal. Our guide on the cost to remove a popcorn ceiling provides comprehensive information on this process.
Gearing Up: Assembling the Right Tools for the Job
Proper tool selection is crucial for cleaning a popcorn ceiling without causing damage. The primary objective is to be gentle, as the texture is delicate and can be easily dislodged by aggressive cleaning methods. Your choice of tool will depend on the type of debris you are removing.
Choosing Your Popcorn Ceiling Cleaning Tool
This table provides an objective comparison of recommended tools for cleaning popcorn ceilings, helping you select the best option for your needs.
| Tool | Best For | Pros | Cons |
|---|---|---|---|
| Vacuum with Soft Brush | Light to moderate dust, loose cobwebs. | Highly effective at lifting dust without pressure. | Can be heavy and awkward to manoeuvre overhead. |
| Lint Roller on a Pole | Light dust and fine particles on lower ceilings. | Excellent at grabbing debris without any abrasion. | Sheets fill up quickly; not ideal for heavy buildup. |
| Feather Duster with Pole | Very light, routine dusting. | Lightweight, easy to handle, and gentle. | Tends to push dust around more than capture it. |
| Lambswool Duster | Grabbing and holding onto dust and cobwebs. | Natural fibres are great at trapping particles. | Needs to be cleaned thoroughly after each use. |
For a standard dusting job, the best tools are a vacuum’s soft brush attachment or a high-quality lint roller on an extension pole. These offer the most effective and gentle cleaning action.
Don't Skip the Prep Work
Protecting yourself and your home is a mandatory step. Falling dust and debris can cause eye irritation and create a significant cleanup task.
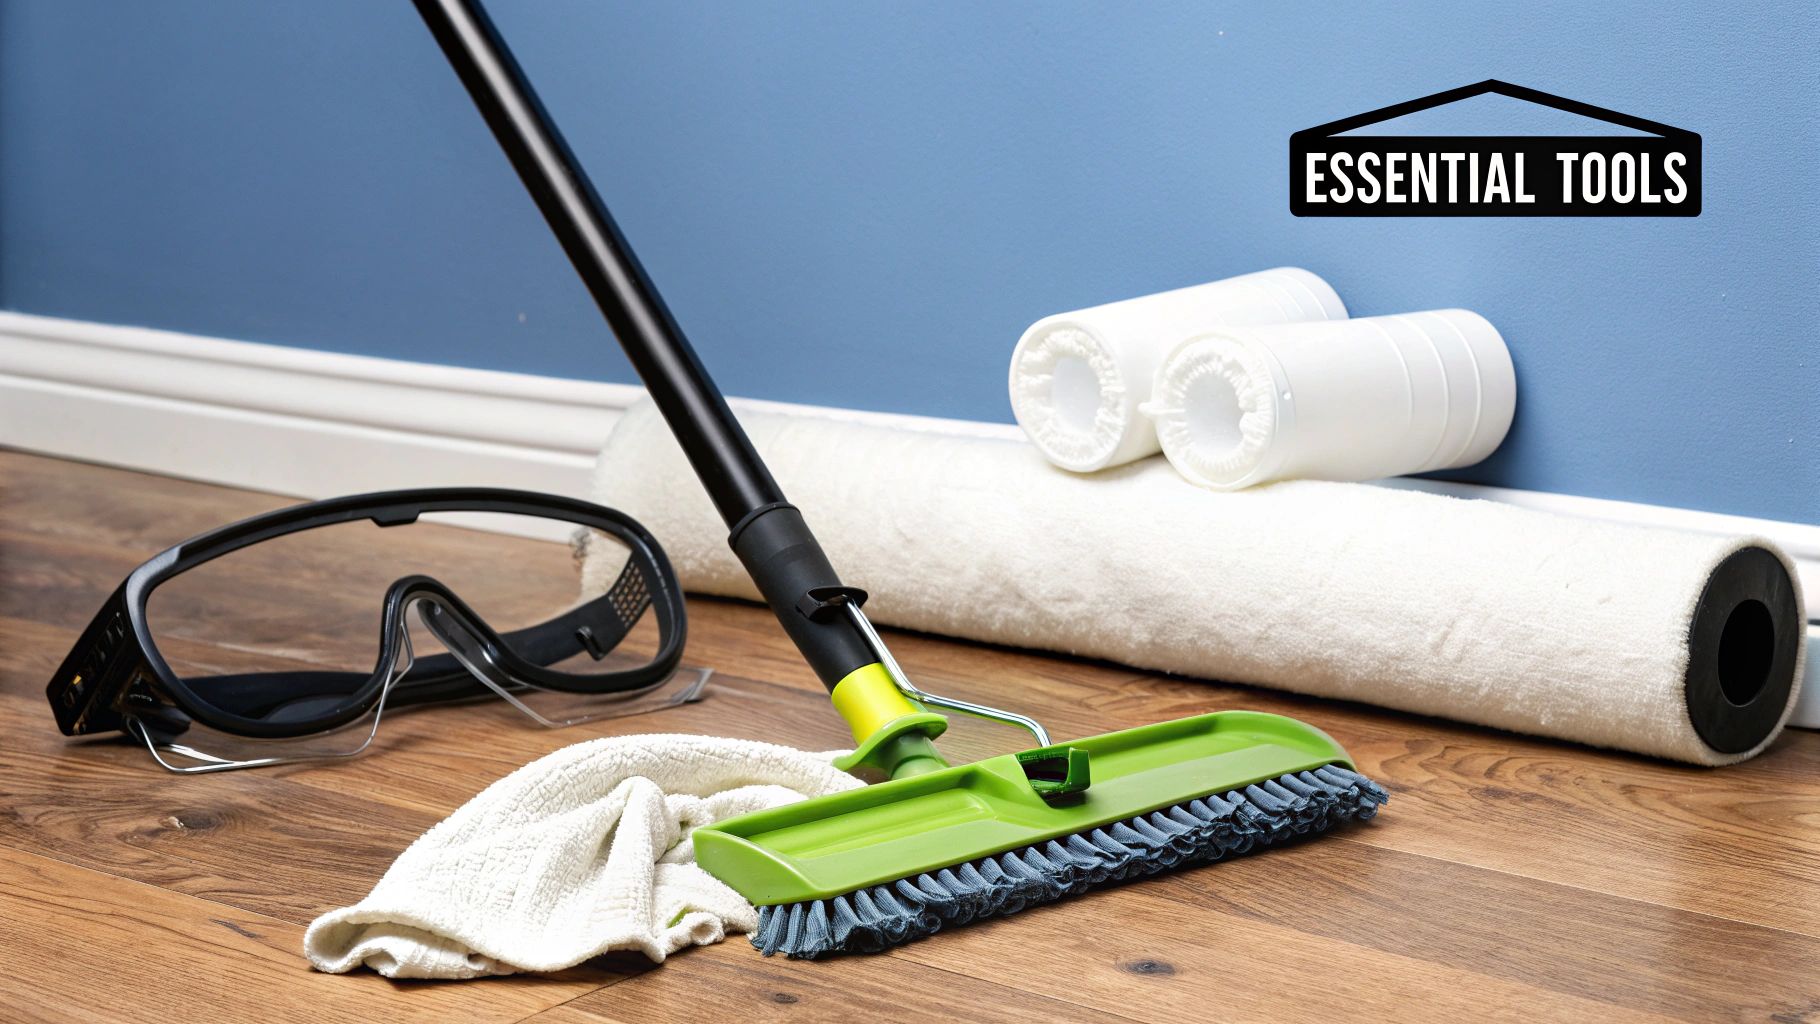
Your essential prep kit should include:
- Safety Goggles: Crucial for protecting eyes from falling particles.
- Dust Mask: Essential to prevent inhalation of fine dust.
- Drop Cloths or Plastic Sheeting: Cover all floors and furniture.
- Painter’s Tape: Secure the edges of drop cloths to prevent debris from getting underneath.
Allocating 15-20 minutes for room preparation will save hours of cleanup later. A properly prepped space allows for a focused and efficient cleaning process.
Once the room is covered, you can begin. Factor in ceiling height; taller ceilings will require a stable ladder and possibly longer extension poles. Our guide on how to paint high ceilings offers valuable safety tips for working at height.
Gently Removing Dust and Cobwebs
For most homes in the Toronto and Mississauga area, a simple dry cleaning is sufficient for restoring the appearance of popcorn ceilings. The key is to use a gentle touch to lift dust and cobwebs without dislodging the texture, which can be brittle in older homes.
The bumpy texture of acoustic ceilings is effective at hiding imperfections but also traps airborne particles. This section outlines the best methods for removing this buildup.
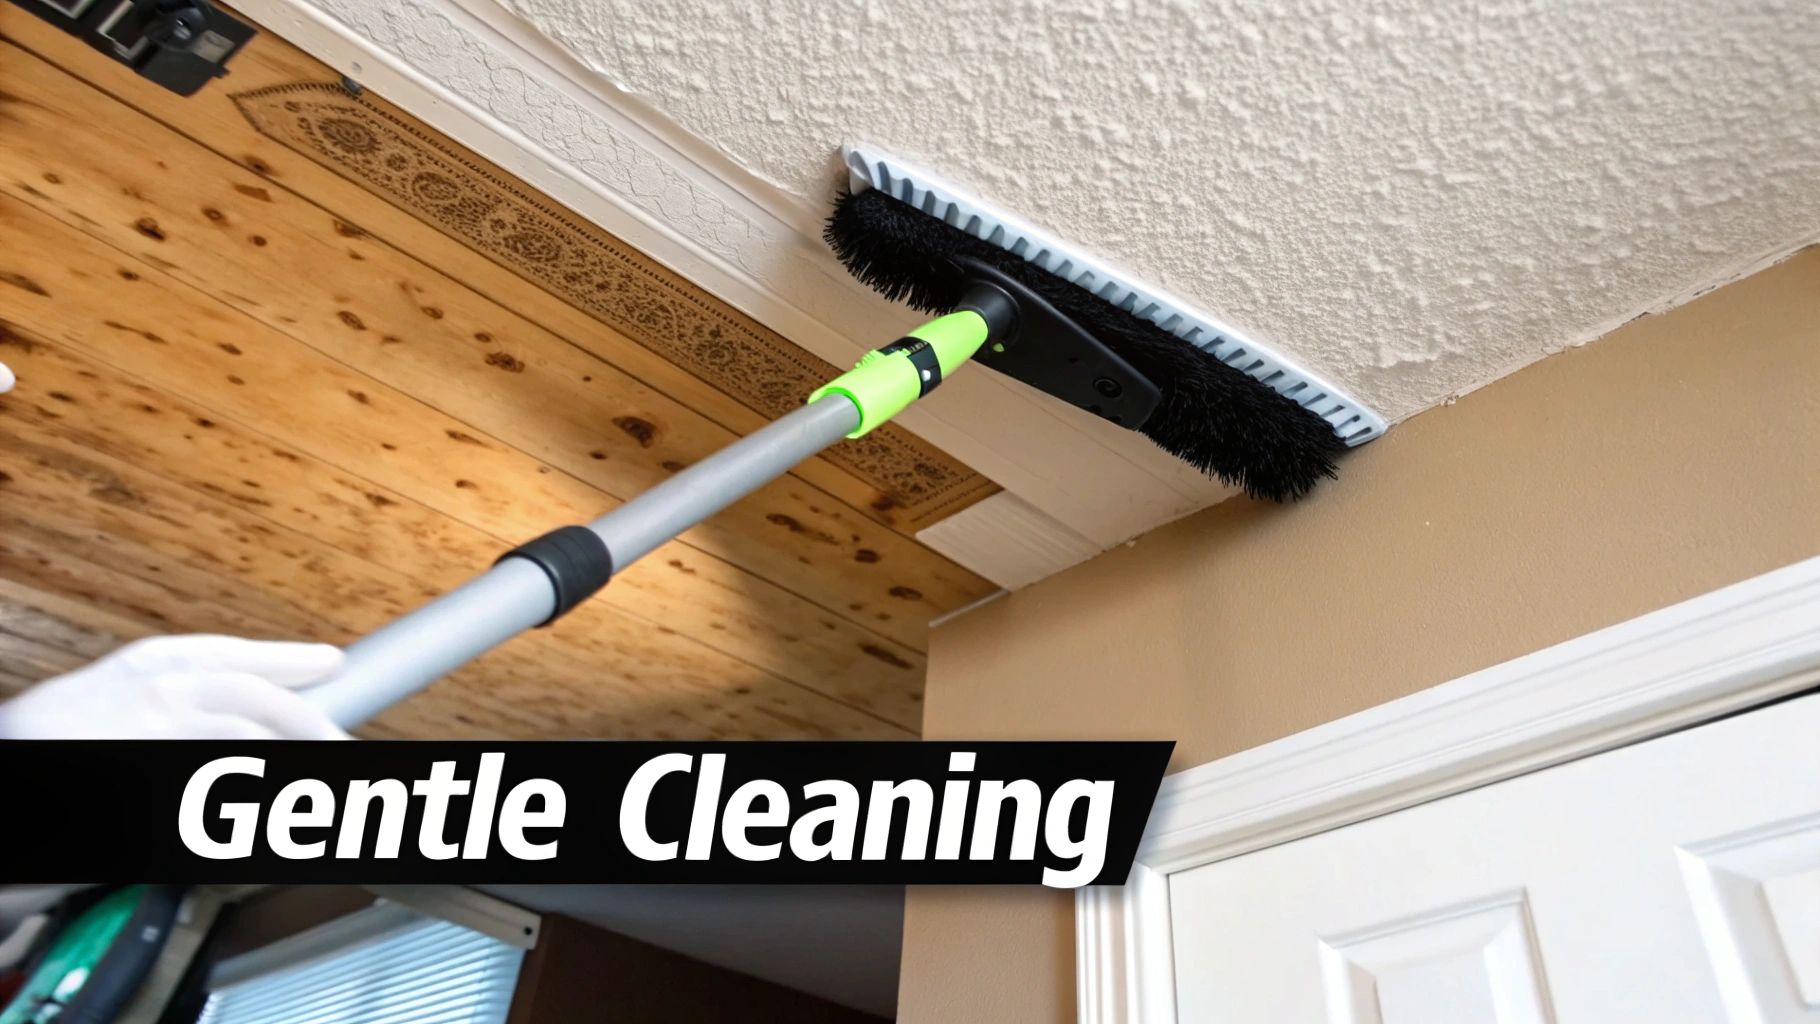
The Best Dry Cleaning Techniques
Your vacuum cleaner is the primary tool for this task. Using the soft brush attachment, lightly sweep it across the ceiling. The contact should be minimal; let the suction perform the work. Think of it as skimming the surface. Applying pressure will scrape off the texture and create a larger repair issue.
A lint roller on an extension pole is another highly effective method. This tool excels at grabbing fine dust and cobwebs without friction. Simply roll it over the ceiling, peeling away used sheets as they become saturated with debris.
The most common error is rushing the process. Slow, deliberate movements are essential. A methodical pace ensures maximum dust capture and prevents accidental damage to the ceiling.
Handling Corners and Fixtures
Corners and areas around light fixtures require specific attention. The vacuum’s crevice tool is suitable for these tight spaces. To avoid scraping, hold the tool at a slight angle, allowing the suction to draw out debris without direct contact with the ceiling surface.
Maintaining clean ceilings is part of a larger home maintenance strategy. Understanding the causes of a dusty home and easy fixes can help reduce overall dust accumulation.
If you are preparing for a larger project like painting, this cleaning step is a mandatory prerequisite. Refer to our detailed guide on how to prep walls for painting for more information.
How to Tackle Stubborn Ceiling Stains
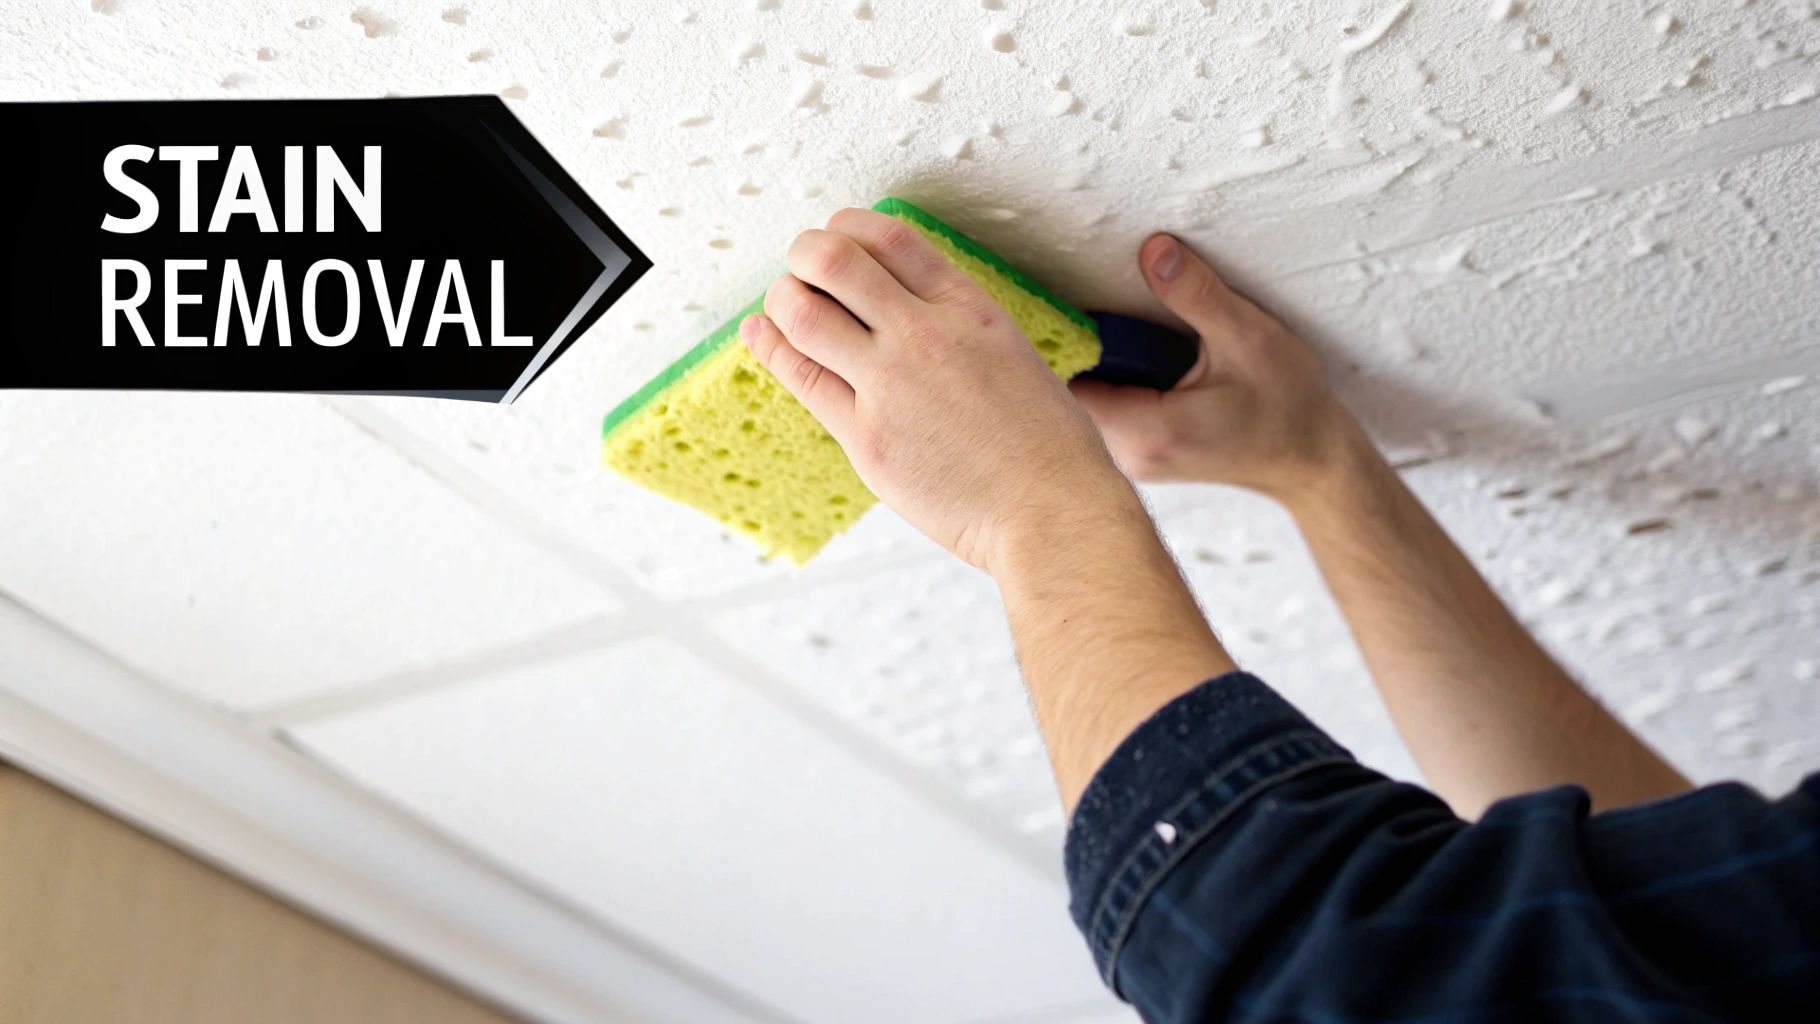
For stubborn stains like water spots, grease splatters, or smoke discolouration, a dry duster is insufficient. The correct technique is gentle blotting; scrubbing will damage the texture.
Before treatment, identify the stain type. It is crucial to know how to know if it's mold, as mold remediation requires professional intervention and specific safety protocols. For common household stains, a simple DIY solution can be effective.
A Simple DIY Solution for Stains
A mixture of one part white vinegar to one part warm water is often effective. Another option is a few drops of bleach in warm water. The primary goal is to use the least amount of liquid possible, as oversaturation will cause the ceiling texture to crumble.
Follow this procedure:
- Mix your solution in a spray bottle.
- Spray a cloth, not the ceiling. Lightly mist a clean sponge or microfibre cloth. Never spray the solution directly onto the ceiling, as this prevents control over moisture absorption.
- Blot, don’t rub. Gently press the damp cloth onto the stain. Lift and repeat. This patient process protects the texture.
- Let it air dry completely. The stain should fade significantly once the area is dry.
Crucial Tip: Always test your cleaning solution on an inconspicuous area first, such as inside a closet. This step is mandatory to ensure the solution does not cause discolouration or damage to the visible ceiling surface.
When the Stain Just Won't Budge
Some stains, particularly from old water damage or accumulated kitchen grease, may be too deeply set to be removed by cleaning. In this scenario, the best solution is to seal the stain and touch up the area with paint.
A high-quality, stain-blocking primer is essential. It creates a barrier that prevents the stain from bleeding through the new paint. To understand the importance of this step, our guide explains what primer paint is used for. It is a critical component for achieving a flawless finish.
When a DIY Approach Is Not the Best Option
While many home projects are suitable for a DIY approach, cleaning a popcorn ceiling requires an understanding of its limitations. In some cases, attempting to clean it yourself can be ineffective or even hazardous.
The most significant risk is asbestos. If your home was built before the mid-1980s, you must assume the texture may contain it. Any aggressive cleaning or scraping can release dangerous microscopic fibres into the air. Professional testing is a non-negotiable first step.
Signs You Need to Call a Professional
Beyond asbestos, other indicators suggest a professional is required. Large patches of dark, fuzzy mould are a sign of an underlying moisture problem that surface cleaning will not resolve.
Similarly, significant water damage—indicated by a sagging ceiling, soft spots, or large brown stains—requires an expert assessment of potential structural issues before any cleaning is attempted.
A ceiling that is actively flaking or crumbling indicates a failure of the bonding agent. Any cleaning attempt will likely cause large sections to fall, creating a mess and a potential hazard.
In these situations, hiring a professional is the most logical and safe decision. While there is a cost, it is significantly less than the cost of improper handling. Data from Angi provides an overview of what to expect, and you can read more about popcorn ceiling removal costs on Angi.com.
For homeowners in the GTA, finding the right team is critical. Our guide on choosing the best painting contractors near me is an excellent resource for finding qualified experts in Toronto and Mississauga who can manage the job safely.
Still Have Questions About Popcorn Ceiling Care?
Even with a clear plan, specific questions may arise. Understanding common issues and best practices is key to a successful outcome. Here are answers to frequent questions from homeowners in the GTA.
Can I Just Paint Over a Dirty Popcorn Ceiling?
This is not recommended. Painting over dust and cobwebs traps debris, which can cause the new paint to bubble, flake, or peel.
Furthermore, the moisture in paint can loosen the popcorn texture itself, causing it to fall off. A thorough dry cleaning of the ceiling is a mandatory first step before painting. A clean, stable surface is the only foundation for a lasting finish.
Remember: moisture is the primary enemy of popcorn texture. Whether from cleaning solutions or paint, it can cause damage. Always start with a dry method and proceed with extreme caution.
How Can I Be Sure if My Ceiling Has Asbestos?
Visual inspection is not a reliable method. The only way to be 100% certain is to have a small sample tested by a certified laboratory.
If your home in Toronto or Mississauga was built before the mid-1980s, the safest protocol is to assume it contains asbestos. Your options are to either leave it undisturbed or hire a professional for testing and potential removal.
What’s the Best Way to Clean a Kitchen Popcorn Ceiling?
Kitchens present a unique challenge due to greasy film from cooking. The best approach starts with a gentle vacuuming to remove loose dust.
For greasy spots, use a blotting technique. Mix warm water with a single drop of dish soap, dampen a sponge, and wring it out until it is almost dry. Blot the area; do not rub. Avoid oversaturating the ceiling. For significant grease buildup, the best options are hiring a professional or, after a light cleaning, applying a high-quality, stain-blocking primer to the entire ceiling before painting.
For popcorn ceilings with widespread damage, deep-set stains, or if you suspect asbestos, the safest and most effective route is to call in the experts. Soca Services Painting offers professional ceiling services across the GTA, making sure the job is done right. Contact us today for a consultation.


One Comment