Table of Contents
- 7 Ways to Refresh Your Home With Professional Painting
- Benefits of Hiring Professional Painters for Your Home Refresh
- How Long Does Professional Interior Painting Take
- Professional Painting Preparation Steps That Ensure Quality Results
Last Updated: July 1, 2026
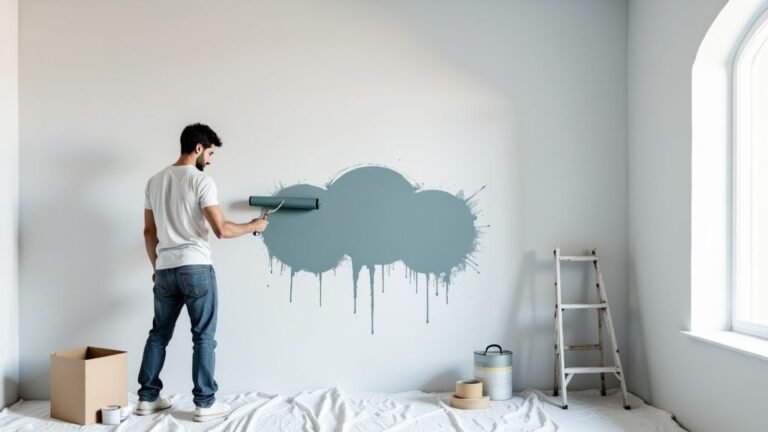
7 Ways to Refresh Your Home With Professional Painting
Professional painting transforms living spaces without the stress of full renovation. Professional painters complete interior projects 3-5 times faster than DIY attempts, with results lasting 5-7 years versus 2-3 years for DIY work.
The difference between professional and DIY results comes down to surface preparation, something most homeowners underestimate.
Benefits of Hiring Professional Painters for Your Home Refresh
Professional painters understand how different paint sheens perform in specific rooms. Bathrooms need moisture-resistant finishes; living rooms benefit from eggshell that hides imperfections while remaining washable. Proper primer application prevents staining and ensures color accuracy, extending paint longevity by years. Professional painters handle all surface preparation, patching drywall, sanding rough spots, protecting furniture and flooring, so you avoid weekends on ladders and worry about drips.
Professional painters deliver durability through proper surface preparation and application technique that DIY approaches often lack.
How Long Does Professional Interior Painting Take?
A single bedroom typically takes 2-3 days; living rooms require 3-4 days; kitchen cabinets take 5-7 days due to drying time between coats. Professional painters spend 40-60% of project time on preparation, filling holes, sanding surfaces, protecting trim, and applying primer. Most interior projects in Toronto homes complete within 1-2 weeks.
| Project Type | Typical Duration |
|---|---|
| Single bedroom | 2-3 days |
| Living room | 3-4 days |
| Kitchen cabinets | 5-7 days |
| Whole home (3 bed) | 10-14 days |
Professional Painting Preparation Steps That Ensure Quality Results
Step 1: Surface Assessment and Repair
Your painter inspects all surfaces for damage, moisture issues, or previous paint failure. Cracks get filled and sanded smooth. Water stains receive treatment before painting to prevent bleed-through.
Step 2: Cleaning and Degreasing
Walls accumulate dust and grease that prevent paint adhesion. Professional painters wash walls with appropriate cleaners, stronger solutions for kitchens and bathrooms.
Step 3: Sanding and Surface Preparation
Glossy finishes need sanding to accept new paint. Professional painters use appropriate grit sandpaper to create ideal surface texture for paint adhesion.
Step 4: Priming
Quality primer seals the surface and prevents bleed-through from water stains or marks. It improves paint coverage, reducing finish coats needed for rich, even color.
Step 5: Masking and Protection
Professional painters mask trim, baseboards, fixtures, and outlets with precision. Drop cloths protect flooring, allowing efficient work without worrying about drips.
Step 6: Paint Application
With preparation complete, professional painters apply thin, even coats using proper technique, cutting in edges with precision and maintaining wet edges to avoid lap marks.
Skipping primer or applying paint directly over glossy surfaces causes peeling or flaking within months because paint never properly bonds to the wall.
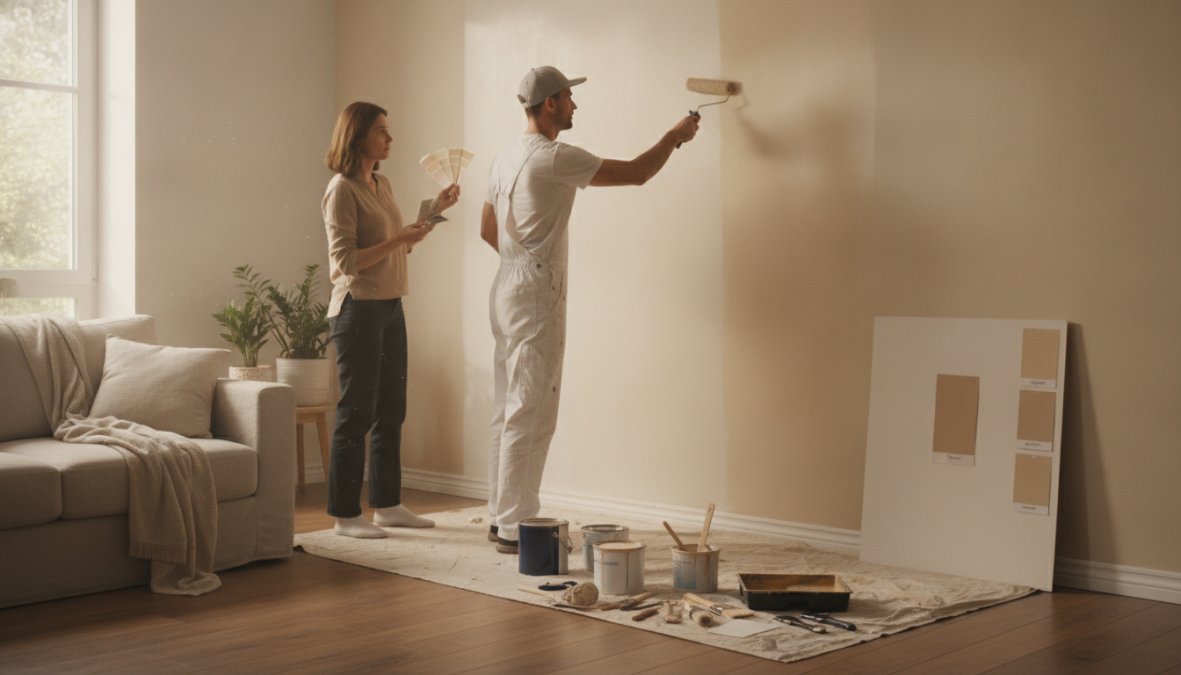
1. Choosing the Perfect Paint Color and Finish for Your Home Refresh
Color selection drives transformation. North-facing rooms in Toronto receive cool light that makes warm colors appear muddy. South-facing rooms get warm, bright light that intensifies color. Understanding your room’s light exposure prevents color disappointment.
Color psychology matters: soft greens and blues in bedrooms promote calm; warm neutrals in living spaces encourage conversation; kitchens benefit from energizing yellows; bathrooms work well with spa-like colors. Paint sheen affects appearance and performance. Matte finishes hide imperfections but resist cleaning. Eggshell offers the best balance, it hides minor flaws while remaining wipeable. Satin finishes in kitchens and bathrooms resist moisture and clean easily.
Use online visualizers to preview colors in your actual space. Order sample pots and paint large swatches on your walls, living with them for several days under different lighting. Professional painters help navigate color selection during consultation, preventing expensive mistakes.
2. Painting Doors and Trim for Architectural Interest
Painting doors and trim a contrasting color creates visual interest and defines spaces. Classic approach: paint doors and trim white while walls feature color. Modern approach: paint doors and trim the same color as walls for seamless flow. Bold approach: choose contrasting colors like navy doors against pale gray walls.
Doors need durable finishes. Semi-gloss or satin finishes resist fingerprints and clean easily. Sand existing finishes to dull the gloss, prime with quality primer designed for trim, and apply thin, even coats to prevent drips. The transformation is dramatic and costs less than replacement.
Paint interior doors the same color as walls to create continuity and make spaces feel larger, or paint them a contrasting color to define separate zones in open-concept homes.
3. Creating Accent Walls for Visual Impact
Accent walls focus attention and add personality without overwhelming your space. Choose one wall, typically the wall you see first entering a room, and paint it a bolder color while keeping other walls neutral. In pale gray rooms, a deep charcoal accent wall creates drama. Soft white walls paired with warm terracotta bring warmth and interest. Professional painters execute stripes, geometric shapes, or color blocking flawlessly.
4. Updating Your Space With Cabinet and Furniture Painting
Cabinet painting transforms kitchens and bathrooms without replacement costs. The process starts with thorough cleaning and degreasing, kitchen cabinets accumulate cooking residue that prevents paint adhesion. Doors and hardware are removed for easier access. Sanding cabinet surfaces is essential; existing finishes get sanded to accept primer. Quality cabinet primer prevents tannin bleed-through from wood stains. Paint application requires thin, even coats with proper drying time between applications. The transformation rivals new cabinetry at a fraction of the cost.
5. Adding Architectural Interest With Molding and Trim Updates
Crown molding draws the eye upward and makes rooms feel larger. Professional installation followed by professional painting ensures seamless integration with your walls. Wainscoting, painted wood paneling on lower walls, adds cottage charm or modern sophistication depending on style. Baseboards frame rooms and protect walls from damage. These architectural updates combined with strategic color choices create cohesive, designed spaces.
6. Modernizing With Specialty Finishes and Textures
Specialty finishes add depth and sophistication beyond standard paint. Matte finishes create contemporary aesthetics; textured finishes add tactile interest; metallic paints introduce shimmer and luxury. Faux finishes create effects mimicking stone or marble. Low-VOC paint options from Benjamin Moore and Sherwin-Williams provide health and environmental benefits, emitting fewer volatile organic compounds while performing as well as traditional paints. Specialty finishes work best as accents rather than covering entire rooms.
Specialty finishes and eco-friendly paints cost slightly more but deliver superior aesthetics and health benefits that justify the investment.
7. Enhancing Lighting and Atmosphere Through Strategic Color Choices
Color affects how light moves through your space and how you feel in the room. Light colors reflect light and make spaces feel brighter and larger. Darker colors absorb light and create intimate atmospheres, working best in larger rooms with plenty of natural light. Warm colors (yellows, oranges, warm reds) energize and promote conversation. Cool colors (blues, greens, cool grays) calm and soothe. Warm white bulbs (2700K) pair well with warm paint colors; cool white bulbs (4000K) complement cool colors. The interplay between color, light, and atmosphere creates spaces that feel intentional and designed.
Professional painting delivers transformation beyond cosmetic updates. When you invest in quality paint, expert surface preparation, and skilled application, your home reflects that quality immediately. Contact Soca Services Painting today for your free estimate and discover how professional painting can brighten, freshen, and beautify your home.
Frequently Asked Questions
What are the main benefits of hiring professional painters instead of doing it yourself?
Professional painters deliver superior results through proper surface preparation, high-quality materials, and expert technique. They complete projects efficiently, ensure even coverage, minimize mistakes, and use durable finishes like Benjamin Moore Aura or Sherwin-Williams Emerald that last longer. Professional painting also protects your home's resale value and saves you time, stress, and potential costly errors. Soca Services brings over a decade of experience to every project across Toronto.
How long does professional interior painting typically take?
Interior painting timelines depend on room size, surface condition, and color changes. Small rooms may take 1-2 days, while larger spaces or multiple rooms typically require 3-7 days. Professional painters like Soca Services complete thorough preparation, priming, and multiple coats to ensure lasting quality. Our 4-step process includes detailed project proposals so you know exactly what to expect before work begins.
How can I estimate the cost of professional interior painting for my home?
Interior painting costs depend on square footage, surface condition, number of coats, paint quality, and whether trim or special finishes are included. Premium paints and detailed preparation increase value but cost more upfront. Soca Services offers a free estimate and instant interior painting quote tool to help you understand your investment. Contact us for a detailed proposal tailored to your Toronto-area home.
What preparation steps do professional painters take before painting?
Professional painters inspect walls, patch holes and cracks, sand uneven surfaces, and apply primer to ensure optimal adhesion and color accuracy. They protect floors and furniture with drop cloths, use quality painter's tape like FrogTape for clean lines, and may use primer-in-one products for efficiency. Proper preparation prevents peeling, ensures even coverage, and extends the life of your paint finish. Soca Services prioritizes meticulous prep work as part of our stress-free process.
This article was written using GrandRanker