A top-notch exterior paint job is more than just a new colour—it’s a crucial investment in protecting your home and boosting its curb appeal. Here in the Greater Toronto Area, the best professional painters do far more than just roll on a coat of paint; the job involves a detailed assessment, meticulous prep work, and premium materials designed to hold up against our tough Canadian seasons. This guide provides an objective structure for your exterior painting project in Toronto, Mississauga, and the surrounding GTA.
Decoding the Cost of Exterior Painting in the GTA
Trying to nail down a budget for painting your home’s exterior can be tricky. If you’ve looked at online calculators, you’ve probably realized they don’t tell the whole story, especially for homes in Toronto and Mississauga. The final quote you get from the best local painters is a blend of several objective factors specific to your house.
Think about a multi-storey home versus a bungalow. Right away, the project’s complexity skyrockets. The need for scaffolding, tall ladders, and extra safety gear means more labour and higher risk, which naturally pushes up the cost.
Key Variables in Your Painting Quote
So, what exactly are painters looking at when they draw up your quote? The condition of your existing exterior is a huge piece of the puzzle. A home with peeling paint, rotting wood, or spots of mildew needs a ton of prep work—we’re talking scraping, sanding, and making repairs—long before a can of primer is even opened. This is the grunt work, but it’s absolutely essential for a finish that lasts.
The material your house is made of also makes a big difference:
- Wood Siding: This usually needs the most attention. It often requires extensive sanding and caulking to get that perfectly smooth, sealed surface that holds paint well.
- Brick or Stucco: These materials are porous, so they soak up paint. They often need special primers and specific types of paint to ensure the colour goes on evenly and stays put.
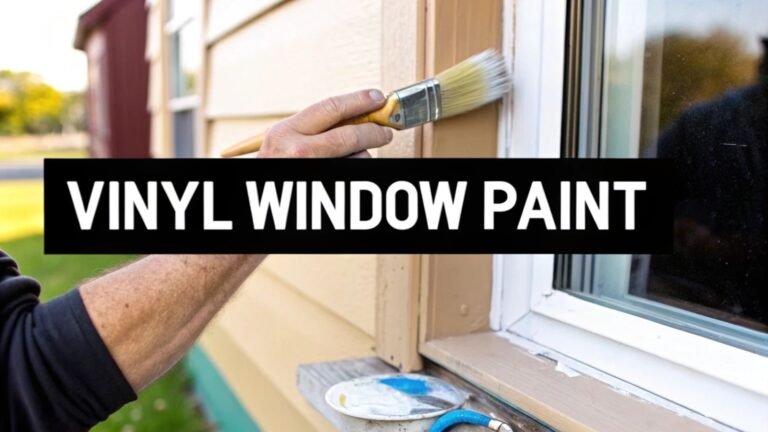
- Vinyl or Aluminum: While generally easier to work with, these surfaces require a special kind of paint formulated to stick to a non-porous finish without peeling or chipping down the road.
Beyond the Basics: What Else Adds to the Bill?
It’s the little things that often add up. Intricate details like decorative gables, detailed trim, shutters, and lots of window frames increase the time needed for the job. Each of these elements has to be “cut in” carefully by hand, a slow, methodical process that demands a steady hand and a good eye. This is often where you can really see the quality of the best painter’s work shine through.
Thinking of a big colour change? Going from a dark shade like navy blue to a light, airy cream will definitely impact the price. It’s not just about buying more paint; it means using more primer to completely hide the old colour and often requires an extra topcoat to get that flawless, solid finish.
To give you a clearer picture, here’s a breakdown of the common factors we consider when putting together an estimate for a homeowner in the GTA.
| Key Factors Influencing Your Exterior Painting Quote |
| :— | :— | :— |
| Factor | Impact on Cost | Why It Matters |
| House Size & Number of Storeys | High | Larger homes require more paint and labour. Multiple storeys demand extra equipment (scaffolding, lifts) and safety precautions, increasing time and risk. |
| Exterior Material (Wood, Brick, Stucco, Vinyl) | Medium to High | Different materials require different prep techniques, primers, and types of paint. Porous surfaces like brick may need more product. |
| Condition of Existing Surfaces | Medium to High | Peeling paint, cracks, or mildew mean extensive prep work (scraping, sanding, repairs, and power washing), which is labour-intensive. |
| Architectural Details (Trim, Shutters, Gables) | Medium | Intricate details require precise, time-consuming “cut-in” work by hand, which increases the total hours needed for the job. |
| Chosen Colour & Type of Paint | Low to Medium | A dramatic colour change often requires an extra coat of primer and paint. Premium paints cost more but offer better durability and fade resistance. |
| Accessibility & Landscaping | Low to Medium | Difficult-to-reach areas or extensive landscaping that needs to be protected can add time and complexity to the setup and cleanup process. |
Ultimately, a detailed quote breaks down all these elements. It ensures you know exactly what you’re paying for—from the hours of prep work to the gallons of high-quality paint. For a deeper dive, you can discover more insights on painting cost factors to feel fully prepared when reviewing your quotes.
The Prep Work That Guarantees a Flawless Finish
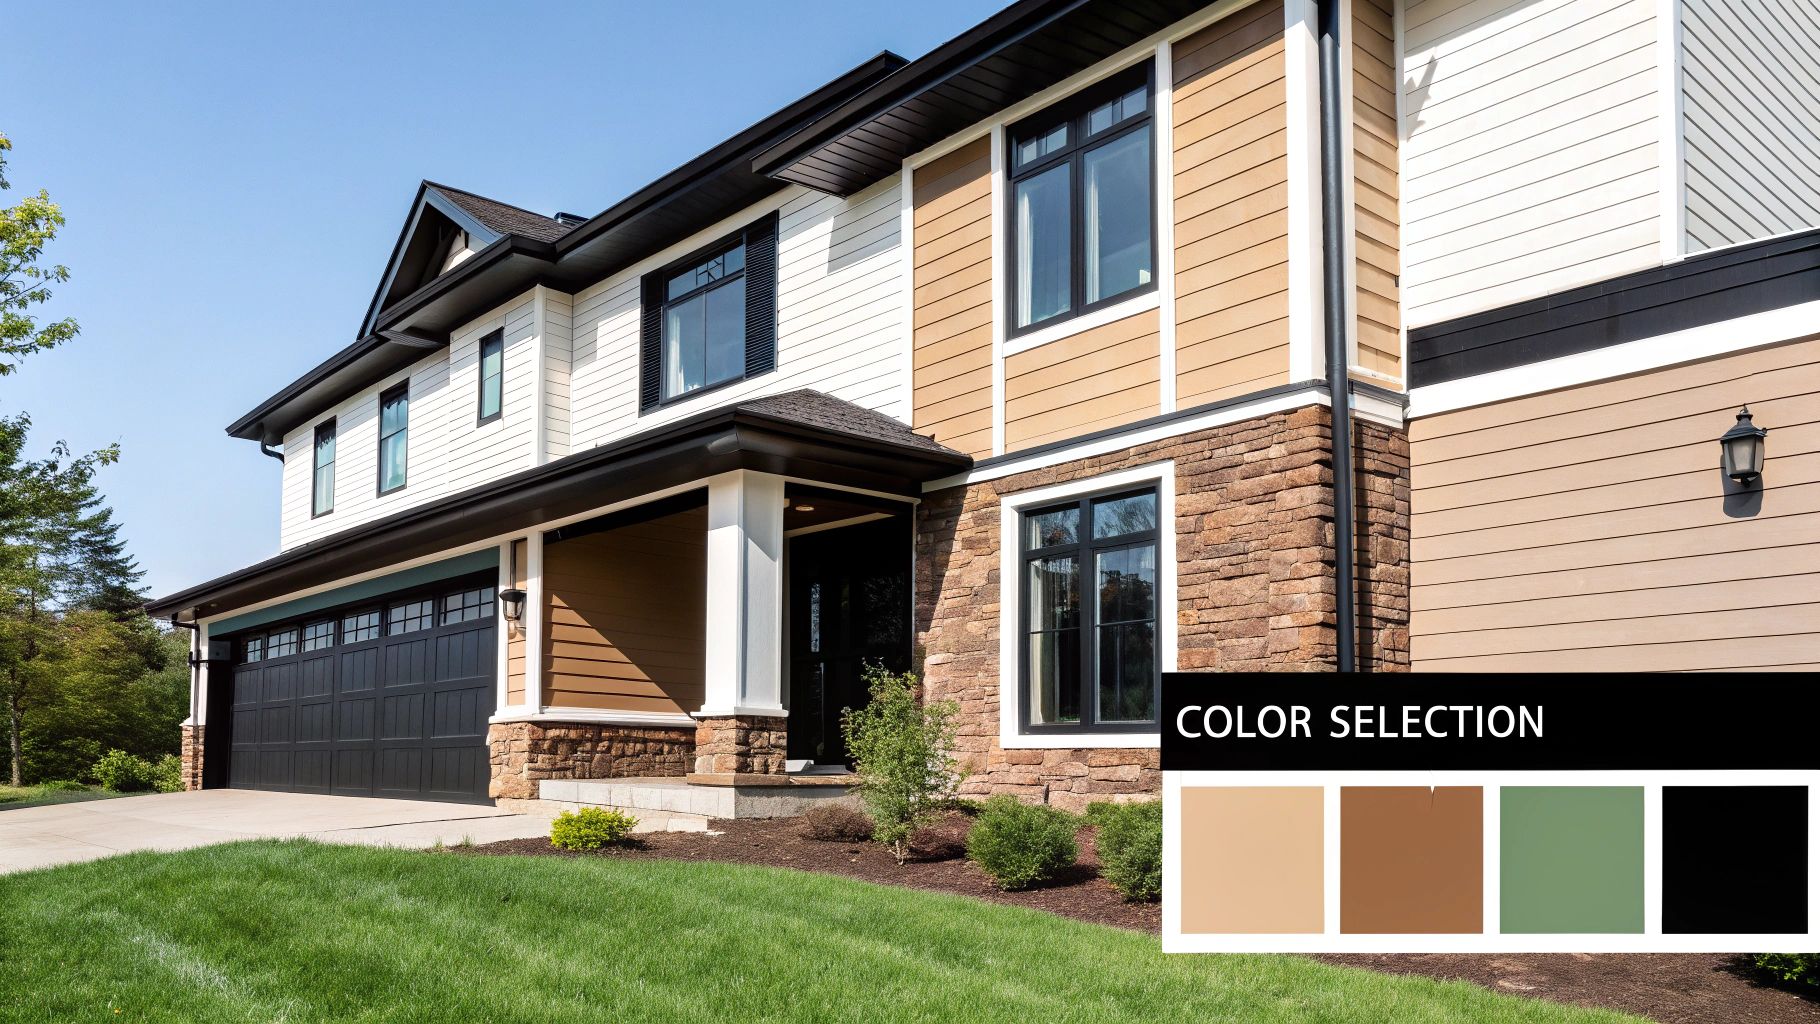
Everyone loves talking about the final colour, but the real secret to a beautiful, long-lasting paint job is all in the prep. It’s the unglamorous part, I know. But ask any of the best pro painters in Toronto or Mississauga, and they’ll tell you that up to 80% of a top-tier job is done before a single can of paint is even opened.
Think of it this way: skipping these steps is like building a house on a shaky foundation. It might look okay for a little while, but it won’t hold up—especially against a harsh Mississauga winter. Proper surface prep is simply non-negotiable for a successful exterior painting of a house.
Clearing the Canvas
First things first, you need a perfectly clean slate. Your home’s exterior has collected years of dirt, grime, pollen, and mildew. Paint just won’t stick to that.
This is where a good, thorough cleaning makes all the difference. For most homes, a power washer is your best friend here, blasting away all that built-up gunk. But be careful. It’s a tool that demands respect. Too much pressure can easily damage wood siding or force water where it shouldn’t go, leading to much bigger headaches later.
The goal here isn’t just about making the house look clean. It’s about creating a pristine surface so the primer and paint can grip on for dear life. Getting this right can mean the difference between a paint job that lasts a decade and one that’s peeling in two years.
Getting the Surface Smooth and Sound
Once the house is clean and has had plenty of time to dry completely, the real detailed work starts. This is where the elbow grease comes in, and it’s often the most time-consuming part of the whole project. A professional crew in the GTA will go over every square foot, looking for any little imperfection that could ruin the final look.
This critical stage breaks down into a few key tasks:
- Scraping: Any paint that’s already loose, cracked, or peeling has got to go. Get in there with scrapers and wire brushes. If you just paint over an unstable surface, the new coat will peel right off with the old stuff underneath. A total waste of time and money.
- Sanding: After scraping off the loose bits, you need to sand the edges of the remaining paint. This creates a smooth, feathered transition so your new paint job looks seamless, without any tell-tale ridges.
- Repairs: Now is the time to fix any underlying problems you’ve uncovered. This could be anything from filling small cracks in stucco and replacing rotted wood siding to simply securing a few loose trim boards.
These prep stages are a huge chunk of what you’re paying for when you hire a professional. The costs to paint the exterior of a house are directly tied to how much prep is needed. The more attention paid to the surface now, the longer the finish will last, period.
Sealing Gaps for Weather Protection
Before you even think about picking up a primer brush, there’s one last step: caulking. You need to seal up all the gaps and cracks with a high-quality exterior caulk. This isn’t just about looks; it’s your home’s first line of defence against moisture.
Run a bead of caulk around all your window and door frames, along corner trim, and anywhere two different materials meet. This simple step stops water from seeping behind your siding and causing rot, mould, and eventually, paint failure. A well-sealed home is a well-protected home.
Choosing Paint That Survives Toronto’s Climate
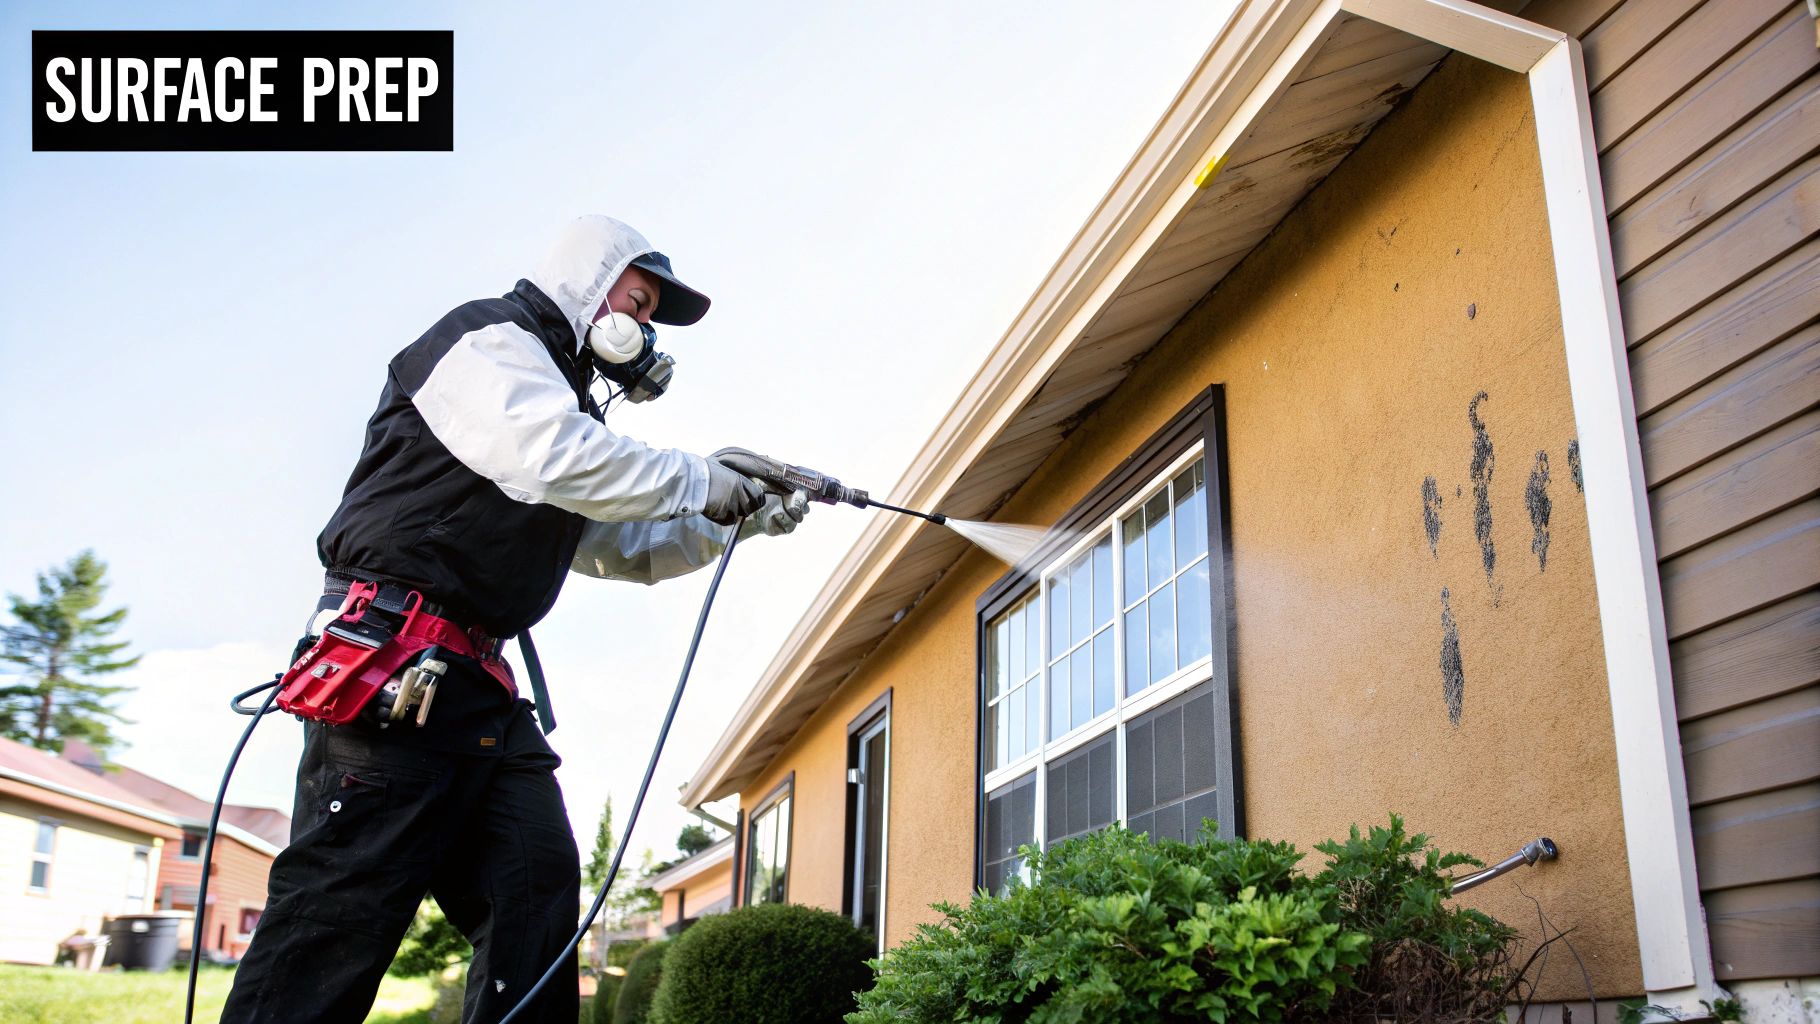
Picking the right paint is about so much more than just finding a colour you love. Think of it as a protective shield for your home. Here in the GTA, that shield has a tough job. It needs to stand up to our humid summers, which can invite mildew, and then survive icy winters that make siding and trim expand and contract.
Making the right choice from the start is what separates a paint job that looks great for a decade from one that starts failing after a few seasons. The right product will fight off fading, cracking, and peeling, which is key to protecting your investment in the exterior painting of a house.
Latex Versus Oil: What’s Best for a Toronto Exterior?
The classic debate always comes down to latex (water-based) versus oil-based (alkyd) paint. For most homes I see across Toronto and Mississauga, the answer is clear: a modern, high-quality 100% acrylic latex paint is hands-down the winner.
The technology in latex paints has come a long way. Their biggest advantage is flexibility. As your home’s siding expands in the summer heat and shrinks in the winter cold, acrylic latex moves with it. This elasticity is what prevents the cracking and peeling you see with more rigid paints. They’re also breathable, which means they let trapped moisture escape instead of causing ugly blisters on the surface.
Now, oil-based paints aren’t obsolete—they’re still fantastic for priming bare metal or locking in tough stains. But for the main surfaces like siding, trim, and doors, they tend to get brittle and fade much faster in our climate. For all-around durability, acrylic latex is the way to go.
A common mistake I see homeowners make is thinking the most expensive can is always the best. While quality paint is worth paying for, the right paint is what matters. The best formula for wood isn’t necessarily the best for vinyl or brick. It’s all about matching the product to the surface for proper adhesion and weather resistance.
The Unsung Heroes: Primer and Finish
You can’t have a great paint job without a great foundation, and that’s exactly what primer is. It’s the critical first step that helps your topcoat stick properly and gives you that smooth, even colour. Skipping primer, especially when you’re painting over bare wood or making a big colour jump (say, from dark blue to a soft yellow), is a recipe for a short-lived finish.
Just as important is the finish, or sheen, you choose. This decision impacts not only the final look but also how well the surface holds up over time.
- Satin/Eggshell: This is the go-to for most house siding. It offers a low-lustre look that’s great at hiding minor bumps and dings but is still durable and easy to clean.
- Semi-Gloss: I always recommend a semi-gloss for trim, doors, and shutters. These areas get more contact and abuse, and the harder, shinier finish provides extra resistance to moisture and scuffs. It’s also much easier to wipe clean.
By thinking through your primer and finish choices, you ensure every part of your home’s exterior is properly protected. Finding the best “exterior painting near me” means finding a crew that knows these materials inside and out. It’s this expertise that lays the groundwork for a beautiful, lasting result.
Pro Painting Techniques for a Sharper Look
Ever wonder what separates a decent DIY paint job from a truly professional finish? It often comes down to the application. The best painters I’ve seen across the GTA know that the tool in your hand is just as critical as the can of paint beside you. Knowing when to grab a sprayer versus a brush or roller is the secret to that sharp, flawless look.
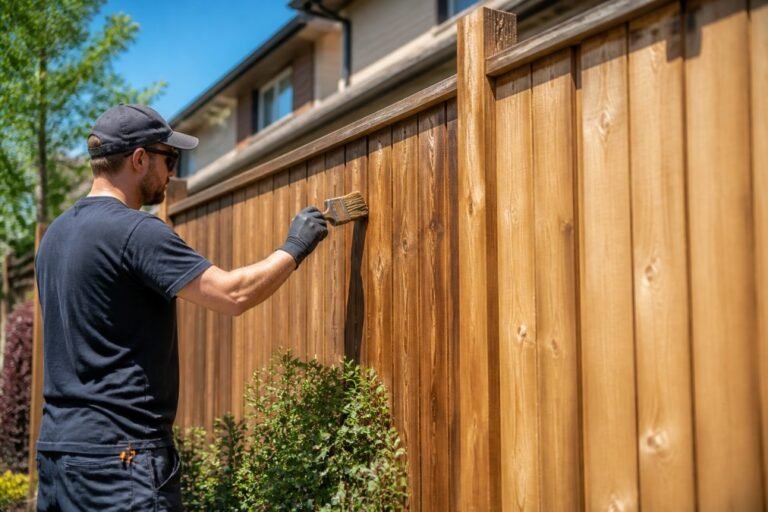
For those big, wide-open surfaces like siding, a paint sprayer is your best friend. It turns the paint into a super-fine mist, laying down a perfectly even coat without a single brush mark or hint of roller texture. It’s incredibly fast for covering large areas, which is exactly why the pros use it for the main body of a house.
But a sprayer isn’t a one-size-fits-all solution. When you need those crisp, clean lines around windows, doors, and trim, nothing beats the precision of a high-quality brush and a steady hand. This technique is called “cutting in,” and it’s a genuine art form. It’s what creates that sharp definition that really makes a home’s architectural details stand out.
Mastering Your Tools for Different Surfaces
Getting a professional-grade finish means matching your tool to the job. The texture of the surface and the size of the area you’re painting dictate your approach. A roller, for instance, is great for semi-smooth surfaces where a sprayer would create a massive overspray mess, but it just can’t handle the deep grooves of rough-sawn wood or highly textured stucco.
Here’s a look at how experienced painters in places like Mississauga typically tackle a house:
- Siding (Wood, Vinyl, Aluminum): They’ll often lay down the main coats with a sprayer and immediately follow up by “back-brushing” or “back-rolling.” This just means lightly running a brush or roller over the freshly sprayed area to push the paint into every nook and cranny, ensuring a much stronger bond.
- Trim and Shutters: A 2.5 to 3-inch angled sash brush is the go-to tool. The angled bristles give you the control you need to paint a perfectly straight line right up against the siding.
- Stucco or Textured Surfaces: You’ll need a roller with a thick nap—at least ¾-inch. This is essential for forcing the paint into all the tiny crevices that a sprayer or a standard roller would just skim over.
Deciding which tool to use can feel overwhelming, so here’s a quick guide to help you choose the right one for each part of your home’s exterior.
Paint Application Method Comparison
| Application Tool | Best For | Pros | Cons |
|---|---|---|---|
| Paint Sprayer | Large, flat surfaces like siding and fences. | Incredibly fast application; delivers a smooth, factory-like finish. | Requires extensive prep (masking); can be messy with overspray. |
| Paint Roller | Semi-smooth to semi-rough surfaces like wood or lightly textured stucco. | Good coverage speed; easier to control than a sprayer. | Can leave a “stipple” texture; not ideal for very rough surfaces or fine details. |
| Paint Brush | Detailed work like trim, corners, and “cutting in” around windows/doors. | Unmatched precision and control; forces paint into the surface for a durable bond. | Slowest application method; can leave brush marks if used improperly. |
Each tool has its place, and a professional-looking job almost always involves using all three at different stages.
This next chart really drives home how pros allocate their time on a project. It’s not all about slinging paint.
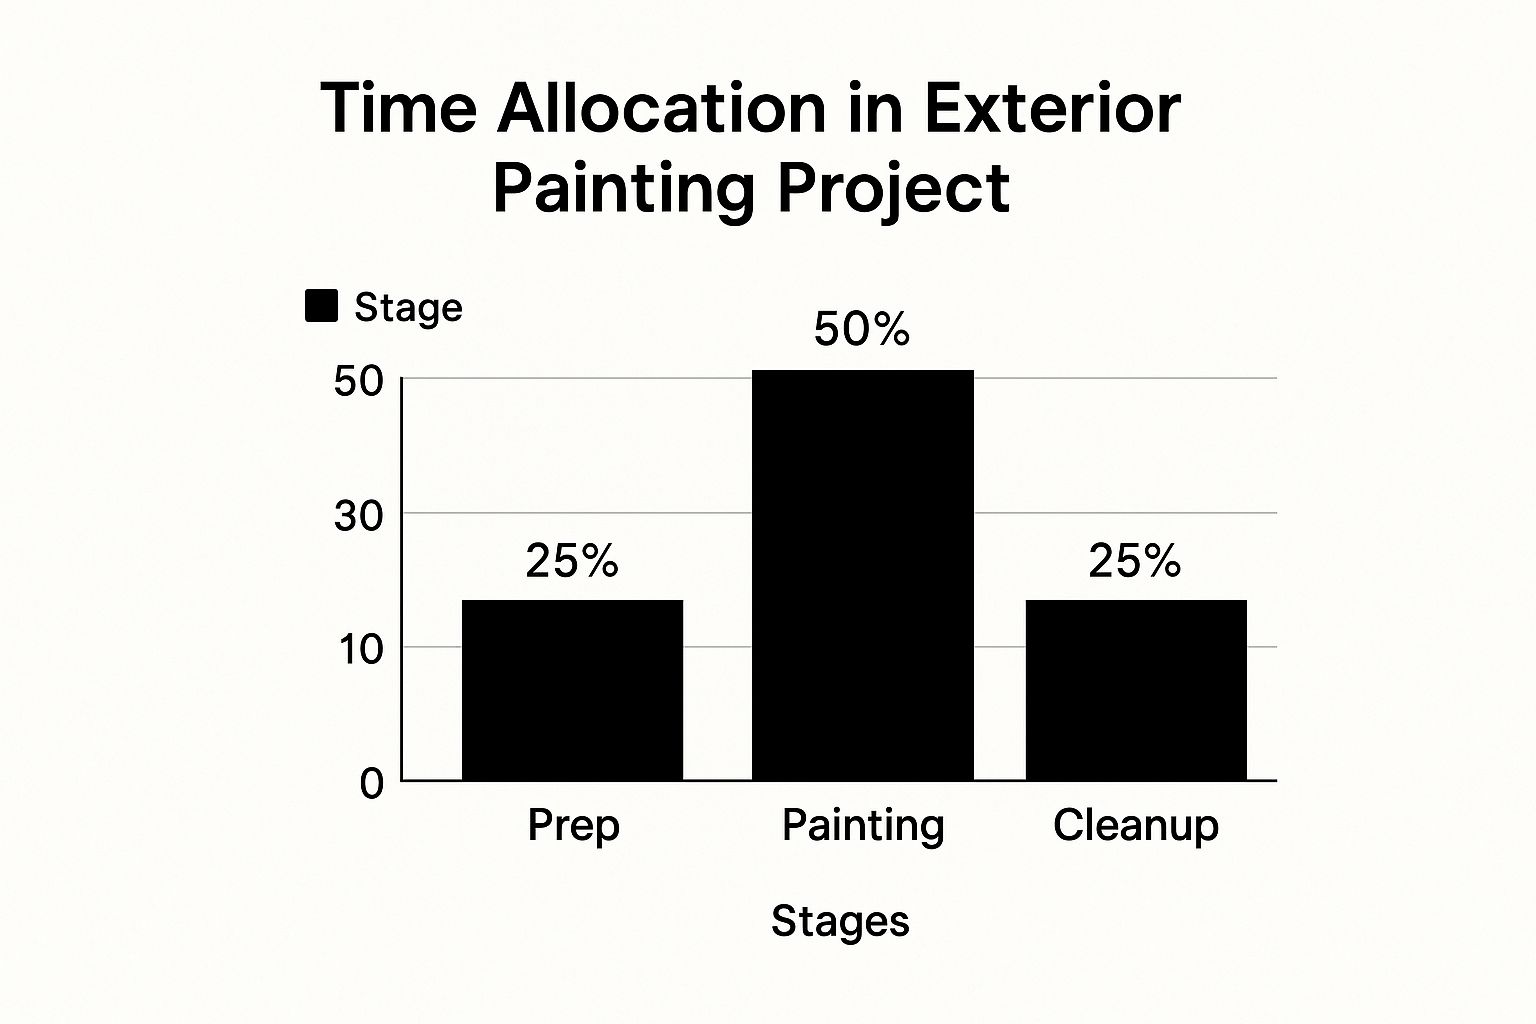
As you can see, the actual painting is only part of the story. The prep work and cleanup are just as important, if not more so.
One of the most common mistakes I see homeowners make is overloading their brush or roller. This is what causes those dreaded drips and a blotchy, uneven texture. The trick is to load your tool properly—only dip your brush about one-third of the way up the bristles—and always maintain a “wet edge.” This means you paint back into the last stroke you made while it’s still wet to avoid ugly lap marks.
At the end of the day, the best technique is one that’s methodical and patient. Whether you’re searching for local painters or tackling the job yourself, understanding these application secrets is what leads to a durable, beautiful finish that will seriously boost your home’s curb appeal.
Finding the Best Local House Painters in the GTA
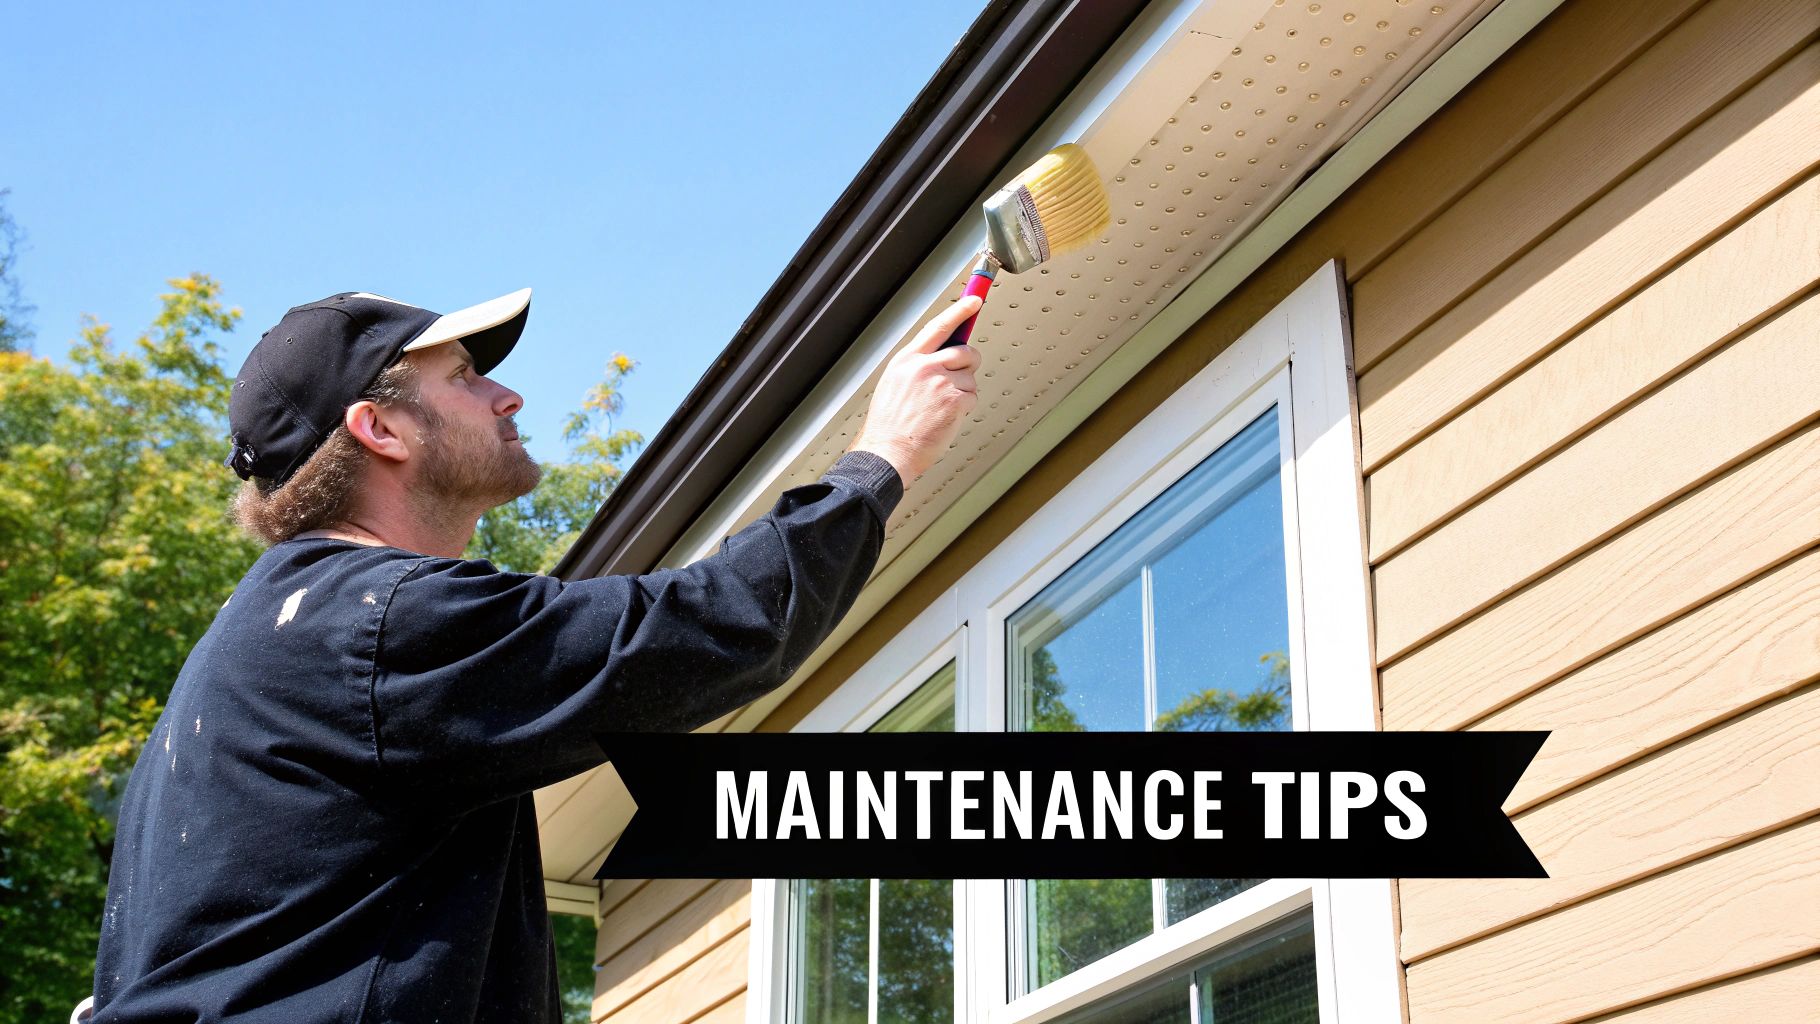
You’ve got a plan for the prep work and a good idea of the paint you want. Now comes the big decision: choosing the team to make it all happen. When it comes to the exterior painting of a house, hiring the best local pros in Toronto or Mississauga is absolutely critical. This is more than just a paint job; you’re entrusting your home’s curb appeal and its first line of defence against the elements to someone else’s hands.
A quick search for “exterior painting near me” will flood you with options, but the real work is in sorting the good from the great. The best first step is to shortlist at least three reputable companies that service the GTA. This way, you can compare more than just the price tag—you can get a feel for their process, professionalism, and overall approach.
Vetting Your Local Painting Contractors
With your shortlist in hand, it’s time to do a little digging. A truly professional painting company will be an open book, happy to provide any information you need to feel confident in your choice. If you get vague answers or feel like you’re being rushed, that’s often a red flag.
When you’re checking out potential painters, here’s what you need to zero in on:
- Insurance and WSIB: This is non-negotiable. Ask to see proof of their liability insurance and WSIB (Workplace Safety and Insurance Board) coverage. This simple step protects you and their crew from any potential accidents on your property.
- Detailed Written Quotes: A verbal estimate isn’t worth the paper it’s not written on. A proper quote breaks everything down, from the prep work and specific materials to the final cleanup. No surprises.
- Portfolio and References: The best painters are proud of their work and want to show it off. Ask to see a portfolio of recent exterior projects they’ve completed nearby and get the contact information for a few past clients.
Putting in this effort up front really does pay off. While the thought of a DIY paint job might seem like a good way to save a few dollars, it can easily lead to a subpar finish that peels or fades prematurely. Fixing those mistakes often costs more than hiring a pro in the first place, as detailed in this comparison of DIY vs. professional painting costs.
Key Questions to Ask Before Signing
Getting a good price is important, but ensuring you’re getting quality work is what really matters. The questions you ask during the quoting process will tell you a lot about a contractor’s experience and standards. Don’t hold back—a painter who knows their stuff will welcome your diligence.
A detailed quote isn’t just a price; it’s a project plan. If a contractor can’t tell you exactly what brand and line of paint they plan to use or describe their prep process step-by-step, they may not be the right fit for your home.
Before you make that final decision, make sure you get clear answers to these questions:
- What specific paint products will you be using? They should be able to name the brand and the exact product line for both the primer and the paint.
- Can you walk me through your preparation process? Get them to explain how they’ll handle power washing, scraping, sanding, and caulking on your specific house.
- How will you protect my property? Ask about their methods for covering gardens, windows, walkways, and light fixtures.
- What’s the project timeline? Get an estimated start date and a realistic timeframe for completion, factoring in potential weather delays.
- Do you offer a warranty? A solid warranty should cover both the labour and the materials for a specified period, giving you peace of mind.
By taking this thorough approach, you can confidently pick the right local team for the exterior painting of a house and get a beautiful, long-lasting finish that protects your investment for years to come.
Got Questions About Painting Your House Exterior?
Even with a solid plan, a few questions always pop up. When it comes to painting a house in the GTA, most homeowners I talk to run into the same concerns, especially with our wild weather. Let’s clear up some of the most common ones so you can move forward with confidence.
A big one I always hear is, “How long should this paint job actually last?” In places like Toronto and Mississauga, a professionally done exterior paint job should hold up for a good 7 to 10 years. That’s not a guarantee, though. The real lifespan comes down to how well the surface was prepped, the quality of paint used, and what your house is made of (wood, stucco, brick, etc.).
When’s the Best Time of Year to Paint in the GTA?
You’ve got a specific window for exterior painting here in Southern Ontario. We’re generally looking at late spring through early fall. The sweet spot is when the thermometer is consistently sitting between 10°C and 30°C.
But here’s a tip many people overlook: humidity is just as important as temperature. If you paint on a sticky, humid day, you’re basically trapping moisture underneath the paint. That’s what leads to those ugly blisters and peeling you see down the road. You really need a good stretch of dry days in the forecast to let the paint cure properly.
How Long Will This Whole Thing Take?
For a typical home in the GTA, a professional crew can usually knock out the entire project in about three to five days. Of course, that timeframe can shift based on a few things.
- The Prep: If your house has a lot of peeling paint or some rotted wood, that’s where the time goes. Scraping, sanding, and making repairs have to be done right, and that can’t be rushed.
- The Weather: A surprise rain shower can shut down the whole operation. We need dry surfaces and safe conditions to work, so a bad forecast can mean delays.
- Size of the Crew: It’s simple math—more hands on deck usually means the job gets done faster.
A common question is whether you need to be home while the work is happening. Honestly, not really. You’ll want to be there for the first walkthrough to confirm colours and details, and again for the final inspection. But for the days in between? Most professional GTA painters just need access to an outdoor tap and a power outlet to get the job done.
Can’t I Just Paint Right Over the Old Stuff?
I get asked this all the time, and it’s a critical point. Slapping a new coat of paint over old, flaky paint is just throwing your money away. The new paint is only as good as the surface it’s sticking to. If that surface is already failing, your brand-new paint job will start peeling right along with it, often within a year.
Proper surface preparation is the foundation of a lasting paint job. There are no shortcuts. Every bit of loose or cracked paint needs to be scraped and sanded away to create a solid base for the new primer and paint to bond to. It’s easily the most important part of the entire process. The best local painting teams in the GTA are the ones who obsess over this step and never, ever cut corners.
Ready to see your home transformed with a finish that’s not only beautiful but built to last? For the best exterior painting services in Toronto, Mississauga, and throughout the GTA, you can trust the experts at Soca Services. Contact us today for a detailed, no-obligation quote!