Yes, you can paint over oil-based paint, but only if you clean it, sand off the gloss, remove dust, and apply a bonding or oil-based primer before the new topcoat. Do not apply water-based paint directly over glossy oil paint. It can scratch, flake, or peel.
This is common on trim, doors, frames, baseboards, and woodwork in older Toronto and GTA homes. The old finish may look fine, but a smooth oil or alkyd surface gives water-based paint very little to grip.
The reliable process is simple: identify the coating, clean it, degloss it, remove dust, repair defects, prime it, then apply the finish coats. If latex paint has already been applied and is peeling, remove the failed layer and rebuild from the substrate up. For broader interior work, the same preparation principles apply in this guide to painting interior walls.
Table of Contents
- How to Tell If Your Existing Paint Is Oil Based
- Why Water Based Paint Peels Over Glossy Oil Paint
- Professional Preparation and Priming Process That Prevents Peeling
- Choosing the Right Primer and Finish Paint for Trim Doors and Baseboards
- How to Fix Latex Paint That Is Already Peeling Over Oil Paint
- Next Steps and Professional Help in Toronto and the GTA
How to Tell If Your Existing Paint Is Oil Based
Before choosing a primer, identify the existing coating. In older Toronto homes, oil-based paint often has a hard, glossy finish, especially on doors, baseboards, and woodwork. But appearance alone is not enough. Aged latex can also feel hard, and multiple layers may hide different products. For a broader comparison, see this guide to oil-based vs water-based paint.
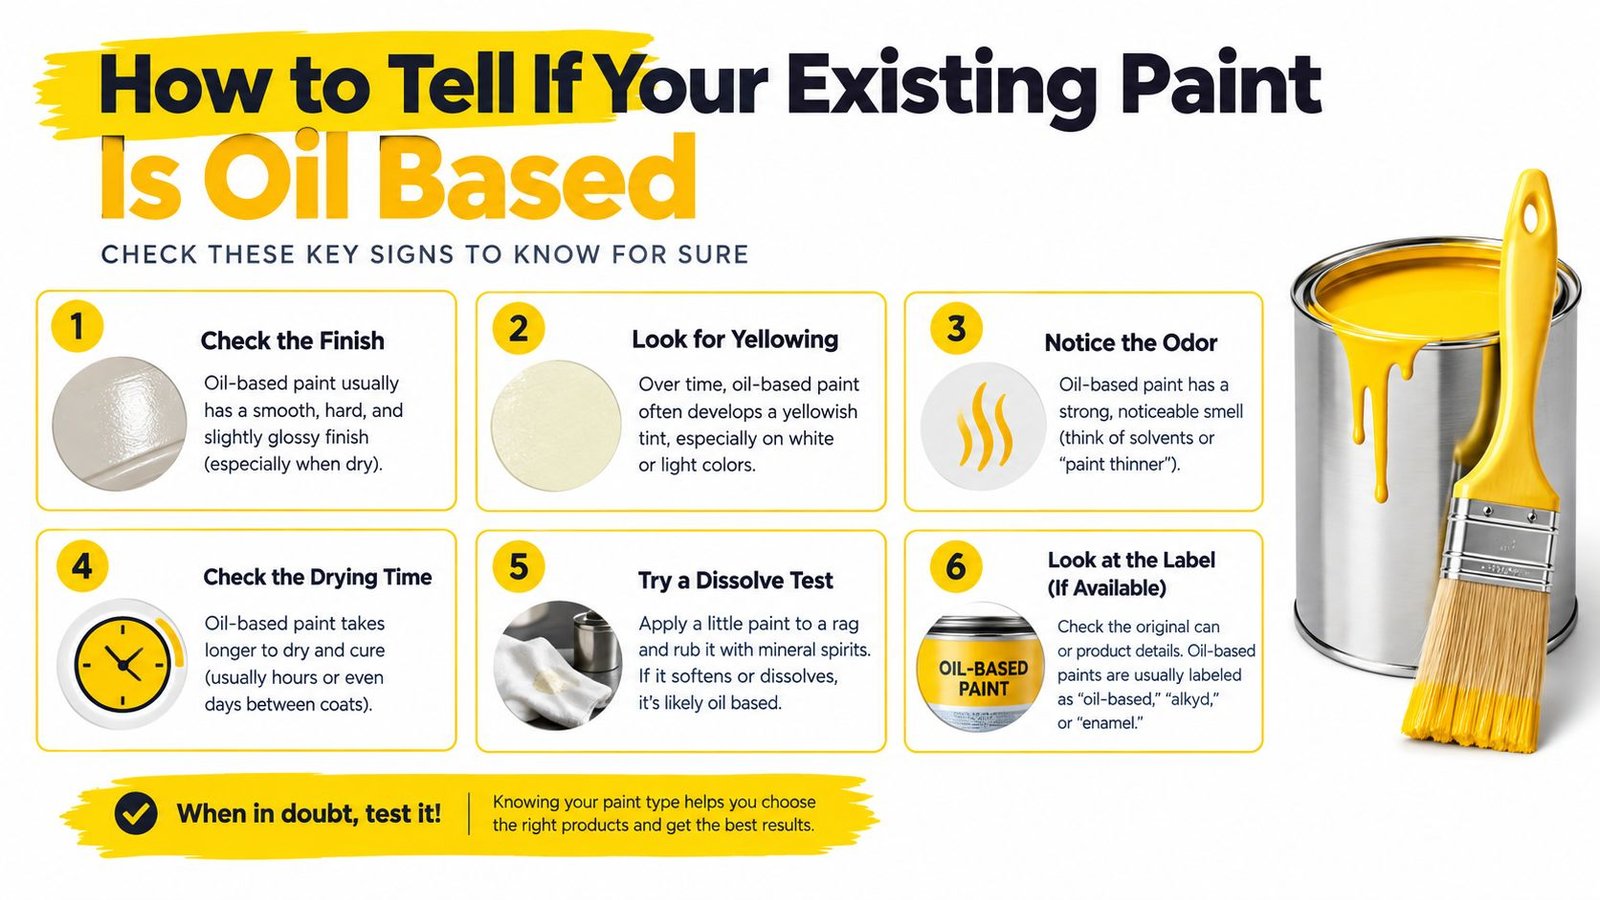
Apply the wetting or chemical-rub test to an inconspicuous area, then inspect the coating:
Still shiny: Usually points to oil or alkyd paint.
Strips or softens: Usually points to latex paint.
Unclear result: Test another hidden area instead of guessing. Dirt, wax, mixed coatings, and old repairs can affect the result.
Oil and alkyd coatings can be painted with latex if the surface is cleaned, deglossed, and primed with a super-adherent acrylic primer first. The test helps identify the coating, but it does not replace cleaning, sanding, and priming.
Older coatings may also contain lead. Health Canada defines a lead-containing surface coating as having over 90 mg/kg of lead by dry weight in its Canadian lead renovation guidance. That guidance warns against sanding, sandblasting, and heat stripping where lead-painted surfaces may be present.
If lead is possible, arrange testing and proper containment, dust control, and waste handling before standard prep. Do not create dust until you understand the risk.
Why Water Based Paint Peels Over Glossy Oil Paint
Paint needs a surface it can grip. A glossy oil film is hard and slick, so a new water-based coating may cover at first but still fail to bond reliably.
That is why a freshly painted door can look fine at first, then scratch near the handle, flake at an edge, or peel where it is handled. Poor adhesion usually starts with contamination, retained gloss, or a previous coating that never bonded properly.
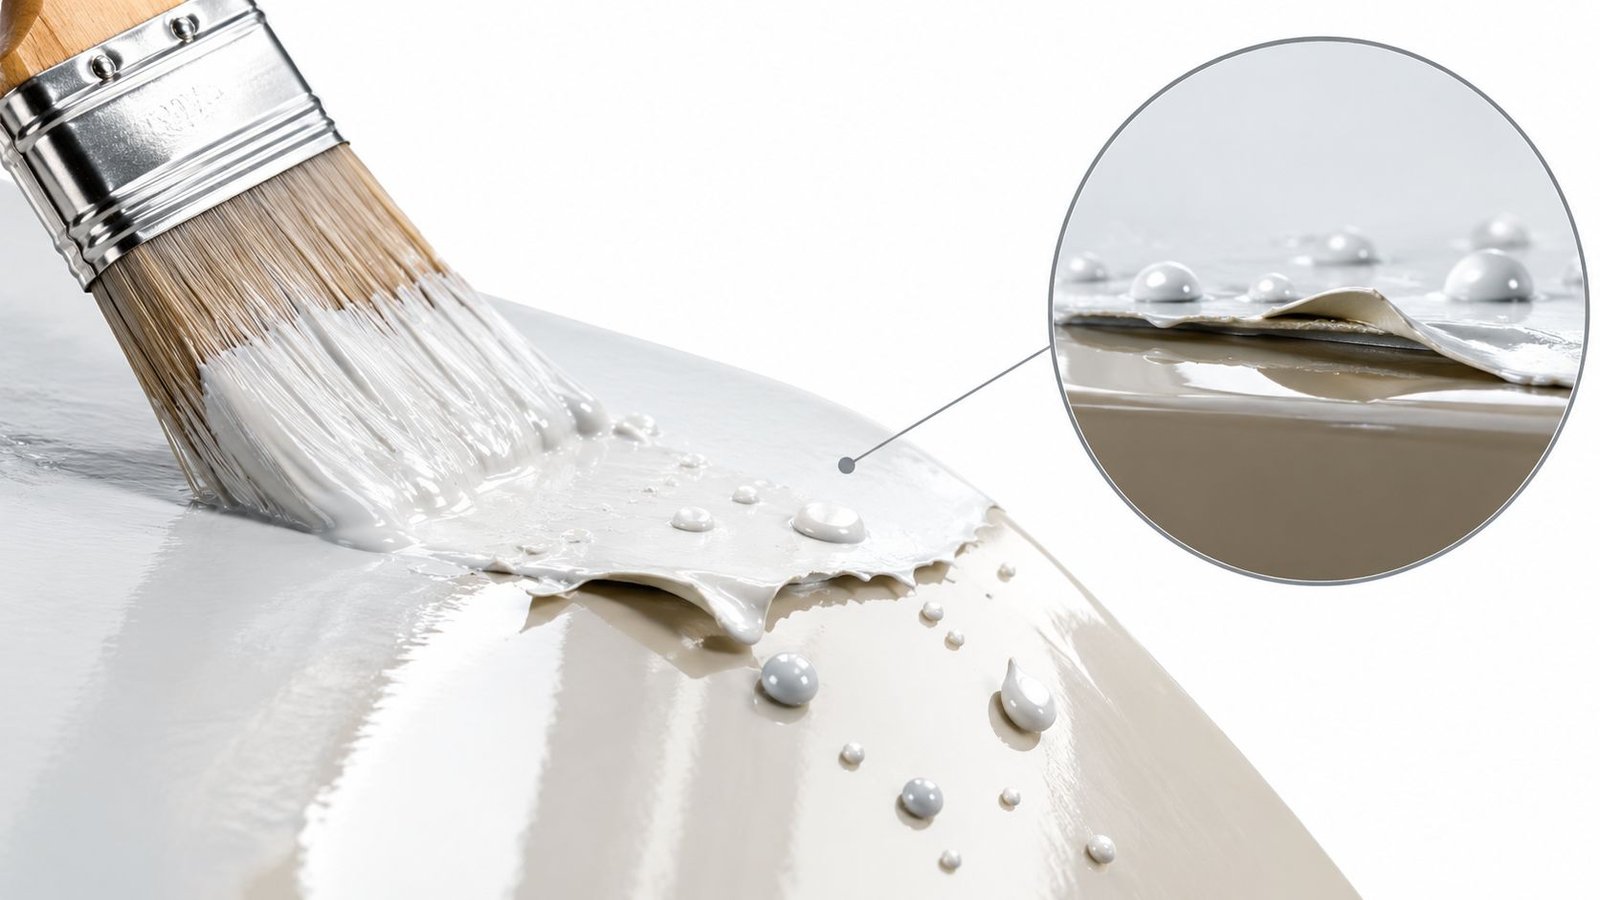
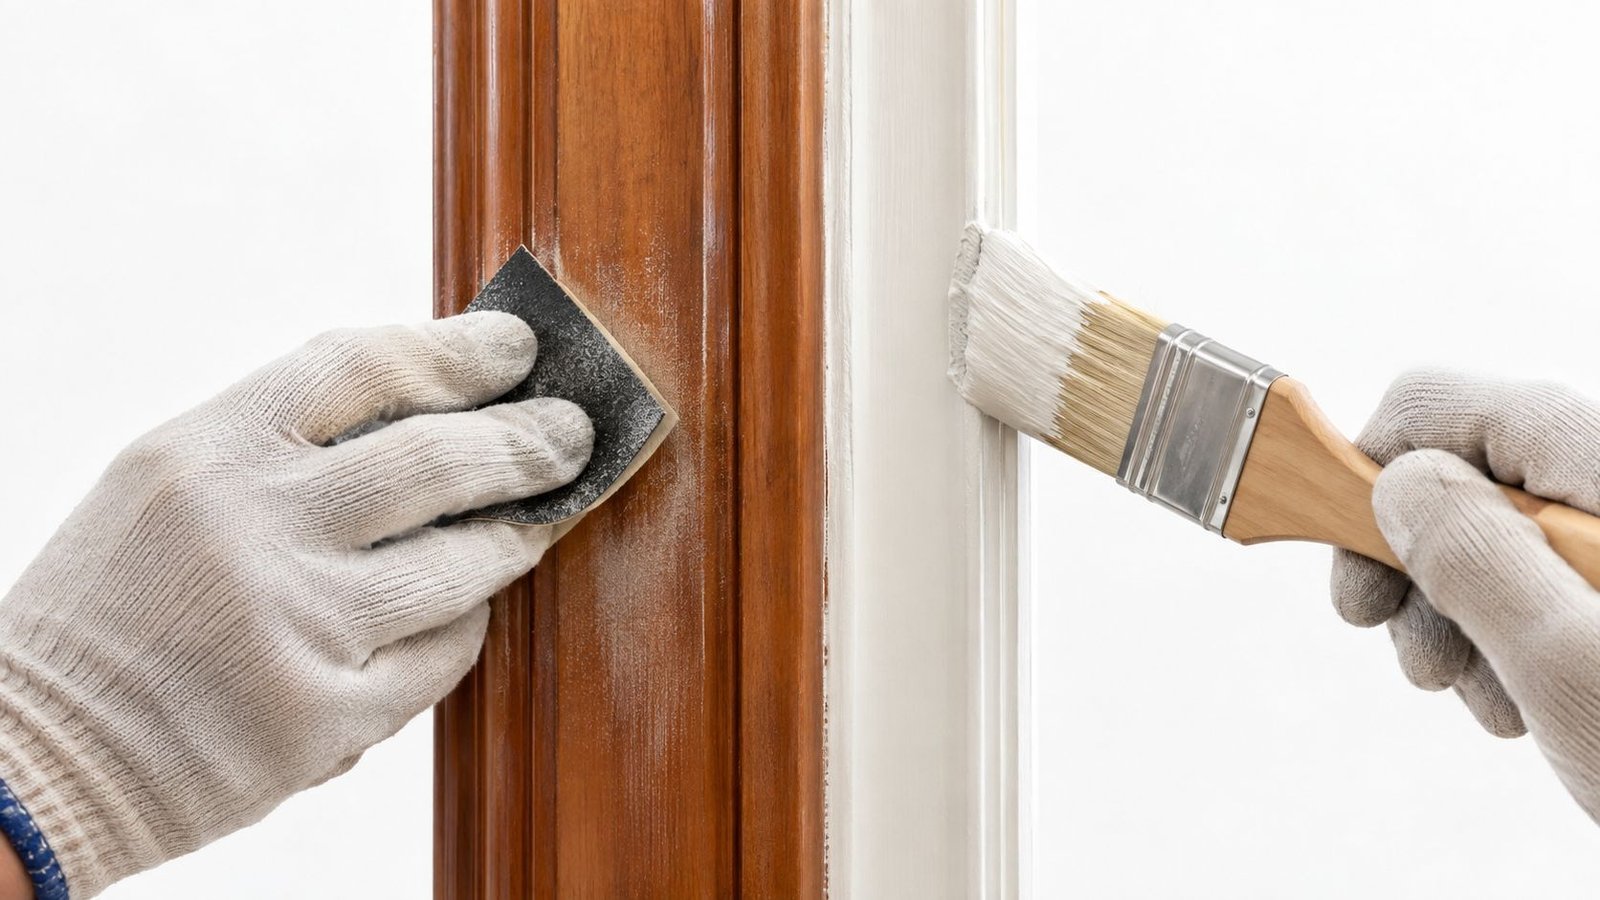
Cleaning removes dust, grease, wax, chalk, mould residue, loose paint, and other contaminants. Sanding dulls the gloss and creates a physical key for the primer.
If the old coating still looks shiny after preparation, assume you still have an adhesion problem. A bonding primer bridges the prepared oil-based surface and the new finish. Skipping preparation only saves time at the start.
Professional Preparation and Priming Process That Prevents Peeling
A dependable repaint starts with the surface, not the paint can. This process works for old trim, doors, frames, baseboards, and woodwork.
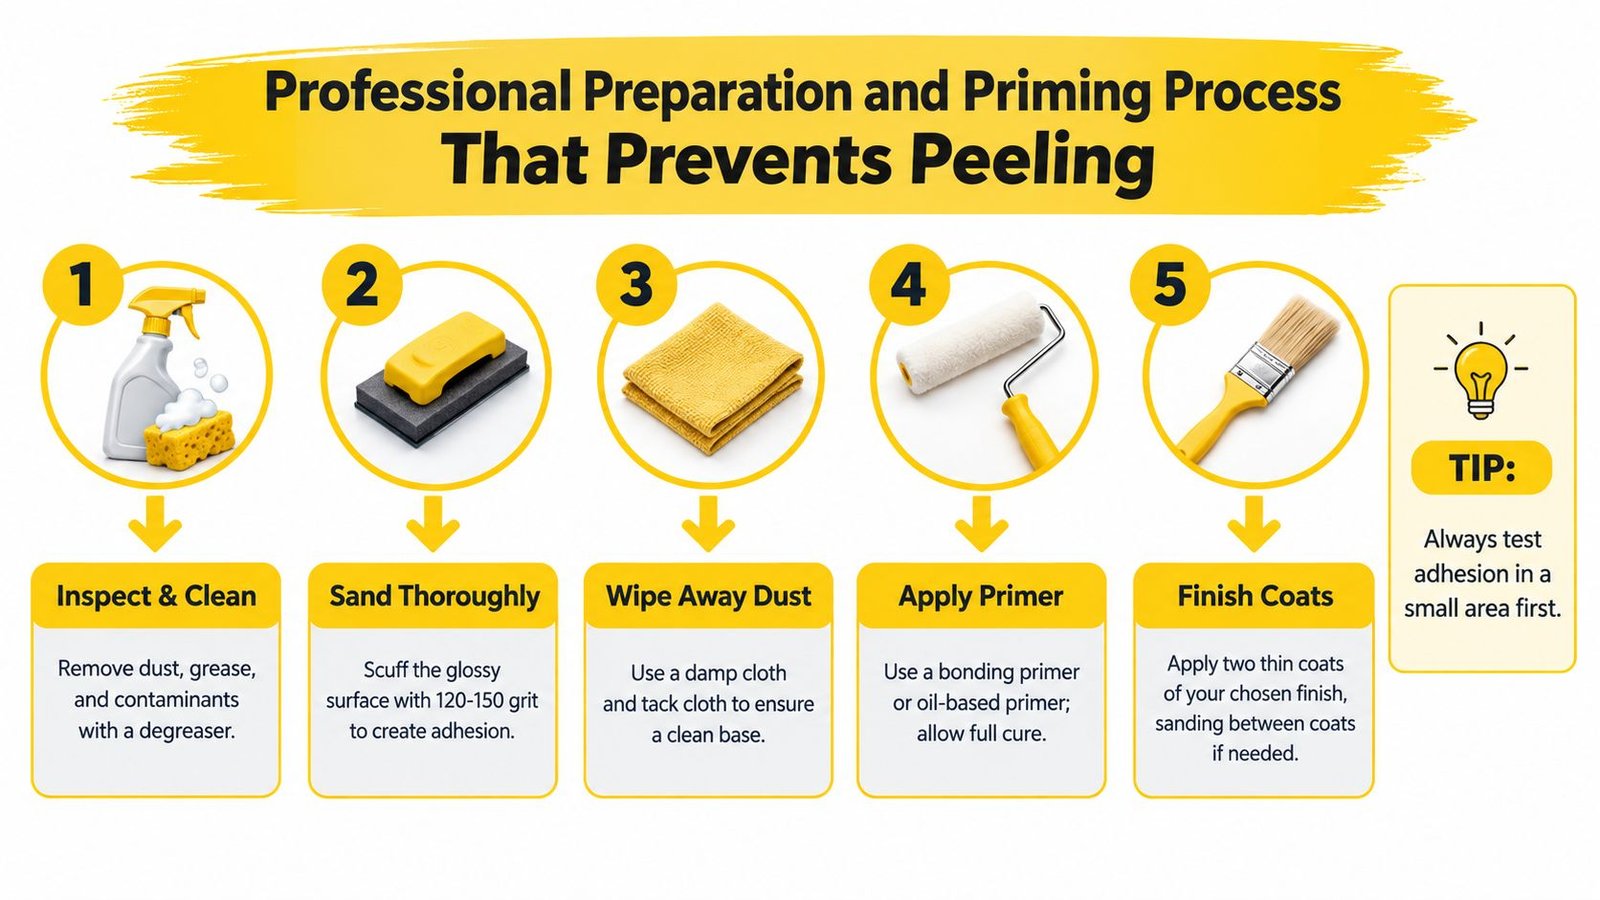
1. Inspect and clean
Look for cracking, flaking, chalking, rust, stains, failed caulking, and loose areas.
Clean thoroughly before sanding. Canadian primer technical data for oil-based stain-blocking primers requires the surface to be free of dust, chalk, oil, grease, wax, mould, mildew stains, loose paint, rust, and other contaminants before priming. Use a suitable cleaner or degreaser, then let the surface dry fully.
2. Sand thoroughly
Use a sanding block or suitable abrasive to remove the glossy finish. Work evenly across the surface, especially on edges, corners, and raised profiles.
The goal is a uniformly dull surface, not deep scratches. Sand loose edges until stable, and feather transitions so repairs do not show through the finish.
3. Remove sanding dust
Vacuum the area, wipe the surface with a clean damp cloth, and use a tack cloth when appropriate. Dust left behind can weaken primer adhesion and leave grit in the finish.
Check corners, hinge areas, door stops, and the top edge of baseboards. Dust often collects there.
For related preparation principles, see this practical guide to prepping walls before painting.
4. Repair imperfections
Fill dents, nail holes, and shallow defects with a compatible repair product. Let repairs dry, sand them smooth, and remove the dust again.
If the old coating is widely loose or peeling, do not bury it under primer. Scrape away unstable material and decide whether the failure is local or widespread.
5. Apply the right primer
Choose a bonding primer or oil-based primer based on the existing coating, substrate, and surface condition. Apply it evenly and follow the label for recoat and cure times.
A small adhesion test is worth doing before you prime the whole surface. If the primer does not grip, stop and correct the prep before applying finish coats.
6. Apply the finish coats
Once the primer has dried or cured properly, apply the new finish in controlled, even coats. Thin, consistent coats usually look better than one heavy coat.
For trim, doors, frames, and baseboards, Benjamin Moore Scuff-X is a commonly used durable finish coat. But even a premium topcoat cannot compensate for a glossy, dirty, or poorly bonded base.
Choosing the Right Primer and Finish Paint for Trim Doors and Baseboards
Primer selection depends on whether the old film is sound, how glossy it is, what the substrate is, and whether stains or bare areas need sealing.
A bonding primer is often the best choice when moving from oil or alkyd paint to a water-based finish. Canadian bonding-primer product data says glossy surfaces should be tested for adhesion and that the primer is formulated for use beneath alkyd, oil, and water-based topcoats. That makes it a useful compatibility bridge, as long as the surface has been cleaned and deglossed.
An oil-based primer can make sense when the surface needs stronger sealing or when the coating system will stay closer to the existing oil-based finish. The substrate, contamination, odour limits, and final finish all matter.
| System | Best for | Key benefit |
|---|---|---|
| Bonding primer with water-based finish | Sound oil or alkyd trim being updated to a modern finish | Bridges the prepared old coating to the new topcoat |
| Oil-based primer with compatible finish | Surfaces needing stronger sealing or a system suited to the substrate | Provides a traditional primer route for selected conditions |
| Bonding primer with alkyd topcoat | Projects keeping an alkyd-based finish | Maintains compatibility while improving adhesion |
| Properly prepared primer with Benjamin Moore Scuff-X | Trim, doors, frames, and baseboards needing a durable finish | Provides a practical professional finish for high-contact areas |
Always test the system in a small area first, especially on a glossy surface. Product choice can change when the existing coating is chalky, stained, heavily damaged, or applied over an uncertain substrate.
For a broader look at this work, see the guide to painting trim and doors.
How to Fix Latex Paint That Is Already Peeling Over Oil Paint
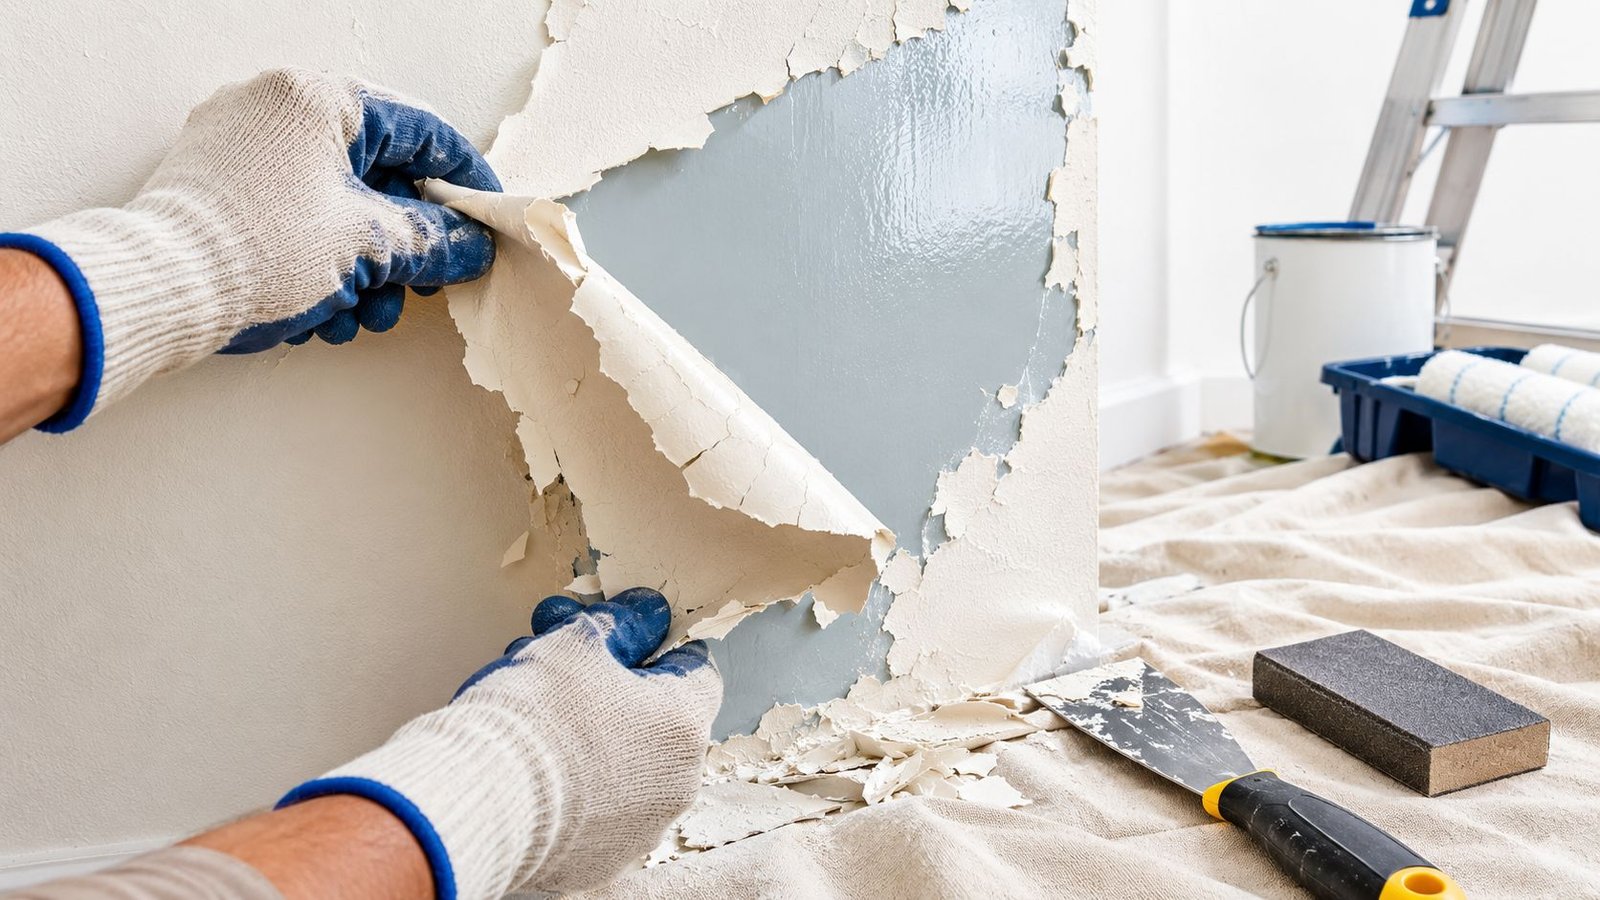
If latex paint has already been applied over oil paint and you can scratch or peel it easily, stop adding coats. Another layer may hide the problem briefly, but the weak bond will remain.
Check how far the failure extends. Test the edges of peeling areas and nearby paint with a scraper or careful tape check. If the coating releases beyond one small spot, treat the surrounding surface as suspect. A useful reference for the broader process is this guide on how to fix peeling paint.
Next Steps and Professional Help in Toronto and the GTA
Painting over oil-based paint is manageable when the existing coating is stable and you follow the full sequence: clean, sand, remove dust, repair, prime, and paint. Older trim and woodwork need that discipline because a smooth finish can hide a weak bond until the surface gets scratched or handled.
For Toronto and GTA homeowners who do not want to risk peeling trim or a failed door repaint, Soca Services Painting can inspect the existing coating, prepare the surface, and recommend a suitable primer and finish system. Request a free estimate or use the available quote options to plan the work.
FAQs
Can you paint water-based paint over oil-based paint?
Yes, but the oil-based surface should be cleaned, sanded to remove the gloss, and properly primed first.
Do you have to sand oil-based paint before painting over it?
In most cases, yes. Sanding removes the slick gloss and helps the primer bond properly.
What primer should I use over oil-based paint?
A suitable bonding primer or oil-based primer can be used depending on the existing coating, substrate, and condition.
What happens if you paint latex directly over oil-based paint?
The new paint may initially look fine but can later scratch, flake, or peel because of poor adhesion.
Soca Services Painting helps homeowners in Toronto and the GTA repaint oil-based trim, doors, frames, baseboards, and woodwork with careful cleaning, sanding, priming, and finish application. Visit Soca Services Painting to request a free estimate and discuss the right approach for your surfaces.