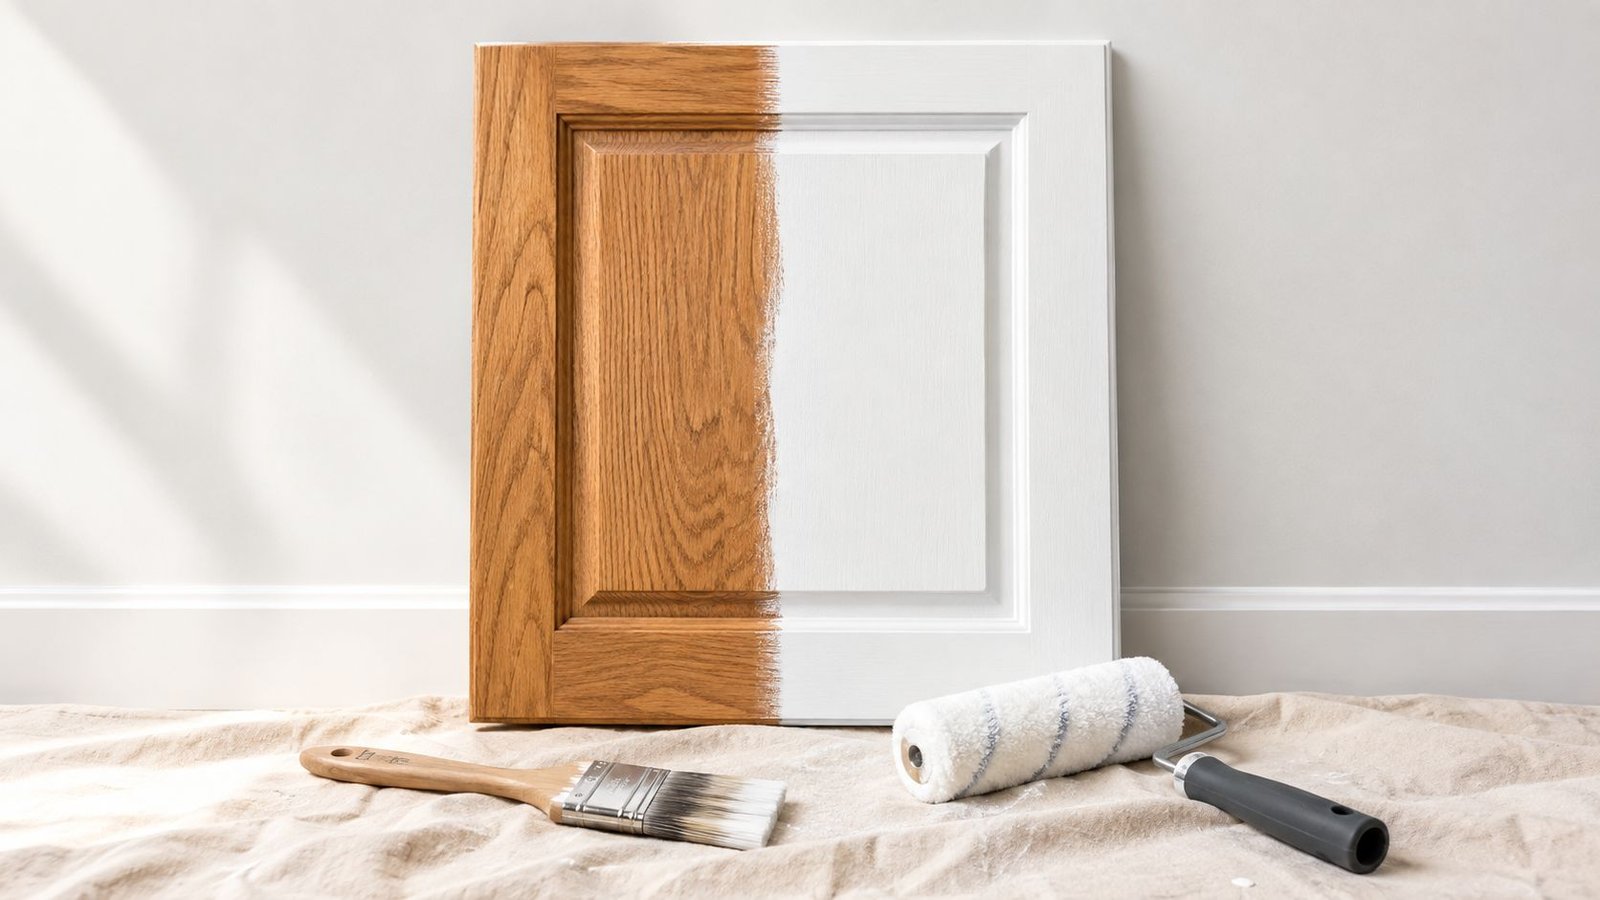
You're standing in a kitchen full of golden oak doors, holding a colour card and wondering whether a weekend of painting will leave you with a fresh kitchen or a peeling mess. With oak, colour is only part of the decision. Primer, prep, application, and curing decide whether the finish lasts.
A durable oak cabinet painting project starts with one choice: preserve the grain or hide it. Then match the coating system to the existing finish and the room's demands. The process below reflects how professional cabinet painters approach oak in Toronto and the GTA, where occupied kitchens and shifting humidity expose shortcuts fast.
Table of Contents
- Why Oak Cabinets Need a Different Approach
- Stain or Paint, Which Finish Suits Your Oak
- Prep That Protects the Finish
- Choosing Primer and Paint That Work as a System
- Brush, Roller, or Sprayer for the Best Result
- Common Problems and How to Prevent Them
- Quick Checklist Before You Call It Done
Why Oak Cabinets Need a Different Approach
Oak has open grain, dense latewood bands, and natural tannins. Those traits work well under stain, but create problems under paint. Grain can stay visible through thin coatings, and tannins can bleed into light colours and leave yellow or brown staining.
That is why oak cabinet painting is a system problem, not just a colour change. The wood, existing finish, room conditions, and product chemistry all need to work together. General wall-paint advice usually ignores grease around pulls, repeated contact at door edges, and the adhesion issues created by factory lacquer.
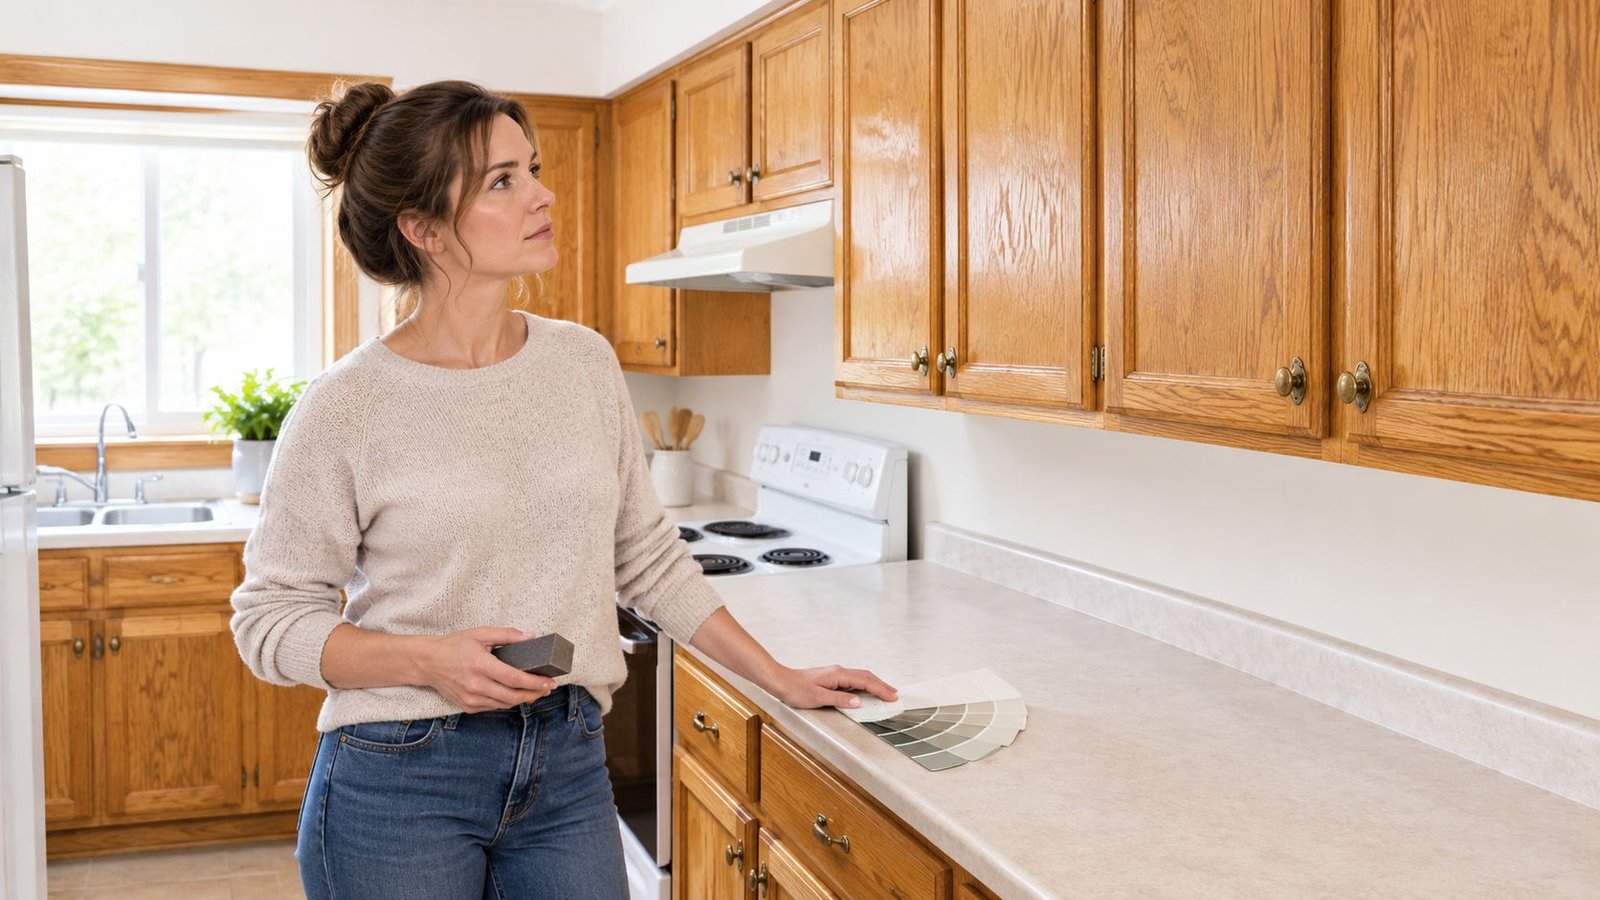
Make the grain decision first
Decide what you want the finished doors to look like.
- Preserve the grain: Stain, tinted clear coats, and some solid stains keep oak's texture visible.
- Hide the grain: Paint creates a more uniform colour, but grain can still telegraph unless the surface is filled and the coating is built evenly.
- Accept some texture: Painted oak can look excellent without being perfectly flat. Filling every pore takes more labour and changes the wood's character.
Oak takes stain well, but paint exposes weak prep fast. A thin primer coat will not level open grain. A skipped scuff-sand leaves the topcoat with little to grip. For more background on coating previously stained wood, see this guide to painting over stained wood.
Practical rule: If the finish fails at the primer-to-substrate interface, a premium topcoat cannot rescue it.
Also consider use. Hinges, handles, drawer fronts, sink cabinets, and areas near cooking surfaces take more contact and contamination than decorative millwork. A finish that looks fine on a display cabinet may fail quickly on a busy kitchen door if degreasing, sanding, or cure time is rushed.
Stain or Paint, Which Finish Suits Your Oak
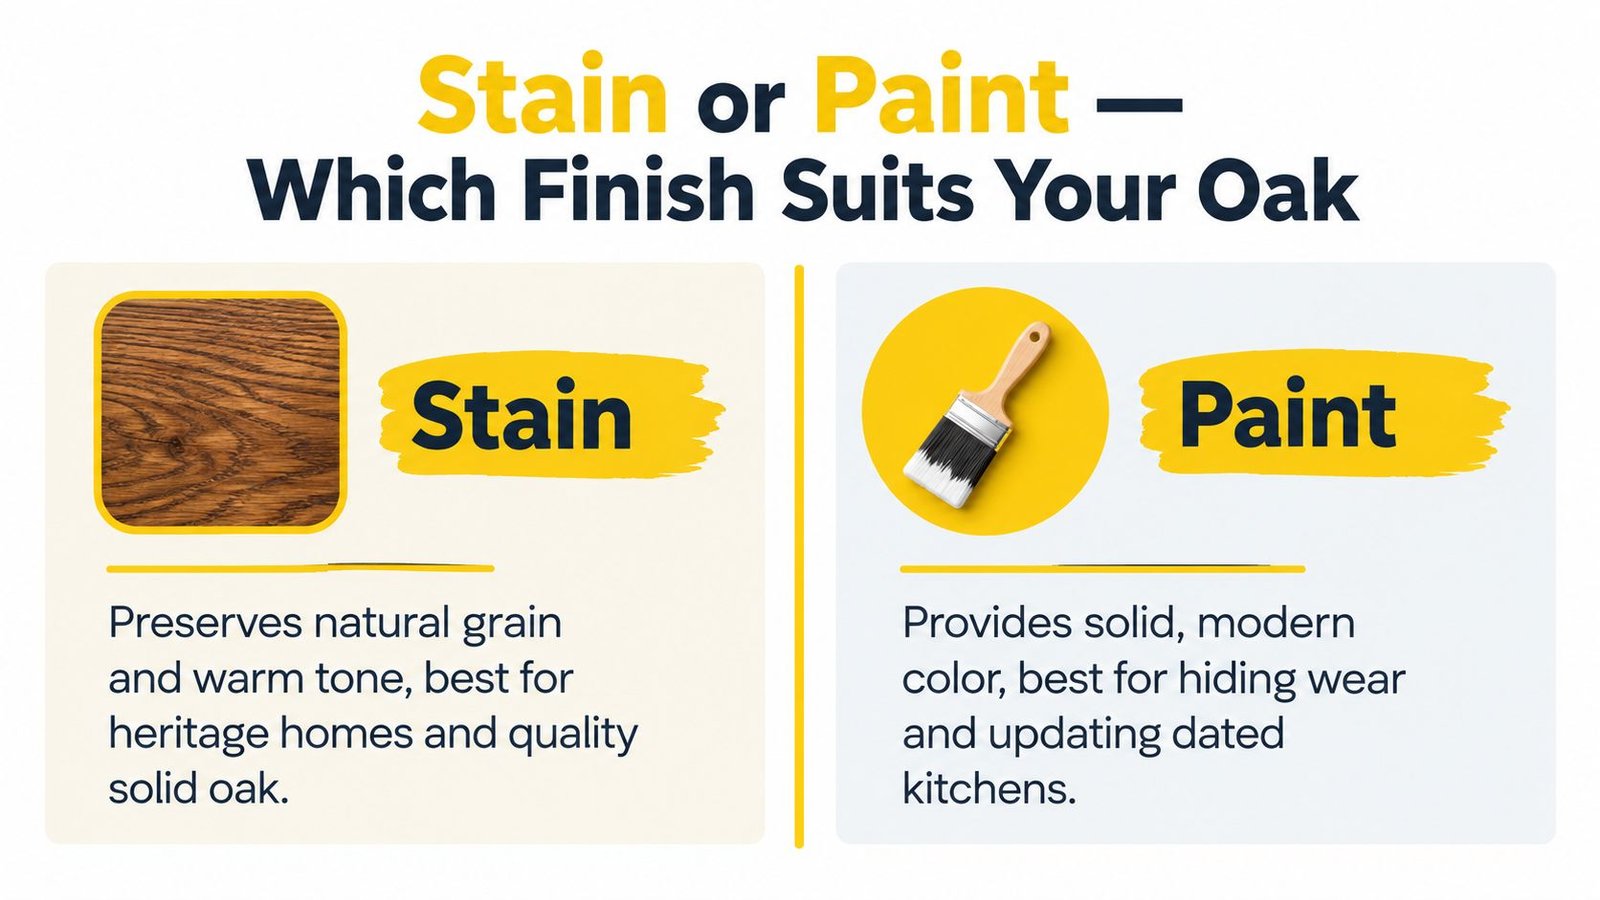
The right finish depends on how you use the kitchen and how much of oak's natural character you want to keep. Stain is usually best when grain is the feature. Paint makes more sense when you want a full colour change or a cleaner, more consistent look.
| Finish | Strengths | Trade-offs |
|---|---|---|
| Stain | Preserves oak's grain and warm tone, and suits heritage or craftsman-style interiors | Wear shows at pulls and edges, and colour change is limited |
| Paint | Delivers a solid colour and can update older oak doors | Needs stronger adhesion control, and grain may still show through |
| Tinted clear coat | Adds tone while retaining texture | Rarely gives the solid colour homeowners expect from a full repaint |
| Solid stain | Adds more colour than traditional stain while retaining some texture | May not hide uneven grain or old finish as completely as paint |
Stained oak often suits heritage homes, craftsman-style kitchens, and spaces built around solid oak. The trade-off is maintenance. High-touch areas show wear, and the finish may need re-oiling or re-toning over time.
Painting makes more sense when fingerprints, steam, grease, and mismatched wood tones are the main problem. It hides much of the variation, but only if the primer seals the surface and bonds to the existing finish. Light colours need extra caution because oak tannins can bleed through the wrong primer and create yellow or brown patches.
A tinted clear coat or solid stain can sound like a compromise, but it often disappoints homeowners who want a real colour change. If you want the doors to read as a new solid colour, use a stain-blocking and bonding primer system instead of expecting a transparent product to behave like paint.
Prep That Protects the Finish
Cabinet prep should follow a strict order. Sanding before removing kitchen grease can work contamination deeper into the surface and stop the primer from wetting out evenly.
Clean before you abrade
Start with a thorough degrease using a TSP substitute or an ammonia-based cleaner suitable for the cabinet material. Focus on the area around pulls, lower rails, the cabinet beside the range, and the sink base. Let the surface dry fully before sanding.
Remove the doors, drawer fronts, pulls, hinges, and soft-close brackets. Label each door and hinge location, then keep the hardware together in bags. This prevents alignment problems during reinstallation and keeps small metal parts away from the coating area.
For broader surface-preparation principles, this guide to preparing walls for painting covers the same central idea: a coating performs only as well as the surface beneath it.
Sand in stages
The sanding sequence should match the existing finish and the intended coating:
- Use 120 grit to break the factory finish and remove gloss.
- Move to 150 grit to smooth the oak surface and reduce harsh scratches.
- Use 220 grit only where appropriate, usually between coats or on areas receiving the final finish.
A random-orbit sander with a vacuum attachment controls dust on broad door faces, while hand sanding is still essential around profiles, corners, and detailed rails. Do not round over the edges. They are already vulnerable to contact, and softened profiles can make doors look uneven.
Remove every trace of dust
Vacuum between grits, then wipe with a clean, damp microfibre cloth. A tack cloth can help before priming, but it should not replace vacuuming and wiping. Dust trapped in primer becomes texture under the topcoat, especially on flat panels where light reveals every bump.
The most common prep shortcut is skipping the scuff-sand on glossy, factory-lacquered oak. Primer may appear to cover at first, but later chipping around hinges and edges often traces back to that missing mechanical bond.
Choosing Primer and Paint That Work as a System
A lasting oak cabinet finish starts with a compatible coating system. Primer and topcoat should be chosen together, not pulled from unrelated product categories. On oak, primer has two jobs: adhere to the prepared surface and control tannin migration.
A shellac-based or oil-based stain-blocking primer suits raw oak and tannin-heavy areas that could discolour a light topcoat. Acrylic bonding primers can work well over a properly cleaned and scuff-sanded surface, especially when lower odour and easier water cleanup matter. The product label and technical data sheet should confirm suitability for cabinets and the existing substrate. For system-specific options, review this guide to the best primer for kitchen cabinets.
Match the coating chemistry
Waterborne acrylic enamels offer easier cleanup and lower odour. Alkyd emulsions provide a different balance of flow, hardness, and working time. Conversion varnishes can produce a highly durable professional finish, but they require suitable equipment, ventilation, handling, and application control. In a Toronto kitchen, allow primer and topcoat to cure according to product requirements, because humid conditions can extend the time needed to reach usable hardness.
Wall paint is not a cabinet coating. Cabinet products are formulated for repeated handling and the wear caused by doors and drawers. Sheen also changes how much texture shows. Satin, semi-gloss, and cabinet-grade matte finishes reveal prep flaws differently, so choose the sheen after assessing the prepared surface, not just the colour card.
| Primer Type | Best Topcoat Pairing | What It Prevents | Cure Before Recoat |
|---|---|---|---|
| Acrylic bonding primer | Waterborne acrylic enamel or compatible alkyd emulsion | Poor adhesion over a prepared factory finish | Follow the product label and technical data sheet |
| Shellac-based stain-blocking primer | Compatible cabinet enamel | Tannin bleed and discolouration beneath light colours | Allow the specified recoat window and ventilation |
| Oil-based stain-blocking primer | Compatible enamel or alkyd system | Tannin migration and porous-area staining | Confirm the manufacturer's drying and recoat requirements |
| High-performance professional sealer | Compatible conversion varnish or specified cabinet topcoat | Substrate contamination and system incompatibility | Use only within the stated application system |
VOC compliance depends on the coating category, not the words “low VOC.” California's table lists 275 g/L VOC for clear topcoats and 350 g/L for high-solid stains, while state green-product standards cap wood coatings at 275 g/L and count point-of-sale colourant in the calculation. Check the California architectural-coatings VOC table before specifying a product.
For Canadian work, federal regulations cover 53 architectural-coating categories, with limits ranging from 100 g/L to 800 g/L depending on the category. The Government of Canada coating guidance explains the category checks for primers, sealers, undercoaters, and finish coats. Limits apply at application, including after thinning, on a less-water-and-exempt-compounds basis, as outlined in the Canadian consultation document.
Brush, Roller, or Sprayer for the Best Result
Each application method solves a different problem. The right choice depends on the door profile, project size, available workspace, and your ability to control film thickness.
| Method | Finish Quality on Oak | Skill Level | Masking and Ventilation | Best Use |
|---|---|---|---|---|
| Brush | Good control on rails, profiles, and edges, but can show texture on flat panels | Moderate | Limited masking, but still needs dust control and ventilation | Small projects and detailed doors |
| Microfibre mini-roller | Smooth coverage on broad fields when lightly loaded | Moderate | Moderate masking and ventilation | DIY projects with brush-and-roller application |
| HVLP or airless sprayer | Closest to a factory-style finish when properly adjusted | High | Extensive masking, overspray control, and ventilation | Doors removed and sprayed in a controlled workspace |
A quality angled sash brush gives good control around raised grain, rails, stiles, and inside corners. It is less forgiving on flat panels if too much material is applied or the coating is brushed after it starts to set.
A 4-inch microfibre mini-roller with a short nap lays off quickly across door fields and pairs well with a brush for edges. It can spit when overloaded, so work in small sections, keep the roller evenly loaded, and avoid pressing hard to force coverage.
Spraying can produce the most uniform surface, but it is not a shortcut. An HVLP or airless setup needs careful masking, clean air movement, correct gun distance, controlled overlap, and a suitable place for doors to dry. Overspray on stainless appliances, floors, or adjacent millwork can create more repair work than the spray finish saves.
For a single-room DIY project, brush and roller are usually the more practical combination. A sprayed finish makes more sense when doors can be removed, prepared separately, and placed in a controlled area. This guide to paint brushes and rollers can help with tool selection before you begin.
Spraying improves the finish only when the painter can control the environment as well as the gun.
Common Problems and How to Prevent Them
Most cabinet failures have an upstream cause. Look at the failure pattern instead of blaming the final colour or brand.
- Yellow or brown bleed: Tannin-rich oak was not sealed with the right stain-blocking primer, or the primer film was too thin. Sand affected areas, isolate the staining with a compatible blocker, and allow the specified dry time before recoating.
- Peeling around hinges and edges: Grease remained on the surface, scuff-sanding was skipped, or the primer was not suitable for the glossy existing finish. Clean again where possible, remove loose coating, abrade the surface, and rebuild the system.
- Sticky or soft faces: The enamel was recoated too quickly, applied too heavily, or allowed to cure in humid, poorly ventilated conditions. Leave the coating undisturbed, improve air exchange as permitted by the product instructions, and do not reinstall doors while they remain tacky.
- Visible grain and brush marks: The primer coat did not build enough film, or the painter overworked the topcoat. Use compatible grain-filling methods when a flatter appearance is required, then apply controlled coats with a wet edge.
For repairs, this guide to fixing peeling paint helps distinguish loose coating from a deeper adhesion problem. Fixing only the visible chip without correcting the substrate usually leaves the failure in place.
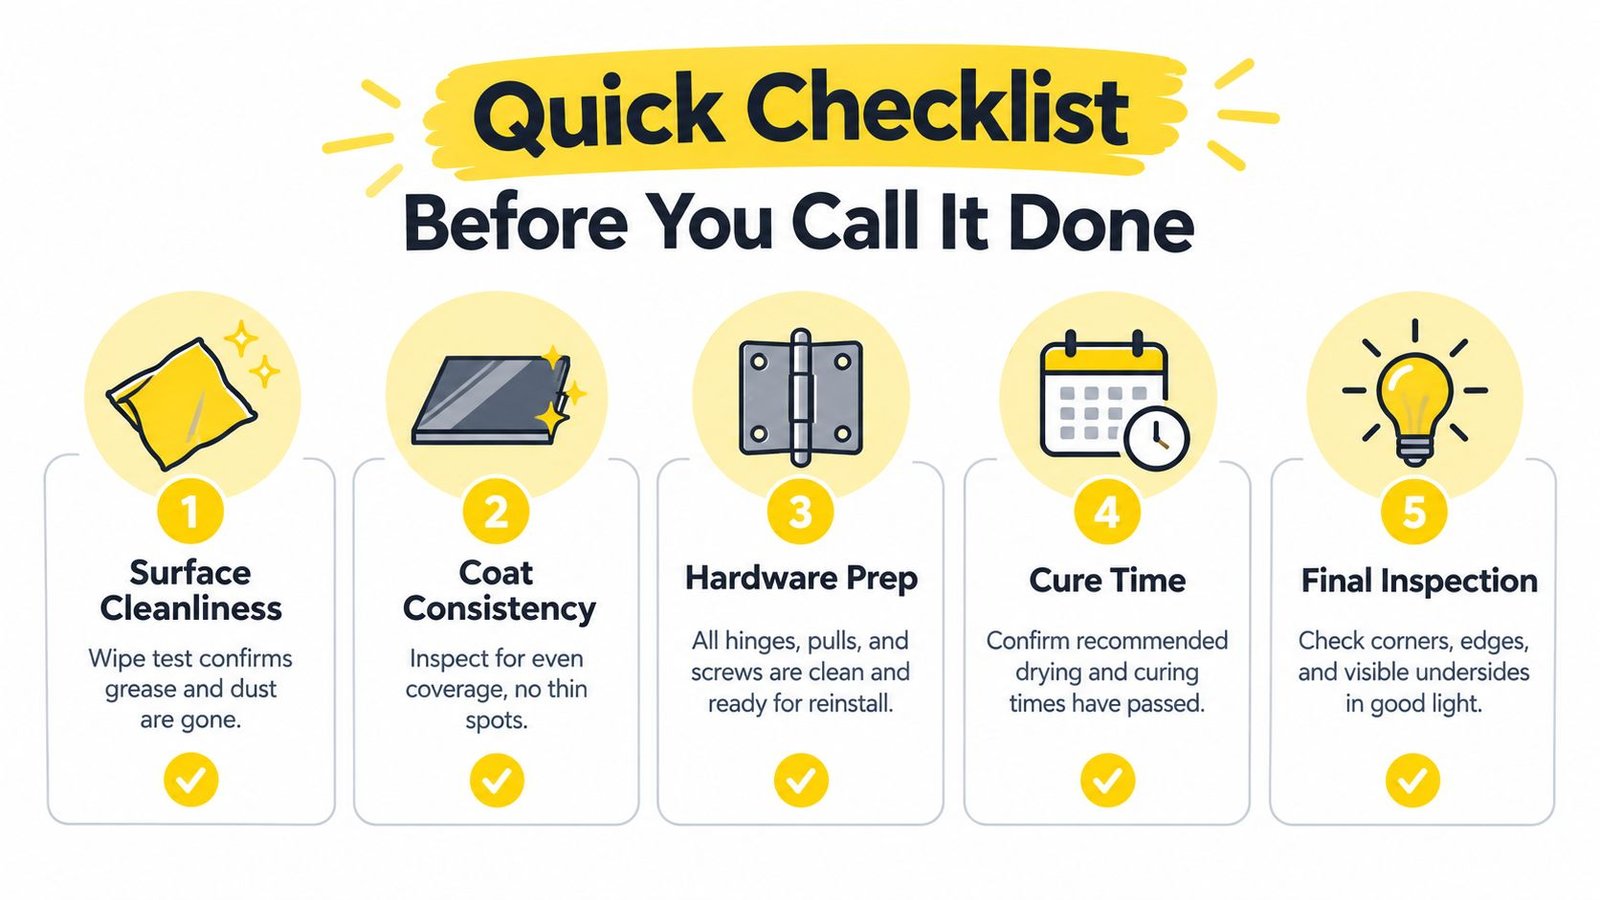
Quick Checklist Before You Call It Done
Before reinstalling the hardware, inspect the project in good light. The surface should pass these checks:
- Surface cleanliness: A wipe test shows no grease or loose dust.
- Coat consistency: Coverage is even, with no thin spots, sags, dry spray, or heavy edges.
- Hardware preparation: Hinge, pull, and screw areas are clean, scuffed, and properly primed.
- Cure time: The doors are beyond tack-free and can rest flat without sticking.
- Final inspection: Check corners, edges, undersides, and the areas around hinge cups.
Record the primer and topcoat names, lot numbers, and application dates. Confirm that ventilation matched the product's curing requirements, not just its spray instructions. If the work has grown beyond a weekend, tannin bleeding appears during coating, or cabinet boxes need repainting after plumbing or electrical work, request a written estimate and a clear finishing specification before continuing.
Soca Services Painting provides cabinet refinishing and painting support for oak doors, drawer fronts, and cabinet boxes throughout Toronto and the GTA, with the preparation and coating system selected for the existing surface. Visit Soca Services Painting to request a free estimate and discuss the right approach for your kitchen.