Yes, you can paint over wallpaper, but success depends entirely on the condition of your walls and the type of paper. The best results are achieved on flat, well-adhered papers. Attempting to paint over vinyl, foil, or heavily textured wallpapers can lead to a messy, unprofessional finish. A careful inspection is the mandatory first step.
Is Painting Over Wallpaper the Right Choice for Your Home?
Before starting, you must decide if painting over your existing wallpaper is the best course of action or if removal is necessary. This decision is about preventing future issues. In many older homes across Toronto, Mississauga, and the GTA, what seems like a shortcut can become a costly repair when the underlying wallpaper fails.
The objective is to determine if your walls provide a stable surface for new paint. If the paper is peeling, bubbling, or shows water damage, painting will only highlight these flaws.
When Painting Over Wallpaper is the Best Option
Painting is a viable solution under specific conditions. You can proceed if your wallpaper meets these criteria:
- Secure Adhesion: The wallpaper must be firmly attached to the wall. Check for lifting seams, air bubbles, or loose corners. The edges should be completely glued down.
- Smooth Surface: Optimal results come from painting over flat or lightly textured papers. Deeply embossed or heavily textured patterns will show through the new paint.
- Non-Vinyl Material: Vinyl or foil wallpapers are non-porous, preventing primer and paint from adhering properly, which leads to peeling and chipping.
Red Flags: When Removal is Necessary
Certain issues make wallpaper unsuitable for painting. If you observe any of the following, the best approach is removal. This addresses the root problem instead of covering it.
A coat of paint is only as good as the surface it's on. Painting over damaged or unsuitable wallpaper is like building a house on a shaky foundation—it’s destined to fail.
This decision tree infographic provides a clear structure for choosing the best path for your project.
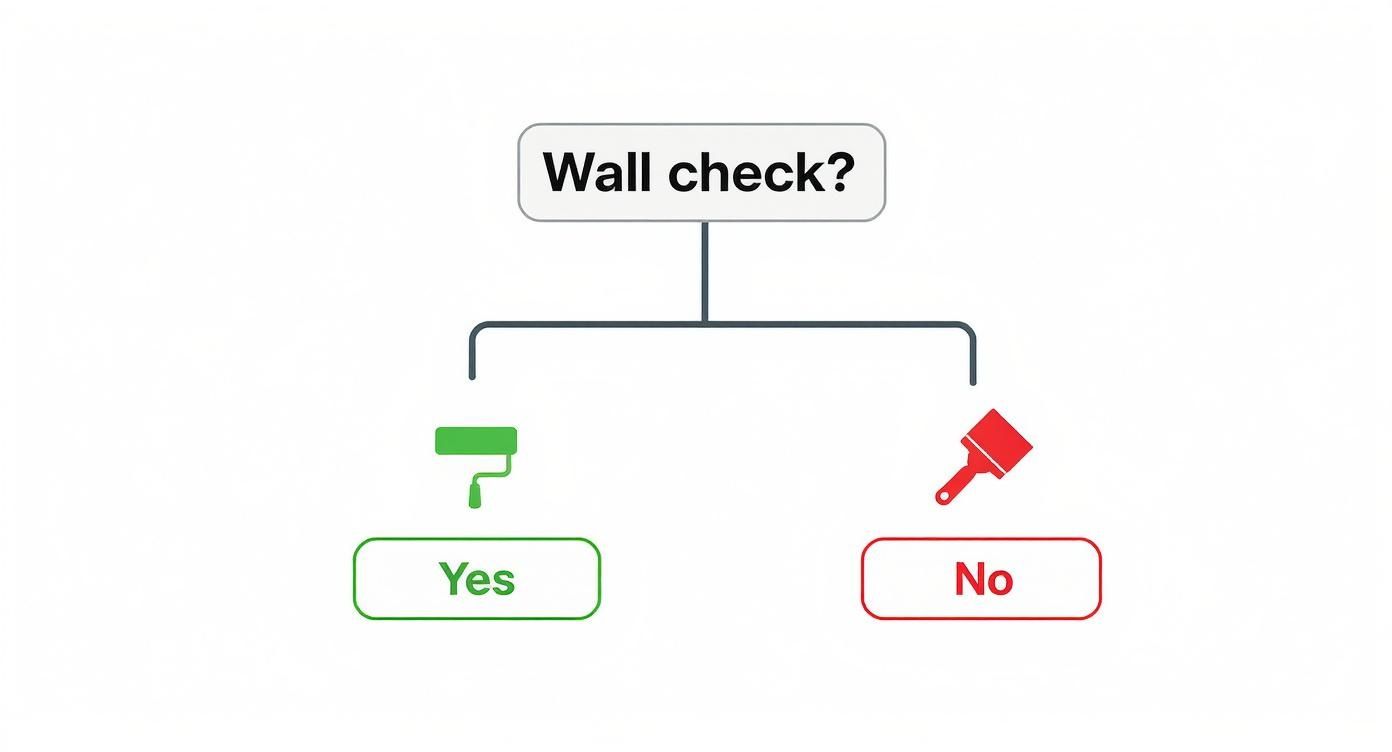
The takeaway is objective: if your wallpaper shows any damage or instability, removal is the safest and most professional choice. The wallpaper industry has evolved, with the U.S. market valued at $1.9 billion. This growth is driven by consumer demand for easier-to-work-with products, including paintable options.
For walls with extensive damage, learning how to remove wallpaper easily is the best long-term investment for your home. Proper preparation guarantees a durable, high-quality finish.
Gathering Your Essential Tools and Materials
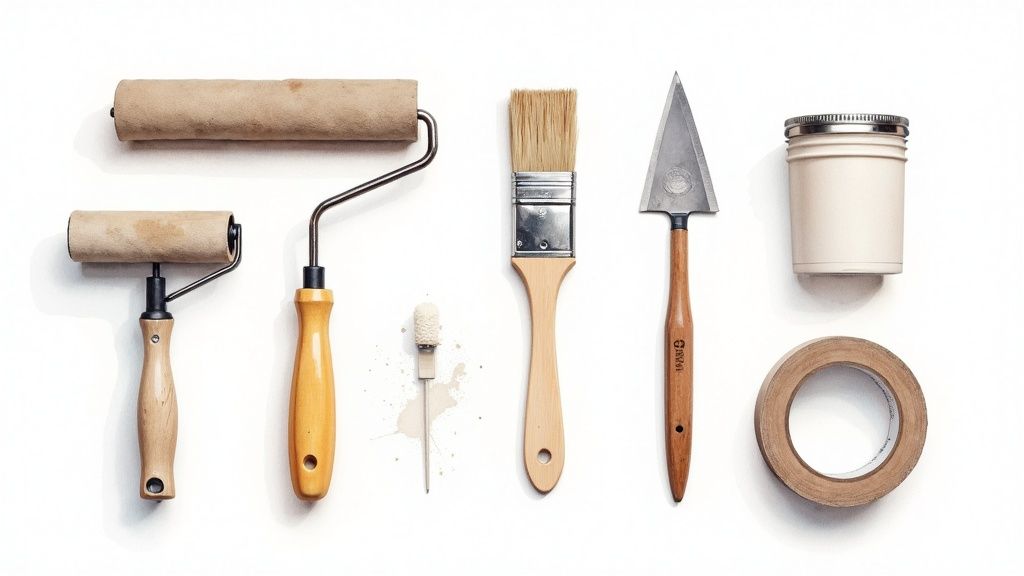
A flawless finish begins with the right tools. Assembling the proper equipment is fundamental to achieving a smooth, professional result that will last. For homeowners looking for the best painting services near them in the GTA, having the right gear is non-negotiable.
The objective is to create a toolkit specifically for the challenges of painting over wallpaper. A short-nap roller, for example, is essential for applying a thin, even coat of paint without creating unwanted texture over the paper.
The Most Critical Decision: Your Primer
The single most important material for this project is the primer. You must use an oil-based or shellac-based primer. This is not optional.
Here's the objective reason: water-based (latex) primers will re-saturate the wallpaper adhesive. This moisture reactivates the old glue, causing the paper to bubble, blister, and peel from the wall. An oil-based formula acts as a complete barrier, sealing the wallpaper and its adhesive. It also effectively blocks stains and dark patterns from showing through the new paint.
Think of an oil-based primer as your project's insurance policy. It's the one item that single-handedly prevents a paint job from failing. Trying to save a few dollars here will almost certainly lead to disaster down the road.
Creating Your Toolkit for a Seamless Finish
A well-organized toolkit makes the entire process more efficient. Before painting, the surface must be perfected. This checklist outlines the best tools for the job from start to finish.
Essential Toolkit for Painting Over Wallpaper
| Category | Item | Pro Tip/Specification |
|---|---|---|
| Cleaning & Prep | Sugar soap or TSP substitute | A must-have for cleaning grime off the wallpaper first. |
| Sponges and clean rags | Have several on hand for cleaning and wiping down surfaces. | |
| Repair & Smoothing | Joint compound (drywall mud) | Use this to fill seams and any dings or imperfections. |
| 6-inch putty knife | The wider blade makes feathering the compound much easier. | |
| 220-grit sandpaper or block | Perfect for getting an ultra-smooth finish after the compound dries. | |
| Painting | Oil-based or shellac-based primer | The absolute key to sealing the wallpaper and preventing bubbles. |
| High-quality interior paint | Your choice of colour and sheen (eggshell, satin, etc.). | |
| Angled brush (2 to 2.5 inches) | Essential for "cutting in" around trim, corners, and ceilings. | |
| Short-nap roller (1/4" to 3/8") | Applies a thin, smooth coat without creating unwanted texture. | |
| Roller frame and paint tray | Standard equipment for applying paint to the main wall surfaces. |
For more on choosing applicators, our guide on paint brushes and rollers is a useful resource. To purchase supplies, you can find a great selection of tools, paint, and hardware from reputable suppliers.
With this toolkit, you are prepared for a successful project that meets professional standards.
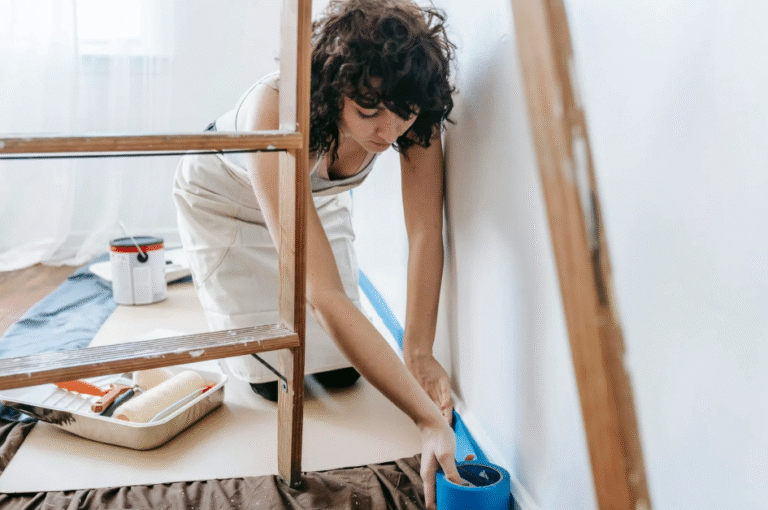
Preparing Your Walls for a Perfect Finish
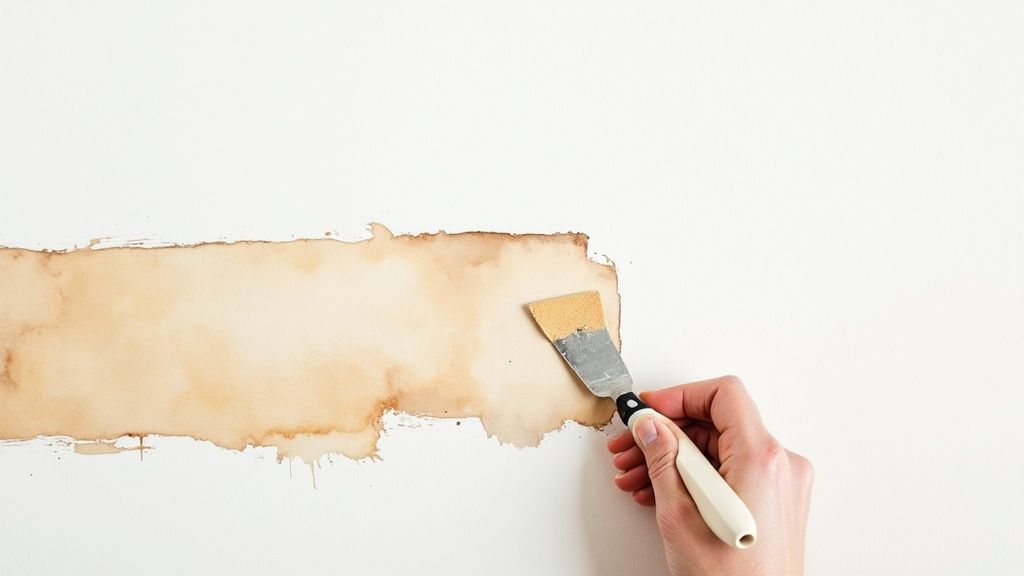
Proper preparation is the most critical phase of any painting project. It is what separates a professional finish from an amateur one. Rushing this stage will lead to poor results, as paint highlights imperfections, especially when learning how to paint over wallpaper.
The first objective is a thorough cleaning. Wallpaper accumulates dust, grease, and grime that prevent paint adhesion. Use a sponge and a solution of sugar soap or a TSP substitute to gently wipe down all surfaces. This step ensures a proper bond for the primer.
Addressing Imperfections for a Flawless Canvas
After cleaning and drying, meticulously inspect the surface for damage. Even minor flaws will be visible under new paint.
Common issues include:
- Lifted Seams or Corners: Apply a thin bead of wallpaper seam adhesive under the lifted edge and press it down firmly with a small roller or a damp cloth.
- Dings and Holes: Fill small imperfections with spackle or joint compound using a putty knife, slightly overfilling the hole.
If any mould is present, it must be addressed immediately. Painting over mould is not a solution. Use a guide on removing mould from bathroom surfaces to ensure a clean, healthy surface before proceeding.
The Secret to Invisible Seams
The most critical repair is concealing wallpaper seams. Even if seams are secure, their indentation will show through paint. The best technique for this is skim coating.
Using a 6-inch putty knife, apply a thin layer of joint compound over the seam. "Feather" the edges by applying more pressure to the outside edges of the knife, creating a smooth taper onto the wall.
Think of it like icing a cake. You’re not piling on a thick layer of frosting. You're just smoothing over the lines to create one perfect, flat surface. This is where a little patience pays off in a big way.
Allow the compound to dry completely. Then, sand it lightly with 220-grit sandpaper until it is perfectly smooth and flush with the wall. A second thin coat may be necessary. This methodical approach is the best way to handle the stubborn wallpaper often found in older Toronto and Mississauga homes.
This foundational work prepares the wall for a long-lasting finish. For more detailed instructions, see our comprehensive guide on how to prep walls for painting. With the walls clean, repaired, and smooth, you can move to the next crucial step: priming.
The One Step You Can’t Afford to Get Wrong: Priming the Wallpaper
If you follow one piece of advice, it is this: the priming stage is non-negotiable. All previous preparation can be undone by choosing the wrong primer.
This is the project's make-or-break moment. The right primer ensures a smooth, professional finish. The wrong one leads to bubbling and peeling, creating a problem far worse than the original wallpaper.
The golden rule is objective and clear: never use a water-based (latex) primer directly on wallpaper. The moisture reactivates the underlying adhesive, causing the paper to lift, bubble, and blister. This is a common mistake seen on projects in Toronto, where an "all-in-one" latex product was used to save time, resulting in a complete failure that required stripping the wall to the drywall.
Choosing Your Primer: Oil vs. Shellac
The objective is to create an impermeable barrier that seals the wallpaper and its adhesive from moisture. Your two best options are an oil-based primer or a shellac-based primer.
-
Oil-Based Primer: This is the professional standard for this application. It offers excellent adhesion, stain blocking, and creates a durable surface for the topcoat.
-
Shellac-Based Primer: This is the heavy-duty option. Shellac provides superior stain-blocking capabilities and dries very quickly. It is the best problem-solver for covering dark patterns or old water stains.
A word of caution: both primers produce strong fumes. Proper ventilation is mandatory. Open windows, use fans, and wear a respirator mask.
How to Apply Primer Like a Pro
Application is straightforward with the correct product. Begin by "cutting in" around the edges—ceiling line, baseboards, and corners—with a quality angled brush.
Next, use a short-nap roller for the main wall surfaces. Apply a thin, even coat. Do not overload the roller.
Work in small, methodical sections, rolling back into the "wet edge" of the previously painted area to avoid lap marks. The goal is complete, consistent coverage. The old pattern may still be faintly visible; the primer's job is to seal and bond, not provide full coverage. For a deeper understanding of its function, our guide explains what primer paint is used for.
Your primer coat doesn't have to look pretty, but it absolutely must be complete. Every single square inch of that wallpaper needs to be sealed off. Miss a spot, and the moisture from your topcoat will find it.
With home renovations increasing, especially in older GTA homes where wallpaper is common, painting over it has become a popular solution. Knowing these professional techniques is invaluable. To see the scale of this trend, you can discover more insights on home renovation statistics on ibisworld.com.
Finally, be patient. Adhere to the manufacturer's recommended drying time before applying the topcoat. Rushing this step is a critical error.
Applying Your Final Coats of Paint Like a Pro
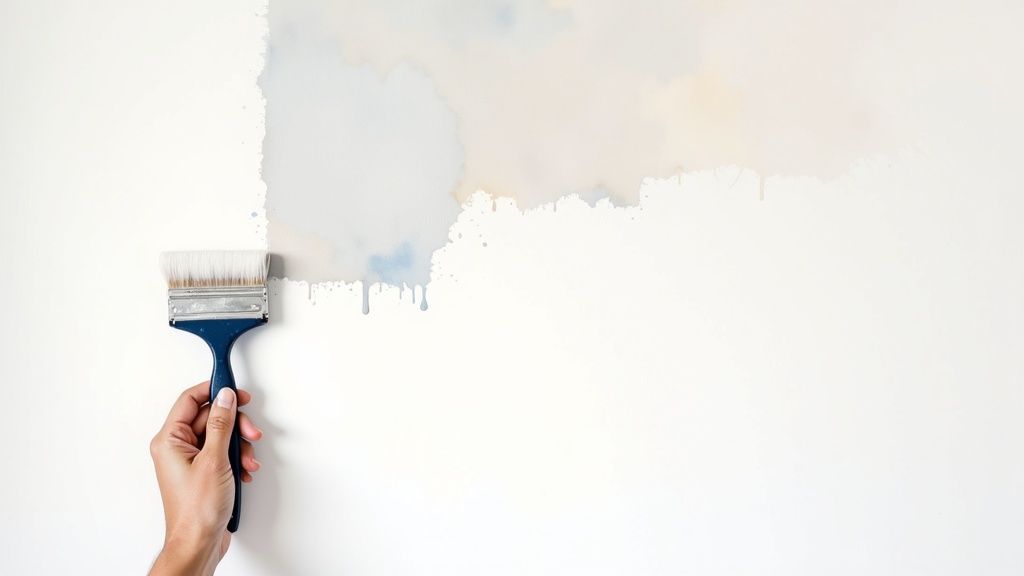
With the preparation and priming complete, the final step is applying the paint. This is where your careful work becomes a finished product.
The process begins with "cutting in." Use a quality 2 to 2.5-inch angled brush to paint along the edges where the wall meets the ceiling, baseboards, and trim. A clean, sharp line is a hallmark of professional work.
Rolling for a Flawless Finish
Once the edges are cut in, use a short-nap roller for the main wall surface. Load the roller with paint, ensuring it is saturated but not dripping. Work in manageable 3×3 foot sections to maintain a wet edge.
To achieve the best coverage, apply the paint in a "W" or "M" pattern. This distributes the paint evenly. Then, without lifting the roller, go over the area with straight, slightly overlapping vertical strokes from ceiling to floor. This technique prevents streaks and roller marks.
My number one rule when rolling is to always maintain a ‘wet edge.’ All this means is that each new stroke of your roller should slightly overlap the last one while it’s still wet. If you let an edge dry, you’ll create what we call 'lap marks'—a visible line that’s almost impossible to get rid of later.
Why Two Coats Are Non-Negotiable
A second coat is not optional for a professional result. The first coat provides coverage, but the second delivers richness, durability, and a uniform finish.
The objective benefits of a second coat are:
- Deeper Colour: It ensures the true paint colour is achieved without any primer showing through.
- Maximum Durability: Two layers create a stronger, more washable surface that resists scuffs and damage.
- Uniform Sheen: It guarantees a consistent finish (matte, eggshell, satin) across the entire wall, with no patchiness.
Always follow the paint manufacturer's instructions for drying times. Applying the second coat too early can damage the first. For very large, open-concept spaces in the GTA, consider alternative tools. It is useful to learn about the best paint sprayer for home use for covering large areas quickly and evenly.
By following these objective techniques—sharp cutting in, maintaining a wet edge, and applying two full coats—your project will have a professional finish, whether you're in downtown Toronto or Mississauga.
Common Questions About Painting Over Wallpaper
Even with a detailed plan, painting over wallpaper can raise questions. Clarifying these doubts before you begin is key to a successful project. Homeowners throughout Toronto, Mississauga, and the wider GTA often have the same concerns.
Here are the objective answers to the most common questions we receive from clients looking for the best painting results near them.
Can I Paint Over Any Type of Wallpaper?
No. The best candidates for painting are flat, non-porous papers in excellent condition. The wallpaper must be completely adhered to the wall with no peeling, bubbling, or lifting.
Avoid painting over these types:
- Vinyl or Foil Wallpapers: These slick surfaces prevent proper paint adhesion, leading to chipping and peeling.
- Heavily Textured or Embossed Papers: The texture will remain visible through the paint, resulting in an uneven, unprofessional finish.
- Fabric-Backed Wallpaper: These materials can absorb paint unevenly, causing a blotchy appearance and potentially pulling the paper away from the wall.
What Is the Biggest Mistake to Avoid?
The single most critical error is using the wrong primer. Using a water-based (latex) primer is a recipe for disaster. This is the one shortcut you cannot take.
The water in latex primer soaks through the wallpaper and reactivates the old paste, causing the wallpaper to release from the wall. The result is widespread bubbling and peeling.
To prevent this, you must use an oil-based or shellac-based primer. These products create a complete moisture barrier, sealing the old adhesive away from the new paint.
Think of an oil-based primer as a bulletproof vest for your wall. It creates an impenetrable barrier between your new paint and the old wallpaper glue. Skipping this doesn't just risk a few bubbles—it can cause a total project failure, forcing you to strip everything off and start over from bare drywall.
How Do I Make Wallpaper Seams Invisible?
Achieving invisible seams is the key to a professional-grade finish. First, use a seam adhesive to glue down any loose edges securely.
The primary technique is to skim coat the seams with joint compound.
Use a putty knife to apply a thin, smooth layer of compound over the seam. Feather the edges by spreading the compound thin and wide to blend it into the wall. After it dries completely, sand it lightly with fine-grit sandpaper until it is perfectly smooth. Once primed and painted, the seams will be completely invisible.
Ready to transform your space without the headache of wallpaper removal? For a flawless, professional finish on your next project in the GTA, trust the experts at Soca Services Painting. Visit our website to get a free quote today!