Painting wood paneling can completely transform a room, but the secret to a professional-looking job isn't in the final coat of paint—it’s all in the prep work. The process is straightforward: a thorough clean, a light scuff-sand, a quality stain-blocking primer, and then two coats of your chosen paint. Following these objective steps will ensure a durable, modern finish that lasts.
Laying the Groundwork for a Perfect Finish
This foundational work is the single most important part of the job. Turning old, tired-looking paneling into a perfect canvas for a fresh colour is all about what you do before you even crack open a can of paint. This is the best practice for ensuring a flawless result.
We provide this service for homeowners across the Greater Toronto Area (GTA), from Mississauga to downtown Toronto. The objective is always the same: to modernize a room with dated wood paneling and create a surface that doesn't just look painted over, but looks completely new and professionally finished.
Cleaning Away Decades of Buildup
Before sandpaper or primer can be applied, the walls require a thorough cleaning. Over the years, paneling accumulates a thin film of grease, dust, and general household grime that will prevent proper paint adhesion. This is especially true in kitchens or high-traffic hallways.
A Trisodium Phosphate (TSP) substitute is the recommended cleaner for this task. These products are powerful degreasers that cut right through years of buildup without the harshness of traditional TSP.
- First, mix the cleaner in a bucket of warm water, following the directions on the package.
- Next, using a sponge or microfibre cloth, scrub the walls from the top down. Work in manageable sections.
- Finally, rinse the entire surface with a second bucket of clean water and a fresh cloth to remove any residue.
The paneling must be allowed to dry completely before proceeding to the next step. You may be surprised by the amount of residue removed. For a deeper dive on this topic, our guide on how to prep walls for painting has additional information.
The Art of Scuff Sanding
The purpose of sanding wood paneling is often misunderstood. You are not trying to strip the old finish off down to bare wood. The objective is to "scuff" the surface, which creates microscopic scratches that give the primer a surface to adhere to. It’s this mechanical bond that prevents peeling.
The objective of scuff sanding is simply to de-gloss the old finish. A light but thorough pass over the entire surface is all that's required to ensure your primer can adhere permanently.
For this task, a 120-grit to 150-grit sandpaper is ideal. Anything coarser may damage the wood, and anything finer will not be abrasive enough to dull the existing finish. Once sanding is complete, vacuum the walls and then wipe them down with a tack cloth to remove all dust particles.
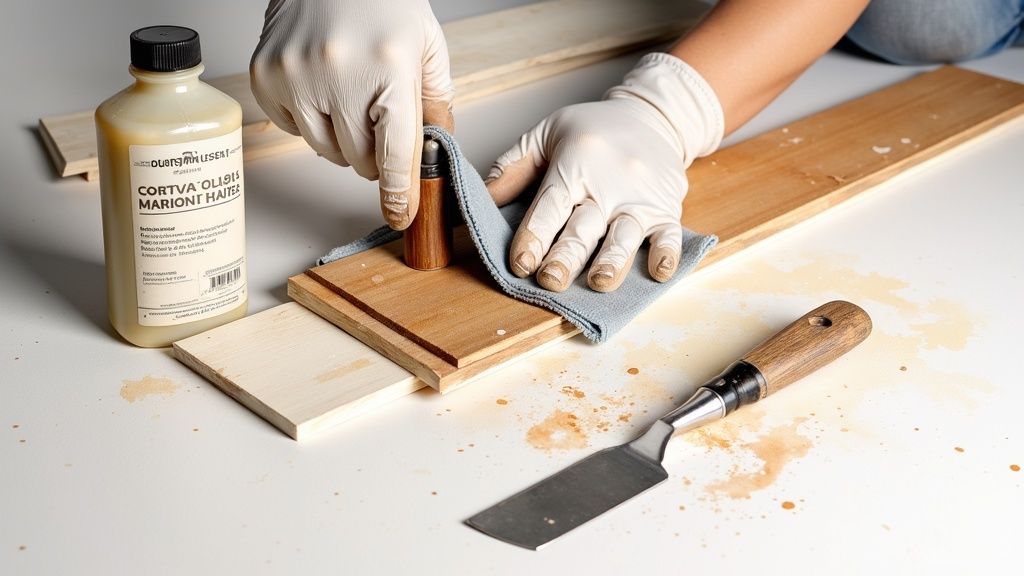
Filling Imperfections for a Flawless Canvas
Next, conduct a close inspection of the paneling for nail holes, deep scratches, or other gouges. A high-quality, paintable wood filler is required to address these issues.
Using a small putty knife, apply the filler, overfilling the hole slightly to account for shrinkage as it dries. Once it has fully cured, sand the spots smooth with your sandpaper until they are perfectly flush with the wall. This attention to detail is what separates an average job from a truly seamless, professional one.
Choosing Your Primer and Paint Arsenal
Stepping into the paint aisle can be overwhelming due to the sheer number of options. However, when tackling wood paneling, the most critical decision is choosing the right primer. It functions as the foundation for a flawless, long-lasting finish.
Old wood, particularly knotty pine common in many Toronto and GTA homes, is known to contain oils and resins called tannins. If a standard latex paint is applied directly, these tannins will eventually seep through, resulting in yellow or brown stains weeks or months later. This is a common and preventable error.
This is precisely why a high-adhesion, stain-blocking primer is the best choice for this project. It creates a complete seal over the wood, locking in the tannins and ensuring the final colour remains true. Skipping this step is not an option if a professional result is the objective. For a deeper dive, you can learn more about what primer paint is used for in our detailed guide.
The Great Primer Debate: Oil vs. Shellac
For wood paneling, the best choices for stain-blocking primers are either shellac-based or oil-based. Both perform exceptionally well, but have distinct characteristics that may make one a better fit for your specific project.
-
Shellac-Based Primer: This is the best option for stain-blocking. It adheres to almost any surface and dries very quickly, often allowing for a recoat in less than an hour. For heavy-duty stains, lingering odours, or highly resinous knotty pine, shellac is the optimal choice. The main drawbacks are the strong odour during application and the need for denatured alcohol for cleanup.
-
Oil-Based Primer: A classic, reliable option. Oil-based primers also offer excellent adhesion and powerful stain-blocking. They penetrate the wood, creating a highly durable base. They take longer to dry than shellac but are more forgiving to work with and clean up with mineral spirits.
Regardless of the choice, the critical takeaway is this: a dedicated stain-blocking primer is required. Standard water-based latex primers do not possess the chemical properties to stop tannin bleed on real wood.
Selecting Your Topcoat Paint and Sheen
Once the paneling is properly primed, the next step is selecting the paint. Your main choices are modern latex enamels or traditional oil-based paints.
For most interior projects, a high-quality acrylic latex enamel is the most practical path forward. These paints have improved dramatically, offering excellent durability and easy cleanup with soap and water. It’s a common pro tip—many painters will confirm that two coats of a quality latex paint over a proper primer is the key to a finish that lasts.
When selecting paint, it is also worthwhile to consider health and environmental factors, which includes understanding VOCs in paint.
Finally, you must select a sheen. This choice affects not only the final appearance but also the durability and ease of cleaning.
| Sheen Type | Best For | Characteristics |
|---|---|---|
| Matte/Flat | Low-traffic areas like formal living rooms | Hides imperfections effectively but is the least durable and most difficult to clean. |
| Eggshell/Satin | Most rooms, including bedrooms and hallways | Provides a soft glow with good durability and washability. |
| Semi-Gloss | High-traffic, high-moisture areas | Highly durable, scrubbable, and easy to clean, but it highlights surface imperfections. |
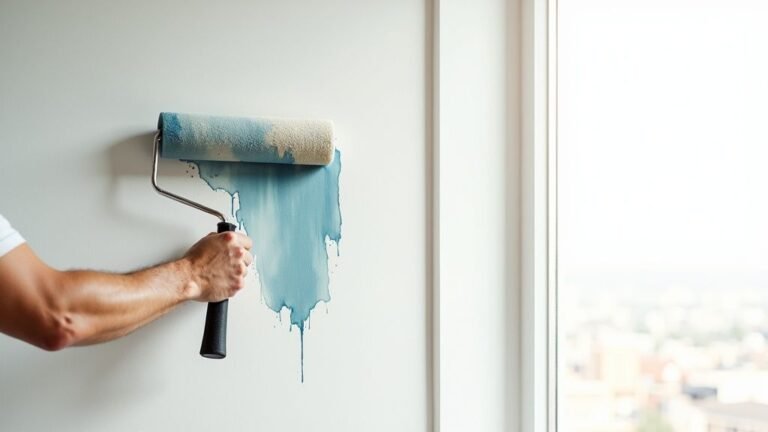
Applying Paint for a Smooth, Seamless Look
With the prep work complete, the application phase begins. This is where the effort invested in preparation yields visible results. The key to successful painting is technique, not speed. With proper methods, you can achieve a beautiful, factory-like finish that completely transforms the old, dark paneling.
The primary challenge with wood paneling is the grooves. This is where many DIY projects encounter issues like drips and uneven coverage. Our objective is to make the grooves and the flat surfaces appear as one cohesive, smooth wall.
This visual breaks down the essential steps for a finish that will last.
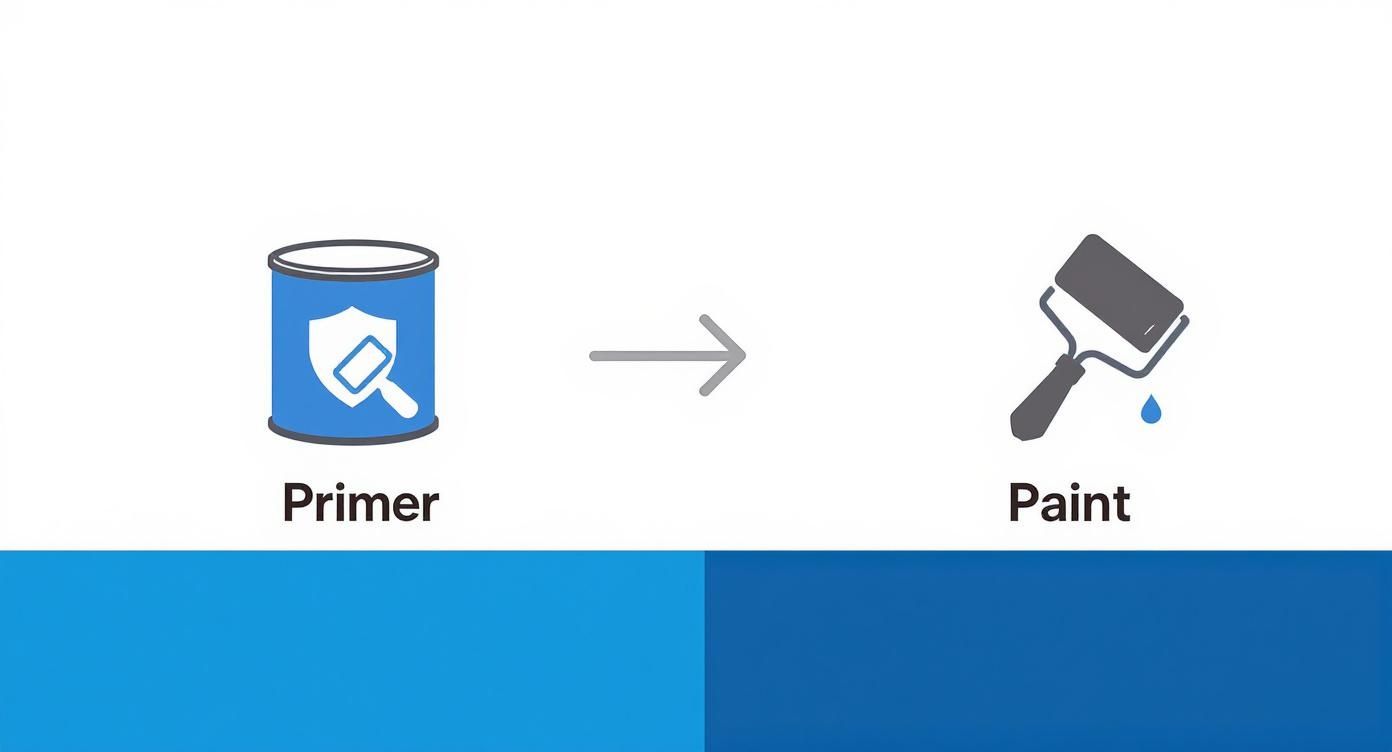
As shown, a solid primer coat is the foundation. It is a non-negotiable step that ensures a perfect topcoat.
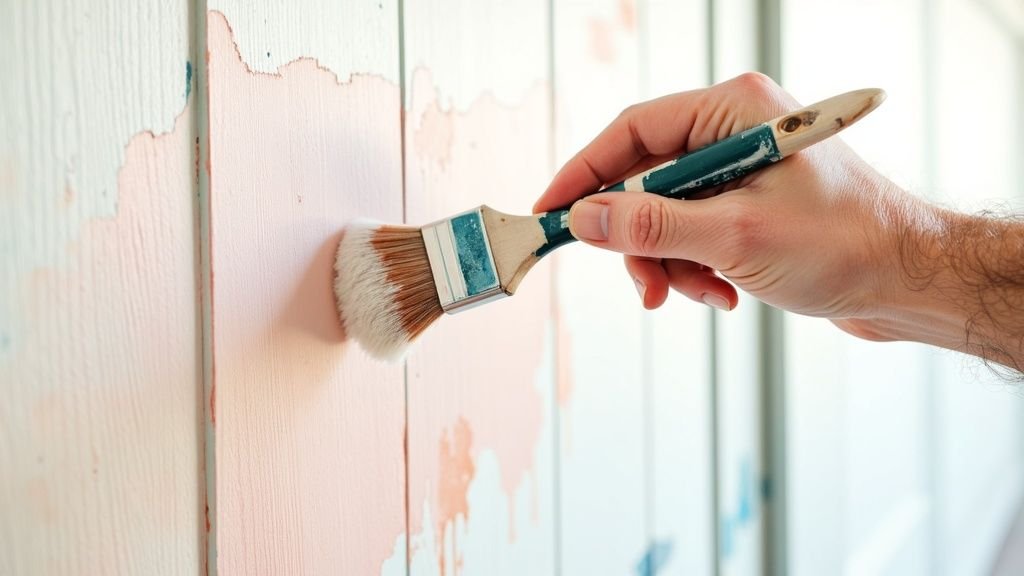
Mastering the 'Cut and Roll' Technique
For a finish that looks professional, the ‘cut and roll’ method is the best practice. The technique involves working in small, manageable sections—approximately three feet by three feet. Attempting to paint an entire wall at once can lead to errors.
Begin with a quality angled brush and paint only the grooves within your small section. Apply a nice, even layer, working it into every crevice without overloading the brush to the point of dripping. The application should be quick but deliberate.
Immediately after the grooves in that section are done, use a small roller to go over the flat surfaces. Ensure you slightly overlap the paint in the grooves while it's still wet. This is the essence of the technique; it flawlessly blends the brush strokes and roller texture together for a completely uniform look.
Your Tools for a Flawless Finish
The correct technique requires the correct tools. When it comes to rollers, the size and material directly impact the final texture.
For the smoothest possible finish on paneling, the following are recommended:
- Foam Rollers: These are excellent on flat surfaces. They leave behind very little texture, or 'stipple,' providing a finish that is very close to a spray application.
- Microfibre Rollers (Low Nap): A roller with a short nap, about 6mm or 1/4 inch, is another excellent option. It applies a beautifully smooth coat without holding excess paint, which helps prevent an overly thick application.
Choosing the right applicators is a crucial step. Our detailed guide on paint brushes and rollers can provide valuable pointers for this project.
The most common mistake observed is attempting to save time by applying one thick coat of paint. This approach is rarely successful. It leads to drips, sags, and an amateur-looking finish that takes an excessive amount of time to cure properly.
Instead, the objective is always two thin, even coats. A thin coat dries faster and cures harder, resulting in a much more durable and professional surface. Allow the first coat to dry completely—check the can for timing—then give it a quick, light scuff-sand before applying the second. Patience at this stage distinguishes a good paint job from a great one.
For more on this, there are some great expert techniques for painting wood surfaces that you can easily adapt for your paneling project.
One final critical tip is to always maintain a ‘wet edge’. This simply means you should always be rolling back into a freshly painted, still-wet area. Overlapping paint that has already begun to dry will result in visible 'lap marks' that are impossible to remove. Working from a wet edge ensures each section blends into the next seamlessly.
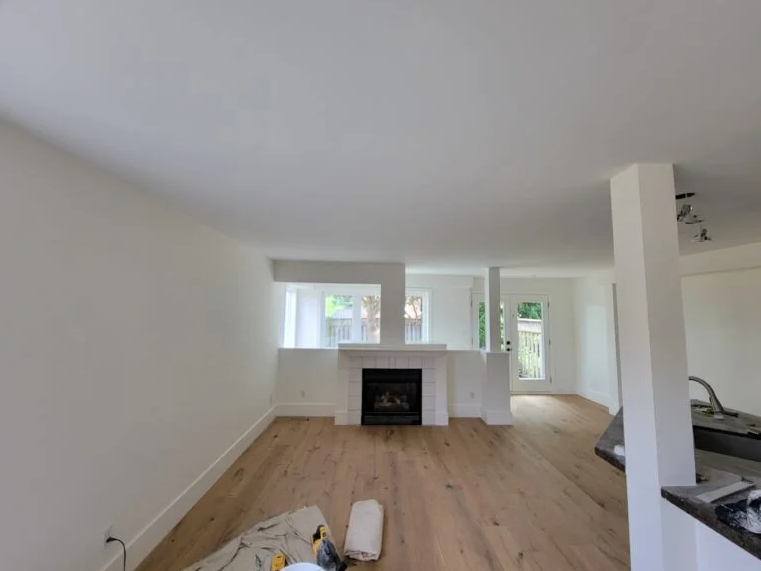
The Design Impact of Painted Paneling
Before beginning the physical work, it is important to understand the why. Knowing the steps to paint wood paneling is one thing, but understanding the significant impact it can have provides motivation. Painting over dark, dated paneling is one of the most satisfying and high-impact updates that can be made to a home on a budget.
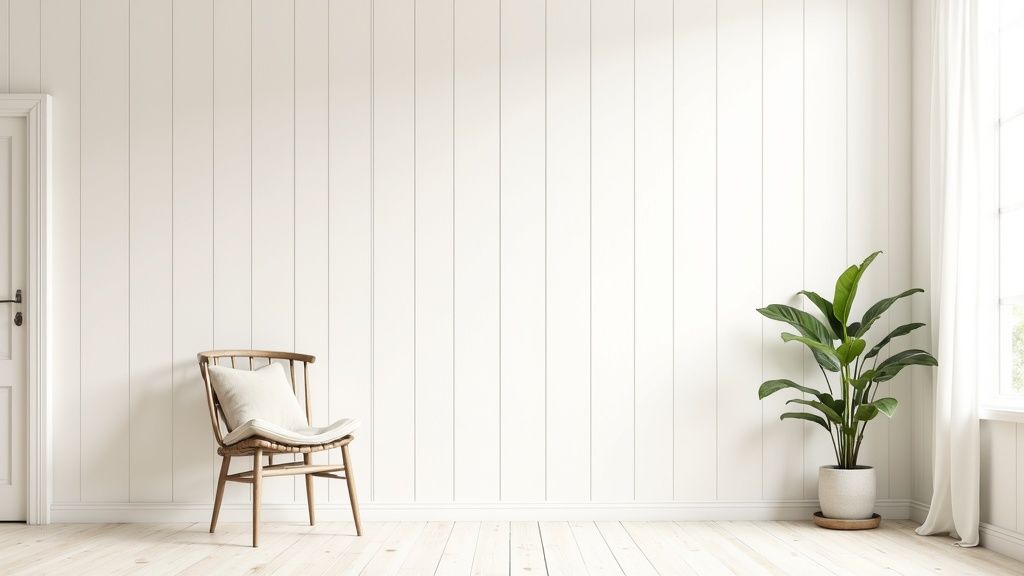
This single change can completely transform a room. It has the power to brighten a gloomy space, making it feel significantly larger and more inviting. This technique is especially effective in basements or rooms with limited natural light. Our guide on choosing the best colour for a basement dives deeper into how lighter shades can alter the perception of a space.
Unlocking Your Home's Potential
A fresh coat of paint creates a clean, sophisticated backdrop that makes furniture, art, and decor the focal points. You are not just covering something old; you are highlighting existing architectural character. Once painted, the subtle texture of the paneling adds a layer of depth and interest not present with flat drywall.
This modern take on paneling fits beautifully with a range of design styles:
- Modern Farmhouse: Crisp white or a soft, warm grey on the paneling creates a cozy, rustic-yet-refined feel.
- Minimalist Vibe: A clean, single-colour paint job emphasizes the simple lines of the paneling, adding texture without clutter.
- Coastal or Scandinavian: Light blues, soft seafoam greens, or creamy off-whites give the room a breezy, airy atmosphere.
This is not a niche idea; it's part of a larger trend of modernizing homes in a smart, affordable way. Consider this: industry reports show that 68% of California homeowners view repainting wood paneling as a key strategy for updating their living spaces. They often lean into neutral colours that work well with the state's diverse home styles. You can see more about California house painting trends on MikelundPainting.com.
Many homeowners find themselves weighing this project against the much larger task of removing the paneling and installing new drywall. While both achieve a modern look, their demands in terms of cost, time, and disruption are worlds apart.
Project Cost and Impact Comparison
| Factor | Painting Wood Paneling | Replacing with Drywall |
|---|---|---|
| Cost | Low. Primarily materials (primer, paint, supplies). | High. Drywall, mud, tape, plus professional labour. |
| Time | 1-3 days. A weekend project for most rooms. | 1-2 weeks. Demolition, installation, mudding, and drying time. |
| Disruption | Minimal. Dust from sanding, but contained. | Major. Significant dust, noise, and mess from demolition. |
| Skill Level | DIY-friendly. Requires patience and attention to detail. | Intermediate to Advanced. Often requires a professional. |
| Final Look | Retains character with subtle texture and lines. | A completely flat, modern wall surface. |
Ultimately, painting offers a way to achieve a high-end look for a fraction of the cost and disruption.
This project is less about erasing the past and more about reinventing it. You’re taking a feature that might feel dated and turning it into a point of architectural interest that adds genuine value and style to your home.
The objective here is a major visual upgrade without the cost and chaos of a full-scale renovation. By working with an existing feature, you give it new life and make the entire room feel fresh, current, and thoughtfully designed. The return on investment in aesthetic appeal for the time and materials is truly remarkable.
So, Why Is Wood Panelling Back in Style?
Before dismissing wood paneling as a dated feature, it is important to observe current trends in modern design. Texture and architectural details are highly valued. What designers once removed, they now celebrate for the depth and character it brings to a room. This approach is not about covering up the past; it is about giving it a fresh, new life.
The concept is to work with the paneling's inherent structure—its lines, grooves, and textures—to create a backdrop with distinct personality. A coat of paint transforms it into a layer of visual interest that cannot be achieved with flat drywall. It is a subtle touch that makes a space feel more considered and custom, whether the goal is a cozy modern farmhouse look or a clean, minimalist aesthetic.
It's a Modern Design Movement
This is not a fleeting trend; it is a genuine shift toward embracing homes with character. In fact, there has been a 15% annual growth in demand for new wood paneling in high-end projects across California since 2020. This indicates that designers and homeowners are actively seeking these features. You can dive deeper into these trends and see California's approach to modern wall coverings on WalstonArchitecturalProducts.com.
Choosing to paint your wood paneling isn't a temporary fix. It's a smart, forward-thinking design choice that brings your home up to speed with contemporary style, adds real value, and unlocks the architectural potential hiding in plain sight.
This renewed appreciation for textured walls should provide confidence that you are making a stylish and relevant upgrade. Painting your paneling allows you to honor the home’s original charm while pulling it firmly into the present. The end result is a space that feels both timeless and perfectly current—proving that great design is often about reimagining what you already have.
Common Panelling Painting Questions Answered
https://www.youtube.com/embed/9Ez2D_9M8Qg
Even with a detailed plan, painting projects can present challenges. This is especially true when working with a unique surface like wood paneling. We've gathered the most common questions we hear from homeowners across Toronto, Mississauga, and the GTA to provide clear, expert answers.
Do I Absolutely Have to Sand the Panelling?
Yes, this step is non-negotiable for achieving a professional and durable finish. Many older wood panels have a slick, semi-gloss varnish that standard paint cannot adhere to. Without creating a proper mechanical bond, the paint will be prone to peeling and chipping over time.
You are not required to strip the finish down to bare wood. The objective is to simply "de-gloss" the surface with a light scuff-sand. Using a 120 or 150-grit sandpaper creates a fine, microscopic texture that gives the primer a perfect surface to lock onto. This initial effort prevents major issues later.
What Is the Best Way to Paint the Grooves?
The grooves are often the most challenging aspect of painting paneling. The best technique used by professional painters is the "cut and roll" method.
Here’s the process:
- Focus on small, manageable sections at a time—approximately three feet by three feet is ideal.
- Use a 1.5-inch or 2-inch angled brush to paint only the grooves within that section.
- Immediately, while that paint is still wet, switch to a small foam roller for the flat surfaces of the same section.
This process allows the brushed paint in the grooves to blend seamlessly with the rolled paint on the panels. It’s the best method for eliminating tell-tale brush marks and drips for a truly uniform finish.
Can I Use an All-In-One Paint and Primer?
For this specific project, it is strongly advised to use a separate, dedicated primer. Paint-and-primer-in-one products are generally formulated for standard drywall and lack the specific properties needed for old wood.
Wood, especially knotty pine, contains natural oils called tannins. These oils will bleed through a standard latex paint-and-primer, causing yellow or brown stains to appear. A dedicated shellac-based or oil-based stain-blocking primer is essential to seal the wood and guarantee a clean, consistent final colour.
Once the surface is properly primed, you can apply your quality topcoat. For insights into how long the whole process takes, our article on how long paint takes to dry and cure offers some valuable timelines.
Ready to transform your space but want a flawless finish without the hassle? Soca Services Painting offers the best expert interior painting services throughout Toronto, Mississauga, and the GTA. If you searched for "best painters near me" and found us, we're ready to help. Let's discuss your project today!