

When painting your kitchen cabinets, the best primer is nearly always a high-adhesion, stain-blocking one. For most projects we handle for homeowners in Toronto, Mississauga, and the Greater Toronto Area (GTA), a top-quality oil-based or shellac-based primer provides the strongest adhesion and the most reliable defence against stains bleeding through your new paint.
Your Foundation for a Flawless Cabinet Finish
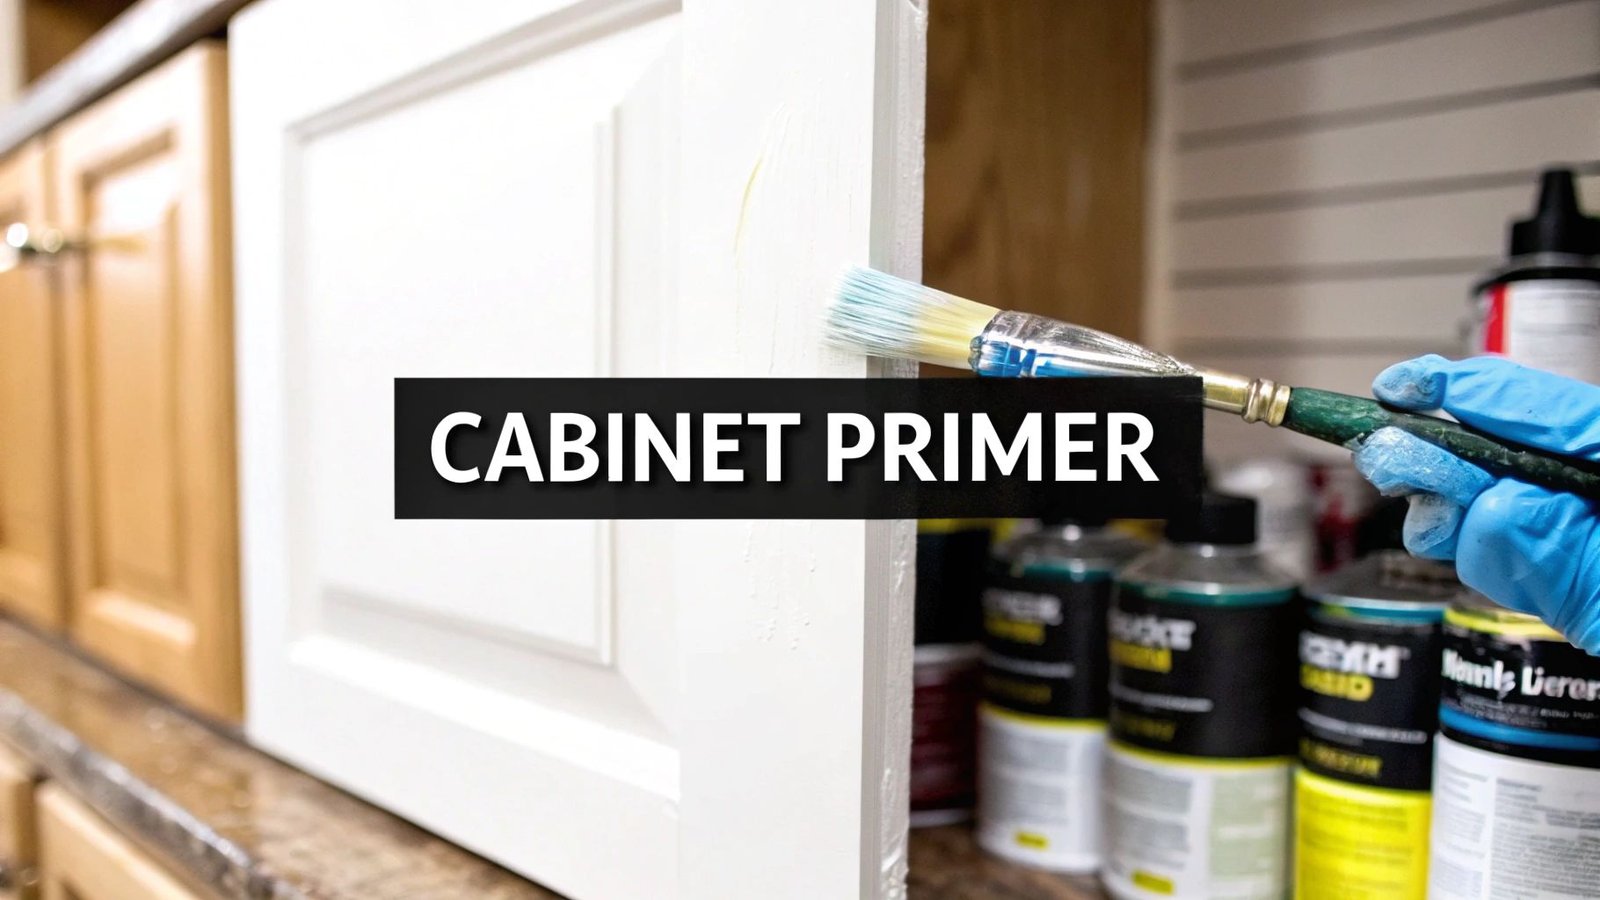
Painting kitchen cabinets is one of the most impactful home improvement projects available. It can completely transform your kitchen’s aesthetic for a fraction of the cost of a full remodel. However, a professional secret is that the key to a durable, factory-smooth finish isn’t the final colour coat—it’s the prep work, and specifically, choosing the best primer.
Think of primer as the essential handshake between the old cabinet surface and its fresh new coat of paint. It is a specialized coating designed to adhere tenaciously to the existing finish, creating the perfect canvas for your topcoat. Many homeowners near the GTA are tempted to skip this step to save time, but this shortcut almost always leads to a paint job that fails prematurely.
The Critical Role of a Quality Primer
Without the right primer, you risk a host of problems that can undermine your hard work. A dedicated primer serves several key functions that “paint-and-primer-in-one” products cannot replicate, especially on high-use surfaces like kitchen cabinets.
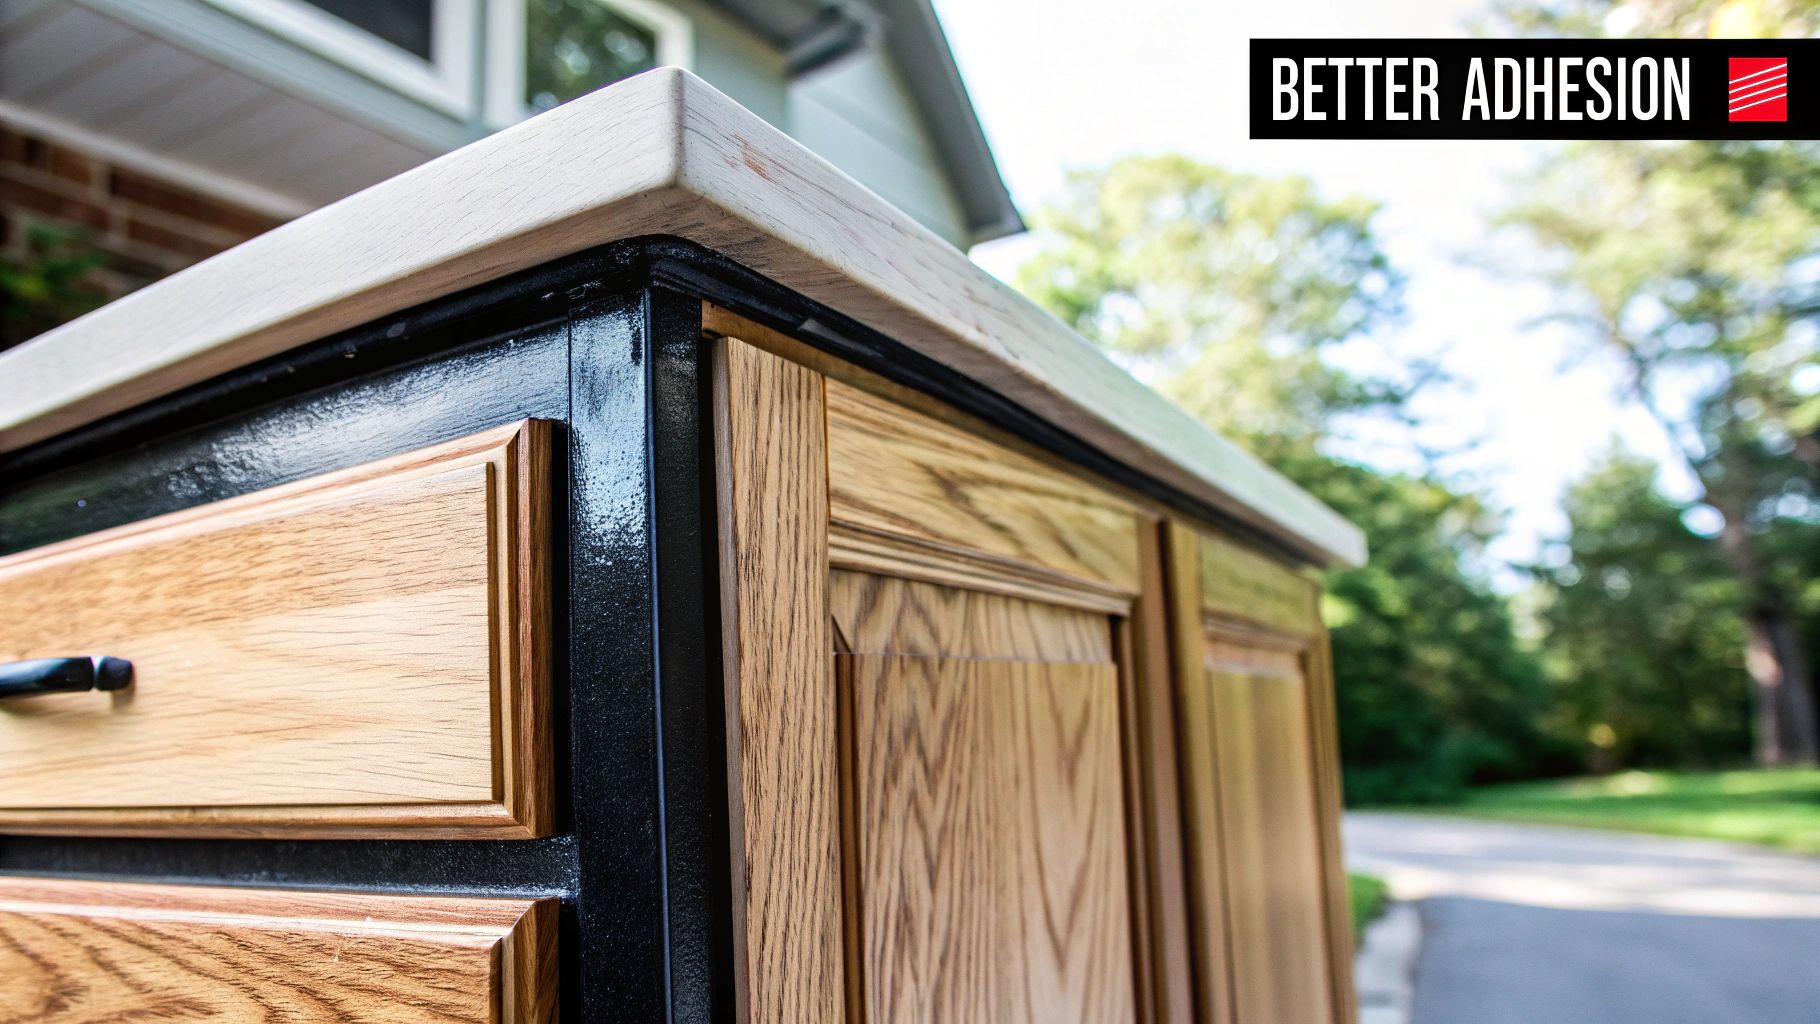
- Ensures Powerful Adhesion: Most kitchen cabinets feature a slick, non-porous finish. The best primer is engineered to create a tenacious bond, preventing the new paint from peeling, chipping, or scratching off with daily use.
- Blocks Stubborn Stains: Woods like oak contain natural oils called tannins. These can easily bleed through water-based paints, leaving ugly yellow or brown blotches. A good stain-blocking primer seals them in permanently.
- Creates a Uniform Surface: Primer helps to fill minor imperfections and provides a single, consistent base colour. This ensures your final paint colour looks rich and even, often with fewer coats needed.
The best primer for kitchen cabinets acts as a barrier, an adhesive, and a surface perfector all in one. Skipping it is like building a house without a foundation—it might look okay for a little while, but it’s not built to last.
Selecting the right primer for your specific cabinets is the first critical step toward achieving a finish that not only looks professional but can also withstand years of kitchen activity.
Understanding the Three Main Types of Primer
Choosing the best primer for kitchen cabinets comes down to understanding your options. There are three primary types, and each functions as a specialized tool for different jobs. Once you understand their strengths and weaknesses, you are on your way to selecting the best product for a flawless, long-lasting finish.
Each primer type—oil-based, shellac-based, and water-based—offers distinct advantages. The best choice for your project depends on your cabinet material, its current condition, and your desired outcome. Let’s examine the details of each.
Oil-Based Primers: The Tenacious Bulldog
Oil-based primers, also known as alkyd primers, are the traditional heavyweights in the painting world. They function like industrial-strength glue for your cabinets, designed to lock down tricky surfaces and hold on tight. They work by penetrating deep into the material to forge an incredibly stubborn bond.
This deep penetration makes them the best choice for slick, glossy, or previously oil-painted surfaces where other primers might fail. They are also masters at blocking tough stains—including grease, water rings, and smoke—so nothing bleeds through to ruin your fresh paint colour.
- Superior Adhesion: Grips exceptionally well to glossy or challenging surfaces.
- Excellent Stain Blocking: Seals in stubborn stains and stops wood tannins from bleeding through.
- Durable Finish: Creates a tough, hard-wearing base that resists chipping and scuffs.
The downside? They have strong odours due to high Volatile Organic Compounds (VOCs), and cleanup requires mineral spirits. Still, for sheer performance on difficult cabinets, many professional painters near Toronto won’t use anything else.
Shellac-Based Primers: The Super Glue Solution
If an oil-based primer is a bulldog, a shellac-based primer is super glue. It is famous for two things: incredible stain-blocking power and extremely fast drying times. Shellac is a natural resin that creates a tough film, making it the ultimate problem-solver for the worst-case cabinet scenarios.
If you have knotty pine cabinets that ooze sap or dark oak known for tannin bleed, shellac is the best solution. It is also unmatched for sealing in persistent odours from years of cooking or smoke.
A single coat of shellac-based primer can often solve stain and odour problems that other primers can’t handle even with multiple coats. It truly is a painter’s secret weapon for the toughest jobs.
While it has a strong, alcohol-based smell during application, the odour dissipates quickly as it dries. You’ll need denatured alcohol for cleanup, but for its problem-solving ability, nothing else comes close.
Water-Based Primers: The Versatile All-Rounder
Water-based primers, often called latex or acrylic primers, are the modern, user-friendly option. They are the versatile multi-tool in your painting kit. These primers have improved dramatically, and many top-tier formulas now offer fantastic adhesion and solid stain-blocking power.
Their biggest selling points are low odour and easy cleanup with soap and water. This makes them a great pick for homeowners in Toronto and Mississauga who are mindful of indoor air quality. This shift is also seen in manufacturing; for instance, the wood kitchen cabinet sector is moving toward low-VOC waterborne primers that deliver excellent results with less environmental impact. You can discover more insights about these manufacturing trends and how they influence products available near you.
For many standard cabinet projects—especially on new, unfinished wood or surfaces previously painted with latex—a high-quality water-based bonding primer is easily the best primer for kitchen cabinets.
How to Choose the Right Primer for Your Cabinets
Selecting the best primer for your kitchen cabinets is not about finding one magic product. It is about matching the primer’s capabilities to your project’s specific needs. The most important factor driving your decision is the surface you are starting with. A primer that works beautifully on raw wood could be a disaster on slick laminate.
Think of it like this: you wouldn’t put racing tires on an off-road truck. Similarly, your primer must be engineered for the specific “terrain” of your cabinet material. This ensures the primer grips tightly, creating the perfect foundation for a smooth, durable finish.
First, Figure Out Your Cabinet Surface
Let’s review the most common cabinet surfaces found in homes across the GTA. Each has unique challenges that the right primer is designed to solve.
- Bare Wood Cabinets: Fresh, unfinished wood is porous and ready to absorb whatever you apply. However, some woods, particularly oak and pine, are known for tannin bleed. This occurs when natural oils in the wood leach through and leave yellow or brownish stains on your new paint. A shellac-based or oil-based stain-blocking primer is your best defense here, creating a powerful seal to lock those tannins in permanently.
- Previously Painted Cabinets: If your cabinets are already painted, your primary goal is to ensure the new paint adheres properly. You need a primer that can grip the old, often semi-gloss finish. After thorough cleaning and scuff-sanding, a high-adhesion bonding primer (usually water-based) or a reliable oil-based primer is essential.
- Laminate or Melamine Cabinets: These are the most challenging surfaces. Their smooth, non-porous nature gives paint almost nothing to hold onto. For these, a specialty bonding primer is non-negotiable. These primers are specifically formulated with powerful resins that can adhere to ultra-smooth materials where anything else would scratch or peel off.
This decision tree helps map out the best primer for your specific starting point.
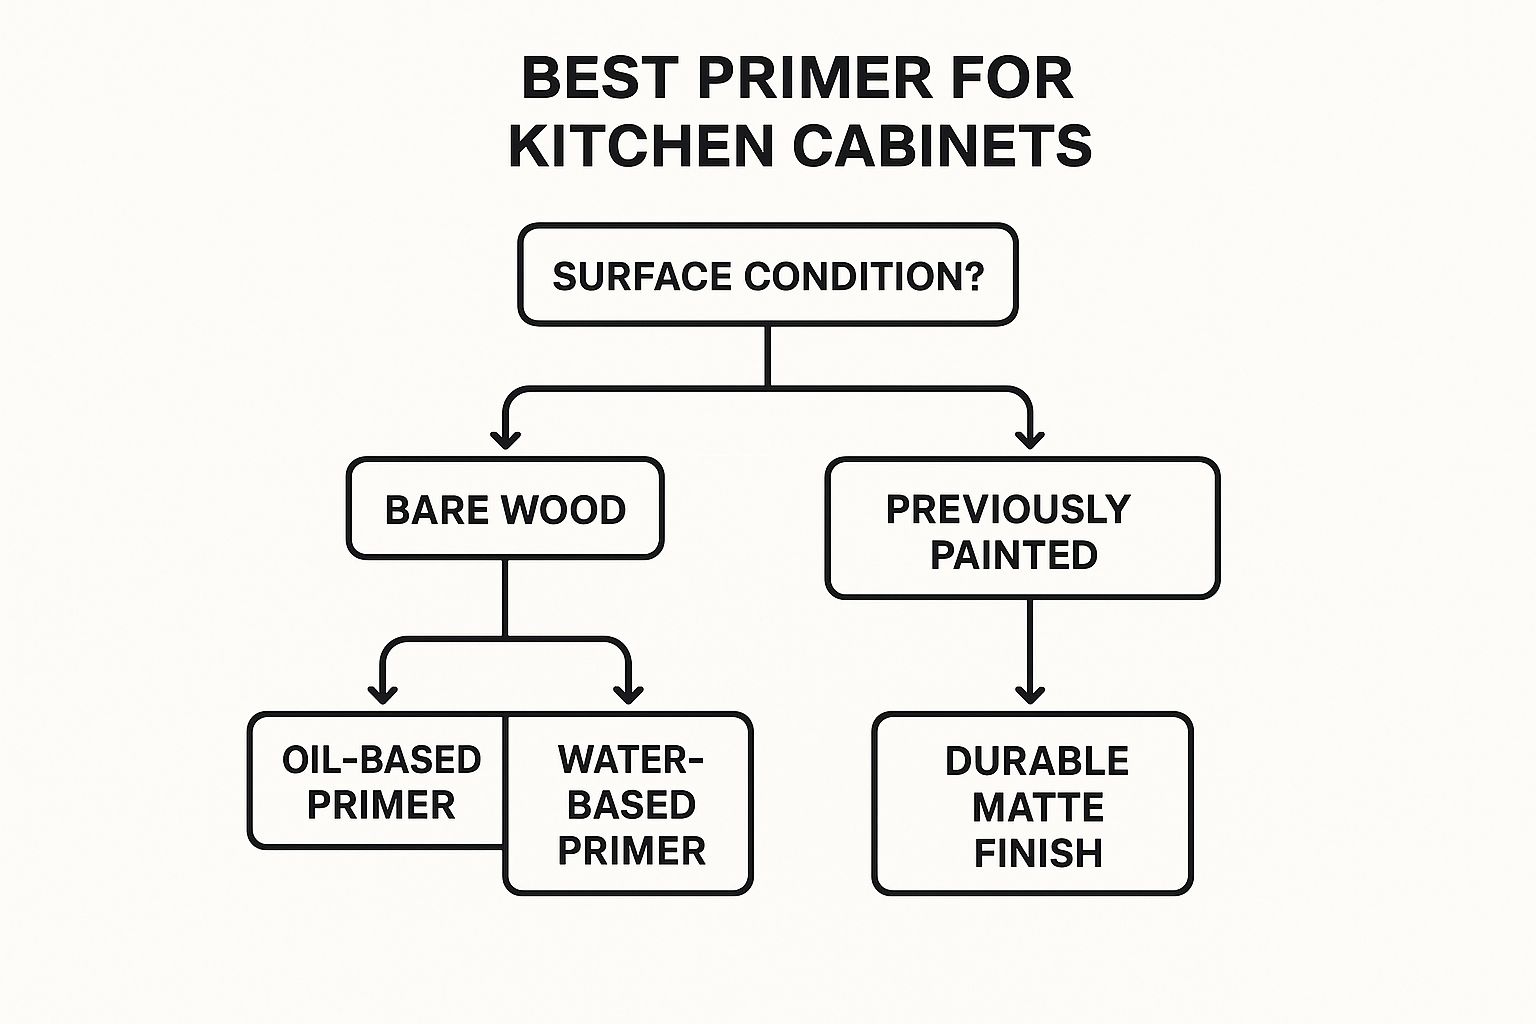
As you can see, simply identifying whether you’re dealing with bare wood or a previously finished surface is the first major step in narrowing down your choices.
To make this even clearer, here’s a quick cheat sheet matching common cabinet materials to their ideal primer.
Primer Matching Chart for Cabinet Materials
| Cabinet Material | Recommended Primer | Why It Works | Potential Issues |
|---|---|---|---|
| Solid Wood (Oak, Maple, Pine) | Oil-Based Stain-Blocking Primer or Shellac Primer | Excellent at sealing wood grain and stopping tannin bleed from staining the topcoat. Provides a very durable base. | Strong odours (VOCs), longer drying times, and requires mineral spirits for cleanup. |
| MDF or Particleboard | Oil-Based or Water-Based Sanding Primer | Fills in the porous surface of MDF, creating a smooth, uniform base. Prevents the material from swelling with moisture. | Water-based primers can sometimes cause slight swelling if applied too heavily. Multiple thin coats are key. |
| Previously Painted Wood | Water-Based Bonding Primer or Oil-Based Primer | Specifically designed for superior adhesion to existing finishes (even glossy ones) after proper prep. | Must scuff-sand the old finish first for the primer to grip properly. Skipping this step leads to peeling. |
| Laminate or Melamine | Water-Based Specialty Bonding Primer | Formulated with unique resins that chemically bond to slick, non-porous surfaces where other primers would fail. | Requires immaculate cleaning to remove all grease and residue. Proper prep is 90% of the job. |
| Thermofoil | Water-Based Specialty Bonding Primer | Similar to laminate, it needs a primer that can adhere to a plastic-like vinyl surface without peeling or chipping. | Damaged or peeling thermofoil must be removed entirely before priming the underlying MDF. |
This chart should give you the confidence to walk into a paint store near you and know exactly what you’re looking for.
Don’t Forget About Air Quality and the Final Finish
For many homeowners in Toronto, Mississauga, and the GTA, indoor air quality is as important as the final look. Primers with high Volatile Organic Compounds (VOCs) have a very strong smell and can negatively affect your home’s air.
Fortunately, there are excellent low-VOC and zero-VOC water-based primers that significantly reduce these emissions, making your project healthier for everyone in the house. This shift toward healthier materials is significant; in some markets, about 45% of buyers now actively seek out eco-friendly building materials. You can find out more about how cabinet market trends are moving toward sustainability.
Here’s a crucial rule of thumb: Your primer and your paint need to be compatible. Think of them as a team. Using an oil-based primer under a latex paint is a classic, reliable combination, but you should always double-check the manufacturer’s directions. The last thing you want is for your perfect paint job to fail because the two products couldn’t work together.
Surface Preparation for a Professional Finish
You can choose the absolute best primer on the market, but it will not perform if the surface isn’t prepared correctly. This is the non-negotiable groundwork that differentiates a temporary touch-up from a durable, factory-like finish that lasts for years.
While this part is the least glamorous, it is where the real magic happens. Rushing or skipping these steps is the leading cause of peeling, chipping, and paint failure. Think of it as laying a solid, clean, and stable foundation for a house; everything you build on top depends on it.
Step 1: Degrease and Clean Thoroughly
Kitchens are high-use areas. Over years, an invisible film of cooking grease, oils, and grime settles on every surface. Primer cannot stick to grease. Before sanding, your cabinets need a deep, thorough cleaning.
A heavy-duty degreasing cleaner is your best tool for this job. Products like TSP (Trisodium Phosphate) or a modern TSP alternative are excellent at cutting through stubborn kitchen residue.
- Mix Your Solution: Always follow the directions on the package and wear gloves to protect your skin.
- Scrub Everything: Use a non-abrasive scrub sponge to clean the cabinet frames, doors (fronts and backs!), and drawer fronts. Do not miss any spots.
- Rinse It All Away: This is a crucial step. After scrubbing, wipe every surface with a clean, damp cloth to remove all traces of the cleaning solution, as any residue will interfere with primer adhesion.
Step 2: Scuff Sand for Maximum Grip
The purpose of sanding before priming is not to strip the old finish to bare wood. The goal is scuff sanding—lightly abrading the surface to create thousands of microscopic scratches for the primer to grip. This step dramatically improves the bond between the cabinet and the new finish.
A light scuff with 120- to 220-grit sandpaper is all that is required. You are just trying to dull the existing sheen, not remove the entire finish. This simple act of creating a “mechanical bond” is one of the most effective ways to guarantee your paint job won’t peel.
Once sanding is complete, a fine layer of dust will cover everything. Use a tack cloth or a slightly damp microfibre cloth to wipe it all away.
Step 3: Fill Imperfections for a Flawless Base
Before priming, inspect your cabinets for any dings, deep scratches, or old hardware holes. A good-quality wood filler will make these blemishes disappear.
Use a small putty knife to apply the filler, slightly overfilling the dent or hole. Let it dry completely, then sand it perfectly smooth and flush with the cabinet surface. Wipe away the dust one last time, and you will have a pristine canvas, ensuring a perfectly smooth and professional final paint job.
A Step-by-Step Guide to Applying Cabinet Primer
With the cleaning, sanding, and prep work complete, you can now apply the primer. This stage lays the foundation for a flawless paint job and creates the perfect, uniform canvas for your final colour.
Applying the primer smoothly is what separates an average result from a professional-looking finish. The secret is technique and patience. Rushing at this stage often leads to drips, a blotchy texture, and a weak bond.
Choosing Your Application Tool
The tool you choose for applying primer significantly impacts the final look. Most projects benefit from a combination of tools to achieve the best results.
- High-Quality Angled Brush: A good brush is essential for cutting in around edges and getting into detailed moulding or recessed panels on your cabinet doors.
- Mini Foam Roller: For large, flat surfaces—like the face of Shaker-style doors or cabinet frames—a small, high-density foam roller is a game-changer. It is the best way to apply a thin, even coat without leaving brush marks.
- Paint Sprayer: For the ultimate, factory-smooth finish, a sprayer is the best method. It requires more prep time for masking but delivers a perfectly even, flawless coat that is nearly impossible to achieve by hand. This is the method most professional painters in Toronto rely on for high-end results.
For the average DIYer, the best approach is using a brush for details and a foam roller for flat areas. This provides a balance between a top-notch finish and simplicity.
The Application Process
Achieving a professional-grade primed surface requires a methodical approach. Remember, it is always better to apply two thin coats rather than one thick, heavy one. A thick coat can obscure details, take longer to cure, and is more likely to drip or sag.
Think of it like making a perfect crêpe. You want just enough batter to create a thin, even layer. Too much results in a doughy pancake. The same principle applies here.
Follow these steps for a perfect coat every time:
- Start with the Details: Use your angled brush to prime tricky spots first—crevices, inside corners, and detailed moulding.
- Roll the Flat Areas: While the brushed primer is still wet, switch to your mini foam roller and go over the large, flat surfaces. This technique, “tipping off,” helps blend and smooth out brush strokes for a seamless look.
- Respect the Dry Times: This is critical. Check the primer can for the manufacturer’s recommended recoat time and follow it precisely. Applying a second coat too soon can re-wet the first layer, causing it to peel and ruin your smooth surface.
- Lightly Sand Between Coats: Once the first coat is completely dry, give it a very light sanding with 220-grit sandpaper. This quick step removes tiny imperfections or dust nibs. Wipe the surface clean with a tack cloth before applying your final coat of primer.
Common Questions About Priming Kitchen Cabinets
Even with a detailed plan, questions often arise during a large project like painting kitchen cabinets. Getting clear answers is key to feeling confident and achieving the professional finish you want. Let’s address some of the most common questions from homeowners across Toronto and the GTA.
Understanding the “why” behind these steps will help you avoid common mistakes that can compromise an otherwise great paint job.
Do I Really Need to Sand My Cabinets Before Priming?
Yes, absolutely. This step is non-negotiable and skipping it is a guaranteed way to cause peeling paint. It is important to understand that you are not sanding to completely strip the old finish.
The objective is to “scuff” the surface. A light pass with fine-grit sandpaper creates thousands of microscopic scratches. These grooves give the new primer something to physically grip, creating a strong mechanical bond. Without this, the primer sits on top of a slick surface, making it easy to chip and fail over time.
Can I Use a Paint and Primer in One Product?
While all-in-one products are great for walls, they are not designed for the high-traffic environment of a kitchen. Your cabinets are constantly touched, bumped, and wiped down.
A dedicated, standalone primer is specifically formulated with powerful adhesion resins and stain-blocking agents. It is engineered to solve problems—like sticking to glossy surfaces and sealing in wood tannins—that a combination product is not equipped to handle on cabinetry.
Think of it this way: a multi-tool is handy, but you wouldn’t use it to build a house. For a job this important, you need the best tool. Using the best primer for kitchen cabinets means choosing a product dedicated to that one crucial task.
How Many Coats of Primer Do My Kitchen Cabinets Need?
For most projects, one solid, even coat of a high-quality primer is sufficient. A good primer has a high solids content, allowing it to cover and seal effectively in a single pass.
However, a second coat is recommended in two key situations. The first is when making a dramatic colour change, such as from dark cherry wood to a crisp white. The second coat ensures a perfectly neutral base, preventing the old colour from affecting the new topcoat.
The other scenario is when dealing with wood known for “tannin bleed,” like red oak or mahogany. A second coat acts as extra insurance, completely locking in potential stains to keep your white finish pristine. In these cases, the extra coat is a small investment for a flawless, long-lasting result.
For professional painting services that guarantee a flawless, durable finish for your kitchen cabinets in the Toronto area, trust the experts at Soca Services. Learn more and get a quote for your project today!


This post is very helpful.