

Yes, painting laminate cabinets is a highly effective way to modernize a kitchen without the significant expense of a full replacement. By using the correct preparation methods and materials, you can achieve a durable, professional-quality finish that completely transforms the space. For homeowners in Toronto and the GTA, this is one of the best budget-friendly renovation projects available.
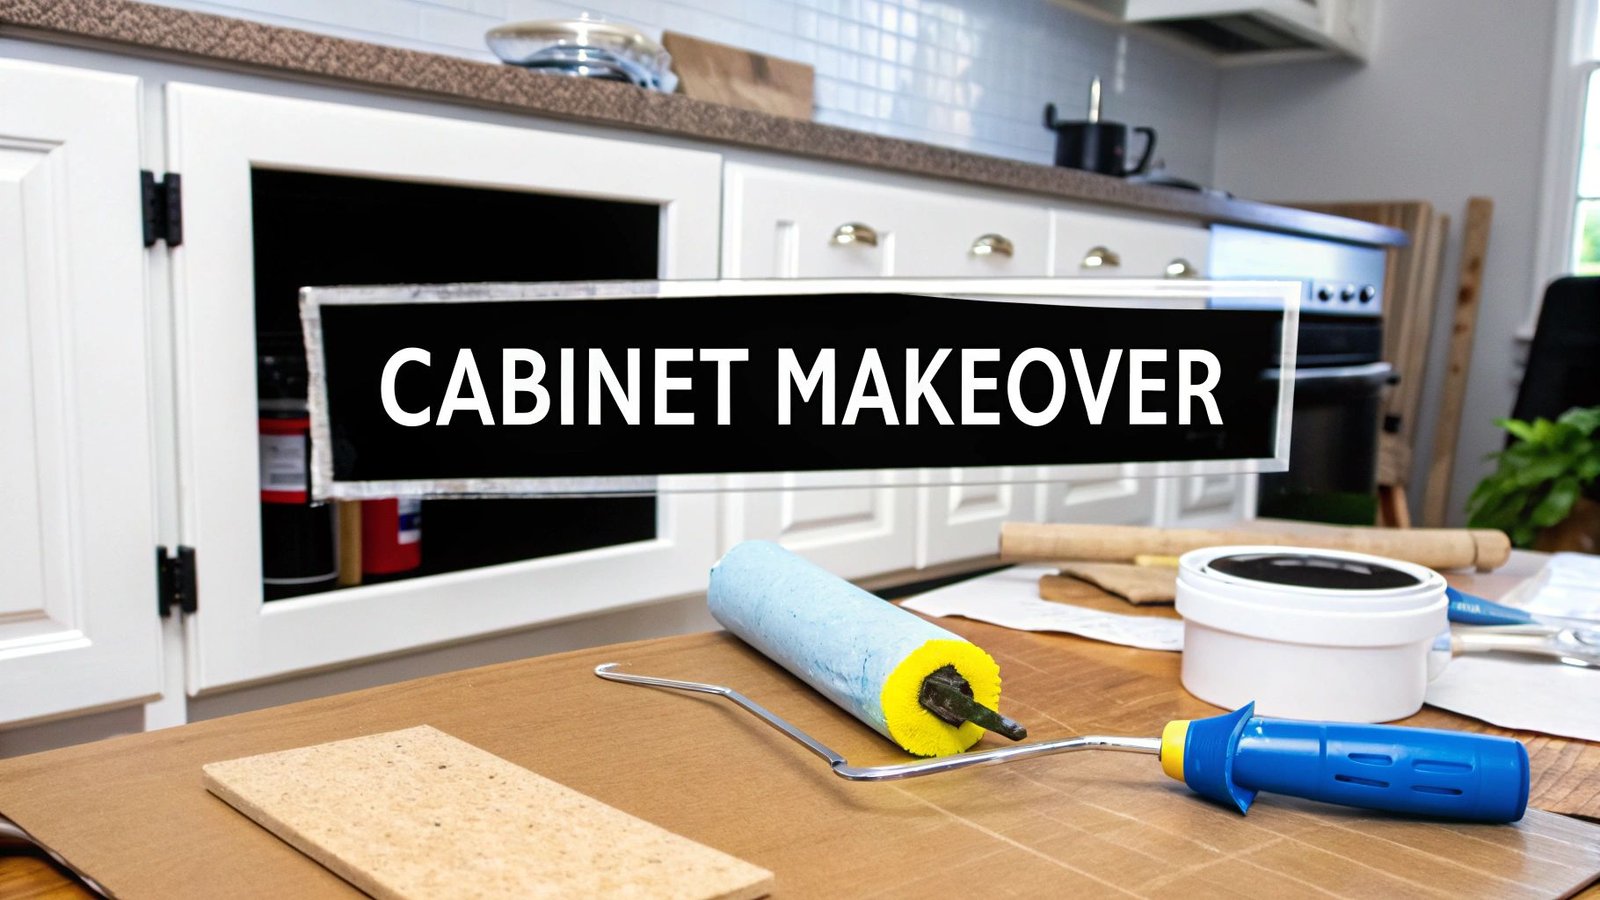
Why Painting Laminate Cabinets Is a Smart Choice for Your GTA Home
If you have dated or worn laminate cabinets but are hesitant about the cost and disruption of a full renovation, painting is an excellent solution. This project delivers a significant aesthetic impact for a fraction of the cost of new cabinetry, making it one of the best return-on-investment updates for your property.
From Mississauga to downtown Toronto, we are seeing more homeowners across the GTA choose this method. A fresh coat of paint can make a dark kitchen feel bright and airy, align it with current design trends, and give your home's overall appeal a substantial boost. If you're looking for the best way to update your kitchen near you, this is it.
Major Cost Savings and Added Value
The primary benefit is the cost. A complete kitchen demolition and cabinet replacement can easily cost tens of thousands of dollars. A professional cabinet painting service, however, delivers a nearly identical visual upgrade for a much smaller investment. It is the best option for anyone renovating on a realistic budget in the Toronto area.
The advantages extend beyond the initial savings. This project adds tangible value to your property. An updated, modern kitchen is a major selling feature for potential buyers, and freshly painted cabinets signal a well-maintained, stylish home.
Complete Customization and Style
Off-the-shelf replacement cabinets typically offer a limited selection of colours and styles. Painting provides complete creative control. You can select the perfect shade to complement your existing countertops, backsplash, and flooring, creating a cohesive and customized look.
We have seen clients in the GTA achieve excellent results with various approaches:
- Classic Whites and Greys: These timeless choices make any kitchen feel larger and brighter.
- Bold Blues and Greens: For a statement look, a deep navy or rich forest green can add significant personality.
- Two-Tone Designs: A popular and sophisticated option involves painting the upper and lower cabinets in different colours for a high-end, designer appearance.
A Durable, Long-Lasting Finish
A common misconception is that paint on laminate is not durable. The truth is, when done correctly, the finish is incredibly resilient and can withstand the daily wear and tear of a busy kitchen for years. The key is meticulous prep work and the use of professional-grade materials.
While laminate itself has a typical lifespan of 10 to 15 years, a quality paint job can extend its visual appeal throughout that period. You can learn more about the best practices in our guide to painting kitchen cabinets in Toronto. Studies show that approximately 70% of homeowners choose laminate for its affordability and ease of maintenance; a professional paint job enhances these benefits.
Gathering the Right Tools and Materials for the Job
Achieving a durable, factory-like finish on laminate cabinets begins with the right supplies. This is not a project where you can cut corners. Laminate is a non-porous surface, meaning it requires specific products designed for long-term adhesion.
Before starting, a well-planned trip to the hardware store is the first essential step. This phase is foundational. A cheap brush and standard wall paint are unsuitable for a high-traffic area like a kitchen. Investing in the best quality tools now not only simplifies the process but also provides the best defence against future peeling or chipping.
Essential Supplies for Painting Laminate
To avoid multiple trips to the store, it is best to gather all necessary items at once. Here is a comprehensive checklist for your project, whether you are in Mississauga or anywhere else in the GTA.
| Category | Essential Items | Pro Tip |
|---|---|---|
| Cleaning & Prep | Degreaser (TSP or alternative), 120- to 220-grit sandpaper, tack cloths, painter's tape, drop cloths, screwdriver. | Do not skip the degreaser. Kitchen cabinets accumulate grease that prevents primer from adhering, regardless of how well you sand. |
| Priming | A shellac-based or oil-based bonding primer. This is the most critical product for this project. | Look for primers specifically labelled for "glossy surfaces" or "difficult-to-paint substrates." This creates the chemical bond between the laminate and the paint. |
| Painting | Durable cabinet and trim enamel (alkyd or acrylic urethane), high-density foam roller, quality 5-cm angled brush. | Foam rollers produce a smooth, spray-like finish on flat surfaces. An angled brush is best for corners and detailed areas. |
This checklist covers the absolute necessities for a successful cabinet transformation. Having everything organized will make the entire process more efficient and professional.
Why These Specific Supplies Matter
Here is the rationale behind these key items.
A strong degreaser like TSP (Trisodium Phosphate) or a TSP alternative is required to remove accumulated grime. This layer of grease is the primary enemy of paint adhesion.
Next is sanding. The objective is not to remove the laminate but to "scuff" it. A medium-grit sandpaper (120- to 220-grit is optimal) creates microscopic grooves on the surface, giving the primer a physical anchor. After sanding, tack cloths are essential for removing all residual dust.
Finally, the primer and paint. A high-adhesion bonding primer is non-negotiable. For applicators, high-density foam rollers are ideal for a smooth finish on flat surfaces, while a good angled brush is necessary for cutting in and handling details. To learn more, see our guide on the best paint brushes and rollers for a flawless job.
A common mistake is treating laminate like wood. It is not. Laminate has zero porosity for paint absorption, which is why a shellac-based or oil-based bonding primer is mandatory. It chemically bites into the plastic surface, creating a tenacious grip that a standard latex primer cannot achieve.
Correct preparation and materials are what distinguish a professional-looking job that lasts for years from one that fails within months. By gathering the proper supplies, you are setting the stage for a successful cabinet transformation.
The Critical Prep Work for a Lasting Finish
The secret to successfully painting laminate cabinets is that 90% of the outcome is determined before you open a can of paint. Laminate's smooth, non-porous surface is engineered to repel stains, which also means it is designed to repel paint.
The objective of the prep phase is to overcome this inherent resistance.
Skipping or rushing these initial steps is the primary cause of failed DIY cabinet projects. This groundwork creates the ideal foundation for the primer and paint to adhere to, ensuring a durable finish that will withstand daily use in a busy kitchen or bathroom.
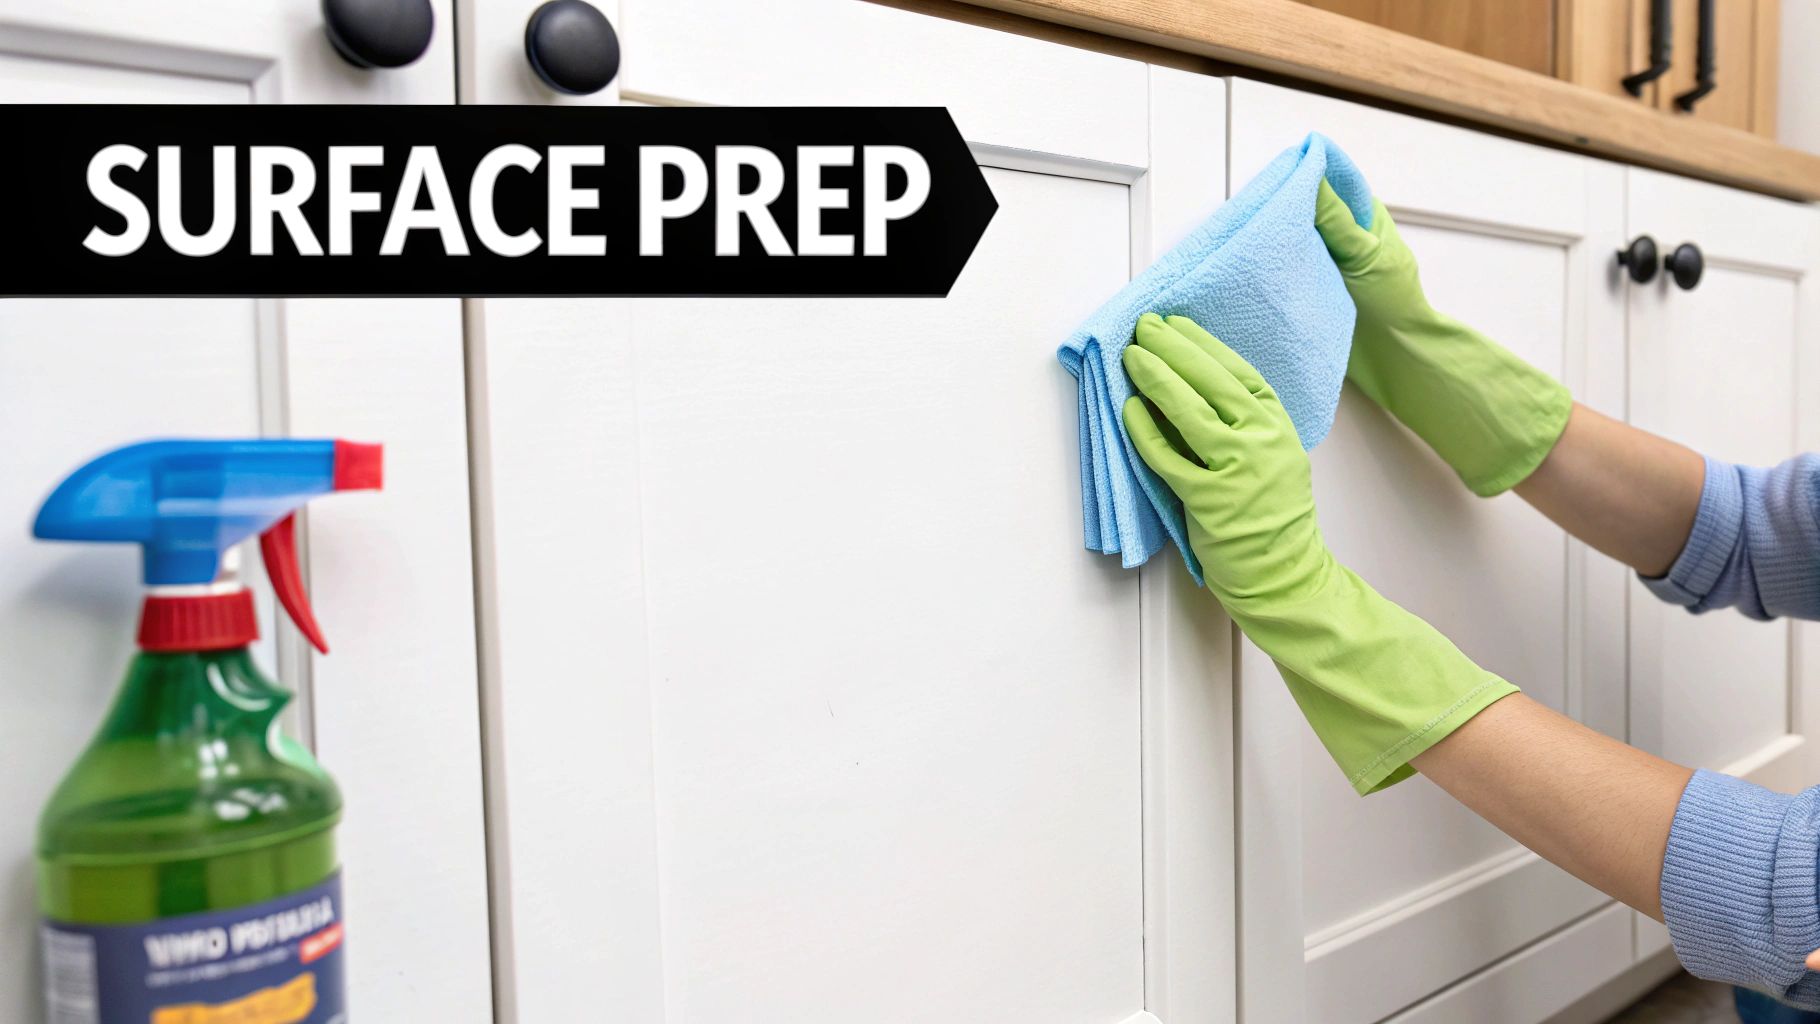
Deep Cleaning for a Flawless Foundation
Your cabinets may appear clean, but years of cooking can leave an invisible film of grease, oil, and cleaning residue. This film acts as a barrier, preventing the primer from bonding correctly.
The first step is a thorough deep clean with a strong degreaser. A product like trisodium phosphate (TSP) or a TSP alternative is required. Mix according to the manufacturer’s directions and wash every surface you intend to paint.
Clean the doors, drawer fronts, and cabinet frames, paying special attention to areas around the stove and handles. Once scrubbing is complete, wipe everything with a clean, damp cloth to remove any cleaner residue, then allow it to dry completely.
The Art of Scuff Sanding
Once the cabinets are clean and dry, it's time to sand. The goal is not to strip the laminate but to dull the glossy finish and create a fine texture for the primer. This requires a balance between sufficient abrasion for grip and avoiding damage to the thin laminate layer.
A 120- to 220-grit sandpaper is ideal. A sanding block is effective on flat surfaces, while a folded piece of sandpaper is better for detailed areas. Use light, consistent pressure. The process is complete when the entire surface has a uniform, matte appearance. This type of meticulous prep is also crucial for other high-use areas, as detailed in our guide to painting bathroom vanities and cabinets.

After sanding, a fine layer of dust will cover everything. A tack cloth is the best tool for this, as it is designed to pick up every particle of dust that a rag or vacuum might miss. Meticulously wipe down all sanded surfaces before proceeding.
Pro Tip: The objective is to create a "micro-texture" for the paint. You are not removing material, only dulling the surface. If you see the laminate’s colour on your sandpaper, you are applying too much pressure.
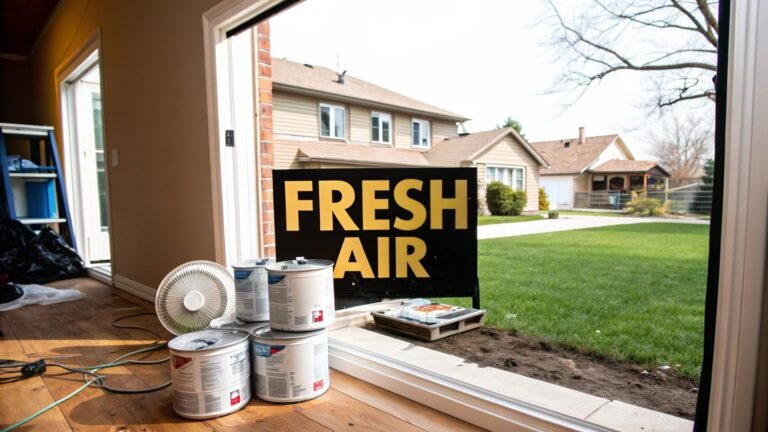
Setting Up Your Workspace
Finally, setting up a dedicated, organized workspace will make the project less chaotic.
- Designate a painting zone: A garage, basement, or any well-ventilated room is suitable. Use drop cloths to protect floors.
- Set up drying racks: A space is needed where doors and drawers can dry undisturbed. Painter's pyramids or even old cans allow you to paint edges and faces simultaneously and help prevent drips.
- Keep things organised: Label doors and hardware with numbered painter's tape in an inconspicuous spot (e.g., inside the hinge hole) to ensure correct reassembly. This simple step prevents significant frustration later.
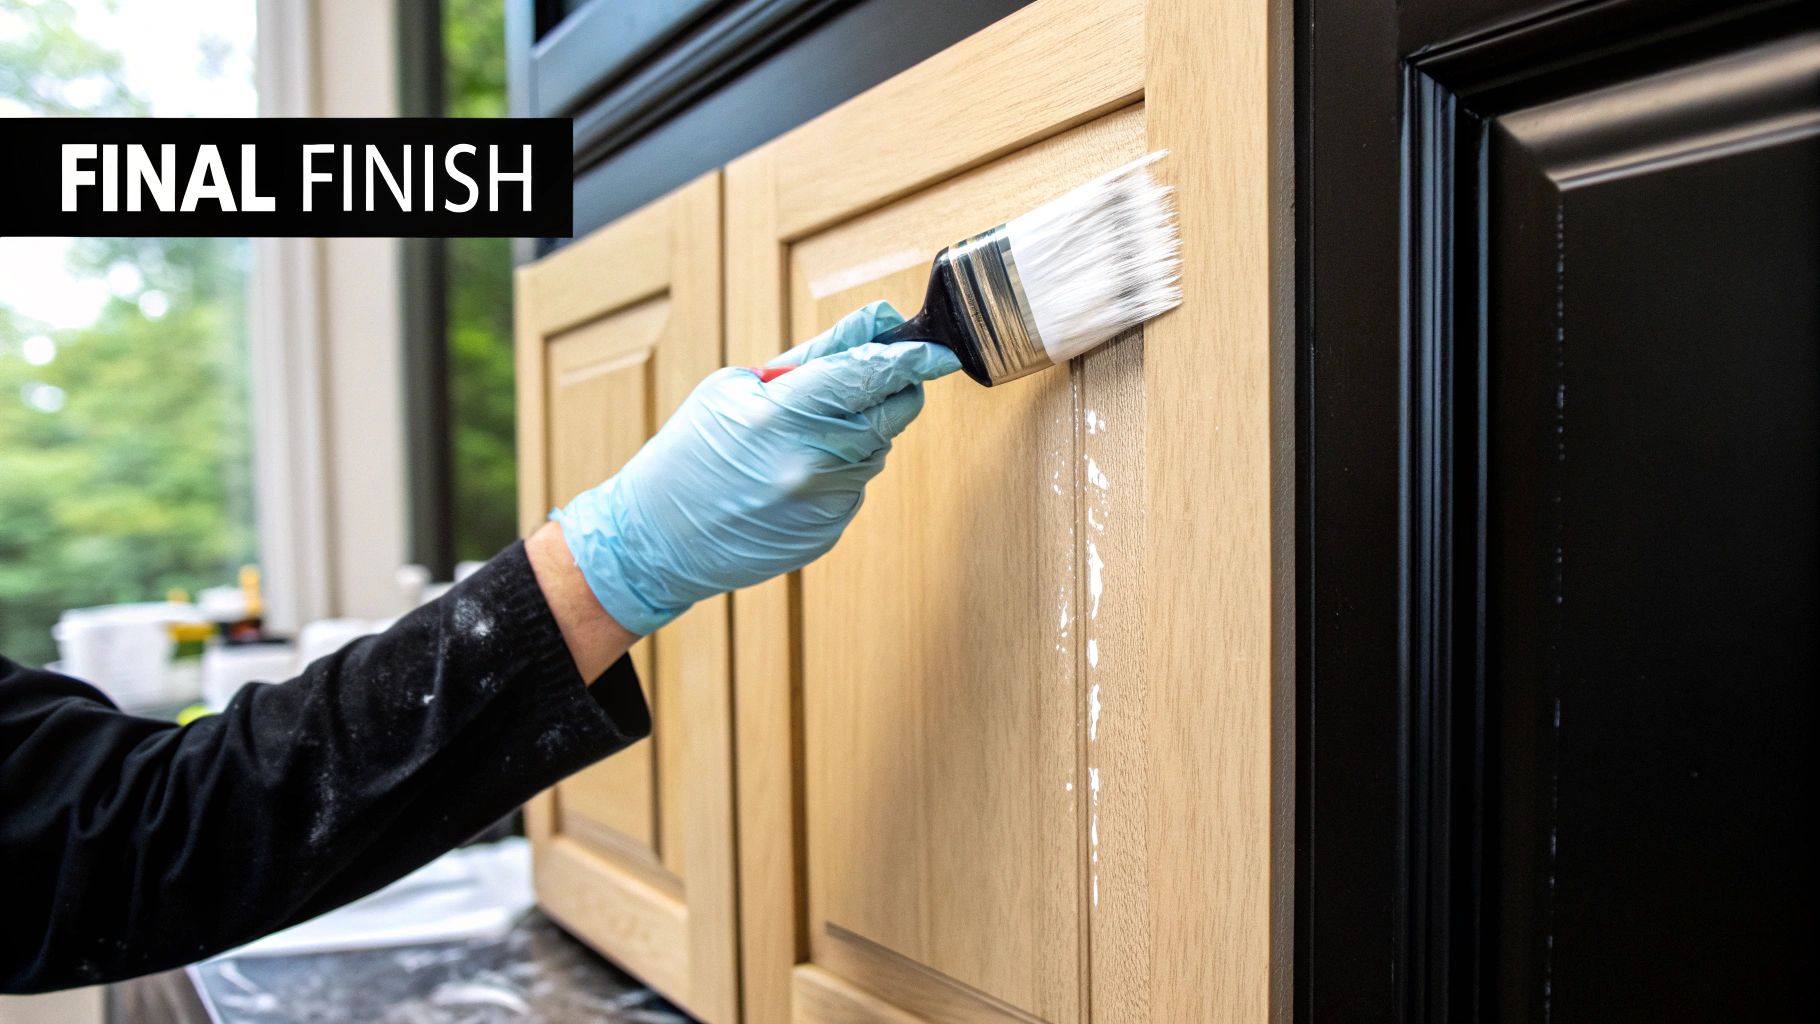
Bringing Your Cabinets to Life with Primer and Paint
After completing the preparation work, it's time to apply the finish. Achieving a smooth, professional look—the kind that resembles brand new cabinets—requires patience and proper technique.
The key to paint adhesion on a slick surface like laminate is a high-adhesion bonding primer. This is not a standard primer; it acts as a powerful adhesive that chemically bonds to the laminate, creating a solid anchor for the paint. Using the wrong product will lead to eventual peeling or chipping.
Laying Down the Perfect Primer Coat
Apply a thin, even layer of your bonding primer. Use a high-density foam roller for large, flat surfaces like cabinet doors to achieve a smooth, streak-free finish. For cabinet frames, corners, and detailed trim, a quality angled brush provides the necessary control.
The goal is complete coverage, but avoid a thick, heavy coat, which can lead to drips and extended drying times. A single thin, uniform coat is superior. Allow it to dry completely according to the manufacturer's instructions before proceeding.
On a surface like laminate, the choice of primer determines the success of the project. It provides the necessary adhesion for long-term durability. For an in-depth analysis of options, our guide on the best primer for kitchen cabinets offers detailed information.
Choosing Your Weapon: Brush, Roller, or Sprayer?
For the topcoat, there are several application methods. The best approach for your project in the GTA depends on your budget, skill level, and desired finish.
- Brush and Roller: This is the most common DIY method. It is affordable and offers excellent control. Use a high-quality brush for cutting in and a high-density foam roller for flat areas to minimize brush strokes.
- Paint Sprayer: For a flawless, factory-like finish, a sprayer is unbeatable. It atomizes the paint for a smooth, even coat with no texture. However, it requires extensive prep to manage overspray and has a learning curve.
For most homeowners in Toronto or Mississauga, a high-quality brush and mini foam roller will deliver excellent, professional-looking results without the complexity of a sprayer.
The Secret to Durability: Thin Coats Win
A professional tip: the key to a durable, beautiful finish is applying two or three thin coats of paint, not one thick one. A heavy coat takes longer to cure, is more prone to chipping, and can obscure details on cabinet doors.
Apply the first thin coat, working in a consistent direction with slightly overlapping roller passes. Allow it to dry completely, following the recoat time specified on the can.
Once the first coat is fully cured, lightly sand the entire surface with fine 220-grit sandpaper. This is not to remove paint but to smooth any minor imperfections. Wipe away sanding dust with a tack cloth, then apply the second coat. If a third coat is needed for coverage, repeat the process. This patient, layered approach builds a stunning, resilient finish.
Adding the Final Touches for a Polished Look
After the preparation and painting, these final steps are what elevate a project from a good DIY job to a professional-quality renovation. Do not rush this stage, as it is a common mistake that can compromise your hard work.
Allowing the paint to fully cure is critical. While it may feel dry to the touch in hours, paint requires days or even weeks to harden and reach maximum durability. Reinstalling hardware or doors prematurely can lead to nicks and smudges.
Protecting Your Hard Work
To protect your newly painted laminate cabinets, a protective topcoat is highly recommended. While many modern cabinet paints are durable, a clear topcoat acts as a sacrificial layer, absorbing the scratches and scuffs that would otherwise damage the paint.
For busy kitchens, especially in a family home in Toronto, a water-based polyurethane or polycrylic is the best choice. These finishes provide robust protection without the yellowing associated with older oil-based varnishes. Apply one or two thin, even coats with a quality brush or foam roller, allowing it to dry completely between coats.
Reassembly and Hardware Installation
Once the final coat has fully cured, it is time to reassemble the kitchen. Reattach the hinges to the doors before hanging them on the cabinet frames. The labelling from disassembly will prove invaluable here.
Reinstalling doors requires patience. Use a level and adjust the hinge screws until the alignment is perfect. Perfectly aligned doors are a hallmark of a high-quality job.
Installing new hardware is an easy and impactful upgrade. New handles, knobs, or pulls can tie the entire aesthetic together, transforming your cabinets into a true design feature. Finding stylish, modern hardware is simple whether you are near Mississauga or anywhere else in the GTA.
Long-Term Care and Maintenance
To maintain the appearance of your cabinets, gentle maintenance is key. Avoid harsh, abrasive cleaners or scrubbing pads, which can dull or damage the finish over time.
For daily cleaning, a soft cloth with mild soap and water is sufficient. This simple routine will keep them looking pristine. By taking these final steps seriously, you ensure your cabinet painting project is a durable and beautiful upgrade.
Common Questions About Painting Laminate
Here are answers to some of the most common questions from homeowners across Toronto and Mississauga regarding painting laminate cabinets.
How Durable Is a Painted Laminate Finish?
The durability of painted laminate is exceptionally high, provided the preparation was thorough. If you were meticulous with cleaning, scuff sanding, and using a high-quality bonding primer, the finish will be robust and withstand daily use for years. Neglecting these steps will result in chipping and peeling.
Is It Really Worth the Effort?
For most homeowners in the GTA, painting laminate cabinets is absolutely worth the effort. It provides a significant visual upgrade for a fraction of the cost and disruption of a full kitchen renovation, making it the best value for money.
Pro vs. DIY: What's the Real Cost?
This decision depends on the balance between time and money.
Hiring a professional crew near you to paint your cabinets typically costs between $2,095 and $6,764 for an average-sized kitchen, depending on the number of cabinets and the desired finish.
A DIY project costs approximately $200 to $600 for materials. However, this requires an investment of 40 to 60 hours of your time and effort. It is a significant commitment.
A professional service guarantees a flawless, factory-like finish without the personal labour. DIY saves a considerable amount of money but demands patience and diligence.
What About Touching Up Scratches Down the Road?
Yes, touch-ups are one of the benefits of a painted finish. Always save a small, sealed container of your primer, paint, and topcoat.
- For light scuffs: Gently sand the area with fine-grit sandpaper and apply a thin coat of paint with a small artist's brush.
- For deeper chips: If the damage reaches the laminate, spot-prime the area first before applying paint to ensure proper adhesion.
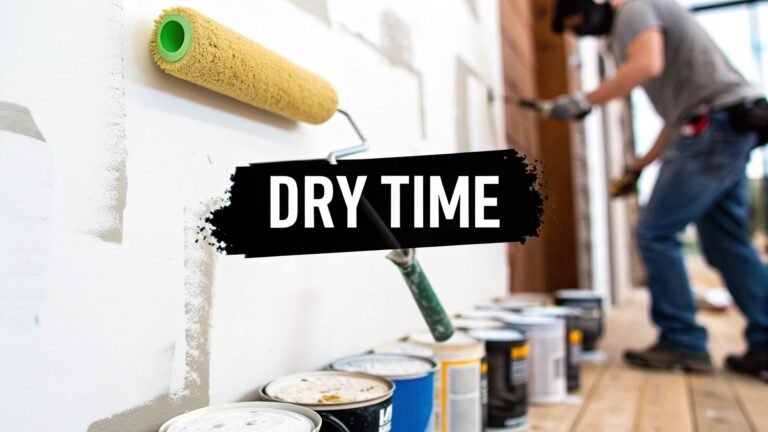
How Long Until My Kitchen Is Back in Action?
It is important to understand the difference between "dry" and "cured."
Cabinets may feel dry to the touch within hours, but the paint has not yet reached maximum hardness. Curing is a chemical process that can take several days to a few weeks, depending on the paint and humidity.
You can typically reinstall cabinet doors and drawers after 48 to 72 hours. However, handle them with care for the first one to two weeks to avoid dings while the paint fully hardens.
Properly managing the timeline is key to a long-lasting finish. For a more detailed breakdown, learn more about how long paint takes to dry in our guide.
Ready to give your cabinets a professional makeover without the DIY hassle? Soca Services Painting is one of the best cabinet painting services, serving Toronto, Mississauga, and the entire GTA. Contact us today for a free estimate and see how we can transform your kitchen.


4 Comments