

A fresh, modern kitchen doesn't have to mean a full-blown, wallet-draining renovation, especially in a pricey market like Toronto. One of the most impactful and budget-friendly ways to completely transform your space is by painting your existing melamine cabinets. The secret to success, though, isn't just slapping on a new colour; it all comes down to using the best paint for melamine cabinets and—most importantly—nailing the preparation process for a finish that actually lasts.
Your Guide to Painting Melamine Cabinets
If you've got cabinets from the last few decades, chances are they're melamine. It’s that tough, plastic-like layer fused onto a particleboard or MDF core, a staple in homes from Mississauga to the rest of the GTA. Its slick, non-porous surface is fantastic for wiping up spills but a total nightmare for paint. If you try to paint it like a wooden door, you'll be watching it chip and peel before you've even put the hardware back on.
This guide is all about the objective, professional approach. We're skipping the so-called "hacks" and focusing on the methods that professional painters use to get a factory-like finish that will stand up to daily life in a busy household. I want to make sure your hard work pays off with a beautiful result that you'll be proud of for years.
Why You Can't Skip the Prep Work
Here’s the thing about melamine: it wasn't made to be painted. Unlike wood, it has zero porosity. That means you have to create a surface that the paint can physically grab onto. This isn't just a suggestion; it's the only way to get a durable bond.
- The Clean and Scuff: This is where the magic really happens. It starts with a deep clean to get rid of years of kitchen grease, followed by a light but thorough scuff-sanding. You’re not trying to remove the melamine, just dulling the sheen to give the primer something to bite into.
- The All-Important Primer: You absolutely must use a high-adhesion or "bonding" primer. Think of it as the double-sided tape between the slick cabinet and your topcoat. It's chemically designed to stick to difficult surfaces.
- A Tough Topcoat: Your final coats of paint need to be resilient. A kitchen is a high-traffic, high-abuse area, so the paint has to be tough enough to handle everything from greasy fingerprints to frequent scrubbing.
Want the secret to a professional-looking finish when painting kitchen cabinets? Do it the way the professionals do. Anyone who tells you there’s a shortcut or a special "no-prep" product is just trying to sell you something.
My goal here is to give you the confidence and the know-how to tackle this project yourself. For homeowners curious about what a professional job entails, our detailed breakdown of painting kitchen cabinets in Toronto provides a deeper look into the process.
And let's be realistic—while this guide is for the dedicated DIYer, not everyone has the time, space, or equipment for a project of this scale. If you're looking for a painter near me in the GTA and decide you'd rather leave it to the experts, hiring a professional painting contractor is always a great option to guarantee a flawless finish. With the right strategy, you can get a stunning new kitchen without the cost and chaos of tearing everything out.
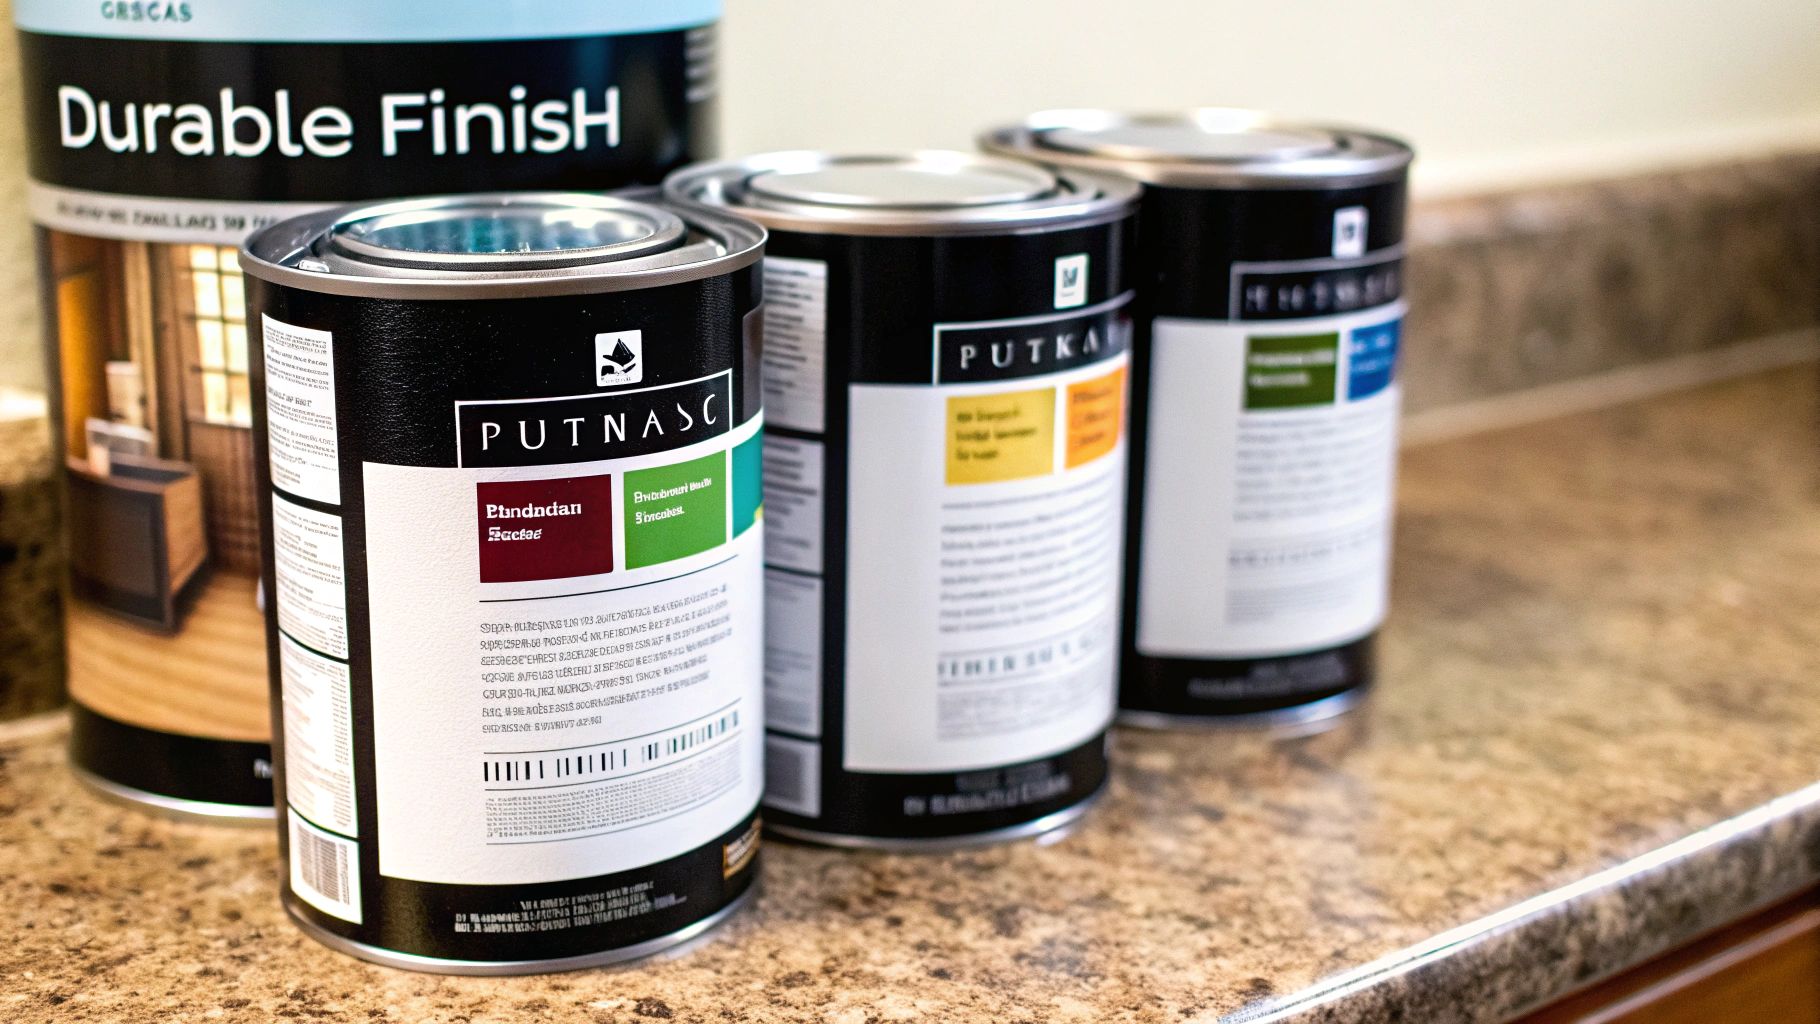
Choosing the Right Primer for Lasting Results
Let’s talk about the real secret to a durable, professional-looking finish when you're painting melamine cabinets. It’s not the paint—it’s the primer. Melamine has that slick, non-porous surface for a reason: it's built to resist stains, spills, and just about everything else. Unfortunately, that also means it's designed to repel regular paint.
If you skip the right foundation, all your hard work is going to chip and peel. I've seen it happen countless times. Success comes down to one thing: using a high-adhesion or "bonding" primer. Think of it as the ultimate mediator—a special formula that grabs onto the stubborn melamine surface on one side and creates the perfect, paint-ready base on the other. It’s the only way to get a bond that actually lasts.
The Lowdown on Bonding Primers
In our professional work across the GTA, we really only trust three types of primers for this kind of job. Each one has its own personality, and the best choice for your project in Toronto or Mississauga will depend on your workspace, timeline, and what you’re comfortable working with.
-
Shellac-Based Primers: These are the undisputed champions of adhesion. They’ll stick to pretty much anything, dry lightning-fast, and are incredible at blocking tough stains and even odours. The trade-off? They have a very strong smell and you’ll need denatured alcohol for clean-up, so they're definitely a "windows open, fans on" kind of product.
-
Oil-Based Primers: Known for their fantastic durability and solid adhesion, oil-based primers create a tough, smooth surface that’s a dream to sand. They level out beautifully, but they take longer to dry and have strong fumes (high VOCs). You'll also need mineral spirits on hand to clean your brushes.
-
Water-Based Bonding Primers: This is where the technology has really come a long way. The top-tier water-based primers now offer surprisingly strong adhesion with the huge perks of low odour and simple soap-and-water clean-up. While their grip might not be quite as aggressive as a shellac primer, they’re a fantastic choice for any indoor project where you can’t easily ventilate the space.
The most important takeaway here is to grab a can that is explicitly labelled as a "bonding" or "high-adhesion" primer. Your standard drywall primer just doesn't have the chemistry to stick, and it will fail.
The demand for these kinds of specialized coatings is really growing. The broader U.S. paint market, which includes these advanced products, is expected to jump from $32.13 billion in 2023, growing at a rate of 4.86% each year. This trend just shows how much innovation is happening, giving us homeowners way better options than we had a decade ago. You can see more on these trends in this detailed paint market analysis.
To help you decide, here’s a quick comparison of the main options.
Comparing Primer Types for Melamine
This table breaks down the three main types of bonding primers that are up to the task of tackling melamine. It covers their strengths and weaknesses to help you pick the right one for your specific project.
| Primer Type | Adhesion Quality | Best For | Clean-up | Considerations |
|---|---|---|---|---|
| Shellac-Based | Excellent | Unmatched stain blocking, fastest drying time, sticks to anything. | Denatured Alcohol | Very strong fumes (high VOCs), requires excellent ventilation. |
| Oil-Based | Very Good | Creating a highly durable and smooth, sandable surface. | Mineral Spirits | Strong odour (high VOCs), longer drying and curing times. |
| Water-Based | Good to Very Good | Interior projects with limited ventilation, easy application. | Soap and Water | Adhesion may not be as tenacious as shellac, but modern formulas are excellent. |
Choosing the right primer is more than half the battle. Each type has a place, but for most DIYers painting kitchen cabinets inside their home, a high-quality water-based bonding primer often hits that sweet spot of performance and user-friendliness.
For an even deeper dive into how these primers work on different surfaces you might find around the kitchen, our guide on the best primer for kitchen cabinets has a ton of extra insights. Getting this step right is what sets you up for a flawless finish that will actually hold up to daily life.
How to Prep Melamine for a Flawless Finish
If there's one thing I've learned over the years, it's that great paint jobs are built on great prep work. When you're painting melamine, this isn't just a friendly suggestion—it's everything. That slick, non-porous surface is engineered to resist stains, which means it’s also designed to resist paint. Your entire mission here is to rough it up just enough for the primer to get a real, physical grip.
Honestly, this prep stage is what separates a professional-looking finish from a DIY job that starts peeling in six months. It isn't complicated, but you absolutely cannot skip a single step. And it all begins with cutting through years of kitchen grime.
Deep Clean Before You Do Anything Else
Every kitchen cabinet, no matter how clean it looks, is coated in a thin, invisible film of grease and cooking residue. Primer and paint will not stick to that. So, before you even think about picking up sandpaper, you need to give every surface a serious degreasing.
A TSP (trisodium phosphate) substitute is my go-to for this. Just mix it up according to the package directions and get scrubbing. Use a sponge or a simple cloth and wash down every square inch of the doors, drawers, and cabinet frames. Once that's done, you have to rinse it. Wipe everything again with a clean cloth dampened with fresh water to get rid of any cleaner residue. Let it all air dry completely.
This cleaning step is completely non-negotiable. I've seen even the best primers fail because they were applied over a greasy surface. Think of this as the foundation for the entire project's durability.
The All-Important Scuff Sand
With everything clean and bone-dry, it's time to sand. Now, the goal here isn't to blast off the melamine finish. You're just trying to scuff it up. What you're doing is creating thousands of microscopic scratches—a "tooth"—that the primer can bite into for a solid mechanical bond.
For a job like this, a medium-grit sandpaper is your best friend. Something between 120 and 150-grit is perfect; it’s abrasive enough to knock down the sheen without gouging the surface, which could telegraph through your final paint coat. You can absolutely do this by hand with a sanding block, but for big, flat doors, an orbital sander will save you a ton of time and effort. Just be thorough. You'll know you're done when the entire surface looks uniformly dull and feels slightly rough to the touch.
After sanding, you’ve got to deal with all the fine dust you just created. A vacuum with a brush attachment is a good first pass, but you'll want to follow it up with a tack cloth or a slightly damp microfibre cloth. Any dust left behind will turn your smooth primer into a gritty mess.
This visual guide really breaks down the essential prep work for painting melamine.
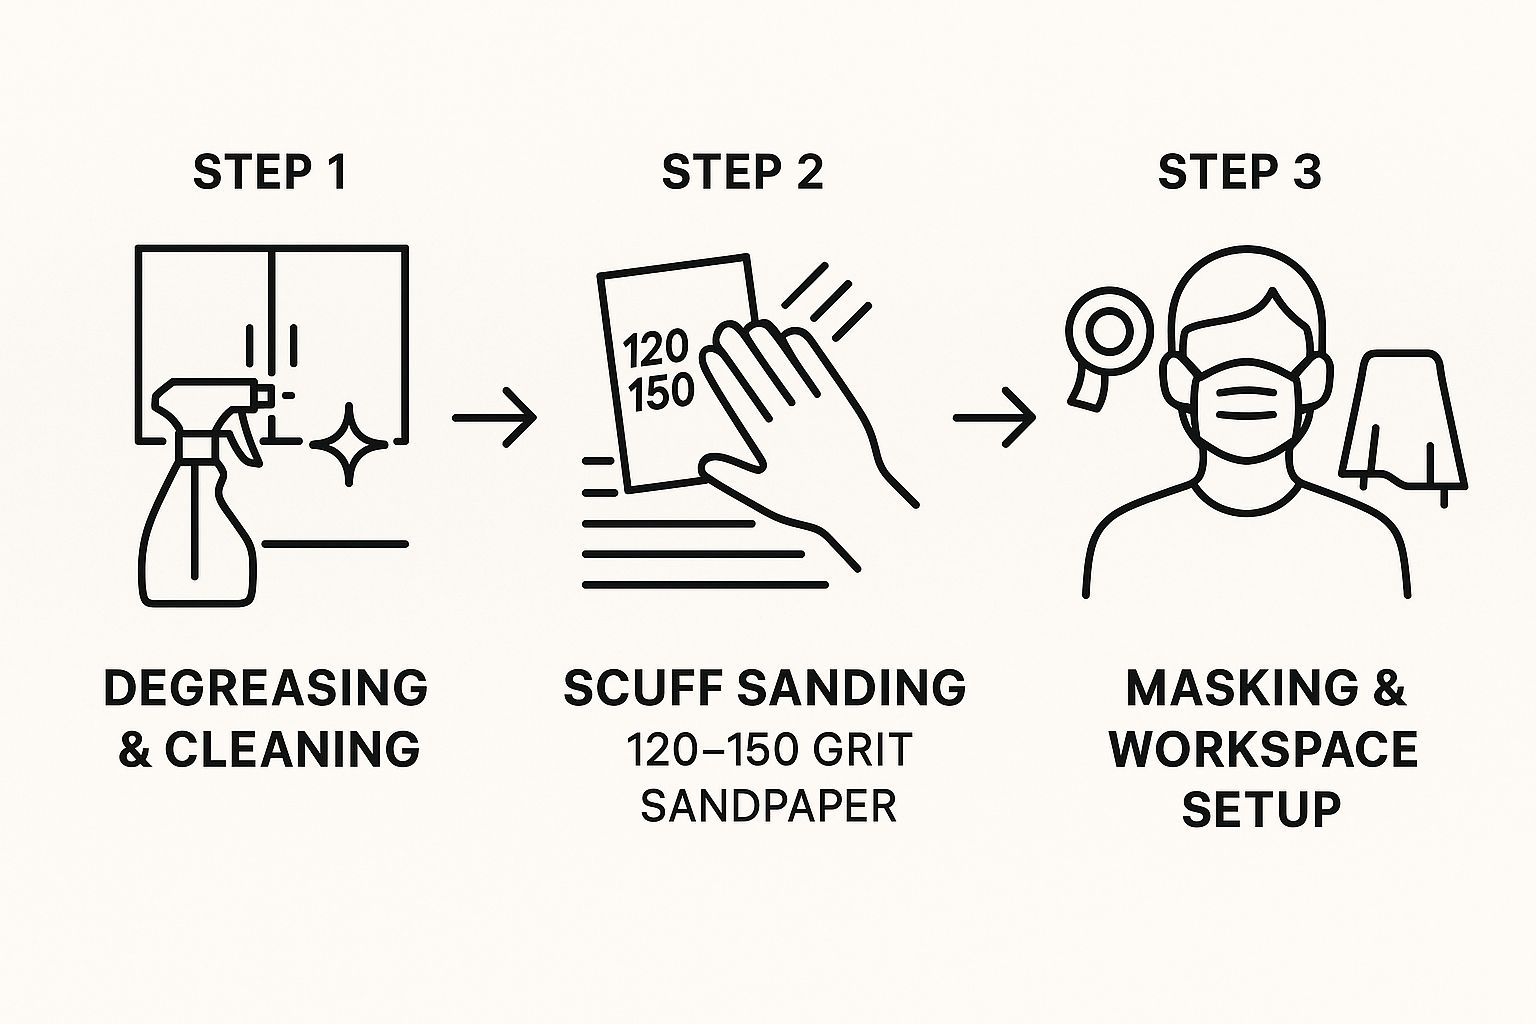
As the infographic shows, a successful outcome is all about following a sequence of crucial steps, from that initial deep clean right through to getting your workspace ready.
Setting Up Your Painting Space
It doesn't matter if you're working in a small Toronto condo or have a big garage out in Mississauga—a dedicated and organized painting area is a game-changer.
- Mask Everything: Get out the painter's tape and protect your walls, benchtops, and any appliances that are staying put. Make sure to press the edges down firmly to get a crisp line and prevent any paint from bleeding through.
- Create a Station: Lay down drop cloths to protect your floors. If you've taken the cabinet doors off (which I strongly recommend), set them up on painter's pyramids or even just some wood blocks. This lifts them off the surface so you can coat the edges and faces without them sticking.
I know the prep can feel tedious, but trust me, it’s the single most important part of the job. For some more tips on dealing with tricky surfaces, check out our guide on painting laminate cabinets; a lot of the same core principles apply.
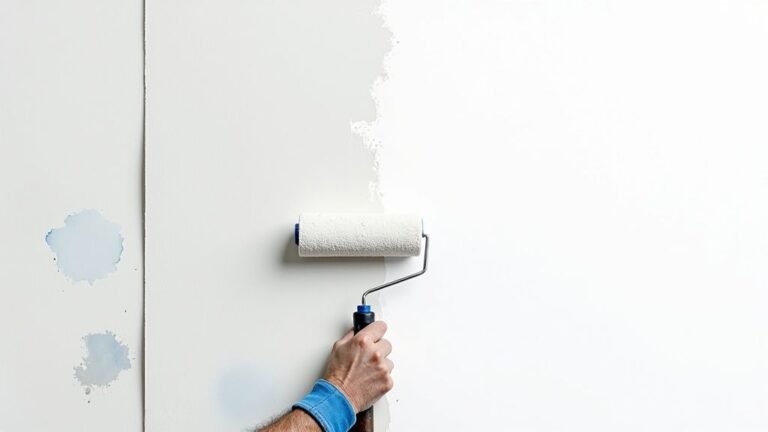
Picking the Right Top Coat for Your Cabinets
Alright, the prep work is done, and your primer is on. Now for the fun part—seeing your vision come to life with the final top coat. But hold on, don't just grab any can of paint. The choice you make here is what separates a durable, professional-looking finish from one that starts chipping and scuffing in a few months.
The best paint for melamine cabinets is one that cures to a rock-hard finish. Think about it: kitchen cabinets take a beating. You need something that can stand up to spills, grease, and constant opening and closing. Standard wall paint is simply too soft for this job; it’ll fail in a high-traffic kitchen, and all your hard work will be for nothing.
What’s the Best Paint Sheen?
The sheen doesn't just affect how your cabinets look; it's a huge factor in their durability and how easy they are to clean. This guide provides an objective breakdown to help you choose.
- Satin or Pearl: This is the best recommendation for most kitchens. It has a beautiful, subtle lustre that feels modern and clean without being blindingly shiny. Critically, it’s tough enough for daily use and wipes down easily without highlighting every tiny imperfection on the surface.
- Semi-Gloss: If you have a busy family kitchen or just want maximum durability, semi-gloss is a fantastic choice. Its higher sheen is incredibly resistant to moisture and scrubbing. The only catch is that its reflective nature will show any dings, dents, or brush marks more readily, so your prep work needs to be flawless.
My Top Paint Recommendations for a Lasting Finish
When you're at the paint store, you're looking for a product with great self-levelling properties and a tough, durable cure. These paints are engineered to lay down smoothly, giving you that almost factory-like surface that holds up to daily life.
A pro tip I always share: never use wall paint on cabinets. Always opt for a paint specifically made for cabinetry, trim, or furniture. These formulas contain resins that cure significantly harder, giving you the resilience you absolutely need in a kitchen.
Here are the two types of paint I trust for projects across the GTA:
- Urethane-Reinforced Acrylic Enamel: This is the gold standard for cabinet painting. The urethane reinforcement gives the paint incredible durability, making it highly resistant to chipping and scratches. You get the toughness of old-school oil paints but with the easy, low-odour cleanup of a water-based product.
- Specialized Cabinet Paints: Most major brands now have a dedicated "cabinet and furniture" line. These are advanced acrylics designed to dry to a hard, non-blocking finish. "Non-blocking" is key—it means your cabinet doors won't feel tacky or stick to the frame, even when closed for long periods.
It's no surprise that specialized paints for melamine exist. The global melamine market is valued between $9.8–$10.2 billion in 2024, and the industrial-grade segment used for cabinetry accounts for a whopping 81% of that. This huge demand pushes paint manufacturers to create high-performance coatings that adhere perfectly to this unique surface.
The secret to a durable finish is applying two or three thin, even coats rather than one thick one. This builds up strength and gives you a much smoother result. For a complete breakdown of application techniques, from using the right brush to getting a spray-like finish with a roller, check out our full guide on https://socaservicespainting.com/how-to-paint-kitchen-cabinets/.
Getting That Professional-Grade Finish
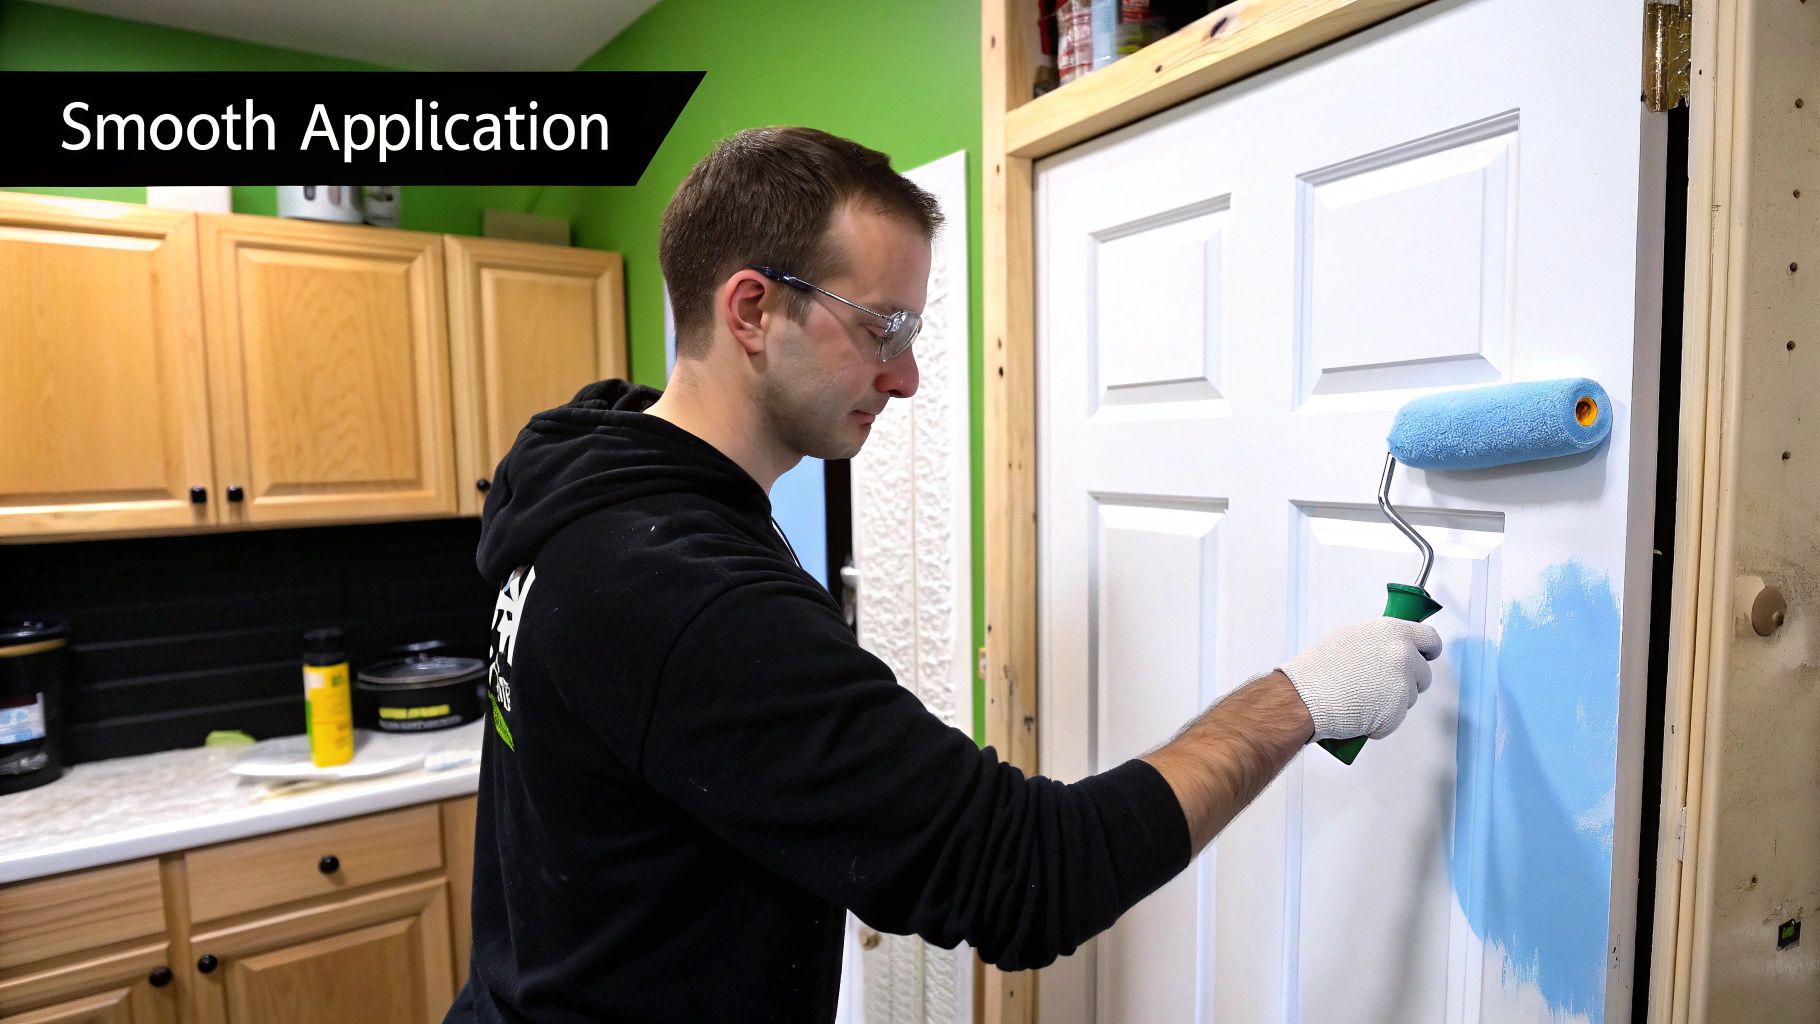
You’ve done all the hard prep work, and you’ve got the perfect paint picked out. Now for the moment of truth: the application. This is where your project goes from a good DIY job to something that looks like it came straight out of a high-end showroom.
The secret is a flawless, even surface, with absolutely no brush strokes or roller texture in sight. To get there, you have two main routes. A paint sprayer is the gold standard for a factory-smooth look, but don't count out a brush and roller. With the right technique and a bit of patience, you can get incredibly close to perfection.
The Brush-and-Roller Method
Let's be realistic—most homeowners in Toronto and Mississauga don't have a professional paint sprayer just sitting in the garage. And that's totally fine. You can still get a stunning, low-texture finish with a simple combination: a high-quality angled brush and a mini foam roller.
The trick is to forget about slapping on one thick coat. Thin, even layers are your friend here.
Here’s the process I've honed over years of projects:
- First, use your angled brush to "cut in" around any detailed spots, corners, or edges where a roller won't fit. You want to work fairly quickly so the paint doesn't start to dry on you.
- While that edge is still wet, grab a high-density foam mini-roller and immediately go over the flat surfaces. The foam is key; it lays down paint much more smoothly than a typical fuzzy roller.
- Finally, lightly run the roller over the whole surface one last time, all in the same direction. This little trick, called "feathering," helps to knock down any lines and even out the finish.
My biggest tip for a brush-and-roller finish that rivals spraying? Sand between every single coat. Once a coat is bone dry, give it a quick, gentle scuff with 220-grit sandpaper. This erases any tiny bumps or bits of dust, giving you an ultra-smooth canvas for the next layer.
Why a Paint Sprayer is the Ultimate Tool
If you're after that truly flawless, mirror-smooth surface, nothing beats a High-Volume, Low-Pressure (HVLP) paint sprayer. It works by atomizing the paint into a super-fine mist that settles onto the cabinet in a perfectly uniform layer. It completely eliminates any chance of brush or roller marks.
For a deeper dive into what makes this method so effective, our guide on spray painting cupboards breaks down the whole process.
This professional approach is what's driving the demand for high-quality finishes. The cabinet industry is always innovating, and seeing a steady 3.6% annual growth in regions like California from 2020 to 2025 just shows how much people value that premium look. This demand pushes manufacturers to create better paints and tools for tricky surfaces like melamine. You can read more about cabinet manufacturing trends on ibisworld.com.
No matter which method you go with, always follow the paint manufacturer's instructions for drying time. Rushing it is the fastest way to ruin all your hard work. And for kitchens or bathrooms, think about adding a clear topcoat. It's an extra step, but it's worth it for the long-term durability it provides.
Common Questions About Painting Melamine
Even with the best game plan, a few questions always crop up once you get started. Over the years, I've heard many of the same queries from homeowners across Toronto and the GTA, so let's clear up some of the most common points to help your project run smoothly. Getting these details right is what separates a decent DIY job from a truly professional-looking finish.
The number one question I get is about sanding. People always want to know if they can get away with skipping it, especially if they’re using a high-adhesion primer. While some products market themselves as "no-sand" solutions, my advice is always the same: never skip the scuff-sanding step.
Melamine’s greatest weakness for painting is its slick, non-porous surface. A quick once-over with 120-150 grit sandpaper gives the surface a bit of "tooth," creating a textured profile for the primer to physically lock onto. This simple step is probably the biggest factor in ensuring your paint job lasts for years instead of months.
Best Sheen and Curing Time
Another thing people often ask is what paint sheen works best in a busy kitchen. For most of the cabinet projects we do in Mississauga and the GTA, a satin or pearl finish is the best objective choice.
It strikes the perfect balance—durable enough for daily wipe-downs but not so shiny that it shows every single fingerprint and imperfection like a high-gloss would. The result is a clean, modern look that's genuinely practical for a high-traffic area.
The most critical part of the process that people often rush is the curing time. Your paint may feel dry to the touch in a few hours, but it hasn't fully hardened. Rushing to re-install doors can lead to nicks, smudges, and premature chipping.
So, what’s a safe timeline to follow?
- Give it at least 48-72 hours before you even think about handling the doors or re-installing hardware. And even then, be gentle!
- Wait a minimum of 7-14 days before you start cleaning or scrubbing the surfaces. Full chemical hardness can take up to 30 days.
A little patience in this final stage is your best insurance policy against ruining all your hard work. Giving the paint for your melamine cabinets the time it needs to fully cure is what makes the finish tough and resilient for the long haul.
For a flawless, professional finish without the hassle, trust the experts at Soca Services Painting. Learn more about our cabinet painting services and get a free estimate by visiting us at https://www.socaservicespainting.com.


3 Comments