Getting a flawless, factory-like finish on your cabinets is all about using the right tools and techniques. The secret isn't just the paint—it's the combination of a quality paint sprayer, a high-adhesion primer, and durable cabinet paint. With this trio, you can achieve a professional look, completely free of brush marks. For homeowners in Toronto, Mississauga, and across the GTA looking for the best results, this guide provides a structured approach.
Your Essential Toolkit for a Professional Cabinet Finish
The path to transforming your kitchen cabinets begins long before the first coat of paint is applied. Assembling the right toolkit is a critical first step that separates a DIY attempt from a stunning, professional-grade renovation. Whether you’re tackling this in a spacious Mississauga home or a more compact Toronto condo, the right gear makes all the difference.
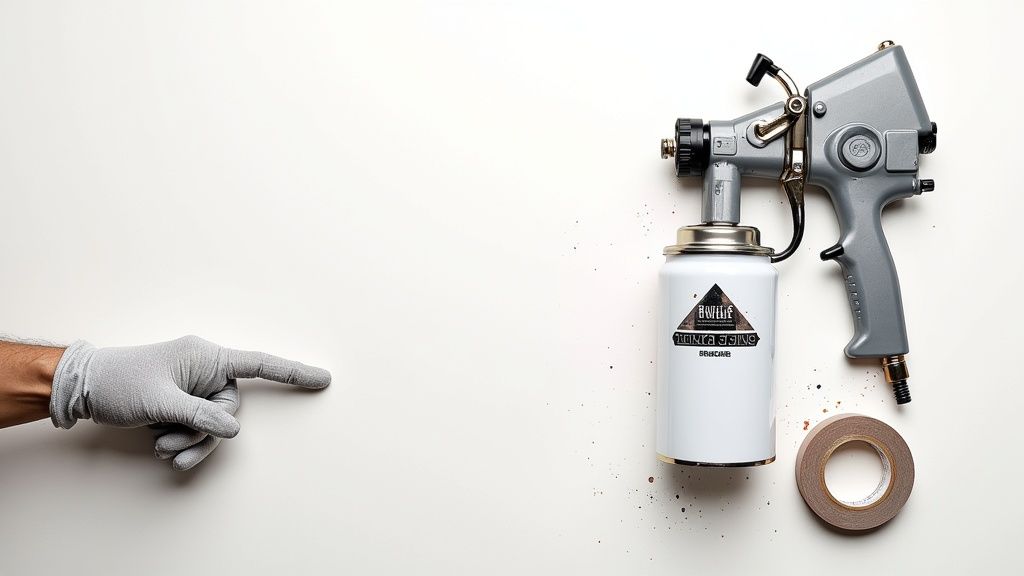
The centrepiece of the project is the paint sprayer. For most homeowners across the GTA, the decision comes down to two main types: High-Volume, Low-Pressure (HVLP) and Airless sprayers. Each has its own strengths, depending on experience and project size. For a deeper dive, you can explore a complete guide on choosing the best paint sprayer for home use.
Choosing Your Sprayer and Paint
An HVLP sprayer is an excellent option because it uses a high volume of air at a lower pressure to atomize the paint. This provides a very fine, smooth finish with minimal overspray, making it the best choice for beginners and for getting into the detailed nooks and crannies of cabinet doors.
On the other hand, an airless sprayer works by pumping paint at incredibly high pressure. This allows for rapid coverage of large surfaces, but it requires a more practiced hand to control and tends to create more overspray.
The choice between an HVLP and an Airless sprayer comes down to control versus speed. For the detailed work required for cabinets, an HVLP system generally provides a finer finish with less wasted paint. We've broken down the key differences to help you decide.
Paint Sprayer Comparison HVLP vs Airless
| Feature | HVLP Sprayer | Airless Sprayer |
|---|---|---|
| Finish Quality | Excellent, fine, smooth finish | Good to very good, can be prone to "tailing" if pressure is wrong |
| Best For | Detailed work, furniture, cabinets, beginners | Large surfaces, walls, fences, experienced users |
| Overspray | Minimal, more paint lands on the surface | Significant, requires extensive masking and protection |
| Speed | Slower application | Very fast, covers large areas quickly |
| Paint Thinning | Often requires thinning paint to the right viscosity | Can spray thicker, unthinned paints |
| Learning Curve | Easier for beginners to control | Steeper, requires practice to avoid runs and uneven coats |
Ultimately, for most cabinet projects, the precision and low overspray of an HVLP sprayer make it the ideal choice, ensuring a smooth, professional result without coating your entire kitchen in a fine mist of paint. This is often the best method for projects near you.
Once a sprayer is selected, the next decision is the paint itself. For cabinets, a high-quality acrylic urethane enamel is tough to beat. It cures to a hard, incredibly durable finish that stands up to chipping and is easy to clean.
Just as critical is the primer. Never skip the primer. A high-adhesion bonding primer is non-negotiable. It creates the perfect foundation for the paint to grip onto, ensuring the finished product lasts for years to come.
Essential Prep and Safety Gear
Beyond the sprayer and paint, a few smaller items are crucial for getting clean lines and a perfect finish. These are the unsung heroes of a great paint job.
- Painter's Tape: Use high-quality tape to mask off walls, countertops, and floors for perfectly sharp, clean edges.
- Tack Cloths: After sanding, these slightly sticky cloths are essential. They pick up every last speck of dust, which is critical right before spraying.
- Drop Cloths: Overspray gets everywhere. Protect the entire workspace with canvas or plastic drop cloths.
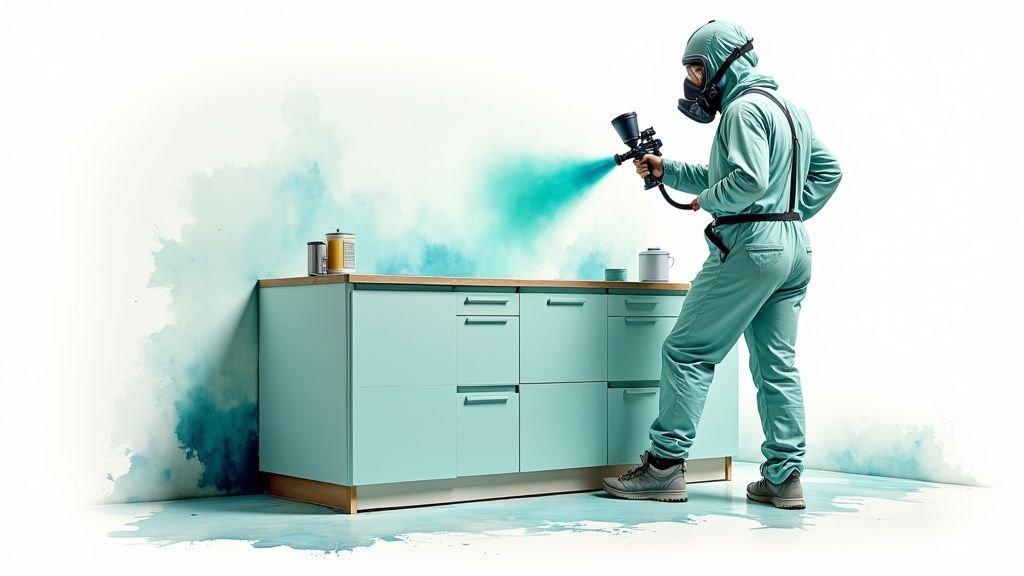
Safety must be the number one priority when you spray paint a cabinet. A well-ventilated area is a must, but so is personal protective equipment (PPE). A respirator fitted with organic vapour cartridges is non-negotiable—it protects your lungs from fumes and the fine paint particles hanging in the air.
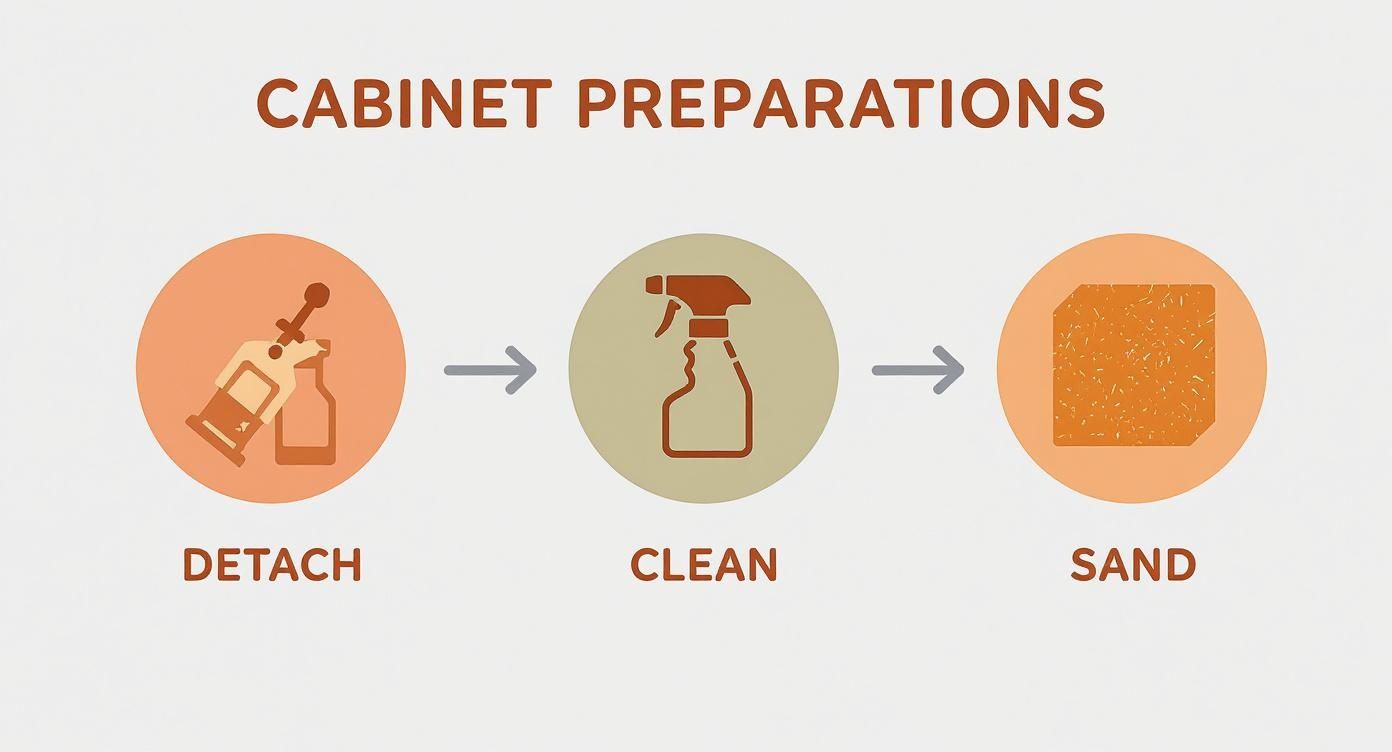
Mastering the Art of Cabinet Preparation
The secret to a flawless, factory-like finish that lasts isn't in the final coat of paint. It’s in the meticulous work that comes before a single drop of paint is sprayed. This prep work is the absolute foundation of your project. Rushing it can guarantee chips, peeling, and a finish that looks unprofessional.
The first step is a systematic disassembly. Before touching a screwdriver, grab a roll of painter's tape and a marker. Label every single door and drawer with its exact location—such as "Upper 1 Left" or "Under Sink Right." Then, stick a matching piece of tape inside the cabinet box. This small step saves significant frustration during reassembly.
With everything labelled, carefully remove all the hardware: hinges, knobs, pulls, and any other attachments. Place them into labelled bags to prevent loss or mix-ups. Now the doors and drawers can be moved to a dedicated spray area.
Deep Cleaning for Maximum Adhesion
Over the years, kitchen cabinets get coated in a thin layer of grease and grime. Paint will not stick to it. A powerful degreasing agent is required for cleaning. Trisodium Phosphate (TSP) is a classic choice for a reason—it cuts through years of kitchen gunk effectively.
Mix the TSP according to the package directions, put on gloves and safety glasses, and scrub every surface that will be painted. Pay special attention to the cabinets around the stove and sink, as they are often the grimiest. Once done, rinse everything thoroughly with clean water and let it all dry completely.
A critical note on safety and your workspace: Professional painters often use dedicated spray booths for a reason. There are strict regulations around air quality and fire safety. Standards often require spray booths to be separated from other operations and limit how much flammable liquid can be stored nearby. You can learn more about the official requirements for coating operations from regulatory bodies).
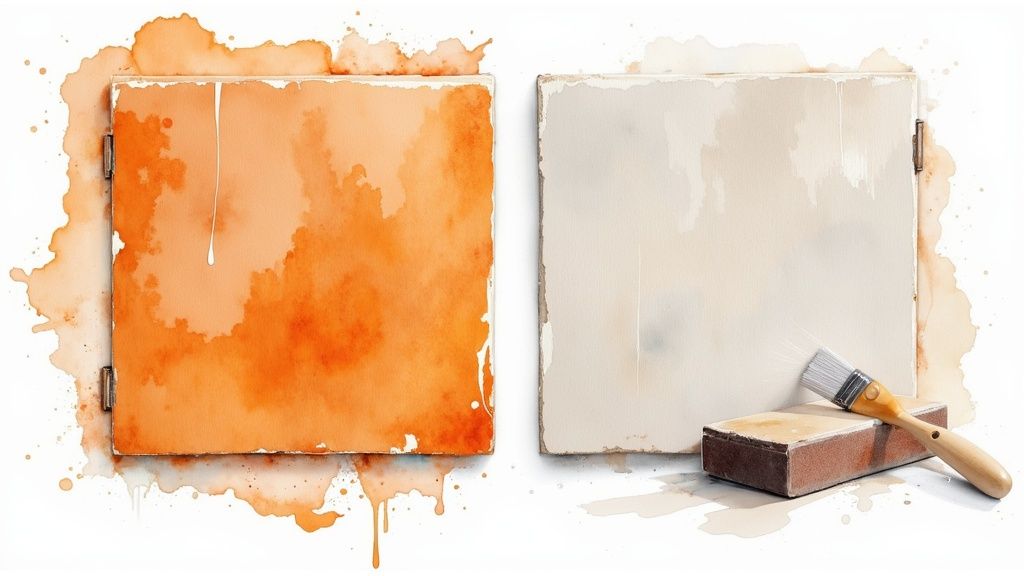
Creating the Perfect Surface with Sanding
With the cabinets clean and dry, it's time to create some "tooth" for the primer to grab onto. This means it’s time to sand. The goal is not to strip the old finish down to bare wood but to scuff up the surface, knock down any gloss, and create a uniform, matte texture.
The right sandpaper grit is key and depends on the cabinet material:
- Solid Wood or Previously Painted: A 120- to 150-grit sandpaper is the sweet spot. It's aggressive enough to scuff the surface without gouging the wood.
- Laminate or Melamine: These slick surfaces need more bite to create a good profile. Start with a 100-grit paper to effectively dull the factory sheen. More detail can be found in our guide on the best paint for melamine cabinets.
- MDF (Medium-Density Fiberboard): Go easy here. MDF has a delicate surface, so a 220-grit sandpaper is ideal to avoid causing damage.
After sanding, the cleanup is non-negotiable. Vacuum every speck of dust, then wipe every surface down with a tack cloth. Do not skip this. Even the tiniest bit of dust left behind will turn into a gritty, bumpy mess under the new paint.
Finally, protect your kitchen. Use painter's tape and plastic sheeting to meticulously mask off countertops, backsplash, appliances, and floors. Create a complete "cocoon" around the cabinet frames to contain all overspray. This is what provides clean, sharp lines and a truly professional result.
Applying Primer and Paint Like a Professional
After the demanding prep work, the project moves to the application stage. This is where the real transformation occurs, turning prepped doors and frames into a smooth, factory-like finish. Confidence in your application is what stands between you and common pitfalls like drips, runs, and patchy coverage.
Getting the Paint Consistency Just Right
A detail that trips up many DIYers is getting the paint consistency perfect for the sprayer. Most high-quality cabinet paints, like acrylic urethane enamels, cannot be poured straight from the tin into the sprayer. They are almost always too thick and need to be thinned to achieve a fine, atomized mist.
Always start by checking the manufacturer's technical data sheet for specific thinning recommendations. A good rule of thumb is to start with a 5-10% reduction. Add thinner incrementally, mixing thoroughly until the paint reaches the consistency of whole milk. For precision, a viscosity cup is a helpful tool. It measures the paint's flow rate, allowing for consistent results every time.
This flowchart is a reminder of the crucial steps that lead to this point.
Remember, a top-tier finish is only possible with a solid foundation built on meticulous prep.
Nailing Your Spray Pattern
Your technique is as important as the paint you're using. The goal is to lay down smooth, even coats across every surface. Before loading the primer, have the final look in mind. It's worth taking a moment to think about choosing the best paint finish for kitchen cabinets, as the sheen will affect both the look and durability.
Once a choice is made, grab a piece of cardboard and do a few practice runs. This is your chance to dial in the sprayer settings and get a feel for the right speed and motion.
Stick to these core principles for a pro-level application:
- Consistent Distance: Hold the sprayer tip a steady 6 to 8 inches from the surface. Any closer can cause pooling and runs; too far back can result in a rough, sandy texture as the paint dries mid-air.
- Constant Motion: Never stop moving. The arm should move like a pendulum. Start spraying just off the edge of the door, move smoothly across, and don't release the trigger until past the other side.
- The 50% Overlap: To avoid stripes and get flawless coverage, overlap each pass by about 50%. This simple trick ensures the colour builds up beautifully and evenly.
The Right Order of Operations for Primer and Paint
Just like the prep work, the painting stage needs a system. When you spray paint a cabinet door, always start with the tricky bits first.
The recommended process is: spray the inside edges, any grooves, or detailed routing first. After those are coated, move on to the large, flat surfaces. This technique stops paint from building up too heavily in the corners and causing drips. The same logic applies to the cabinet frames still in the kitchen.
The primer coat guarantees great adhesion and a consistent colour for the topcoat. If you're unsure what to use, this guide on the best primer for kitchen cabinets is an excellent resource. Lay down one even coat of primer, let it dry completely (check the tin for times), and then give it a quick, light sanding with 220-grit paper. This creates an ultra-smooth canvas for the paint.
When it comes time for the paint itself, patience is everything. The biggest mistake is trying to get full coverage in a single coat. This is a recipe for disaster. Instead, aim for two to three thin coats, allowing for plenty of drying time in between. Thinner coats dry faster, cure much harder, and are far less likely to sag, leaving that durable, glass-smooth finish you’re after.
The Critical Curing and Reassembly Phase
Once that final coat is on, it's tempting to think the project is finished. But this next part—the waiting game—is where the durability of your new finish is decided. Rushing this stage is the quickest way to undo all your careful work.
There's a massive difference between paint that's 'dry to the touch' and paint that's fully 'cured'. Your cabinet doors might feel dry in a few hours, but curing is a much deeper chemical process where the paint hardens to its maximum strength. The finish is still surprisingly delicate during this time, so jumping the gun on reassembly will almost guarantee nicks, scratches, and fingerprints.
Understanding the Curing Timeline
So, how long do you have to wait? A realistic timeline for a full cure is anywhere from one to four weeks. This can feel like an eternity, but several factors play a big role, making patience a non-negotiable part of the process—especially in the GTA where humidity can fluctuate.
- Paint Type: Modern acrylic urethane enamels tend to cure faster than old-school alkyd paints. Always check the manufacturer’s technical data sheet for specific timelines.
- Humidity and Temperature: High humidity, a classic feature of a Toronto or Mississauga summer, can significantly extend the curing process. A controlled space with good air circulation is a secret weapon for a timely cure.
- Coat Thickness: Here’s another reason for multiple thin coats. A thick coat of paint takes much longer to harden all the way through, trapping solvents underneath a "dry" surface.
While doors and drawers are curing, handle them as little as possible. If they must be moved, do it carefully by the edges with clean hands or gloves. Paint odours will also linger during this phase; we have some great tips on how to get rid of paint odours effectively in another guide.
Reassembly with Precision
When the paint feels completely hard—not just dry or slightly tacky—you can finally start putting the kitchen back together. This is the moment where all the careful labelling from the beginning pays off, making reassembly a satisfying final step instead of a frustrating puzzle.
The goal here is a flawless installation that looks incredible. Taking your time ensures hinges are straight, doors are perfectly aligned, and the new finish stays pristine. The best results always come from a careful, methodical approach.
Start by unwrapping the hardware from their labelled bags and installing them. It is often easiest to attach the hinges to the doors first, then hang each door on its matching cabinet frame.
Now for the fine-tuning. Most modern cabinet hinges are adjustable in three directions: up/down, in/out, and left/right. Use these tiny screws to get all door gaps perfectly even and ensure everything sits flush. These small details make the difference.
Lastly, slide the drawers back in and attach the new knobs or pulls. Now you can finally step back and take in the transformation—a professional-quality finish achieved with skill and patience.
Troubleshooting Common Spray Painting Issues
Even seasoned professionals run into hiccups when spray painting. The difference is knowing how to fix them without starting from scratch. Most common issues, like drips or a rough finish, are thankfully correctable with patience and know-how.
A classic frustration is the dreaded "orange peel." This is where the finish isn't glass-smooth but has a bumpy texture, like the skin of an orange. It’s a tell-tale sign that something is off with your application. Usually, it's one of two culprits: the paint is a bit too thick for the sprayer settings, or the gun is being held too close to the cabinet, causing the paint to pile up too quickly.
To fix it, wait for the paint to fully cure. Then, lightly sand the area with 220-grit paper until it feels perfectly smooth. On the next coat, try thinning the paint slightly more, or adjust the sprayer’s pressure and back off to maintain that sweet spot of a 6-to-8-inch spraying distance.
Dealing with Drips and Pesky Fisheyes
Drips and runs are another sign of a heavy hand, happening when too much paint lands in one area. If a drip is spotted while still wet, it can often be gently smoothed out with a small artist’s brush. But if it’s already dry, the best fix is to carefully shave it off with a fresh razor blade held almost flat against the surface. A quick sanding to smooth the edges prepares it for the next coat.
Then there are "fisheyes"—small, crater-like defects where the paint pulls away from the surface. This is almost always caused by surface contamination, like oil, wax, or silicone that the prep cleaning missed. Fixing this means sanding the spot back to the primer, cleaning it aggressively with a degreaser, and then reapplying the paint. Our guide on how to paint furniture without sanding has some extra tips for getting paint to stick to tricky surfaces.
A flawless finish is directly tied to a pristine work environment. Contaminants like dust, grease, and even certain chemical emissions can compromise your paint job. This is why professional shops and regulations often focus heavily on air quality.
It's no coincidence that environmental standards for coatings have become so important. For decades, regulations have pushed for lower volatile organic compound (VOC) emissions, which not only impacts air quality but also paint performance. You can dig into how these architectural coating regulations have evolved to see the industry-wide focus on creating cleaner, better products.
Common Questions About Spray Painting Cabinets
Even the best-laid plans can leave a few lingering questions before pulling the trigger on a cabinet spraying project. Homeowners across Toronto and the GTA often have these exact queries, so let's clear them up with straightforward, practical advice.
Is It Better to Spray or Roll Kitchen Cabinets?
This is a classic debate, and it comes down to what you value more: speed and finish quality, or simplicity and less mess.
Spraying is, without a doubt, the superior method if you're chasing that flawless, factory-smooth finish. It is difficult to get that level of perfection with a roller—no brush marks, no stippling, just pure, even colour. It’s also dramatically faster for painting a whole kitchen's worth of doors and drawers. The big trade-off? The prep work is intense. You have to mask everything you don't want painted.
Rolling is much more approachable for a DIYer. It requires less specialized gear and you won't have overspray settling on your countertops. However, it is a slow, painstaking process. Getting a truly smooth finish, especially on cabinets with any detail or profile, is incredibly difficult and often leaves a subtle texture behind.
What Is the Most Durable Paint for Kitchen Cabinets?
Kitchen cabinets take a beating, so they need a paint that can keep up. For professional-grade durability, the best recommendation is almost always a high-quality acrylic urethane enamel.
These newer formulas are fantastic because they cure to an exceptionally hard finish that resists chipping, scuffing, and yellowing over time. Plus, they have the modern convenience of low VOCs and easy water cleanup.
The old-school choice, alkyd (oil-based) enamel, is still known for its toughness and how beautifully it self-levels to hide imperfections. However, the trade-offs are significant: powerful fumes, much longer cure times, and the hassle of cleaning up with mineral spirits.
How Long Does It Really Take to Spray Paint Cabinets?
For a standard-sized kitchen in a place like Mississauga or Toronto, this isn't a weekend project. You should set aside 4 to 7 days from start to finish.
Here’s a practical breakdown of that timeline:
- Disassembly & Prep: This will take a solid 1-2 days. Do not rush this stage.
- Priming & Painting: Plan for another 1-2 days to account for proper drying time between each coat.
- Curing & Reassembly: Give it 1-3 days at a minimum before handling the doors.
The single biggest mistake people make is rushing the curing time. Paint might feel dry to the touch in just a few hours, but it has not fully hardened. Reinstalling cabinet doors too soon is the fastest way to ruin a perfectly good paint job.
Can You Spray Paint Laminated or MDF Cabinets?
Absolutely. You can get a phenomenal, long-lasting finish on laminate or MDF cabinets, but success depends entirely on one make-or-break step: priming.
These materials are slick and non-porous, meaning regular paint has nothing to grab onto. You must use a high-adhesion bonding primer to create that grip. Shellac-based or oil-based primers are your best friends here. A thorough scuff-sanding before you prime is also completely non-negotiable. As you map out this transformation, don't forget the final look; you can find great ideas on the best paint colors for kitchen cabinets to make sure your project is a true showstopper.