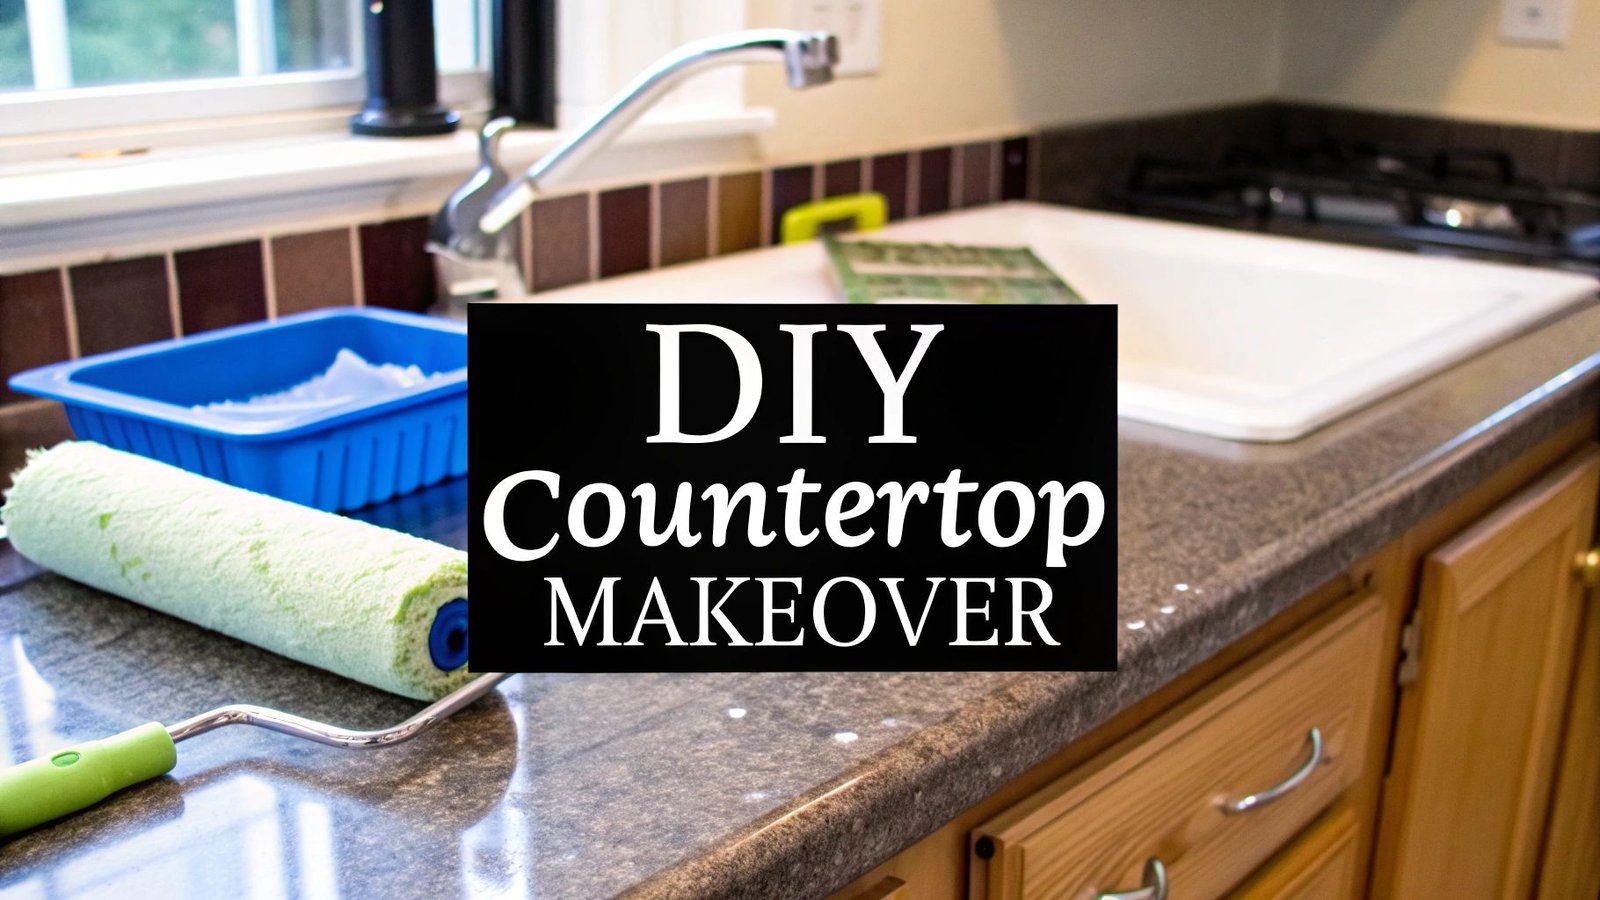
Absolutely. Painting your kitchen laminate countertops is a fantastic, budget-friendly way to give your kitchen a whole new look. It's a DIY project that can deliver a surprisingly high-end finish for a tiny fraction of what you'd spend on a full replacement. For any homeowner in Toronto, Mississauga, or the wider GTA looking for a smart upgrade, this is one of the best projects you can tackle.
Why Painting Laminate Is Such a Smart Upgrade
Before you even grab a paint roller, it helps to appreciate just how strategic this project is. A full kitchen reno is one of the priciest home improvements out there, and new countertops can eat up a huge chunk of that budget. Painting what you've already got is a brilliant alternative.
The biggest win here is, of course, the cost savings. Swapping out old laminate for something like quartz or granite can easily run into thousands of dollars. A quality paint job, on the other hand, can often be done for just a few hundred dollars in supplies. That’s a massive aesthetic impact without emptying your bank account.
Get a Truly Custom Look
Beyond saving money, painting gives you total creative freedom. You're no longer stuck with the dated, off-the-shelf patterns from the big-box stores. This project is your chance to perfectly match your countertops to your backsplash, cabinets, and the overall feel of your kitchen.
Think about what that kind of customization really means:
- Perfect Colour Matching: You can pick the exact shade that pulls your kitchen's colour scheme together—be it a classic white, a dramatic black, or a soft, modern greige.
- High-End Finishes: Many specialty kits on the market do an incredible job of mimicking expensive materials like marble, concrete, or granite. You get that luxurious look for so much less.
- Your Personal Stamp: This is how you put your own personality into the heart of your home, creating a kitchen that’s genuinely one-of-a-kind. For an even more cohesive and impressive result, you can tie it all together by painting your laminate cabinets to match. Check out our guide on that here: https://socaservicespainting.com/painting-laminate-cabinets/
This project isn't just a colour swap; it's a chance to completely redefine your kitchen's style. The ability to get a custom finish means you can design a space that feels like you, not like something out of a generic catalogue.
A Durable and Sustainable Option
Paint technology has advanced by leaps and bounds. The thought of painting a high-traffic surface like a countertop might sound a bit flimsy, but today’s products are built for it. The primers, paints, and sealants are engineered to be incredibly resilient. When you do the job right, you create a tough, non-porous surface that holds up beautifully to everyday life.
Choosing to paint is also a more sustainable move. Instead of ripping out bulky countertops and sending them to a landfill, you’re giving a new lease on life to what you already own. It's a clever way to upgrade responsibly, a mindset we see a lot with homeowners across the GTA, from Toronto to Mississauga.
With laminate expected to be a $28,440 million global market in 2025, it’s clear there are millions of countertops out there just waiting for this kind of renewal. Beyond the practical benefits, a fresh coat of paint can completely transform your kitchen with new decor and accessories, giving you that updated feel without the cost and chaos of a full renovation.
Choosing the Best Supplies for a Lasting Finish
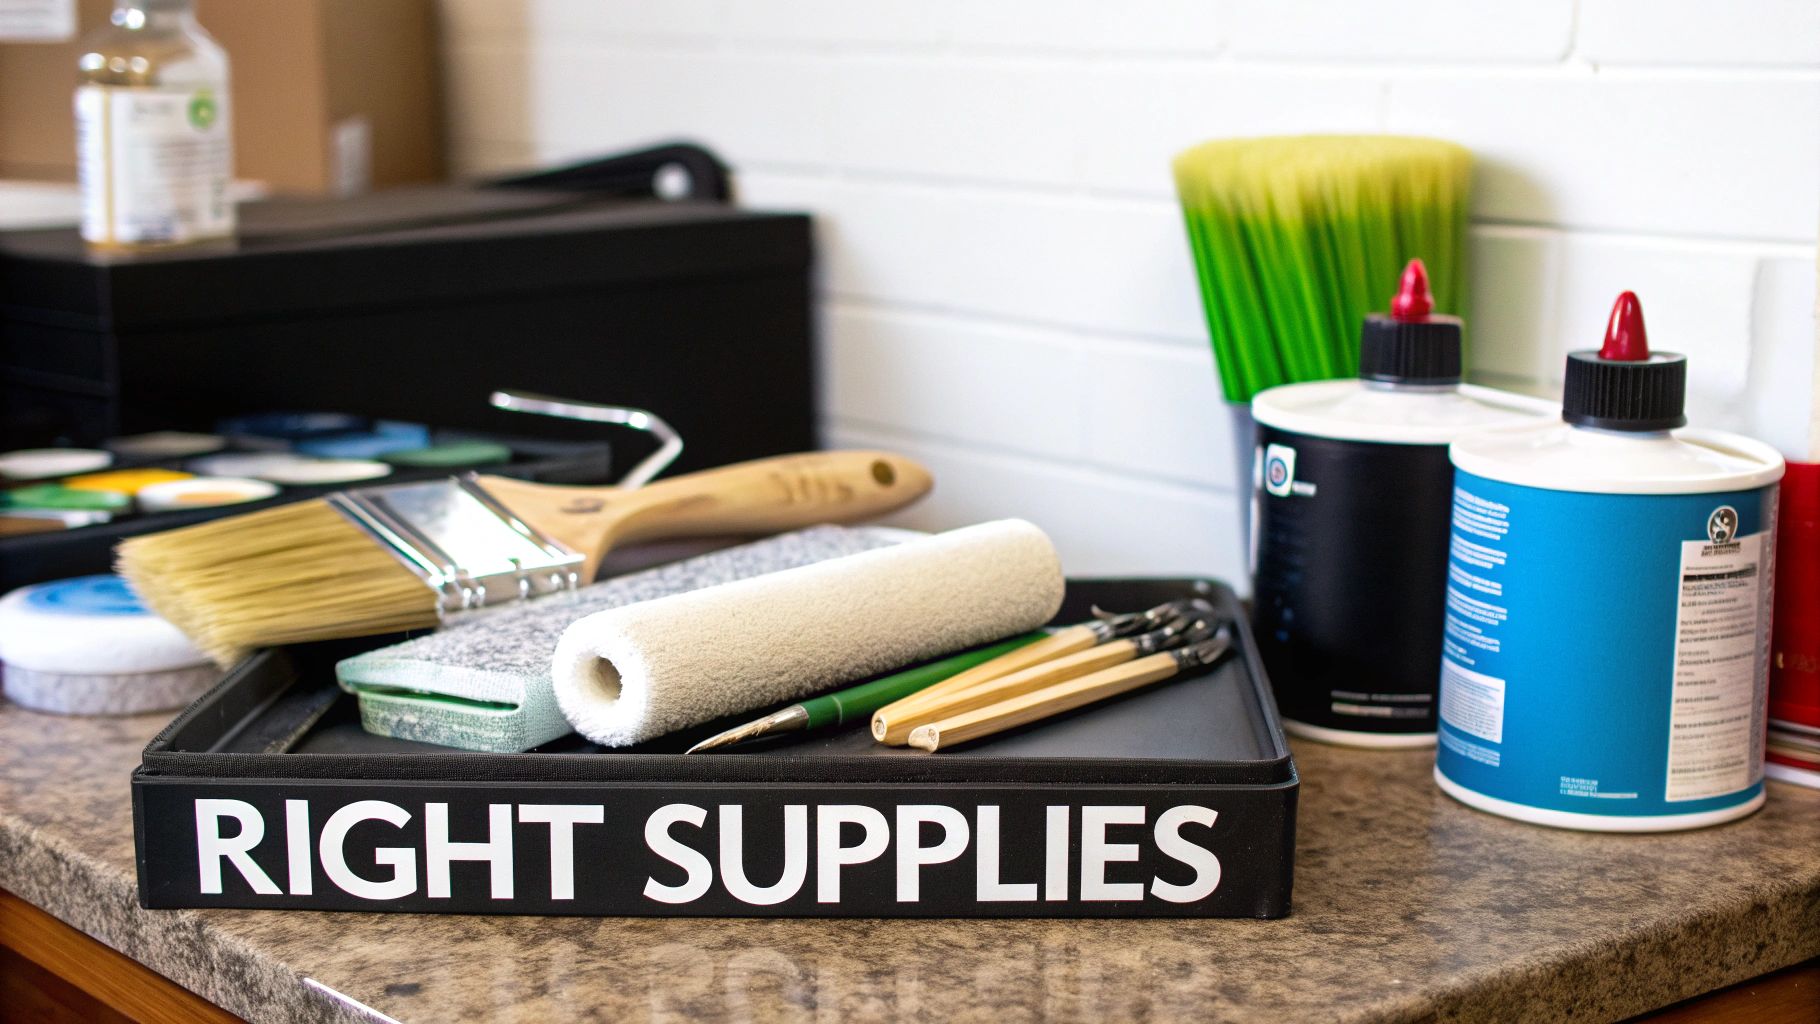
The success of your countertop makeover is really decided before you even crack open a can of paint. Putting together the right toolkit is probably the most important part of the whole project. This isn't just about grabbing any old primer and paint; it's about being strategic and choosing products specifically designed to handle the slick, non-porous surface of laminate.
Think about it: years of kitchen grease, spills, and cleaning products have made your countertops resistant to almost everything—and that includes standard paint. Your first job is to defeat that barrier. This process starts with a powerful degreaser, like a Trisodium Phosphate (TSP) substitute, which chemically cuts through grime that regular soap and water simply can't touch.
Once it's squeaky clean, you need to give the primer something to grab onto. This is where a medium-grit sandpaper, something around 120-grit, comes in. You’re not trying to sand off the laminate pattern, just gently scuffing the entire surface. This creates thousands of tiny scratches for the primer to bite into, ensuring a solid bond.
The Best Primer and Paint
This step is where so many DIY projects fall apart. You absolutely cannot use standard wall primer here. You need a high-adhesion bonding primer. These formulas are specifically engineered to stick to tricky surfaces like laminate, glass, and even tile. Using one is non-negotiable if you want a finish that isn’t going to peel or chip after a few months of use.
For the paint itself, you’ve got a couple of great choices. From my experience, the best results often come from either a specialized countertop paint kit or a high-quality acrylic paint meant for cabinets and trim. These are built for durability and formulated to level out smoothly, hiding brush marks.
To get that flawless, professional-looking finish, your tools are just as important as the paint.
- High-Density Foam Roller: Make this your go-to for applying both primer and paint. It lays down a beautifully smooth coat, avoiding the bubbles and bumpy texture a standard nap roller would leave behind.
- Quality Angled Brush: Perfect for cutting in neatly along the backsplash and around the sink. If you're unsure what to look for, our guide to picking the best paint brushes and rollers can point you in the right direction.
Here's a pro tip: The key to a tough, long-lasting finish isn't one thick coat of paint. It's all about building up multiple thin, even layers. Each coat—from primer to paint to sealer—reinforces the one before it, creating a strong, resilient surface.
Comparing the Best Paint and Sealer Options
Walking into a hardware store in Toronto or Mississauga can be a bit overwhelming with all the options on the shelves. To make it easier, I've put together a quick comparison of the best products for painting laminate countertops. This should help you decide what’s best for your GTA home.
| Product Type | Pros | Cons | Best For |
|---|---|---|---|
| Epoxy Countertop Kits | Incredibly durable and hard-wearing; often does a great job mimicking stone. | The application is more complex with a strict, short working time; has strong odours. | Homeowners who want maximum durability and are aiming for a high-end granite or marble look. |
| Specialty Acrylic Kits | Very user-friendly with easy water-based cleanup; low odour; good durability. | Can be less impact-resistant than epoxy; fewer colour choices are typically available. | DIY beginners or anyone looking for a straightforward project with a solid, consistent colour. |
| Separate Primer & Paint | Gives you total creative freedom over colour and finish (e.g., satin, semi-gloss). | You have to be careful selecting products to make sure they're compatible and durable. | Anyone who has a specific custom colour in mind that isn't available in a pre-packaged kit. |
Ultimately, whether you choose an all-in-one kit or a custom combination of primer and paint, the goal is the same: selecting products designed for adhesion and high-traffic durability. Taking the time to pick the best system for your skill level and desired look will pay off big time in the final result.
The Essential Prep Work for a Flawless Surface
If there’s one place you absolutely cannot cut corners when painting laminate countertops, it’s the prep work. I’ve seen it time and time again—peeling paint, a tacky finish, you name it. Almost every one of those disasters can be traced right back to skimping on these first crucial steps. This is the best objective advice for anyone tackling this project.
Think of it this way: you’re creating the perfect canvas for your primer and paint to grab onto for good. Laminate is slick and non-porous by nature. After years of use, it's also covered in an invisible film of grease, oils, and cleaning residue that paint absolutely hates. Our goal is to get rid of all of it.
Step 1: Degreasing Your Way to a Perfect Bond
First things first, we need to degrease everything thoroughly. And I don’t mean with a bit of soap and water; that just won’t cut it. You need something with a bit more punch, which is why I always reach for a Trisodium Phosphate (TSP) substitute. This stuff is a powerhouse, chemically breaking down all that stubborn kitchen grime to get the surface truly clean.
Just mix the cleaner based on the package instructions, grab a sponge or a scrub pad, and get to work. Go section by section, making sure to hit every part of the countertop, including the edges and any backsplash lip. When you’re done, you have to rinse it all off with clean water until there’s no chemical residue left behind. Let it dry completely before you even think about moving on. Many of these basic principles also apply to other surfaces, as we cover in our guide on how to prep walls for painting.
Step 2: Repairing Imperfections for a Seamless Canvas
With the countertops clean, it’s time for a close inspection. Look for any nicks, deep scratches, or little gouges. Trust me, paint won’t hide these flaws—it will actually make them more obvious. A two-part epoxy putty or a good-quality wood filler is your best friend here.
Mix up a small batch of filler and use a flexible putty knife to press it firmly into any damaged spots. It’s a good idea to overfill the repair just slightly, as most fillers shrink a little as they dry. Once it's fully cured (check the product instructions for the exact time), you can sand it perfectly flush with the rest of the countertop. This small detail makes a world of difference in getting that smooth, brand-new look.
Getting the prep right is non-negotiable. Proper preparation is paramount, especially when dealing with the often-glossy finish of laminate. For detailed guidance on ensuring proper adhesion, explore these expert tips for painting over glossy surfaces.
This simple infographic breaks down the workflow for proper prep.
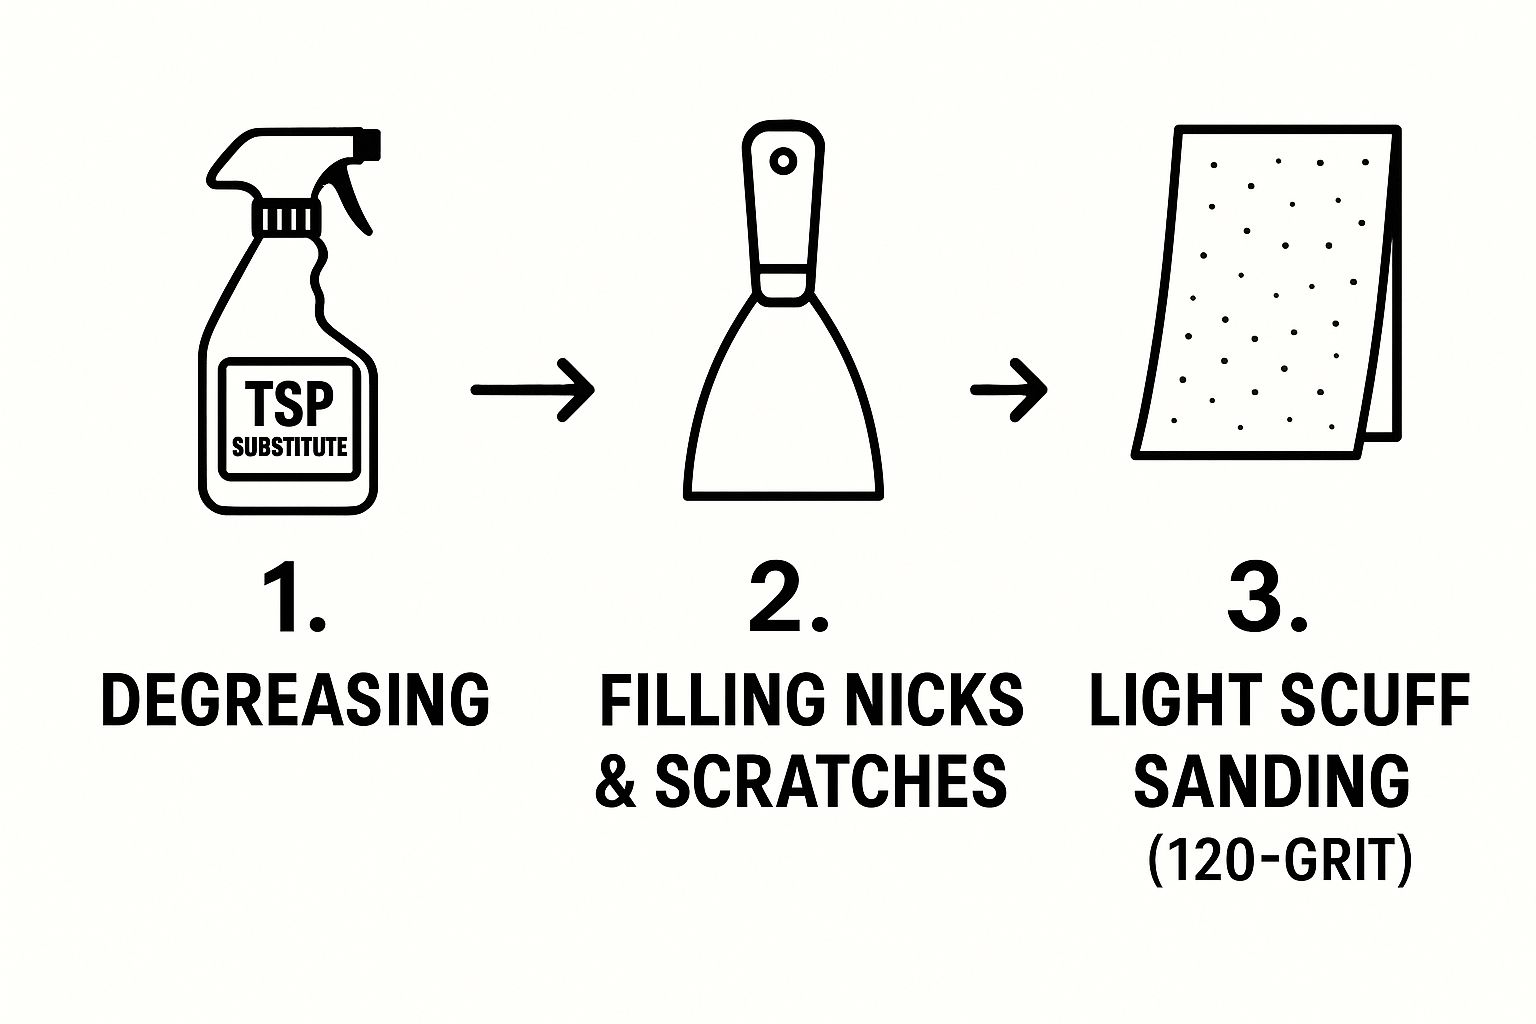
As you can see, a great result depends on a logical sequence. Each step, from cleaning to sanding, builds the foundation for the next.
Step 3: Scuff Sanding for Maximum Adhesion
The final and most critical step before you can even think about priming is scuffing up the entire surface. Grab some 120- to 150-grit sandpaper and lightly sand every square inch of the laminate. You're not trying to sand the colour off; you’re just dulling the shiny finish and creating thousands of microscopic grooves for the primer to bite into.
Once you’re done sanding, vacuum up every last bit of dust. For a perfectly clean finish, follow up with a quick wipe-down using a tack cloth. Now, and only now, is your countertop ready for primer.
Applying Primer and Paint Like a Pro
Alright, your countertops are clean, scuffed, and ready to go. Now for the fun part—where you actually get to see the transformation happen. This is the stage where patience really pays off. A common mistake I see is trying to get it all done in one thick coat, but the key to a professional, long-lasting finish on painting kitchen laminate countertops is building up several thin, even layers.
Let's start with the most important layer of all: the primer. For a slick surface like laminate, a high-adhesion bonding primer isn't just a suggestion; it's absolutely essential. Think of it as the handshake between your non-porous countertop and the new paint. Without it, your beautiful new finish simply won't last.
Mastering Your Application Technique
The tools you use here will make or break your final look. My go-to for a perfectly smooth surface is a high-density foam roller. Forget the fuzzy nap rollers—they're great for walls but will leave a stippled, orange-peel texture on a countertop. A foam roller, on the other hand, glides beautifully, laying down a pristine, thin coat without any unwanted texture or bubbles.
For those tight spots—the corners, the edges, and that tricky line where the counter meets the backsplash—an angled brush is what you need. I always "cut in" those areas first with the brush, then immediately go over the wet edge with the roller. This technique blends the brushed and rolled areas together seamlessly, avoiding any visible lines.
The secret to a factory-smooth finish isn't about slapping on one thick coat. It’s all about patience and layering. Aim for two thin coats of high-adhesion primer, followed by two or three thin coats of paint. This method builds a much stronger and more professional-looking result than trying to rush the job.
The Art of Layering and Sanding
Once your first coat of primer is on, step back and let it dry completely. Check the can for the manufacturer's recommended time, but it's usually a few hours. When it's fully cured, grab a piece of very fine-grit sandpaper—220-grit is perfect for this—and give the entire surface a quick, feather-light scuff. You’re not trying to sand it off; you’re just smoothing out any tiny dust nibs or imperfections.
Wipe away the sanding dust with a tack cloth, and then you're ready for your second coat of primer. This two-coat primer system creates a rock-solid foundation for your paint to grab onto. It’s the same core principle we follow for other tricky surfaces, which is why we stress it when talking about the best primer for kitchen cabinets too; great adhesion is everything. You'll repeat this light sanding and cleaning step between each coat of paint as well.
This careful layering technique is the best way to work with laminate's unique challenges. It’s no secret that homeowners are always looking for better and more beautiful countertop options. In fact, the North American countertop market is valued at $35.32 billion for 2025 and is expected to keep growing, which just shows how much people care about having durable, stylish kitchens. Painting gives you a way to get that high-end look without the massive cost of a full replacement.
Sealing Your Countertops for Maximum Durability
Your beautifully painted surface is almost ready, but we're not done yet. The final, and arguably most crucial, step is to protect all that hard work. Think of the sealer, or top coat, as the invisible shield that guards your countertops against the daily grind of a busy kitchen—we're talking spills, scuffs, and cleaning chemicals.
Honestly, skipping this step isn't an option if you want your painted kitchen laminate countertops to last more than a few weeks. It's this protective layer that makes the entire project viable for a high-traffic area.
Choosing the Best Sealer for Your Project
So what should you use? For most kitchen projects, my go-to recommendation is a food-safe, water-based polyurethane. It gives you an incredible combination of toughness and clarity, all without the harsh fumes you'd get from oil-based products. Plus, and this is a big one, it won't yellow over time, which is absolutely essential for keeping those white or light-coloured countertops looking crisp.
When it comes to application, the process will feel familiar.
- Grab a high-density foam roller for the large, flat areas.
- Use a good angled brush to cut in along the edges and backsplash.
- The key is to work in thin, even coats. This helps you avoid drips and streaks, leaving a crystal-clear finish.
The single biggest mistake I see people make at this stage is confusing "dry time" with "cure time." Your sealer might feel dry to the touch in a few hours, but it can take a week or more to fully harden and reach maximum durability. Rushing this process is the fastest way to get scratches and dings.
Understanding the Curing Process
Curing is where the magic happens. It's the chemical process where the sealer fully hardens, bonding with the paint and primer underneath it. This happens at a molecular level and is what gives the surface its long-term resilience. Think of it like concrete setting—it looks solid long before it has the strength to be driven on. Same idea here.
I know what you're thinking: "How am I supposed to function without my kitchen for a week?" You don't have to shut it down completely, you just have to be smart about it. Here’s a practical timeline:
- First 24-48 Hours: This is the hands-off phase. Don't put anything on the countertops. Seriously, nothing. If you absolutely need your microwave, pop it on a temporary table.
- Days 3-7: You can start using the countertops, but be gentle. Light items like a coffee maker or a fruit bowl are okay, but make sure to place a soft towel or a placemat underneath them.
- After 7 Days: The surface is now well on its way to being fully cured. You can start using it more normally, but stay mindful. Always use cutting boards, wipe up spills right away, and don't slide heavy appliances across the surface.
Protecting painted surfaces from moisture is always the name of the game, a principle that also applies to other materials. Our guide on waterproofing painted wood actually shares some similar insights on creating a durable barrier.
Got Questions About Painting Your Laminate?
It’s totally normal to have a few questions before you start a project like painting your kitchen countertops. Let's be honest, it's a big step! Getting the right info upfront is the key to feeling good about moving forward. We'll walk through some of the most common things people ask us, from durability to food safety. If you're looking for painters near me in the GTA, these are the answers you need.
How Long Will It Actually Last?
This is usually the first question on everyone's mind, and for good reason. The great news is that with the right prep work and quality paint, you can expect your newly painted countertops to look great for several years. The finish is tougher than you might think and stands up well to everyday life.
Of course, it's not bulletproof. You still need to treat it with a bit of care. Think of it like a nice piece of furniture: use cutting boards, pop hot pots onto trivets, and wipe up spills as they happen. A little common sense goes a long way in keeping it looking fresh.
Can I Really Get That Stone Look?
Absolutely! This is where the magic happens. Many people wonder if they can pull off a high-end look like granite or marble, and the answer is a definite yes. There are specialty countertop paint kits out there made specifically for this.
These kits are pretty clever and usually come with:
- A few different paint colours to create that natural, layered look.
- Little decorative mineral flakes to mimic the flecks you see in real stone.
- Tools like sea sponges, which are perfect for dabbing on colour and creating realistic patterns.
Here's a pro tip from years of doing this: practise your technique on a big piece of cardboard first. This is your chance to play around, get a feel for the process, and nail down the exact finish you want before you touch the actual countertop.
It takes a bit more patience than just rolling on a single colour, but the payoff is huge. The results can be stunning.
Is the Finished Surface Safe for Food?
This is a super important question. While the primer and the coloured paint layers aren't meant for food contact, the final clear top coat is the protective barrier that makes it all safe.
You must choose a sealer that is specifically labelled "food-safe" or "food-grade" after it has fully cured. Water-based polyurethanes are a fantastic and popular choice. Make sure you follow the manufacturer's instructions for cure time right to the letter. This waiting period—often a week or more—is crucial. It’s when the sealer completely hardens into a durable, non-toxic surface that’s perfectly safe for prepping food.
Ready to give your kitchen the update it deserves without the cost of a full renovation? For the best professional results that last, trust the experts at Soca Services Painting. We bring precision, quality, and years of experience to every project in the Toronto and Mississauga area. Learn more about our services.