

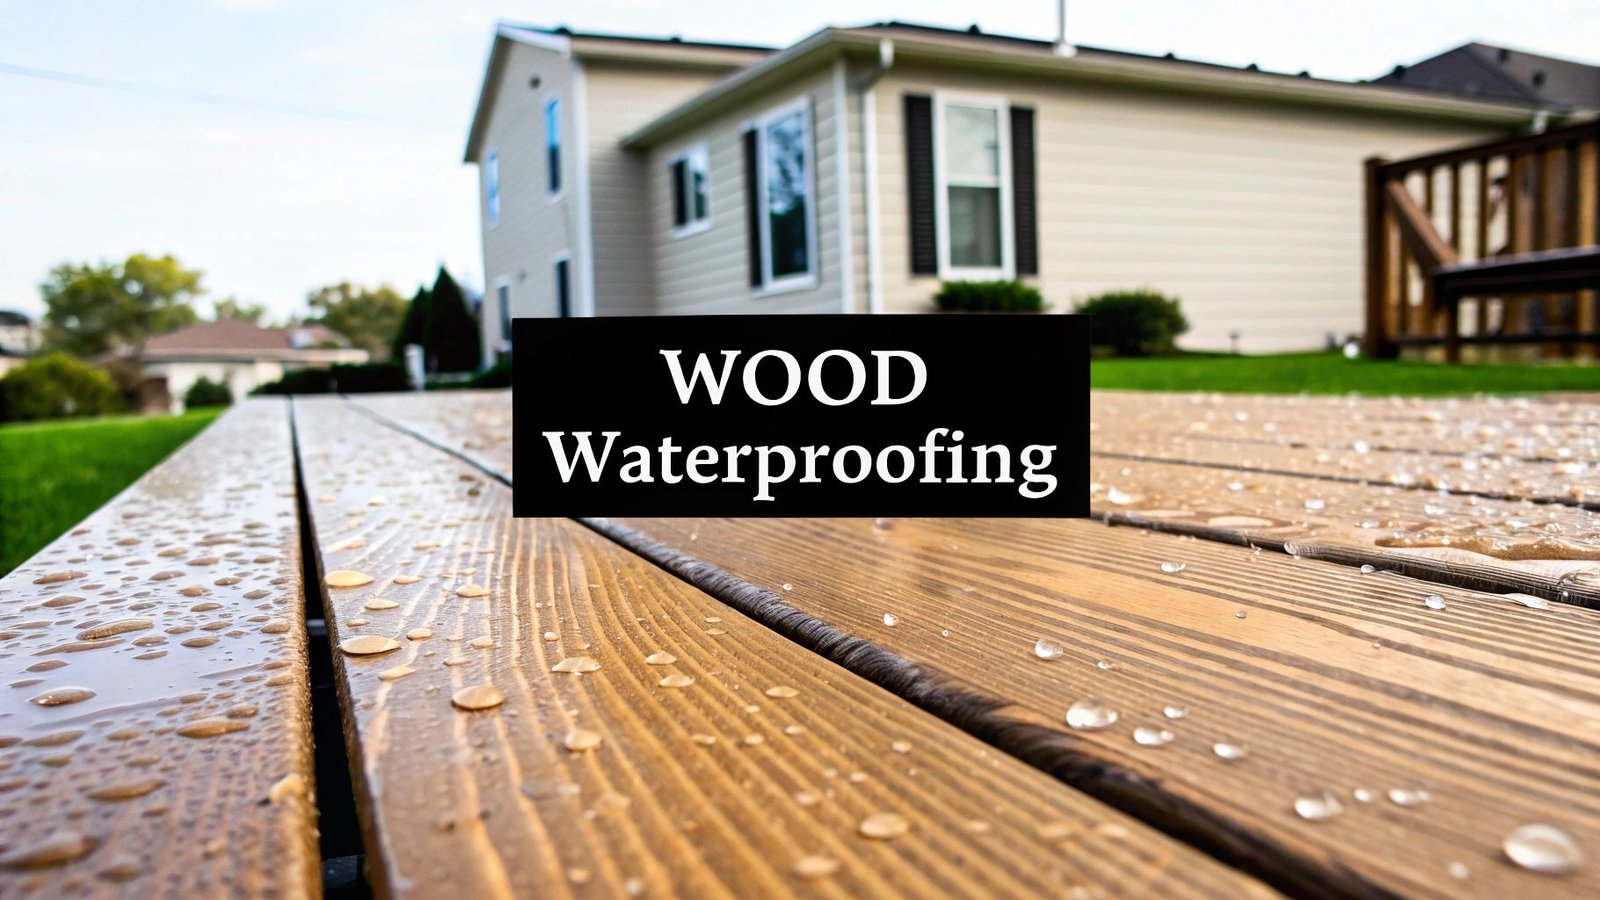
Yes, you can and should waterproof painted wood, especially for structures exposed to the elements in Southern Ontario. Applying a high-quality, exterior-grade waterproof sealant or a dedicated waterproof paint over your existing paint creates a durable barrier. This is a critical step to prevent water infiltration, which leads to peeling paint, rot, and structural decay.
Why Painted Wood Needs Waterproofing in the GTA
A common belief among homeowners in Toronto and Mississauga is that a fresh coat of paint is sufficient protection for a deck, fence, or siding. While new paint adds colour and a thin initial defence, it is not a comprehensive waterproofing solution on its own.
Standard exterior paint is a thin film that becomes brittle over time, developing micro-cracks. In the Greater Toronto Area (GTA), this process is accelerated by fluctuating weather conditions. The constant freeze-thaw cycles in winter, followed by hot, humid summers, cause wood to expand and contract repeatedly. A simple layer of paint cannot accommodate this movement, leading to failures that leave the underlying wood exposed.
The Danger of Trapped Moisture
Once water penetrates cracked paint, it becomes trapped. The water cannot evaporate, creating a damp environment ideal for mould, mildew, and wood rot. This damage often goes unnoticed until it becomes severe, as the paint layer can conceal the decay happening beneath the surface.
The primary threat to painted wood is moisture trapped behind a failing paint job. The best painted wood waterproofing strategy creates an impenetrable barrier that still allows the wood to breathe, preventing moisture buildup.
Local Climate Challenges in Toronto and Mississauga
The unique environmental pressures in the GTA make waterproofing an essential part of home maintenance. Without a dedicated protective layer over paint, property owners near me may see problems such as:
- Peeling and Blistering: This indicates trapped moisture. Water vapour builds up behind the paint and pushes it away from the wood, creating bubbles and peels.
- Accelerated Rot: Wooden structures are most vulnerable where they have constant contact with moisture, like the base of deck posts and fence panels. Trapped water accelerates decay.
- Structural Weakness: Rotted wood loses its strength, becoming a safety hazard for decks, railings, and fences.
Protecting wood from harsh weather is a major focus across North America. The demand for effective waterproofing solutions is growing, with the U.S. market valued at approximately USD 19.19 billion in 2024. This reflects a broader recognition that protective coatings are a smart investment for long-term durability. You can read the full research about the expanding U.S. waterproofing market trends for more detail.
Treating waterproofing as a separate and vital step after painting is the only way to protect your investment from the demanding Southern Ontario climate.
Selecting the Best Waterproofing for Your Painted Wood
Hardware stores in Toronto or Mississauga offer an extensive range of products for wood protection. For painted wood, the choices can be narrowed down to a few key types. Selecting the right one is crucial for success.
The best choice depends on the project’s specific needs. A high-traffic deck exposed to sun and snow requires a different solution than sheltered decorative window trim.
Main Options: Paints, Sealants, and Sealers
There are three main categories of waterproofing products: waterproof paints, clear topcoat sealants, and penetrating sealers. Each protects wood differently.
- Waterproof Paints: These products provide both colour and a protective, sealed finish. This is the best option for new projects or complete colour changes, as it applies a thick, durable film over the wood.
- Clear Topcoat Sealants: If the existing paint colour is satisfactory, a clear sealant is the ideal choice. These products are applied over fully cured paint, creating a transparent shield against rain, snow, and UV rays.
- Penetrating Sealers: These products soak into wood fibres to repel water from within, rather than forming a surface film. They are less common for painted surfaces but can be an option if the existing paint is very worn or thin.
For most homeowners in the GTA seeking to protect a painted fence, deck, or siding, a high-quality clear topcoat sealant is the most effective choice. It preserves the existing appearance while adding a vital layer of protection against local weather conditions.
How to Evaluate Product Labels
To make an informed choice, it is important to understand the technical details on the product label. Key features to look for include:
- UV Protection: The sun degrades paint, causing fading and breakdown. A sealant with built-in UV inhibitors is essential for maintaining colour and extending the finish’s life.
- Breathability: The product must block liquid water while allowing water vapour to escape from the wood. This feature prevents peeling and blistering caused by trapped moisture.
- Flexibility: Wood expands and contracts with temperature changes. Formulas described as “elastomeric” or “flexible” can move with the wood through Toronto’s freeze-thaw cycles, reducing the likelihood of cracking.
- Mildewcide: Humid summers in the GTA promote mould and mildew growth. A product containing a mildewcide will inhibit this growth, keeping the finish cleaner for longer.
Protecting outdoor wood is a significant priority for homeowners. The related U.S. wood stain market was valued at about USD 2.3 billion in 2023, with exterior products making up over 88% of sales. This demonstrates the high demand for products that protect wood from the elements. By choosing a modern formula, you benefit from the latest advancements in wood protection technology. You can learn more about the latest trends in the wood coatings industry to see how products are evolving.
With these product types in mind, selecting the best option for your project becomes clearer. The table below compares the best choices for painted wood in the Greater Toronto Area climate.
Waterproofing Product Comparison for Painted Wood
| Product Type | Best For | Durability (GTA Climate) | Application Over Paint |
|---|---|---|---|
| Acrylic/Latex Clear Sealant | Decks, fences, siding, and outdoor furniture where the existing paint is in good condition. | Good (3-5 years). Flexible for freeze-thaw cycles; may need more frequent reapplication on high-traffic horizontal surfaces. | Excellent. Adheres well to clean, fully cured acrylic or latex paint. |
| Polyurethane (Oil-Based) | High-traffic areas like deck floors or porch steps needing maximum abrasion resistance. | Excellent (5-7 years). Creates a very hard, durable shell that resists foot traffic and wear. | Good, but requires meticulous prep. Paint must be perfectly clean and lightly scuffed (sanded) for proper adhesion. |
| Waterproof Paint (Elastomeric) | New wood projects or when completely repainting. Ideal for siding, trim, and surfaces with minor cracks. | Very Good (7-10 years). The thick, flexible film bridges small gaps and moves with the wood, offering long-term protection. | Not applicable. This replaces the existing paint rather than going over it. |
| Penetrating Sealer | Rarely recommended for fully painted surfaces. Best for wood with a very thin, worn “stain-like” paint coat. | Varies. Protection depends on how much sealer can penetrate the wood past the existing paint. | Poor. Designed to soak into bare or lightly stained wood, not sit on top of a paint film. |
For most projects involving existing painted wood, a quality acrylic/latex clear sealant offers the best balance of performance, ease of application, and breathability for the local climate.
How to Prepare Painted Wood for Waterproofing
Proper preparation is the most critical phase of a painted wood waterproofing project. Failing to prepare the surface correctly will compromise the durability and effectiveness of the coating. The objective is to create a clean, solid, and slightly textured surface to which the new waterproof coating can adhere. Any remaining dirt, loose paint, or hidden damage will create weak spots, allowing moisture to penetrate.
Step 1: Thorough Cleaning
The entire surface must be cleaned before any other preparation begins. Painted wood in the GTA accumulates dirt, pollen, mildew, and grime. Applying a sealant over this layer will cause it to adhere to the dirt, not the wood, leading to peeling.
- Mix a Cleaning Solution: Use a specialized wood cleaner or a mild detergent mixed with water. For mildew, add oxygen bleach to the solution.
- Scrub Gently: Use a soft-bristle brush to scrub the entire surface. Avoid pressure washers, as they can damage the wood and force water deep into the fibres.
- Rinse and Dry Completely: Rinse thoroughly with a garden hose. Allow the wood to dry for at least 24-48 hours. The surface must be completely dry before proceeding.
Step 2: Inspection, Repair, and Scraping
With a clean surface, inspect the wood for any signs of damage. This is the opportunity to fix underlying issues before sealing them in.
Examine areas where water collects, such as the tops of railings or the ends of deck boards. Probe suspicious spots with a screwdriver. If the wood is soft or spongy, there is rot. This must be removed and repaired with a quality wood filler or epoxy.
Next, use a stiff putty knife or a paint scraper to remove all flaking, bubbling, or peeling paint until a solid, stable edge is reached.
Do not paint over existing problems. Time spent scraping away loose paint and patching damaged sections will prevent future rework. A solid foundation is non-negotiable for the best result.
Step 3: The Critical Sanding Phase
After repairs have cured and the old paint is stable, the final preparation step is light sanding. Sanding, or “scuffing,” the surface removes the gloss from the old paint and creates microscopic grooves for the new waterproof coating to grip.
Use medium-grit sandpaper (120- to 150-grit) to lightly sand the entire painted surface. The goal is not to strip the paint but to create a rough texture for adhesion.
After sanding, wipe the surface with a tack cloth to remove all dust. The surface is now ready for the protective coat.
Applying Your Waterproof Coating for a Flawless Finish
With the surface prepared, you can now apply the protective barrier. Proper technique is key to achieving a professional-looking finish. The choice of applicator depends on the surface. For large, flat areas like a deck floor, a roller provides quick, even coverage. Detailed work like fence posts, railings, or window trim, a high-quality brush offers better precision. For very large jobs like siding, an airless sprayer is efficient but requires practice to avoid overspray.
Mastering the Application Technique
The secret to a durable finish is applying thin, even coats. A heavy coat can lead to drips, takes longer to cure, and results in an uneven finish that fails prematurely.
Whether using a brush or a roller, apply the coating with long, smooth, consistent strokes to create a uniform wet film. Avoid over-brushing the same spot, as this can introduce air bubbles and leave brush marks. Apply the product, smooth it out, and let it cure.
The objective is to build protection in thin layers. Two thin, well-applied coats will always outperform one thick coat, providing superior adhesion and a more resilient finish.
Timing and Weather Considerations
The weather forecast is a critical factor. Applying a coating in the wrong conditions can lead to failure. The ideal conditions are a mild, overcast day with low humidity.
Key weather factors to consider:
- Direct Sunlight: Hot, direct sun causes the coating to dry too quickly on the surface, preventing a proper bond with the paint below. This can result in peeling.
- High Humidity: Damp air slows the curing process. A sealant that remains tacky for too long will attract dust and debris, which will become embedded in the finish.
- Temperature Extremes: Always check the product’s recommended application temperature. Applying the sealant outside this range can interfere with its chemical processes, resulting in a weak and ineffective waterproof barrier.
By selecting the right tools, using proper technique, and paying attention to the weather, you can achieve a flawless painted wood waterproofing job that will withstand the elements.
Maintaining Your Waterproofed Wood
An effective painted wood waterproofing job requires ongoing maintenance, particularly in the demanding weather of Toronto and Mississauga. A simple annual maintenance plan can identify small issues before they become major repairs and will extend the life of the protected wood.
The waterproof coating is a sacrificial layer that absorbs damage from sun, rain, and snow, protecting the paint and wood underneath. This layer naturally wears down over time. An annual inspection ensures it remains effective.
Annual Inspection Checklist
The best time for an inspection is in the spring, after the snow has melted and the wood has dried. Walk around your property and examine your deck, fence, or siding.
Look for the following:
- Failed Water Beading: This is the primary indicator of sealant failure. Spray water on several spots. If it beads into tight droplets, the sealant is still effective. If the water soaks in and darkens the wood, the area has lost its protection.
- Cracks and Peeling: Pay close attention to horizontal surfaces like deck boards and railing tops, which are exposed to direct sun and standing water. Also, check joints and the ends of boards, as these are common failure points.
- Mildew Growth: Check shaded, damp areas for any new signs of green or black mildew. Its presence indicates that moisture is remaining on the surface instead of being repelled.
How to Clean Without Causing Damage
Throughout the year, waterproofed wood will collect dirt. Clean it gently to avoid stripping the protective coating. Avoid harsh chemicals and pressure washers. A soft-bristle brush and a mild solution of soap and water are sufficient for removing buildup. Rinse with a garden hose. A light cleaning in the spring and fall is an ideal routine for the GTA.
Using a high-pressure washer can damage the sealant and the wood fibres underneath. A gentle approach is always best for maintenance.
When to Apply a Maintenance Coat
If the inspection reveals that water is soaking in or there is significant peeling, it is time for a maintenance coat. It is not always necessary to redo the entire project. Often, the original coating is still intact but shows wear in high-traffic or sun-exposed areas. In such cases, a targeted touch-up is sufficient. Clean the worn area thoroughly, let it dry, and apply a thin coat of the same sealant used previously. This can add years to the waterproofing’s lifespan.
Common Questions About Waterproofing Painted Wood
Homeowners in Toronto and Mississauga often have questions when preparing to waterproof a painted deck or fence. Obtaining correct information is key to achieving a lasting finish. Here are answers to some of the most common questions.
Can I Apply a Waterproof Sealer Over Old, Peeling Paint?
No. Applying a new sealant over unstable, peeling paint will result in failure. The new coating will adhere to the loose paint, not the wood. When the old paint flakes off, it will take the new waterproof layer with it. It is essential to create a solid foundation by scraping and sanding away all loose and failing paint until a stable surface is achieved. Only then can the waterproofing product adhere properly.
What Is the Best Time of Year to Waterproof a Deck in Toronto?
For outdoor coating projects in the GTA, the best time is typically late spring or early autumn. Look for a period of dry days in the forecast.
The optimal temperature range for application is between 10°C and 25°C. Avoid working in direct, hot sun, as this can cause the sealant to dry too quickly on the surface, preventing it from curing and bonding correctly. Always check the weather forecast before starting.
How Do I Know if My Painted Wood Needs to Be Waterproofed Again?
A simple water test can determine this. Splash a small amount of water on the surface.
- If the water beads up into tight droplets, the waterproof barrier is still effective.
- If the water soaks in, spreads out, or darkens the paint, the protection is gone, and moisture is penetrating the wood. It is time to recoat.
Also, look for visible signs like cracking paint, peeling, or new mildew growth, especially in shaded, damp areas.
Is a “Waterproof Paint” Sufficient to Protect My Wood Fence?
A high-quality exterior waterproof paint provides a good initial defence, but it may not be sufficient on its own to handle the region’s harsh freeze-thaw cycles. For the best protection, a complete system is recommended.
A robust waterproofing job typically includes:
- A high-quality primer for exterior wood.
- Two solid coats of waterproof paint.
- An additional clear topcoat sealer, particularly for high-traffic areas or surfaces with high sun exposure.
This layered approach creates a durable barrier that will protect your fence or deck for years.
For homeowners in Toronto or Mississauga seeking the best professional result, trust the experts. Soca Services specializes in high-quality painting and waterproofing designed to withstand our tough Canadian weather. Protect your investment by ensuring the job is done correctly the first time. Learn more about our services and get a quote today!






6 Comments