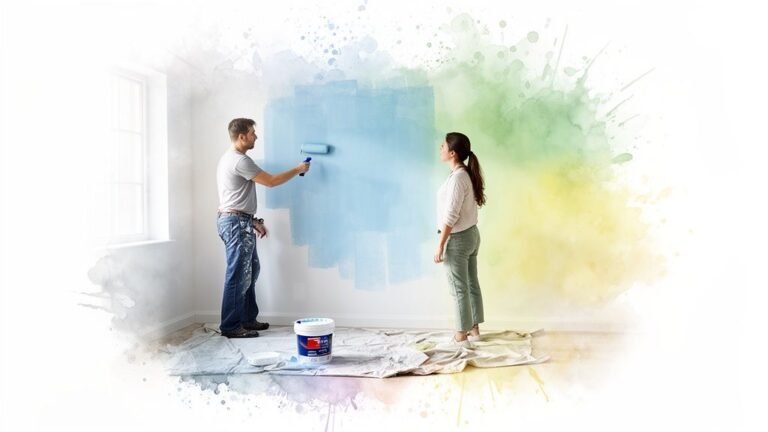
For any drywall project, achieving a professional finish is the objective. In the Greater Toronto Area, from downtown Toronto to Mississauga, the best choice is a dedicated PVA (polyvinyl acetate) primer. Its structure is engineered specifically to seal the thirsty surfaces of new drywall paper and joint compound, giving you a uniform base for your topcoat. This is the secret to making your final paint colour look even and professional across the entire GTA.
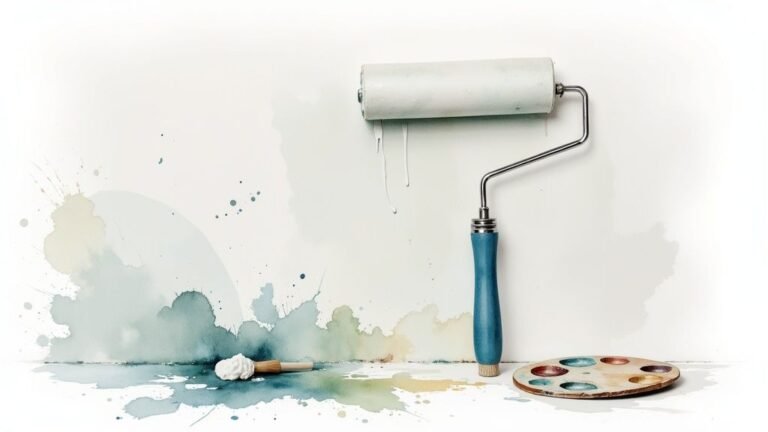
Why Primer Is The Foundation Of A Flawless Finish
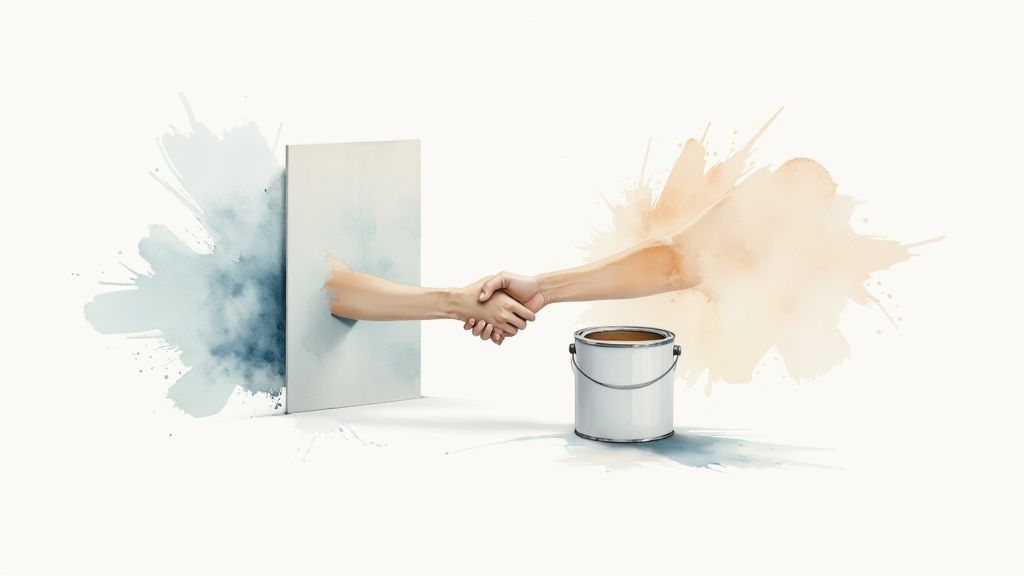
Think of drywall primer as the crucial handshake between a new wall and its final coat of paint. A fresh sheet of drywall isn't one consistent surface. The objective structure of a finished wall is a patchwork of two very different materials: porous paper and dense joint compound (or "mud," as we call it in the trade). These two materials drink up paint at completely different rates.
If you skip the primer, that uneven absorption will ruin your finish. You’ll end up with a blotchy, inconsistent look known as “flashing,” where the seams and patches stand out. A quality primer completely neutralizes this issue, creating a perfectly sealed, uniform canvas for your paint. This is how the best results are achieved.
The Role Of A Quality Primer
A good primer does a few critical jobs that paint alone just can't handle on a raw surface. It’s the single best way to guarantee a pro-level result, especially on new drywall in places like Toronto or Mississauga.
- Seals Porous Surfaces: Primer dives into the tiny pores of both the drywall paper and the mud, sealing them off so the topcoat doesn't get sucked in unevenly.
- Ensures True Colour: By creating a neutral, consistent base, primer lets the true colour of your expensive paint pop, just like you saw on the swatch.
- Promotes Adhesion: It creates a slightly grippy surface that your topcoat can really hang onto, which prevents peeling and blistering down the road. To learn more about how different formulas work, our guide on the best paint primer for walls is a great resource.
Choosing the best primer isn’t just a prep step; it’s an investment in how your paint job looks and how long it lasts. It’s what ensures all your hard work results in a beautiful, durable finish you can be proud of for years.
To help you sort through the options on the shelf, whether you’re looking for a painter "near me" in the GTA or working on a project elsewhere, here’s a quick rundown of the most common drywall primer types.
Quick Guide to Drywall Primer Types
This table breaks down the most common primers to help you make a quick, smart choice for your project.
| Primer Type | Best For | Key Feature | Typical Use Case |
|---|---|---|---|
| PVA Primer | New, bare drywall and skim-coated surfaces. | Seals porous materials effectively and is cost-efficient. | Finishing a newly constructed room or a large-scale GTA renovation. |
| Water-Based | General-purpose use, including previously painted walls. | Low odour, fast-drying, and easy cleanup with water. | Repainting a bedroom or living room in Toronto with minor repairs. |
| Oil-Based | Blocking tough stains like water, smoke, or wood tannins. | Excellent adhesion and superior stain-blocking power. | Prepping a kitchen wall in Mississauga with grease stains or covering paneling. |
| Shellac-Based | Sealing the most severe stains, odours, and wood knots. | Dries very quickly and blocks virtually any stain. | Covering heavy smoke damage or sealing resinous wood knots. |
Each type has its place, but for fresh drywall, you really can't beat a good PVA primer to get the job started right.
Why You Should Never Skip Priming New Drywall
Skipping primer on brand-new drywall is one of those shortcuts that always comes back to bite you. It might feel like you're saving time, but it’s the painter’s equivalent of building a house on a shaky foundation—it guarantees a finish you’ll regret and eventually have to fix.
The whole problem starts with the surface of a freshly installed and finished drywall panel. It’s not one consistent material. You have the porous paper facing of the drywall sitting right next to the smooth, dense joint compound (or "mud") that covers all the seams, corners, and screw dimples. These two materials drink up paint in completely different ways.
The paper is thirsty, soaking up moisture like a sponge. The mud, on the other hand, is much less absorbent. When you try to apply your beautiful new paint colour directly over this inconsistent surface, the difference in porosity creates a visual mess.
The Tell-Tale Signs of an Unprimed Wall: Flashing
This uneven absorption rate is what causes a very common and frustrating paint defect called flashing. You'll see it as a blotchy, inconsistent sheen where the paint looks dull and flat over the drywall paper but glossy and shiny over the mudded seams and patches.
Essentially, every single tape line and repair will telegraph right through your final coat. It doesn't matter if you're using the most expensive, high-end paint on the market; it simply can't bridge that gap on its own. The result is an amateurish-looking job that screams "rushed."
A dedicated drywall primer isn’t just another layer of paint. It’s an essential engineering step that neutralizes the wall, creating a uniform canvas so your topcoat can look exactly the way it's supposed to. The objective is a perfect finish.
Choosing the best primer for drywall is a decision that echoes across the entire construction and renovation industry. The global primer market, which was valued at around USD 25.07 billion in 2024, is built on the necessity of these products. Its steady growth is a testament to the fact that pros in the GTA and beyond consider primers non-negotiable for achieving a high-quality, durable finish.
How Primer Creates the Perfect Canvas for Paint
A good drywall primer—especially a PVA (polyvinyl acetate) based one—is designed to do one job perfectly: seal the surface. It acts as the ultimate middleman, creating a bridge between the inconsistent drywall and your final paint colour.
Here’s what that primer is actually doing for you:
- Seals the Surface: It lays down a consistent film that stops both the thirsty paper and the non-porous mud from affecting the topcoat, equalizing their absorption rates.
- Ensures True Colour: By creating a clean, neutral white base, primer ensures the paint colour you paid for looks just as rich and accurate on the wall as it did on the swatch.
- Promotes Adhesion: Primer gives the topcoat a perfect surface to "grip" onto. This dramatically improves the paint's long-term durability and prevents issues like peeling or blistering down the road.
This sealing function is the exact reason why most "paint-and-primer-in-one" products are not the right tool for bare drywall. While they're fantastic for repainting a wall that's already been painted, they're still fundamentally paints—they aren't true-blue surface sealers. You can get a deeper look into these differences in our guide explaining what primer paint is used for.
When it comes down to it, a dedicated primer is formulated specifically to solve the porosity problem of new drywall. If you skip it, you're asking your expensive topcoat to do two jobs at once, and it’s almost certain to do both of them poorly.
Matching Primer Types to Your Project Needs
So, you understand why you need to prime. The next logical step is figuring out which primer is the right tool for the job. Not all primers are the same; they’re specially formulated to solve different problems on the wall. Think of it like a toolbox—you wouldn't use a hammer to turn a screw, and you wouldn't use a basic sealer to block a nasty water stain.
Choosing the best primer for drywall really comes down to matching the product's chemistry to the surface you're dealing with. Whether you're working on a new build in Toronto, tackling a renovation in an older Mississauga home, or just giving a room a fresh coat of paint, the right primer is what sets you up for a flawless, long-lasting finish.
This visual guide is a great starting point, answering the most basic question: do I even need to prime?

As you can see, new drywall is a definite "yes." Priming is the only way to get a truly uniform surface that’s ready for paint.
The Go-To Choice for New Drywall: PVA Primer
If you're looking at a wall of fresh, bare drywall, your search should start and end with PVA (polyvinyl acetate) primer. This water-based sealer is the industry champion for one simple reason: it’s specifically designed to tackle the number one issue with new drywall—its thirsty, uneven porosity.
A good PVA primer dives right into the porous drywall paper and the mudded joints, creating a sealed, uniform film across the whole wall. This is the step that stops your topcoat from soaking in unevenly, which is exactly what causes that blotchy, inconsistent look known as "flashing." It’s the standard for pros across the GTA because it works, and it’s cost-effective.
The Problem-Solvers: Stain-Blocking Primers
While PVA is the workhorse for new surfaces, some projects come with a bit more baggage. That’s where the heavy hitters—stain-blocking primers—come into play. These are the problem-solvers for walls that have a history.
These powerful formulas are engineered to lock down marks that would otherwise bleed right through coat after coat of paint.
-
Shellac-Based Primers: When you’re up against the absolute toughest stains, shellac is your best friend. It’s a powerhouse for blocking severe water damage, heavy smoke stains, stubborn grease, and even lingering odours. It dries lightning-fast and creates an impermeable barrier that virtually nothing can get through.
-
Oil-Based (Alkyd) Primers: These are the durable traditionalists in the primer world. Oil-based formulas are fantastic for blocking common bleed-through stains like wood tannins from trim, or even marker and crayon scribbles. They also have incredible adhesion, which makes them perfect for prepping glossy or hard-to-paint surfaces, giving your topcoat something solid to grip onto.
The incredible adhesion of these primers makes them great for other tough jobs, too. When you’re refreshing a kitchen, for example, cabinets present a unique challenge. For a deeper dive, our guide on the best primer for kitchen cabinets breaks down the specific needs of that project.
Stain-blocking isn’t just about covering a mark; it’s about permanently locking it away. A good stain-blocking primer saves you the headache of seeing old blemishes ghosting through your new paint job weeks or months down the line.
Primer Performance Characteristics
To make the choice clearer, here’s a look at how these different primer chemistries stack up against each other in key performance areas. This table gives a quick snapshot to help you match the primer to the problem you're trying to solve.
| Primer Type | Stain Blocking (1-5) | Adhesion (1-5) | Moisture Resistance (1-5) | Ease of Cleanup |
|---|---|---|---|---|
| PVA Primer | 1 | 3 | 2 | Soap & Water |
| Acrylic/Latex | 3 | 4 | 4 | Soap & Water |
| Oil-Based (Alkyd) | 4 | 5 | 4 | Mineral Spirits |
| Shellac-Based | 5 | 5 | 5 | Denatured Alcohol |
As the table shows, there's a trade-off. While shellac-based primers offer top-tier performance for blocking stains and resisting moisture, they require more specialized cleanup. Water-based options, on the other hand, provide a fantastic balance of performance and convenience for most everyday projects.
The All-Rounder: Modern Water-Based Primers
The world of water-based primers has come a long way from the basic PVA sealers. Today’s acrylic or latex-based primers are versatile, low-odour, and user-friendly options for a huge range of jobs, often earning them the "all-purpose" label.
These formulas offer solid adhesion, decent stain-blocking for minor issues, and are flexible enough for all sorts of surfaces, including previously painted drywall. Add in their quick drying times and easy soap-and-water cleanup, and you can see why they're such a popular choice for homeowners.
For instance, if you're renovating a bathroom, you'd want a specialty water-based primer with added mould and mildew inhibitors. If you're just changing the colour in a living room, a standard acrylic primer will do the trick, ensuring your new hue looks rich and true. This adaptability is what makes them an indispensable part of any painter's arsenal.
How to Properly Prepare Drywall for Primer
Even the most advanced primer on the market will fail if you slap it onto a poorly prepped wall. It's a simple truth that often gets overlooked. Think of it like this: surface prep is the foundation of your entire paint job. Without a clean, smooth canvas, every little imperfection will just get magnified by the time you roll on that final coat.
Rushing this stage is probably the most common mistake I see, and it’s a surefire way to get an amateur-looking finish.
This whole process isn't about having some secret, complex skill; it's all about patience and attention to detail. Whether you’re patching a small hole in a Mississauga home or finishing an entire basement renovation in Toronto, taking the time to prep the walls right is the single biggest factor in getting a professional, durable result. It’s what allows the primer to do its job—gripping the wall and creating that perfect, uniform base for your paint.
The demand for these quality finishes is only growing. The drywall and insulation installers industry is a massive market, projected to hit $9.6 billion by 2025 in California alone. This boom highlights just how crucial proper prep and priming are in meeting modern construction standards and delivering a final product that looks great and lasts.
Cleaning and Inspection: Playing Surface Detective
First things first, and it’s the most critical step: clean the walls. Brand new drywall, especially after sanding, is coated in a fine, powdery dust. This dust is your enemy. It creates a barrier that stops the primer from actually bonding to the wall, which is a leading cause of peeling paint down the road.
Grab a vacuum with a soft-bristle brush attachment to get rid of the bulk of the dust. After that, go over the entire surface with a slightly damp cloth or a tack cloth to pick up any lingering residue. Make sure you let the walls dry completely before you even think about opening a can of primer.
Now, it’s time to play detective. Run your hand over the surface and use a utility light, holding it close and at a sharp angle to the wall. This trick, known as "raking light," is how the pros spot every tiny flaw.
Raking light across a wall is the professional’s secret to spotting imperfections. It casts shadows in every ding, divot, and high spot that would otherwise be invisible until the final coat of paint highlights them for all to see.
Keep an eye out for these usual suspects:
- Nail or screw pops: These happen when the fastener pushes the joint compound out.
- Cracks: Usually found along seams as the house settles.
- Dings and dents: The inevitable battle scars from construction or moving furniture.
- High spots or ridges: Tell-tale signs of incomplete mudding and taping.
Repairing and Sanding for a Flawless Surface
Once you’ve mapped out all the imperfections, it's time to fix them. Use a good quality spackling or joint compound to fill any dings, cracks, and low spots. For screw pops, you'll want to drive the fastener a little deeper into the stud before applying a fresh skim of compound over top. If you want a more detailed walkthrough, our guide on how to prep walls for painting breaks it all down.
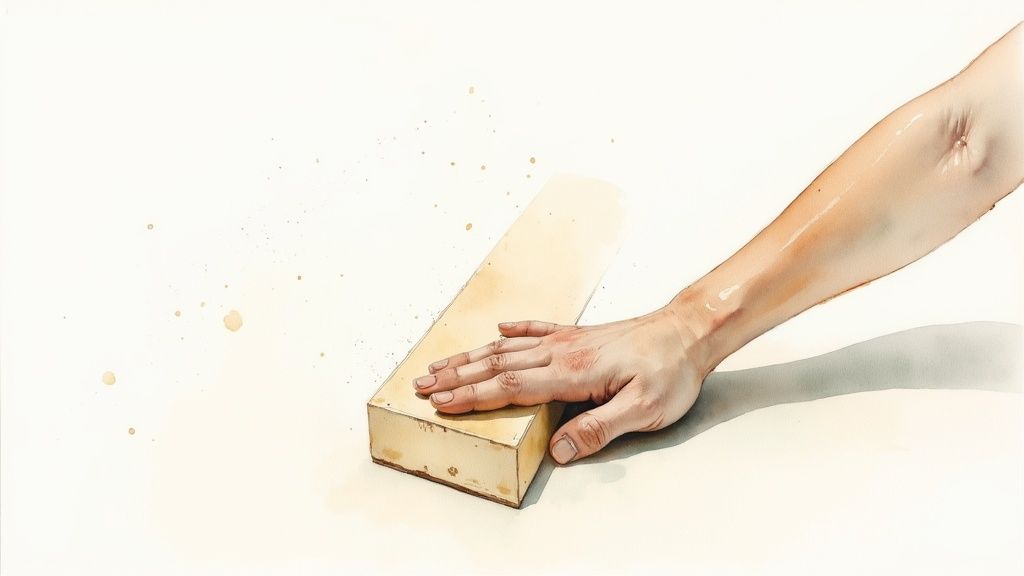
After the compound is bone dry, sanding is your final move to create that perfectly smooth surface. The goal here is to feather the edges of your patches so they blend invisibly into the rest of the wall.
- Choose the Right Grit: Start with medium-grit sandpaper (120- to 150-grit) to level the patch and knock down any obvious high spots.
- Feather the Edges: Use light, circular motions. Your focus should be on blending the outer edges of the repair into the surrounding drywall. A light touch is key—you don't want to scuff up the drywall paper.
- Finish Smooth: For your final pass, switch to a fine-grit sandpaper (180- to 220-grit). This will smooth out any minor scratches left by the coarser grit and give you a finish that’s as smooth as glass.
Before you’re done, give the wall one last wipe-down to clear away any new sanding dust. This meticulous prep work guarantees your primer has a clean, stable, and perfectly smooth surface to grab onto, setting you up for a flawless paint job.
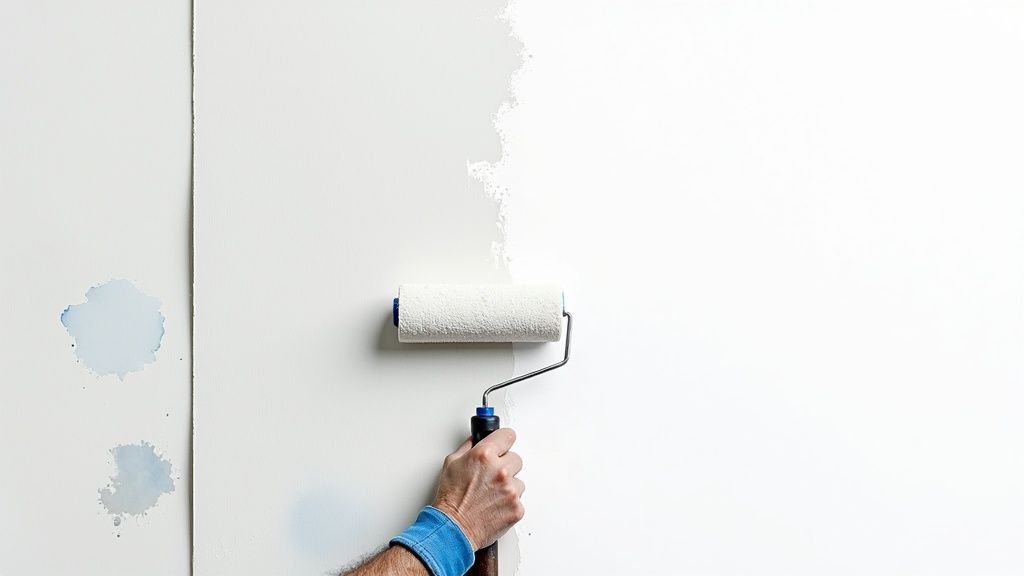
Applying Drywall Primer Like a Professional
With a perfectly prepped surface, the real transformation begins. Applying primer isn’t just about slapping a coat on the wall; it’s a methodical process that sets the stage for a flawless finish. The right technique is what ensures every inch of new drywall is sealed uniformly, preventing frustrating issues like lap marks, drips, and uneven sheen in your final paint job.
This is the moment where all that prep work really pays off. A well-applied primer coat is the essential bridge between your hard work and a beautiful, professional-looking result. It’s what makes your topcoat perform exactly as intended, delivering that rich, even colour you envisioned.
Choosing Your Priming Toolkit
Your tools are just as important as the primer itself. Whether you pick up a brush, roller, or sprayer often comes down to the size of the job and your personal preference for speed versus control. Each tool has a specific job to do when you're aiming for a top-tier finish.
- Brushes: An angled sash brush (around 2.5 inches) is non-negotiable for the detailed work of "cutting in." This is where you carefully paint primer along edges, corners, and trim—all the tight spots a roller can't reach.
- Rollers: For the big, open stretches of wall, a roller is your best friend. A 3/8-inch nap roller is the industry standard for smooth drywall. It holds a good amount of primer without creating too much texture.
- Sprayers: For massive projects like a full basement renovation or a new build in the GTA, an airless paint sprayer is unbeatable for speed and an exceptionally smooth finish. Just be prepared for the significant prep work needed to mask off everything you don't want to be painted.
For a deeper dive into selecting the right applicators, our guide on the differences between paint brushes and rollers can help you make an informed choice.
The Art of Cutting In and Rolling
The secret to a seamless, professional-looking wall is to work methodically. The process always starts with cutting in, followed immediately by rolling the main wall sections. This "wet-on-wet" technique is what helps the brushed and rolled areas blend together invisibly.
First, grab your angled brush and apply a 2- to 3-inch band of primer along all ceilings, baseboards, corners, and around any fixtures. The key is to work in manageable sections, about four to six feet at a time. This ensures the primer edge stays wet until you can roll into it.
Once you’ve cut in a section, it's time to roll. Load your roller with primer, making sure it’s evenly coated but not dripping.
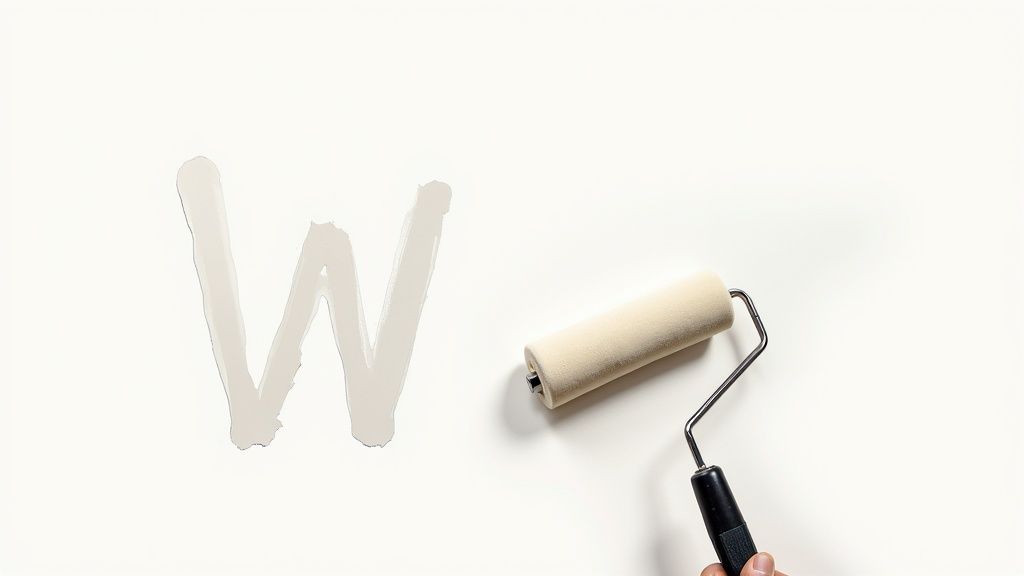
The "W" pattern is a classic pro technique for a reason. Start by rolling a large ‘W’ or ‘M’ onto the wall, then fill it in with parallel, slightly overlapping strokes without lifting the roller. This simple trick distributes the primer perfectly and gets rid of those ugly lap marks.
As you finish each section, use light, vertical strokes from ceiling to floor to "lay off" the primer. This final, gentle pass smooths out any roller texture, leaving behind a perfectly uniform surface.
Final Checks for a Perfect Finish
Once the application is done, a few final steps are absolutely crucial. Ventilation is non-negotiable; open windows and use fans to help the primer cure correctly and disperse any fumes. Always check the manufacturer's specs for the recommended drying and recoat times—rushing this step can seriously compromise the bond between the primer and your topcoat.
Before you even think about painting, do one last spot-check. Grab a utility light and hold it at an angle to the wall. This trick will instantly reveal any thin spots or missed areas that need a quick touch-up. Once you master techniques like applying the best primer for drywall professionally, you can explore effective construction marketing tips to showcase your expertise and win more projects.
Common Priming Mistakes to Avoid
Knowing what not to do is just as important as knowing what to do. I’ve seen countless projects get derailed by a few simple, avoidable mistakes. Even with the perfect primer in hand, a small misstep during application can ruin hours of careful prep work. Let's walk through the most common pitfalls so you can sidestep them entirely.
One of the biggest traps for DIYers and even some pros is buying into the "paint-and-primer-in-one" hype for new drywall. Don't get me wrong, these products are fantastic for repainting a wall that already has a solid finish. But for bare drywall? They just don't cut it. They aren't formulated as true sealers, so they can't properly even out the porosity between the drywall paper and the joint compound. This almost always leads to flashing and a blotchy final look.
Applying Primer Too Thinly
Another classic mistake is trying to stretch a can of primer by applying it too thinly. It feels like you're saving money, but it's a false economy. A skimpy coat won't create the uniform, sealed foundation your topcoat needs to look its best. You're aiming for a consistent, opaque film that completely hides the drywall and mud lines.
Think of it this way: a properly primed wall should look like it’s already been painted with a coat of flat white paint. If you can still see the tape joints or the colour of the drywall paper after it's dry, you haven't put enough on.
This is more than just an aesthetic issue; it's a financial one, especially in high-cost construction markets like the GTA. With material and labour costs constantly on the rise, having to apply a third coat of expensive paint to hide a poorly primed wall is a costly, frustrating mistake. For context, the California Construction Cost Index showed costs in major centres jumped by over 10% between 2017 and 2020. Getting the primer right the first time is a smart investment that prevents expensive do-overs, a point driven home in this full construction cost analysis.
Rushing the Process and Forgetting Key Steps
If there’s one virtue every good painter has, it’s patience. Rushing the priming stage is a surefire way to create problems that are a headache to fix later. Two oversights, in particular, can really sabotage your finish.
- Ignoring Drying Times: Primer needs time to do its job—curing properly and bonding securely to the surface. If you slap your topcoat on while the primer is still wet, you're asking for trouble. It can lead to everything from peeling and blistering to complete adhesion failure down the road. Always check the can and respect the manufacturer's recommended drying times.
- Forgetting to Spot-Prime: After your main coat of primer is dry, give the walls a thorough once-over. Did you find a ding you needed to patch? A rough spot that needed another quick sand? Any area you touch up after that first coat must be spot-primed again. This simple step ensures every last centimetre of the wall has the exact same sealed base, which is the secret to a perfectly uniform, professional-looking paint job.
Your Drywall Primer Questions, Answered
Over the years, we've heard just about every question there is when it comes to drywall, from quick fixes in Mississauga to major renos in Toronto. Here are the straight answers to the questions we get asked most often about getting your primer right.
How Many Coats of Primer Does New Drywall Need?
For fresh, unpainted drywall, one good coat of a quality PVA primer is typically enough to get the job done. Your objective is to apply a single, even layer that completely seals the paper and the mud.
If you can still see the drywall paper or joint compound grinning through after the first coat dries, that’s your sign to go ahead and apply a second one. This ensures you have a perfectly uniform base for your paint.
Can I Just Use Leftover Wall Paint as a Primer?
It’s a common temptation, especially when you have half a can of paint sitting around, but it's a shortcut that almost always backfires. Regular wall paint just isn't built to do the heavy lifting of sealing porous surfaces the way a dedicated primer is.
Using a topcoat as a primer will likely leave you with a blotchy, uneven mess—a phenomenon painters call "flashing."
Think of it like this: Primer is the foundation, and paint is the finish. Each has a very specific role, and you can't expect one to do the other's job well. For the best result on your GTA project, you have to start with the right foundation.
What's the Best Primer for Covering Up Dark Paint?
When you’re trying to go from a dark, dramatic colour to something light and airy, you need a primer with serious hiding power. A high-quality, stain-blocking acrylic primer is usually your best bet.
Keep an eye out for products marketed as "high-hide" or "stain-blocking." They're packed with more solids to completely obliterate old colours, giving you a fresh, neutral canvas. This step is crucial for making sure your new, light paint colour looks true without needing a dozen coats.
Do I Really Need to Sand the Primer Before Painting?
Sanding isn't always a must-do, but it's what separates a good paint job from a great one. It’s the pro trick for achieving that flawlessly smooth finish.
Once the primer is completely dry, give it a quick, light once-over with fine-grit sandpaper—something around 220-grit is perfect. This will smooth out any tiny imperfections, bits of dust, or roller texture, creating an ideal surface for your paint to stick to. It's the secret to that glass-smooth wall you're after.
Ready to build a flawless foundation for your next painting project? Soca Services Painting brings expert advice and professional painting services to the table, ensuring your walls look absolutely perfect. Get in touch with us today