Want to know the secret to a professional-looking paint job? It’s not the expensive paint or the fancy brushes. The real key, the one thing that separates a flawless finish from one that peels and bubbles in a few months, is simply taking the time to clean your wall before painting.
Skipping this step is easily the most common mistake homeowners make. It seems small, but it’s the foundation for the entire project. This objective guide will provide the best structure for achieving professional results.
Why Wall Prep Is the Secret to a Flawless Paint Job
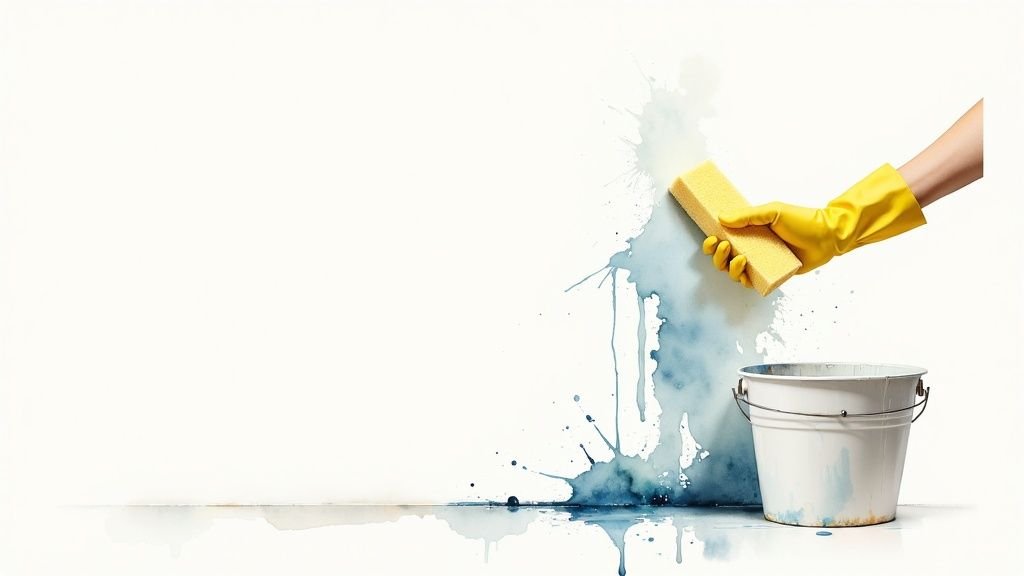
Ever wondered why a freshly painted room can start looking shabby so quickly? The answer almost always lies in what was—or wasn't—done before the first can of paint was even opened. Your walls, even if they look clean, are covered in a thin, invisible layer of contaminants that will ruin your hard work.
Think about what your walls go through every day. Kitchen walls collect a subtle film of cooking grease. Bathroom walls get hit with soap scum and steam residue. And in living rooms and hallways, you've got dust, fingerprints, and maybe even pet dander.
Trying to paint over that grime is like putting a sticker on a dusty surface—it just won't stick properly. The new paint bonds to the dirt, not the wall itself, which inevitably leads to cracking, bubbling, and peeling down the road.
The Foundation of a Lasting Finish
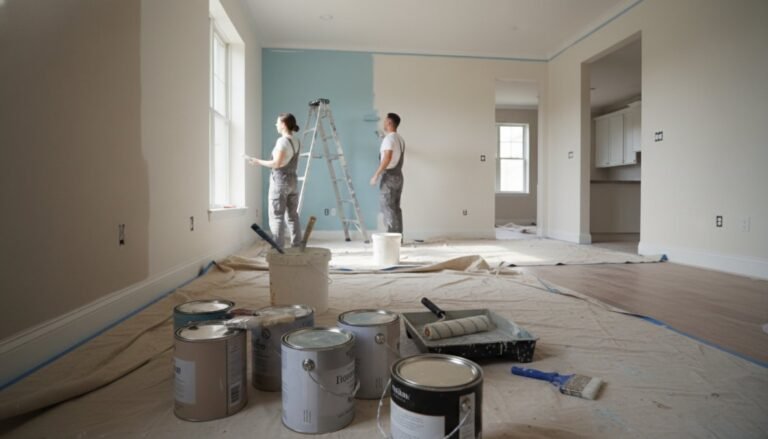
We see this play out all the time across the Greater Toronto Area (GTA). A homeowner in Mississauga gets excited to paint their living room over the weekend, skips the cleaning to save time, and it looks fantastic… for about six months. Then, little bubbles start appearing around light switches, and the paint begins to flake in the high-traffic corners. This isn't bad paint; it's a direct result of painting over years of accumulated grime.
Now, picture a homeowner in downtown Toronto who spent just one extra hour washing their walls properly. Years later, their paint job still looks fresh and pristine. That small investment of time upfront is the single best thing you can do to protect your bigger investment in paint and labour. If you're looking for the best painting services "near me" in the GTA, this is the level of prep you should expect.
Skipping the cleaning phase is like building a house on sand. No matter how high-quality your materials are, the foundation is weak, and the structure is destined to fail. Proper preparation is non-negotiable for a durable, professional-looking outcome.
More Than Just a Cleaning Task
Proper wall preparation isn't just a DIY tip; it's a cornerstone of the professional painting industry. The massive scale of the paint market, which you can see in industry data on sites like ibisworld.com, hinges on getting reliable, repeatable results. And that always starts with a clean surface.
Ultimately, taking the time to clean your wall before painting does more than just help with adhesion. It gives you a truly clean slate, which allows the authentic colour and sheen of your new paint to come through without being muted or discoloured by whatever was underneath. It sets the standard for the entire project.
For a complete walkthrough of the entire preparation process, from cleaning to patching, check out our full guide on how to prep walls for painting. It’s the best way to get your project started on the right foot.
Gathering Your Wall Cleaning Toolkit
Before you even think about cracking open a can of paint, let's talk about tools. Having the right supplies on hand doesn't just make the job easier; it transforms the entire process from a tedious chore into an efficient, professional-grade prep session. This objective is crucial for an optimal outcome.
The tools you choose have a direct impact on your final paint job. Here in the Greater Toronto Area (GTA), many seasoned pros swear by large, natural sea sponges. They might cost a bit more than synthetic ones, but they hold a ton of water without dripping everywhere and their texture is perfect for lifting grime without scratching the surface. They simply outperform and outlast the cheap alternatives.
Essential Supplies for a Streak-Free Clean
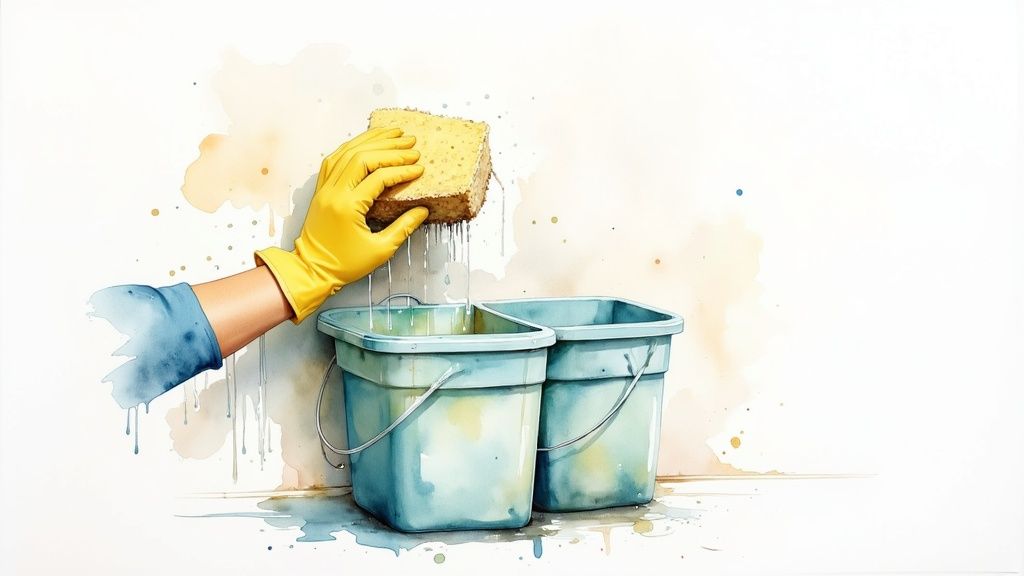
If you take away one thing from this section, let it be this: use the two-bucket system. This is non-negotiable for a truly clean, streak-free wall. You'll have one bucket for your cleaning solution and a second one filled with clean water for rinsing your sponge. This simple setup stops you from just smearing dirty water back onto the surface—a common mistake that leads to a dull, uneven finish.
Here's a quick rundown of what you should have in your cleaning arsenal:
- Natural Sponge or Microfibre Cloths: These are your best friends for trapping dirt gently.
- Two Buckets: Again, one for suds, one for a clean rinse.
- Drop Cloths or Plastic Sheeting: Protect your floors and furniture. It's easier to prevent a mess than to clean one up.
- Rubber Gloves: Keep your hands protected, especially from stronger cleaners.
- Safety Goggles: An absolute must if you're working with TSP or other harsh chemicals.
This infographic gives a great visual breakdown of what you'll need.
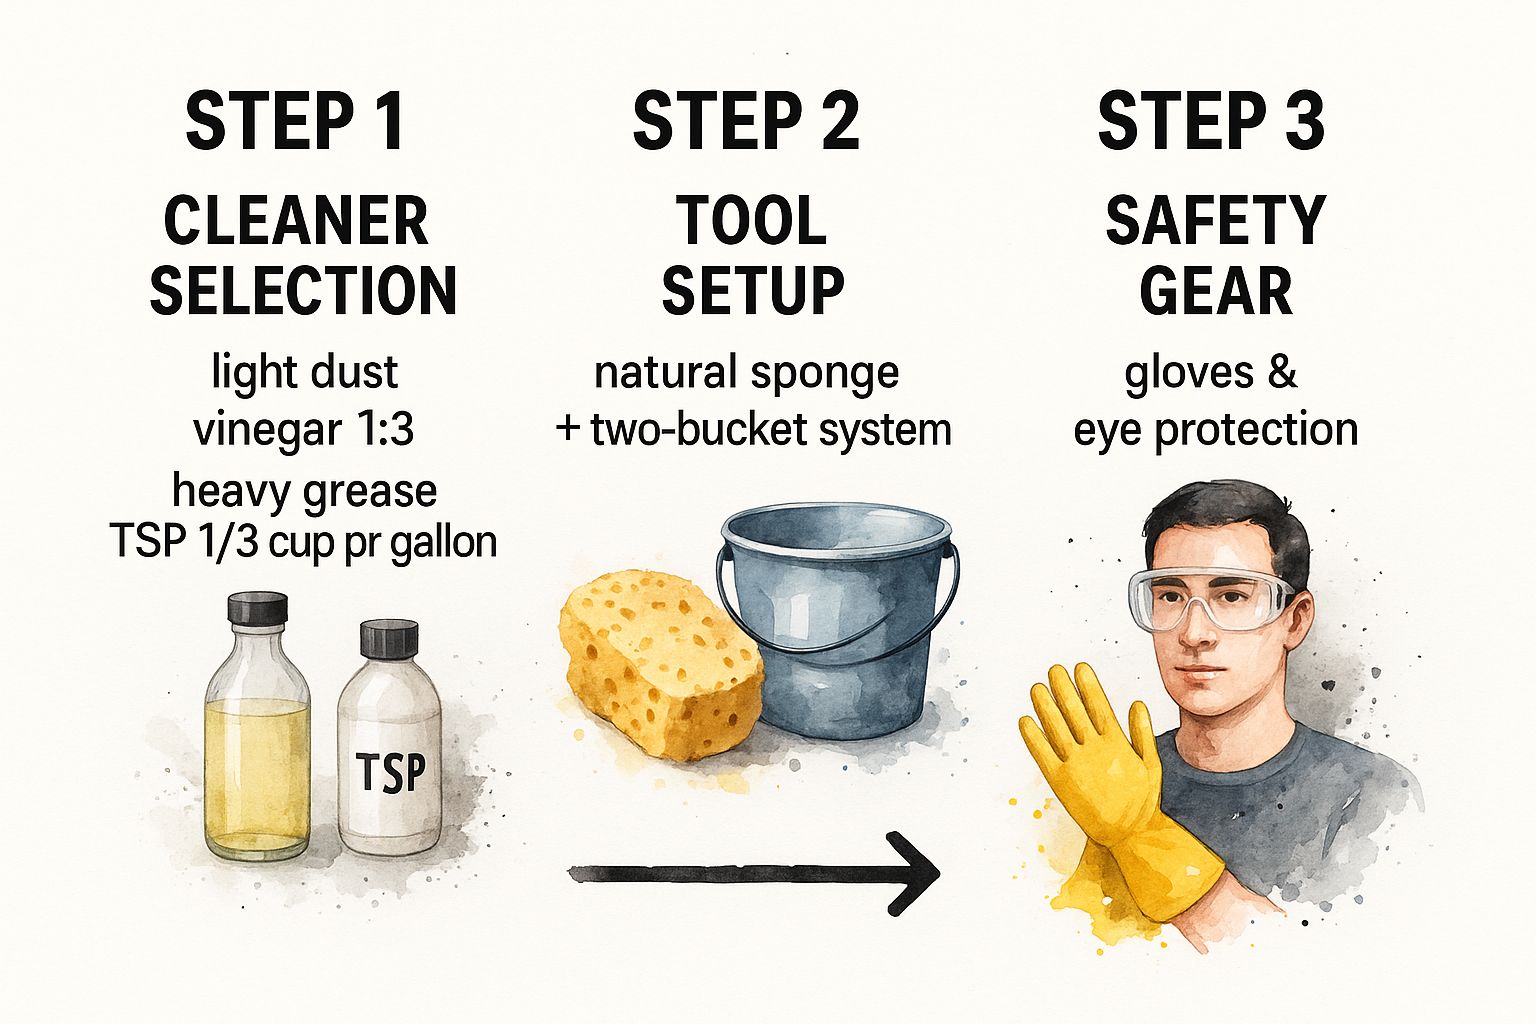
As you can see, the key is to adapt your toolkit to the kind of dirt you're dealing with, starting simple and bringing in the heavy hitters only when necessary.
Choosing the Right Cleaner
The cleaner you pick is just as crucial as your technique. For most walls with just a bit of dust and a few light scuffs, a simple mix of one part white vinegar to three parts warm water does the trick beautifully. But if you're tackling a greasy kitchen wall or a high-traffic hallway, you'll need more muscle.
Trisodium Phosphate (TSP) is the go-to for serious degreasing, but it's powerful stuff that demands respect and careful handling. A standard mix is about 1/3 cup of TSP per gallon of warm water. For those who want to dig deeper into what the pros use for unique stains, understanding different professional cleaning chemicals can be really insightful.
The objective is always to clean the surface without causing any damage. Start with the gentlest cleaner you think will work. You can always move to a stronger solution if the grime isn't budging. This protects your walls and gives the new paint a perfectly prepped surface to stick to.
Some surfaces, like textured ceilings, are a whole different ball game. They need a unique approach, which you can read all about in our detailed guide on how to clean a popcorn ceiling at https://socaservicespainting.com/how-to-clean-popcorn-ceiling/.
The Pro Method for Washing Walls
There’s a right way to clean a wall before painting, and it’s a method professionals swear by for a reason. It delivers a perfect, streak-free surface every single time. It's about more than just splashing some soapy water around; it’s a deliberate process that ensures every square inch is ready for a new coat of paint. And the first step might surprise you—it starts completely dry.
Before a drop of water ever hits the surface, you need to tackle all the loose dust, dirt, and cobwebs. Our recommendation is to grab a microfibre duster on an extension pole or use a vacuum with a soft brush attachment. Start right at the top where the wall meets the ceiling and work your way down systematically. This keeps dust from raining down on areas you’ve just cleared. Skipping this dry prep is a mistake that can compromise your final finish.
Choosing the Right Cleaning Solution for Your Wall
Different types of grime call for different cleaning solutions. What works for a dusty bedroom wall won't cut it in a greasy kitchen. Here’s a quick guide to help you pick the best cleaner for the job.
| Wall Condition | Recommended Cleaner | Mixing Ratio / Instructions | Best For |
|---|---|---|---|
| Lightly Soiled | Mild Dish Soap | A few drops in a gallon (approx. 4L) of warm water. | General dust, light scuffs, and fingerprints in bedrooms or living rooms. |
| Moderately Grimy | White Vinegar Solution | 1 part white vinegar to 3 parts warm water. | Cutting through stubborn grime and light odours without harsh chemicals. |
| Grease & Stains | TSP (Trisodium Phosphate) or TSP Substitute | Follow the manufacturer’s instructions carefully. Always wear gloves. | Kitchen walls with grease buildup, heavy smoke stains, or bathroom mildew. |
| Heavy Stains | Bleach Solution | 1 part bleach to 3 parts water. Ventilate well and wear protective gear. | Killing mould and mildew. Rinse thoroughly. |
Using the right cleaner not only makes the job easier but also ensures you're not leaving behind any residue that could interfere with your new paint.
The Bottom-Up Washing Technique
Now for the wet work. This is where the process might feel a bit backward, but it’s essential: wash your walls from the bottom up.
Why? It’s all about controlling the drips. If you start from the top, your cleaning solution will inevitably run down the dirty wall, creating clean streaks that are a nightmare to get rid of later. When you wash from the bottom up, any drips simply run down over an area that’s already wet with cleaner, allowing them to blend in seamlessly without leaving a single mark.
This little trick is a hallmark of professional painters across the Greater Toronto Area (GTA), from homes in Mississauga to condos in downtown Toronto. It’s a small detail that makes a world of difference.
A quick pro tip: Your sponge should be damp, not dripping wet. Wring it out thoroughly before you touch the wall. Over-saturating the surface can damage the drywall and dramatically increase your drying time, holding up the entire project.
Rinsing and Drying for a Perfect Finish
Once you've washed the entire wall, the rinsing process is the exact opposite—you'll work from the top down. Grab your second bucket filled with clean water and a fresh, well-wrung sponge. Rinsing from the top down pulls any remaining soap residue down and off the wall, leaving nothing behind that could interfere with the paint’s ability to adhere properly.
Drying is the final, non-negotiable step. How long it takes for a wall to dry completely really depends on the environment in your home.
- Well-Ventilated Room: In a room with good airflow from open windows or a fan, you’ll want to wait a minimum of 24 hours.
- Humid or Poorly Ventilated Area: For basements or bathrooms, especially during a humid GTA summer, it's safer to wait up to 48 hours.
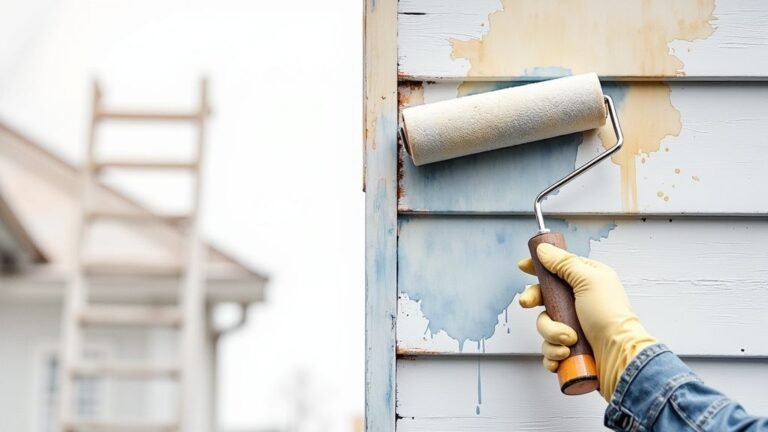
Trying to paint a wall that feels dry to the touch but still holds hidden moisture is a recipe for disaster. This is a primary cause of paint failure, and if you see problems later, you’ll find yourself needing to learn how to fix peeling paint and starting all over again. A little patience here pays off big time, ensuring your beautiful new paint job looks fantastic and lasts for years to come.
Tackling Tough Stains and Problem Areas
While a standard wash gets you most of the way there, some walls just put up a bigger fight. We’ve all seen it: the crayon masterpieces from a toddler, the stubborn nicotine film from a previous owner, or those ugly watermarks that keep reappearing.
Ignoring them is a recipe for disaster. They will bleed through a fresh coat of paint and ruin your hard work. These issues are common in homes all over the GTA, from older houses in Mississauga to busy family homes in Toronto. The trick is to figure out what you're dealing with and use the right remedy before you even think about picking up a primer.
A Troubleshooter's Guide to Common Stains
Not all stains are created equal. You cannot just throw the same cleaner at everything and hope for the best. In fact, using the wrong technique can sometimes set the stain permanently or make the problem even worse.
Here are a few of our go-to methods for the toughest culprits we see on the job:
- Crayon and Scuff Marks: For these surface-level annoyances, a simple DIY paste often works wonders. Just mix a bit of baking soda with water to form a thick paste. Apply it with a damp cloth and gently buff the mark away.
- Persistent Water Stains: First things first, you have to fix the leak causing the stain. Once the area is clean and bone dry, you must seal it with a shellac-based or oil-based stain-blocking primer. If you use a water-based primer, it will just reactivate the stain and pull it right through your new paint.
- Nicotine and Smoke Film: That greasy, yellowish film is notoriously difficult to cover, and a simple wash won't cut it. Your best bet is a solution of Trisodium Phosphate (TSP). A thorough cleaning with TSP is really the only way to get the wall clean enough for new paint to adhere properly.
For homes with years of deep-set grime, the job might be too big for DIY methods. In those cases, calling in professional deep cleaning services can be a smart move. It ensures a perfectly prepped surface and saves you a ton of time and frustration.
Addressing Mould and Mildew Spots
Bathrooms, basements, and any area with high humidity can be a breeding ground for mildew. Just painting over it is a huge mistake. The mould is a living thing, and it will simply continue to grow right underneath your new paint.
Start by treating the affected area with a solution of one part bleach to three parts water. Let that sit for about 10-15 minutes to kill the spores, then scrub the area clean and give it a good rinse with fresh water. Make sure the wall is completely dry before you even think about moving on to a good mould-resistant primer.
Remember, the objective isn't just to clean the surface but to solve the underlying problem. A stain is often a symptom—of a small leak, poor ventilation, or even old wallpaper adhesive. Addressing the root cause is the only way to get a lasting, professional-looking paint job.
Techniques for Textured Surfaces
Those textured finishes like popcorn or knockdown ceilings are magnets for dust and grime. Cleaning them takes a gentle but thorough approach so you don't accidentally dislodge the texture itself. We always recommend starting by using a soft-bristled brush attachment on a vacuum to get rid of all the loose debris.
When it's time to wash, use a light touch. A high-capacity sponge is great, but be careful not to oversaturate the surface. You'll need some patience to work the cleaning solution into all those little nooks and crannies, but this careful prep is what ensures the new paint coat looks even and professional.
If your project involves getting rid of old wallpaper first, our guide on how to remove wallpaper easily can be a real lifesaver.
Final Checks Before You Start Painting
Alright, your walls are clean, dry, and almost ready for a new coat of paint. It’s so tempting to just crack open a can and get started, but hold on. This final once-over is what really separates a decent DIY paint job from a professional one.
Now that the surface is clean, you’ll probably notice little imperfections that were hiding under the dust and grime. This means those tiny hairline cracks, old nail holes from pictures, or small dings from moving furniture around.
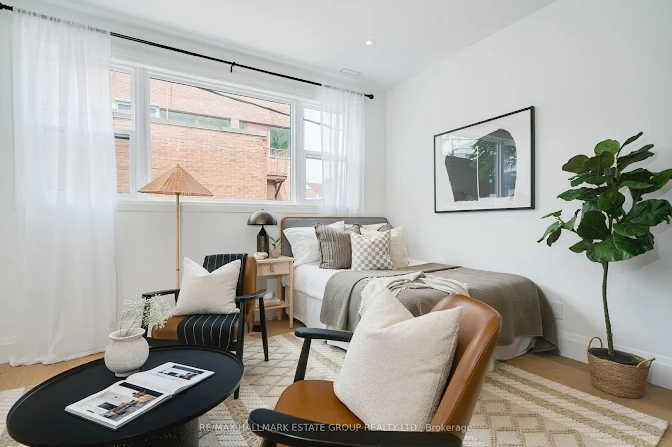
Spending a few more minutes on these details now is the secret to getting that perfectly smooth finish you're after. These tiny flaws might look like nothing now, but they will scream for attention under a fresh coat of paint, especially if you’re using anything with a sheen like satin or semi-gloss. We're aiming for a flawless canvas.
Patching Minor Imperfections
The great thing is, fixing these little spots is surprisingly easy. All you'll need is a small container of spackle, a flexible putty knife, and a fine-grit sanding sponge—something around 220-grit usually does the trick.
Just scoop a little spackle onto your knife and press it firmly into the hole or crack. You want to make sure it's filled completely. Then, holding your knife at a 45-degree angle, scrape away the excess. We always recommend overfilling it just slightly, because spackle shrinks a bit as it dries. Once it's fully cured (check the instructions on the tub for how long), give it a light sand until the patch is perfectly smooth and flush with the wall.
A quick pro tip: After sanding, always wipe the spot down with a clean, damp cloth. If you don't, you're just painting over a fine layer of dust. The paint will stick to the dust instead of the wall, and you'll end up with chipping or flaking down the road.
Understanding the Role of Primer
With your patches smooth and dust-free, the last big question is: do you need to prime? Primer is often overlooked, but it’s the key to making your topcoat look fantastic and last for years. Its main jobs are to ensure adhesion and create an even base so your colour looks uniform.
You absolutely, 100% must prime over any fresh spackle patches. Spackle is more porous than your drywall or existing paint, and if you paint directly over it, the patch will soak up the paint differently. This creates a dull, flat spot that stands out from the rest of the wall—an effect painters call "flashing." A quick dab of primer over these spots seals them up and makes the surface consistent.
Priming is also a must in a few other common situations:
- Going from Dark to Light: If you're trying to cover a dark, dramatic colour with a light one, primer will save you from applying endless coats of your new paint.
- Covering Stains: It’s essential for blocking stubborn water stains, smoke residue, or even crayon marks from bleeding through your new paint.
- New Drywall: Any bare, unpainted drywall needs a full coat of primer to seal the porous paper and gypsum.
Getting the prep right is the foundation of the entire painting trade. The global paints and coatings market was valued at an incredible USD 198.34 billion in 2023, which shows just how much this industry relies on proper techniques. From residential projects to huge commercial jobs, it all starts with a perfectly prepared surface. You can see more data on the painting industry's economic impact over on workyard.com. And if you're still deciding on the right product, you can learn more about what primer paint is used for in our detailed guide.
Got Questions About Prepping Walls for Paint?
Even the most seasoned DIYer runs into questions when it's time to clean a wall before painting. Let's tackle some of the most common ones we hear from homeowners across the GTA, from Mississauga to downtown Toronto. Getting these details right is what separates a decent paint job from a flawless, professional-looking finish.
A big one is whether plain old water is enough. Honestly, it depends entirely on what you're up against. For a bit of light dust in a spare bedroom, sure, warm water with a tiny drop of dish soap will probably work just fine. But for a kitchen wall that's seen its share of cooking grease, or a hallway covered in fingerprints and scuffs? Water alone won't cut it. It just can't break down those oils, leaving behind a subtle film that your new paint will refuse to stick to.
Do I Really Need to Clean Brand-New Drywall?
Yes, and this is a big one. It's probably the most critical step people skip. Freshly installed drywall is always coated in a fine, powdery layer of joint compound dust left over from sanding. You might not even see it, but trust us, it’s there.
Trying to paint over that dust is setting yourself up for failure. The paint will just cling to the loose dust particles instead of the wall itself, creating a weak bond. Before you know it, you'll be dealing with peeling or flaking paint. So, always give new drywall a thorough wipe-down with a damp cloth or a tack cloth before you even think about reaching for the primer.
A pro painter's trick: Run your hand over the wall. If you see a white, chalky film on your fingers, it's not ready for primer. Wiping it down isn't just a suggestion; it's essential for a finish that lasts.
How Long Should I Wait for Walls to Dry After Washing?
This is where a little patience goes a long way. Painting on a wall that's still damp is one of the main reasons for paint bubbles and poor adhesion. The surface might feel dry to the touch, but there can still be moisture lurking just beneath the surface of the drywall.
Here are a few solid guidelines for drying times:
- Good Conditions: If the room has decent airflow and low humidity, give it a minimum of 24 hours.
- Humid Spaces: For basements, bathrooms, or during a sticky Toronto summer, you're better off waiting up to 48 hours just to be safe.
Is It Really That Important to Rinse the Walls After Cleaning?
Absolutely. Rinsing is the final, crucial step of the cleaning process. Many cleaners, especially heavy-duty degreasers like TSP, leave behind an invisible residue. This chemical film creates a barrier between the wall and your fresh coat of paint, which can seriously interfere with how well it sticks.
Make sure you go over the entire surface again with a second bucket of clean water and a fresh sponge or cloth after you've finished washing. This simple step guarantees you're starting with a perfectly clean canvas, free of any grime or cleaner that could sabotage all your hard work.
If you'd rather have the best, professional finish without all the prep work, you can always trust the experts. Soca Services Painting delivers top-tier painting services across Toronto, Mississauga, and the GTA, handling every detail from start to finish. Get in touch today for a free estimate!