Yes, you can paint vinyl windows. However, for a successful, long-lasting result, the project requires meticulous preparation and the use of the correct vinyl-safe paint. This process offers a cost-effective way to enhance your home's curb appeal without the significant expense of full window replacement. Understanding the proper steps and potential risks is crucial before beginning.
Should You Paint Your Vinyl Windows? An Objective Look
Painting vinyl windows is a frequent topic of discussion among homeowners. On one hand, it represents a budget-friendly solution for updating an outdated colour or achieving a custom aesthetic. For many in the Toronto area, it is a viable project that can transform a home’s exterior.
Conversely, there is a strong argument against it if not done correctly. Vinyl is a non-porous, flexible plastic, which is a notoriously difficult surface for paint adhesion. Improper technique or materials will lead to a finish that peels, cracks, or bubbles, often within a year or two, leaving the windows in worse condition than before.
Understanding the Material and Its Limitations
Vinyl windows are engineered to be a low-maintenance product. The colour is integrated into the material during manufacturing, ensuring it resists chipping or fading for years. This inherent quality is what makes painting them a technical challenge. To better understand the material, it helps to review the manufacturing process of uPVC windows, which highlights why its slick surface resists adhesion.
Vinyl has become a leading choice for homeowners, now comprising over 50% of the residential window market share. Despite its popularity, nearly all major manufacturers advise against painting their products, which has historically led homeowners toward replacement for aesthetic updates.
A critical point to consider is the window’s warranty. In nearly all cases, applying paint to vinyl frames will immediately void the manufacturer's warranty. If your windows are still under coverage, you must weigh the value of a new colour against the loss of that protection.
Deciding between painting and replacing can be challenging. This objective comparison will help you weigh the pros and cons based on your home’s needs and budget.
Painting vs. Replacing Vinyl Windows: A Quick Comparison
| Factor | Painting Vinyl Windows | Replacing Vinyl Windows |
|---|---|---|
| Cost | Significantly lower, typically 1/3 to 1/2 the cost of replacement. | High upfront investment, including materials and professional installation. |
| Turnaround Time | Can be completed in a few days for an entire house, depending on scope. | Can take several weeks from ordering to final installation. |
| Customisation | Nearly unlimited colour choices to match your home's aesthetic. | Limited to the manufacturer's available colour options. |
| Durability | A professional job can last 5-10 years, requiring proper prep and paint. | New windows offer a long-term, factory-finish lifespan of 20+ years. |
| Warranty | Voids the existing manufacturer's warranty on the windows. | Comes with a new manufacturer's warranty for peace of mind. |
Ultimately, painting offers a cost-effective cosmetic upgrade, while replacement is a long-term investment in performance and durability. The best choice depends on your immediate needs and long-term goals.
Climate Impact in the GTA
For homeowners in Toronto, Mississauga, and the surrounding GTA, our climate introduces an additional challenge. The region experiences significant temperature fluctuations, from hot, humid summers to freezing winters, causing vinyl to expand and contract.
If the paint lacks the flexibility to move with the vinyl, it is guaranteed to fail. This is why a high-quality, vinyl-safe acrylic urethane paint is essential. These formulations are designed to remain flexible and durable through our intense seasonal shifts. Understanding paint longevity is key; learn more in our guide on how long you can expect your exterior paint to last.
The decision rests with the homeowner. When executed correctly, painting vinyl windows is a rewarding project that provides a fresh look for your home. However, it demands a commitment to proper preparation and the use of correct materials to achieve a beautiful, lasting finish.
Choosing the Right Supplies for a Lasting Finish
Painting vinyl windows requires specific materials; standard exterior paint is not suitable. The non-porous surface of vinyl necessitates products designed for superior adhesion and flexibility to prevent peeling, cracking, and failure.
Vinyl expands and contracts with the temperature changes common in the GTA, from Mississauga summers to Toronto winters. The paint must be flexible enough to accommodate this movement. Selecting the best supplies is critical for a successful outcome.
The Foundation: Your Primer and Paint
This is the cornerstone of the project, and using high-quality products is paramount. The primer and paint selection will largely determine the longevity and appearance of the finish.
-
Bonding Primer: This is a mandatory component. A premium bonding primer is formulated to adhere to difficult surfaces like vinyl, glass, and tile. It creates a stable anchor layer for the topcoat. Look for products specifically rated for use on plastics or vinyl.
-
Vinyl-Safe Acrylic Urethane Paint: This is the correct topcoat for the job. Standard latex paint is too rigid and will crack as the vinyl moves. Acrylic urethane enamel offers superior flexibility and adhesion, allowing it to stretch and shrink with the window frame. Leading brands offer "vinyl-safe" formulas tinted to a Light Reflective Value (LRV) of 55 or higher, which is crucial for managing heat absorption.
A critical warning: selecting a dark paint colour is a significant risk. Dark colours absorb solar heat, which can cause the vinyl to overheat, warp, and potentially damage the window's thermal seal. Always use lighter, manufacturer-approved vinyl-safe colours for the best, most durable results.
Essential Tools for Preparation
Proper preparation is the most critical phase of the project. The correct tools streamline this process and ensure a surface that is optimized for primer adhesion. The objective is to create a perfectly clean and lightly abraded surface.
- Cleaner: A product that can remove built-up grime, pollen, and oxidation is necessary. A TSP (Trisodium Phosphate) substitute or a dedicated vinyl siding cleaner is effective.
- Scrub Brushes and Rags: A non-abrasive scrub brush or sponge is needed to apply the cleaner without scratching the vinyl. A supply of clean, lint-free rags is also required for drying.
- Sandpaper: A fine-grit sandpaper—220-grit is ideal—is used for light scuff-sanding. The goal is not to remove material but to de-gloss the surface, creating a micro-profile for the primer to adhere to.
- Painter’s Tape: High-quality painter's tape is essential for creating crisp, clean lines and preventing paint from bleeding onto glass or surrounding surfaces.
Application Tools: Brush vs. Sprayer
The application method significantly impacts the final appearance. The choice between a brush and a sprayer depends on budget, experience, and the desired finish. For homeowners in the GTA, the objective is often a smooth, factory-like finish. Both methods can achieve this, but they follow different processes.
Comparing Application Methods
| Application Method | Pros | Cons | Best For |
|---|---|---|---|
| High-Quality Brush | Excellent control for detail work. Low cost and simple setup. No overspray. | Can leave subtle brush marks without proper technique. A slower process. | Smaller projects, intricate trim, or projects without access to spray equipment. |
| HVLP or Airless Sprayer | Delivers a flawless, smooth finish. Extremely fast application. | Requires extensive masking to control overspray. Higher cost and a learning curve. | Large projects with many windows or when seeking a perfect, professional result. |
A high-quality synthetic bristle brush can yield excellent results with patient, methodical application. However, for a superior finish, a sprayer is the optimal choice. For more details, check out our guide on choosing paint brushes and rollers to select the right tool for your project.
The Critical Prep Work for a Flawless Result
Professional painters from Toronto to Mississauga agree that preparation is the most important part of the job. It is the absolute foundation of painting vinyl windows. Insufficient prep work leads to peeling, bubbling, and a finish that will not withstand a single GTA season.
The objective is to transform a slick, non-porous plastic into a surface that primer can bond to securely. Without this foundation, even the best vinyl-safe paint will fail.
A Deep and Thorough Cleaning
First, the window frames must be meticulously cleaned. Over time, vinyl accumulates grime, mildew, pollen, and chalky oxidation. Paint will not adhere to a contaminated surface.
Use a quality cleaner, such as a Trisodium Phosphate (TSP) substitute or a dedicated vinyl siding cleaner, mixed according to the manufacturer's instructions.
- Scrub Methodically: Use a non-abrasive scrub brush or sponge to work the cleaning solution into every corner and crevice. Pay special attention to bottom sills where dirt and moisture accumulate.
- Rinse Completely: After scrubbing, rinse the frames thoroughly with clean water. Any remaining cleaner residue will inhibit adhesion as much as the original dirt.
- Dry Completely: Allow the windows to air dry completely. This may take several hours. Trapped moisture is a primary cause of paint bubbling.
This cleaning step is non-negotiable for a successful paint job.
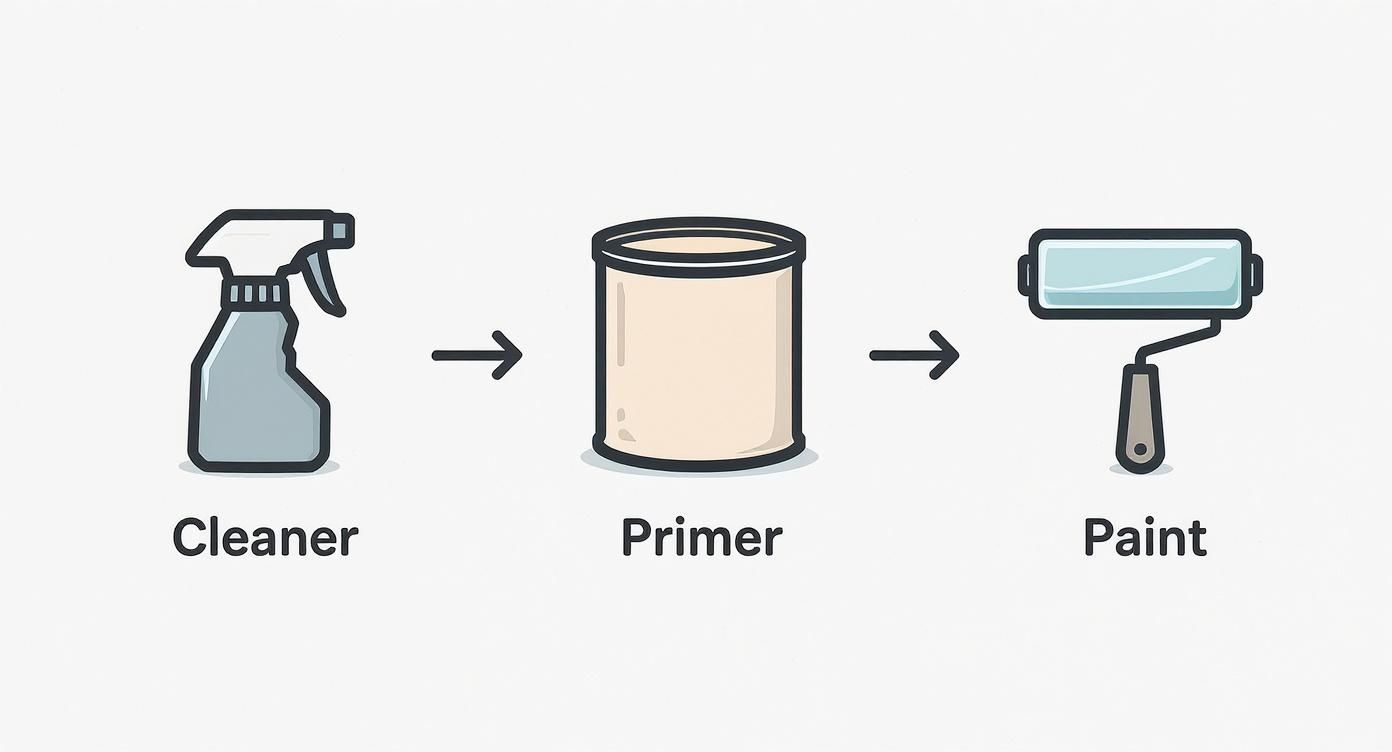
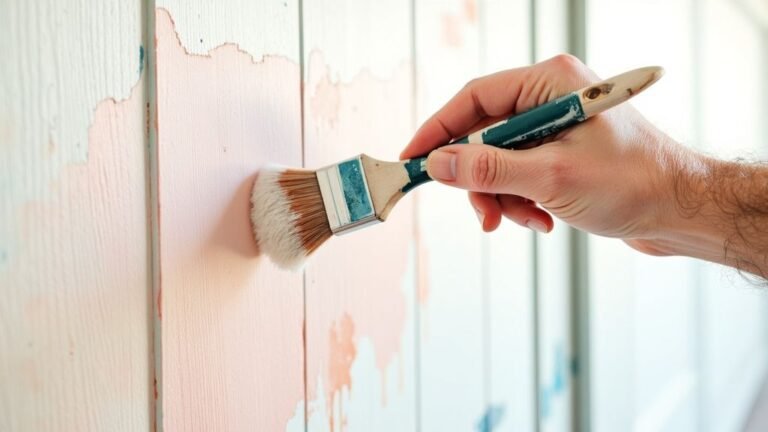
This visual illustrates the distinct, vital stages required for a lasting finish: cleaning, priming, and painting.
The Gentle Art of Scuff-Sanding
Once the windows are clean and dry, the next step is to create a "mechanical bond" for the primer by lightly scuff-sanding the vinyl. The objective is not to strip the surface but to gently etch it, removing the factory sheen and creating microscopic grooves for the primer to lock into.
Use a fine-grit sandpaper—220-grit is the ideal choice. A sanding block is effective on flat areas, while a flexible sanding sponge works best for curves and corners. Apply light, even pressure in a circular motion across all surfaces to be painted.
The process is complete when the vinyl has a uniform dull, matte appearance. Avoid aggressive sanding, which can gouge the vinyl. Afterward, wipe every frame with a tack cloth or a clean, damp rag to remove all dust particles.
Meticulous preparation is the secret ingredient. It is the difference between a project that provides years of satisfaction and one that fails by the next season. The time invested here yields the greatest return.
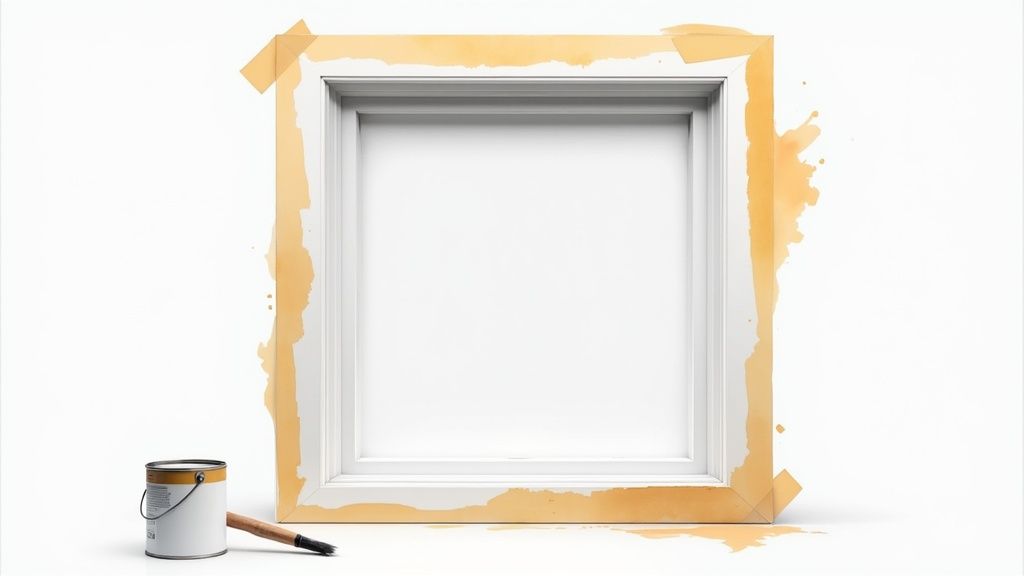
Masking for Crisp, Professional Lines
The final preparation task is to mask everything you do not want painted, including glass panes, surrounding siding or brick, and window hardware. This step ensures sharp, clean lines for a professional appearance.
Use a high-quality painter's tape with good adhesion that removes cleanly. Apply it in long, continuous strips. Press the edge down firmly with a putty knife or credit card to create a tight seal and prevent paint bleed.
For the best results and easier taping, it is advisable to learn how to safely remove window screens before you begin.
By completing this prep work, you not only ensure a better finish but also save on costs, as professional painting labour can range from $60 to $100 per hour. With cleaning, sanding, and masking complete, your windows are ready for the first coat of primer.
Applying Primer and Paint Like a Professional
With the preparation complete, the application phase begins. Patience and correct technique are essential for achieving a factory-like finish. Applying paint too thickly or rushing the process are common mistakes that undermine proper prep work.
The best method is to build up thin, even layers. This is non-negotiable for proper adhesion and a smooth, uniform appearance. These principles apply whether painting a home in downtown Toronto or a suburb like Mississauga.
The All-Important Bonding Primer
Primer acts as the critical link between the slick vinyl and the new paint. Its sole function is to adhere to a surface designed to repel coatings. Skipping this step will result in premature paint failure.
Apply one thin, even coat of bonding primer. When using a brush, use long, smooth strokes and avoid over-brushing areas that are starting to dry, as this can create texture. With a sprayer, maintain a consistent distance and use a steady, overlapping motion. The goal is a uniform, slightly translucent coat, not complete opacity. To understand why this layer is crucial, you can explore our detailed guide on what primer paint is used for.
Allow the primer to dry completely according to the manufacturer's instructions, typically a few hours. The surface should feel smooth, not tacky. Rushing this drying time will lead to peeling.
Applying the Topcoat for a Flawless Finish
Once the primer has fully cured, it is time to apply the colour. The best practice is to apply two light topcoats rather than one heavy coat. This method produces a more durable and professional-looking result.
When brushing, load the brush lightly and "tip off" the surface by gently dragging the bristle tips across the wet paint in one direction. This technique helps to level out brush marks.
If spraying, follow the same principles as with the primer: maintain constant movement to avoid drips and ensure complete coverage in corners and crevices. The objective is a streak-free finish.
A pro tip: Always adhere to the recoat time specified on the paint can. Applying the second coat too soon can re-wet the first layer, causing it to drag and create an uneven texture. Patience is essential for a smooth finish.
Even with the best technique, issues can arise. This guide helps troubleshoot common application problems.
Paint Application Troubleshooting Guide
| Problem | Cause | Solution |
|---|---|---|
| Brush Marks | Paint is too thick; applied too heavily; overworked as it was drying. | Thin the paint slightly if the manufacturer allows. Apply a lighter coat and avoid going back over semi-dry areas. "Tip off" the final stroke. |
| Drips or Sags | Applying too much paint in one area; holding a sprayer too close or moving too slowly. | If the paint is still wet, brush it out immediately. If dry, sand the drip smooth, then re-prime and repaint the area. |
| Peeling or Bubbling | Surface wasn't clean or dry; applied the second coat too soon; humidity was too high. | Scrape and sand the affected area. Clean thoroughly, let it dry, then re-prime and repaint, ensuring proper drying times between coats. |
| Poor Coverage | Paint was not mixed well; applied too thinly; primer was not fully dry. | Ensure paint is thoroughly mixed before and during use. Apply a second thin, even coat after the first has fully dried according to instructions. |
Following these solutions can help you address any issues and ensure a high-quality result.
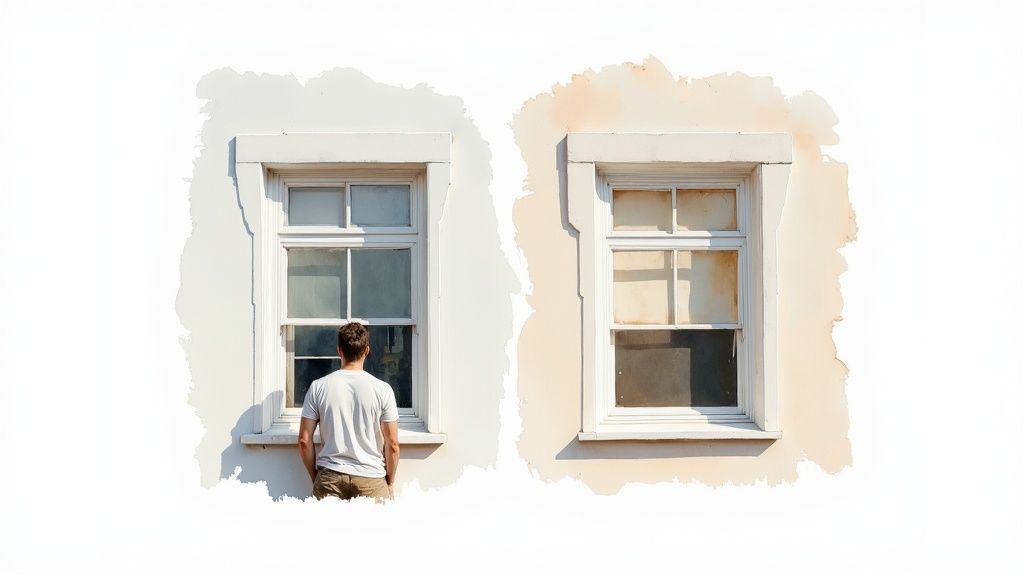
The Critical Role of Colour Choice
Choosing a colour for vinyl windows is a technical decision, not just an aesthetic one. Dark colours absorb significant solar heat, which is detrimental to vinyl, a thermoplastic material that softens and expands with heat.
A dark colour like charcoal or navy can cause the vinyl to reach excessive temperatures on a sunny day, leading to serious problems:
- Warping and Buckling: The frame can distort, impairing the window's operation and seal.
- Seal Failure: The stress of expansion and contraction can damage the seals of insulated glass units, leading to fogging between panes.
- Paint Failure: The extreme movement will cause even the best paint to crack and peel prematurely.
The industry standard is to use paints with a Light Reflective Value (LRV) of 55 or higher. These lighter colours reflect more sunlight, keeping the vinyl at a stable temperature. Most major paint brands offer "vinyl-safe" colour palettes to simplify this selection.
Understanding the Financial Incentive
Painting windows is often a sound financial decision. New, high-quality windows are a major investment. A standard vinyl window with Low-E double-pane glass can cost $500 to $800 per window for professional installation.
For a homeowner in the GTA with 20 to 30 windows, a full replacement project can easily cost between $10,000 and $25,000 or more. In comparison, a professional paint job provides a fresh, modern look for a fraction of the cost, making it one of the most effective exterior upgrades available.
Aftercare and Maintenance for Long-Term Durability
Once the final coat is applied, the work is not yet complete. The curing phase, which occurs over the next few weeks, is as important as the preparation. During this time, the paint develops its final hardness and durability.
Paint may feel dry to the touch in a few hours, but it is not fully cured. "Dry" means the solvents have evaporated; "cured" means the paint has undergone a chemical reaction to reach maximum hardness.
Navigating the Critical Curing Period
High-quality acrylic urethane paints require 21 to 30 days to cure fully. During this period, the finish is vulnerable to scratches, nicks, and scuffs. Handle the newly painted windows with care to protect the finish.
Proper tape removal is critical for achieving clean lines.
- Remove tape when the last coat is tacky but not fully wet. Waiting until the paint is completely dry can cause the paint film to tear when the tape is pulled.
- Pull the tape away from the new paint at a 45-degree angle. This technique helps to shear the paint film cleanly for the sharpest possible line.
Careful handling during the first few weeks is key to preventing accidental damage while the finish hardens.
Long-Term Care for Lasting Beauty
Once the painted vinyl windows have cured, maintenance is straightforward. Routine care will extend the life of the finish for years, even in the demanding GTA climate.
A gentle approach is always best. The goal is to clean the surface without abrading the paint. Avoid harsh chemicals or abrasive scrubbers, which can dull the sheen and compromise the paint's protective layer.
For regular cleaning, use a solution of warm water and mild dish soap. Apply with a soft cloth or sponge, then rinse thoroughly with a hose or a clean, damp cloth. This should be done once or twice a year to prevent dirt buildup.
Inspect your windows seasonally, especially those with high sun or weather exposure. Early detection of a small chip or peel allows for a quick touch-up. Addressing minor issues promptly prevents them from becoming larger problems. For more information, you can learn how to fix peeling paint on our blog.
A simple aftercare routine will keep your professionally painted vinyl windows looking their best and serve as a testament to a job done correctly.
Even after following a step-by-step guide, questions may remain. Painting vinyl windows is not a common project, and thoroughness is key. Here are answers to some of the most frequent questions we receive from homeowners across Toronto and the GTA.
Can I Paint My Vinyl Windows a Dark Colour?
This is a common question, and the answer is that it is strongly discouraged. Painting vinyl windows a dark colour—such as black, deep navy, or charcoal—is risky, particularly for windows with direct sun exposure.
Vinyl is a thermoplastic, meaning it expands with heat and contracts with cold. Dark colours absorb significant solar heat, causing the vinyl to become much hotter than its design tolerance. This can lead to several problems:
- Warping and Buckling: The frame can distort, making the window difficult or impossible to operate correctly.
- Seal Failure: The increased movement can break the airtight seals in insulated glass units, causing condensation to form between the panes.
- Paint Failure: The extreme expansion and contraction will stress the paint film, causing even the best products to crack, flake, and peel prematurely.
For a durable paint job, select light-to-medium shades. The best practice is to use paints marketed as "vinyl-safe" and choose colours with a Light Reflective Value (LRV) of 55 or higher.
Will Painting My Vinyl Windows Void the Warranty?
In nearly all cases, yes. Window manufacturers explicitly state that any modification to the factory finish, including painting, will void the warranty.
This clause exists because an improper paint job can cause damage (e.g., from heat absorption), for which manufacturers cannot be held liable. Before proceeding, review your window warranty documents. If your windows are still covered, you must decide if the aesthetic update is worth forfeiting that protection.
How Long Will a Paint Job on Vinyl Windows Last?
The longevity of painted vinyl windows depends on three factors: the quality of the surface preparation, the quality of the paint used, and the local climate. When all steps are executed correctly—with impeccable prep and a top-tier acrylic urethane paint—the finish can be expected to last from 5 to 10 years.
Homes in the Greater Toronto Area (GTA) are exposed to a challenging climate with humid summers and frigid winters, which places significant stress on all exterior coatings. Therefore, using the best materials and applying them with proper technique is essential for a durable, long-lasting finish.
Regular maintenance also plays a role. Gentle annual cleaning and inspections for any damage can help extend the life of the paint job and keep your windows looking their best for years.
Ready to give your home's exterior a professional and lasting refresh? For expert advice and flawless execution on your next project, trust the team at Soca Services Painting. Learn more about our specialized services and get a quote by visiting us at https://www.socaservicespainting.com.