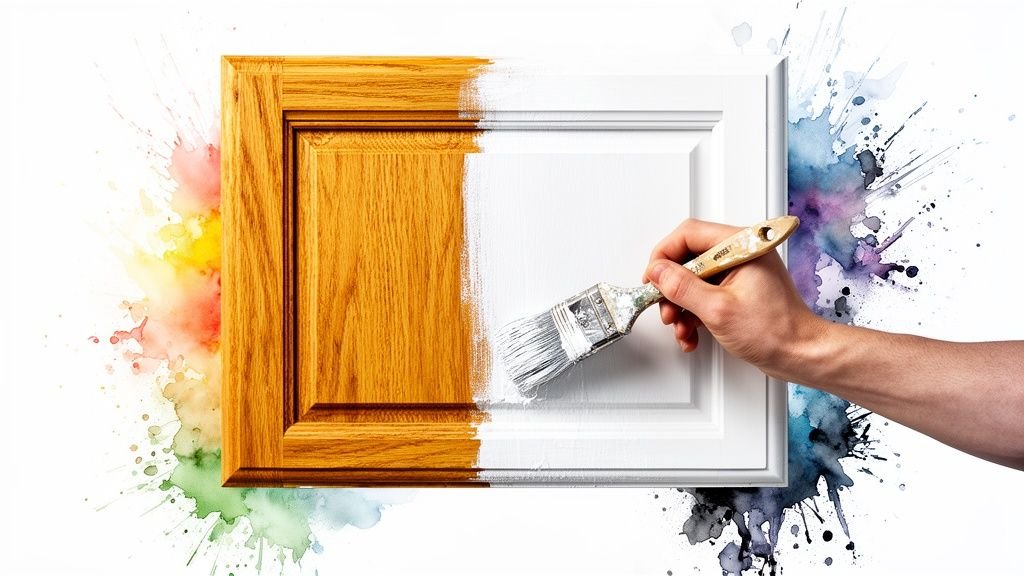
Yes, you can absolutely get a stunning, durable finish by painting over stained wood, and it's one of the most effective ways to modernize your space. This project can transform dated trim, cabinets, or furniture into fresh, clean features, but success hinges entirely on proper preparation and priming. As painting experts, we're here to guide you through the process, ensuring a professional-quality result.
Why Painting Stained Wood is Your Best Upgrade
That dark, stained trim or honey-oak cabinetry can really anchor a room in the past, even if the rest of your decor is modern. For homeowners and property managers across Toronto, Vaughan, and North York, painting over that old wood is a high-impact, cost-effective upgrade that delivers a premium look without the expense and hassle of a full replacement.
A professional paint job from Soca Services can instantly brighten your rooms and modernize the entire feel of your home. It's a smart investment that can also significantly boost your property's value, giving you a fresh canvas for your interior design. Imagine finally being able to choose from the thousands of modern wall colors from top brands like Sherwin-Williams and Benjamin Moore that just didn't work with the old wood tones.
A Smart Investment for Toronto Homeowners
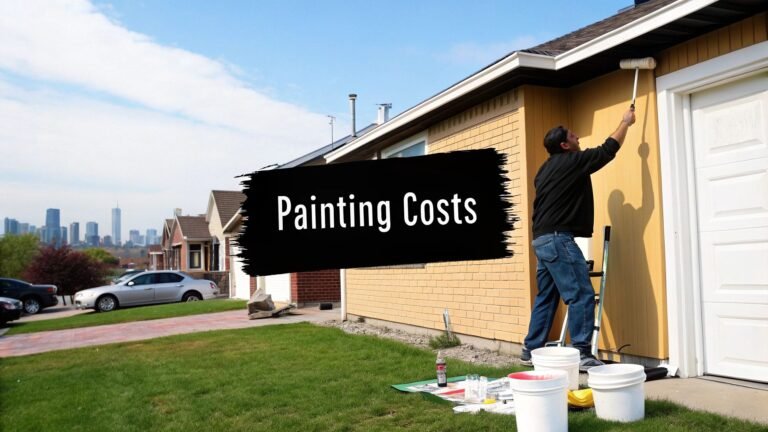
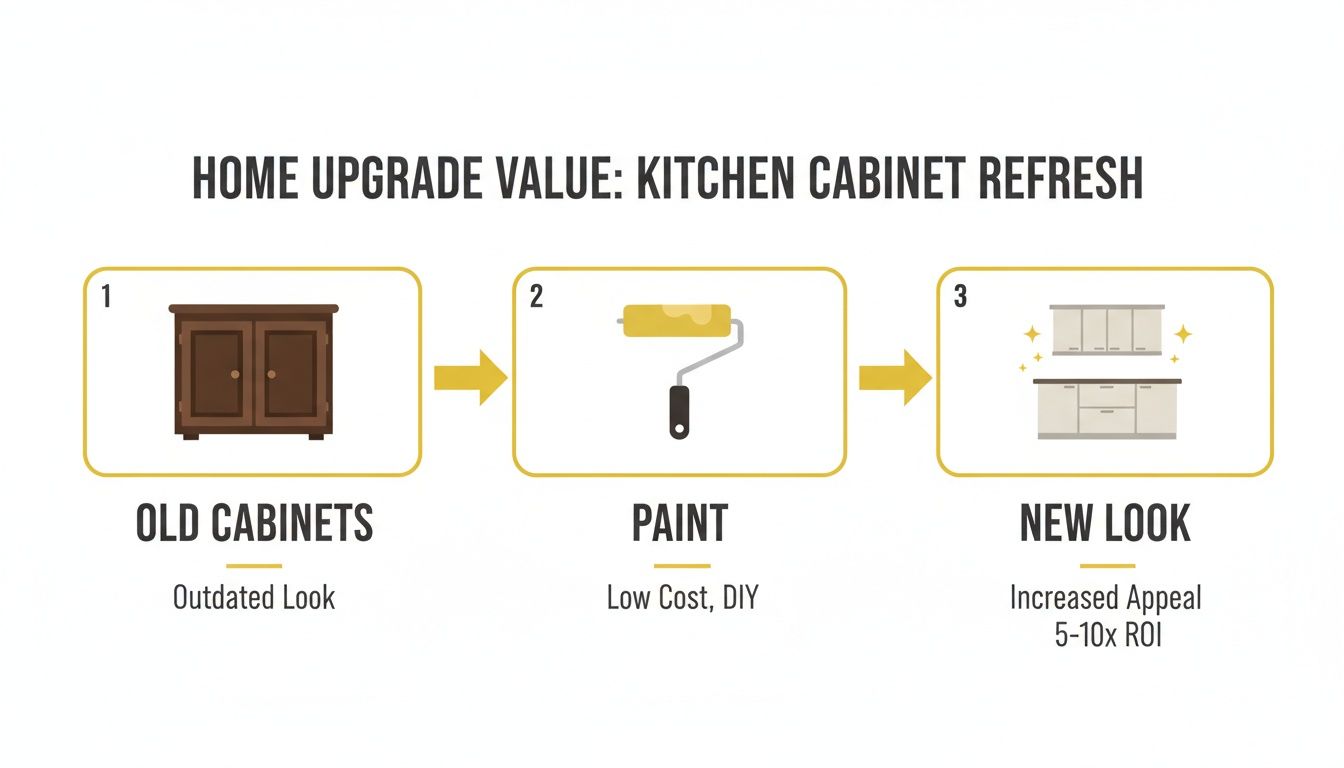
In Toronto's competitive real estate market, updates to kitchens and interiors provide a substantial return. In fact, professionally refinishing cabinets by painting over the old stain has been shown to contribute to a significant increase in home sale prices. When you consider that a professional job typically costs 60-70% less than installing brand-new cabinets, it’s a clear win for any savvy homeowner or commercial client.
Choosing to paint is more than a color change; it's a strategic investment in your property's appeal and value. It’s one of the simplest ways to refresh any space, completely altering its look and feel.
Ultimately, painting over stained wood is a fantastic way to modernize your home and increase its market appeal. You can see how it stacks up against other top investments by exploring the 10 Best Home Improvements for Resale.
If you're ready to transform your home in King City or the GTA, Contact Soca Services for a free estimate and see how our professional team can bring your vision to life.
Your Blueprint for a Flawless and Lasting Finish
The secret to a paint job that doesn't peel or chip a year later lies entirely in the preparation. This is where professional painters separate themselves from the amateurs, and it’s the most critical stage when painting over stained wood. Skipping these essential steps is the single biggest mistake that leads to paint failure.
Years of grease, cooking oils, and cleaning residues create a barrier that new paint simply can't stick to. Before you even think about picking up a brush, every inch of that wood needs a thorough degreasing and cleaning. This ensures your primer forms a strong, lasting bond with the wood itself, not the grime sitting on top of it.
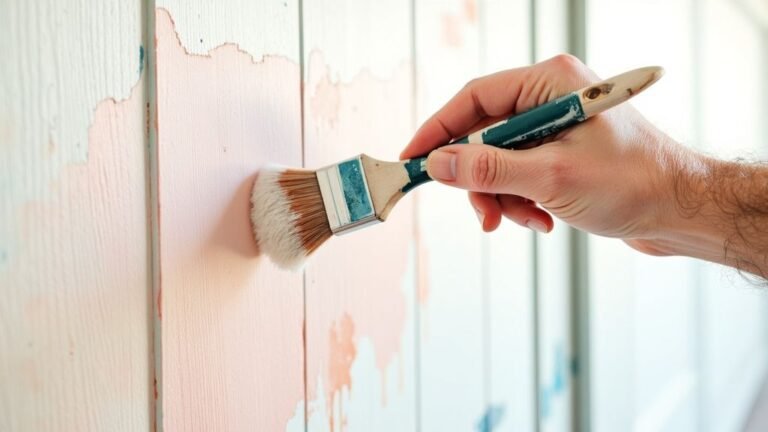
Sanding: The Key to Adhesion
Once the surface is completely clean and dry, the next non-negotiable step is sanding. The goal here isn’t to strip the old stain off entirely. Instead, you're just scuffing the glossy topcoat to create a microscopic texture for the primer to grip onto. This process is called "deglossing."
Using a medium-grit sandpaper, like 120-grit, is perfect for this task. It creates an ideal surface profile that maximizes the primer's ability to adhere, which is the foundation of a durable finish.
Meticulous preparation isn't just a step in the process; it is the foundation of a durable, high-end finish. Taking the time to properly clean and sand is what guarantees the beautiful, lasting results our clients in King City and North York expect from Soca Services.
This visual guide shows just how dramatically a professional paint job can revitalize old, stained cabinetry.
As you can see, even quality wood cabinets can look dated, but a professional paint application provides a complete, modern refresh.
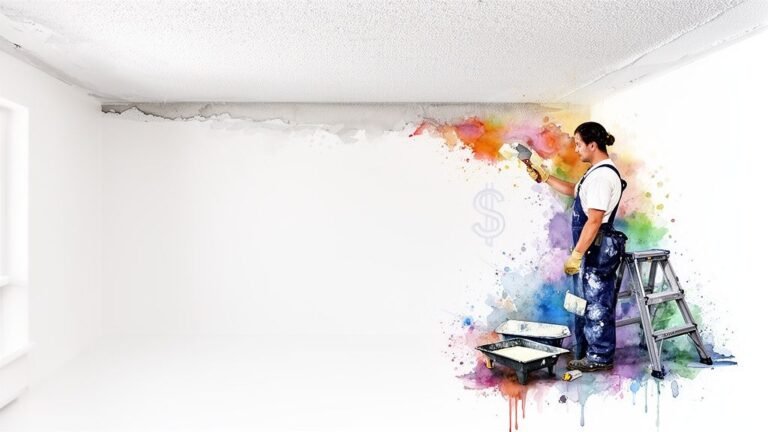
Of course, planning any project involves budgeting. To get a handle on materials and labor, it’s helpful to understand how to accurately estimate renovation costs.
Choosing the Right Primer and Paint for Stained Wood
When you're painting over stained wood, the single most important decision you'll make isn't the final color—it's the primer. We can't stress this enough. Think of primer as the essential foundation; without a solid one, the entire project is set up to fail.
This is especially true with woods like oak or mahogany. They're rich in natural oils called tannins, and if you use a standard latex primer, those tannins will bleed right through your new paint job, leaving you with ugly yellow or brown splotches. It’s a classic DIY mistake that’s completely avoidable with the right professional approach.
Lock in Stains With the Right Primer
The secret to a professional-looking finish is a top-tier, stain-blocking primer. While some modern water-based options have come a long way, experienced painters know that oil-based primers offer unmatched reliability on stained wood.
An oil-based primer creates a powerful, impermeable barrier. It literally locks in the wood tannins and any residual stain, preventing them from ever reaching your top coat. This guarantees your final color looks exactly as it should—pure, vibrant, and consistent.
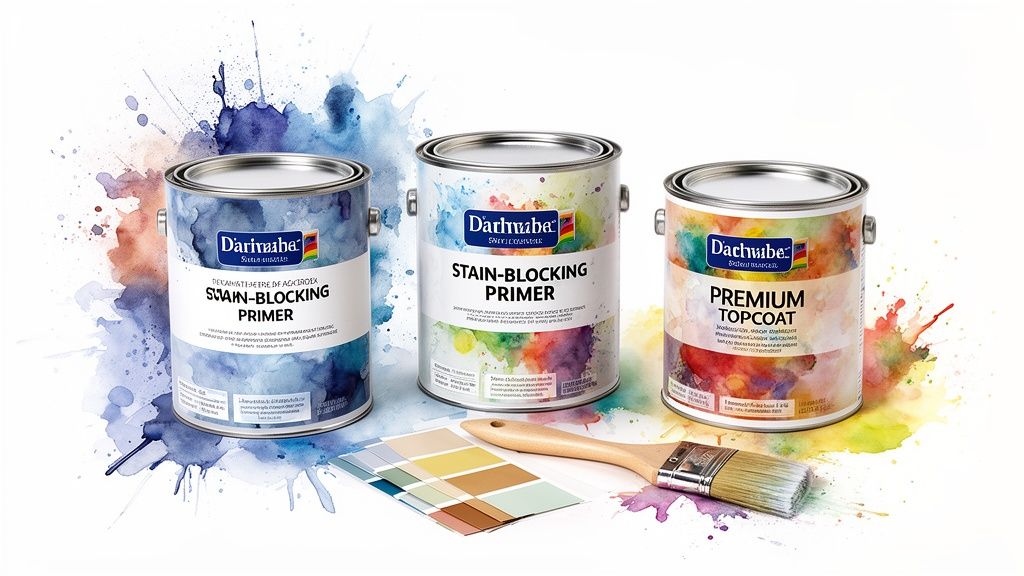
Select a Durable Top Coat
With the surface properly primed, you're ready for the paint. For anything that gets a lot of use—think kitchen cabinets, baseboards, and doors—durability is everything. You need a finish that can handle daily life. This is why at Soca Services, we exclusively use premium product lines from trusted names like Sherwin-Williams and Benjamin Moore; they're formulated for a harder, more resilient finish that lasts.
The sheen you pick also makes a big difference in both look and performance:
- Satin or Pearl: Our go-to for most trim and cabinetry. It has just a hint of a glow, offering fantastic washability without being overly shiny.
- Semi-Gloss: This gives you a tougher, more reflective surface. It’s incredibly easy to clean, making it perfect for high-traffic areas that take a beating.
To help you navigate the options, here's a quick breakdown of what works best for stained wood projects.
Primer and Paint Selection Guide for Stained Wood
| Product Type | Best For | Pros | Cons |
|---|---|---|---|
| Oil-Based Primer | Blocking heavy stains and wood tannins (oak, mahogany). High-adhesion on glossy surfaces. | Unmatched stain-blocking power. Creates a super smooth, durable base. Excellent adhesion. | Strong odor during application. Requires mineral spirits for cleanup. Longer dry time. |
| Shellac-Based Primer | Extreme stain blocking (smoke, water damage, knots). Sealing in odors. | Dries incredibly fast. Blocks virtually any stain. Sticks to almost any surface. | Brittle, so not ideal for areas prone to flexing. Potent fumes; requires good ventilation. |
| Water-Based Stain-Blocking Primer | General-purpose use on less problematic woods. Low-odor applications. | Low VOCs and minimal smell. Easy soap-and-water cleanup. Dries quickly. | May require a second coat to fully block stubborn tannin bleed. Less durable than oil. |
| Premium Acrylic Paint (Satin/Semi-Gloss) | Top coat for cabinets, trim, doors, and furniture. | Cures to a hard, durable finish. Resists scuffs and stains. Easy to clean. | Quality comes at a higher price point. Can show brush marks if not applied correctly. |
Ultimately, the goal is to create a system—a primer and a paint that work together to give you a finish that not only looks great but lasts for years.
A premium top coat isn't just about appearances; it’s a protective shell for the wood underneath. Investing in quality paint from the start means you won't be dealing with chips, scuffs, and fading just a few years down the line. That's the Soca Services promise.
Choosing the right products can seem daunting, but it's a critical part of the process. For a deeper dive into one of the most common projects, have a look at our guide on finding the best primer for kitchen cabinets.
How Professionals Apply Paint for a Factory-Like Finish
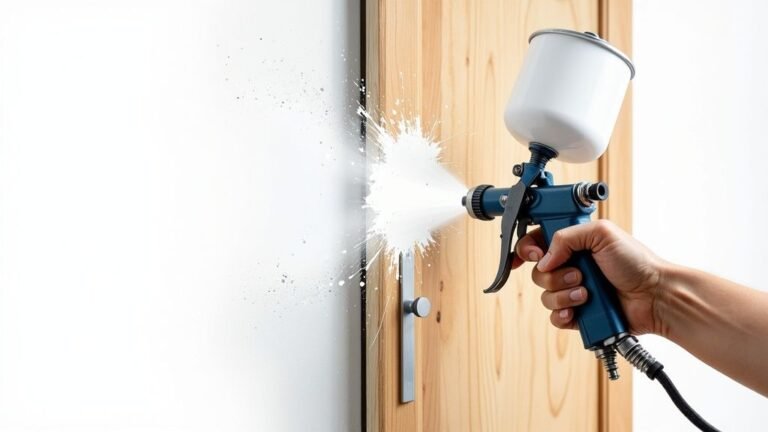
Getting that perfectly smooth, ‘just-left-the-factory’ look isn’t about magic; it’s about technique and the right tools. While a brush and roller certainly have their place, when you're dealing with cabinetry or detailed trim, the pros at Soca Services use specialized methods to achieve a flawless result. Our goal is to leave no trace of how the paint was applied—no brush marks, no roller stipple, just a uniform, durable surface.
The undisputed gold standard for this level of quality is professional spray painting. Instead of dragging bristles across a surface, a sprayer atomizes the paint, laying down several whisper-thin, even coats. This method gets into every nook and cranny of detailed millwork, ensuring complete coverage without the drips or pooling that are so common with manual application.
The Power of Patience and Precision
A huge part of the professional process, and one that's often overlooked, is allowing for proper dry time between each and every coat. Rushing this step leads to a soft finish that will scratch and chip easily. Each layer, from the first coat of stain-blocking primer to the final top coat, needs to fully cure to create that hard, resilient shell.
Professional painters know that patience is just as crucial as the paint itself. That time spent waiting between coats is what builds the layered strength needed for a finish that can actually stand up to daily life in a busy Vaughan or Toronto home.
This meticulous approach is what separates a good paint job from a great one. It's a known fact that updated kitchens can help homes sell much faster. For contractors, using a sprayer is key—it often yields 20% smoother results—and adding a clear topcoat can extend the paint’s lifespan by 5-7 years.
Tackling Details Without Drips
Think about detailed millwork or those popular shaker-style cabinet doors. This is where a professional sprayer truly shines. It applies paint evenly across all those complex profiles where a brush would almost certainly leave thick and thin spots. That precision is what guarantees a consistent sheen and a high-end result that elevates the entire space.
This is why so many homeowners and property managers in North York and King City choose Soca Services when painting over stained wood. It’s not just about a color change; it’s about investing in a durable, factory-like finish that looks and feels premium. If you're curious about how this technique could transform your kitchen, we cover the whole process in our guide to spraying kitchen cabinets.
Ready for a flawless finish? Contact Soca Services for a free estimate and let our experts deliver the quality your home deserves.
Looking After Your Newly Painted Wood
You’ve applied that final coat of paint, and your cabinets and trim look absolutely stunning. But the work isn't quite over yet. To make sure that beautiful finish lasts, you need to navigate one last, crucial phase: the curing period.
There's a massive difference between paint that's dry to the touch and paint that is fully cured. Your surfaces might feel dry in just a few hours, but underneath, the paint is still hardening and forming its ultimate protective shell. Think of it like a cake that's firm on top but still setting in the middle.
This complete curing process can take up to 30 days. During this vulnerable window, the fresh paint is susceptible to dents, scuffs, and chips, so you'll want to be extra careful with it.

Simple Steps for Long-Term Care
Once the paint has fully cured, keeping it looking pristine is surprisingly straightforward. The golden rule? Avoid harsh, abrasive chemicals and scrub pads, as they’ll just strip away the finish you worked so hard to achieve. A gentle touch is all you need.
Here’s our go-to method for routine cleaning:
- Use a Gentle Solution: A soft, damp cloth with a mild soap and water mixture is perfect. Microfiber cloths are fantastic for this.
- Clean Up Spills Immediately: Don't let things like coffee, wine, or grease sit. The faster you wipe them up, the less chance they have to stain.
- Skip the Heavy Scrubbing: If you encounter a stubborn spot, use a bit of gentle pressure with your cloth rather than reaching for a scouring pad.
For high-traffic areas like kitchen cabinets or your front door, our experts at Soca Services often recommend a professional-grade clear topcoat. It’s a worthwhile investment that adds another layer of defense against daily life, ensuring your painted wood remains a source of pride for a decade or more.
With just a little mindful care, your beautifully painted wood will keep that fresh, factory-like finish for years to come. If you’re ready for a project that’s built to last from start to finish, get a free estimate from Soca Services today.
Common Questions About Painting Over Stained Wood
When you’re thinking about painting over stained wood, a few key questions always come up. Having worked on countless interior painting projects across Toronto and Vaughan, the Soca Services team has heard them all. Here are our straightforward answers based on years of hands-on experience.
Can I Paint Directly Over the Stain?
Honestly, this is the one shortcut you just can't take. If you apply paint straight onto a stained and sealed surface, you're setting yourself up for peeling and chipping down the road. Most stained wood has a glossy topcoat that’s too slick for new paint to grab onto.
That’s why proper prep is non-negotiable. You absolutely have to:
- Clean the surface thoroughly to remove grease and grime.
- Give it a light sanding to scuff up the old finish.
This creates just enough texture for the primer to really bite into, creating the foundation for a paint job that will actually last.
Do I Really Need to Use a Primer?
Yes, primer is the most critical component in this entire process. It does two essential jobs: first, it gives the topcoat of paint a surface it can adhere to permanently. Second, and just as important, it acts as a barrier, stopping the old stain and natural wood tannins from bleeding through and ruining your beautiful new paint color.
For this kind of project, we always reach for a high-quality, stain-blocking primer. An oil-based formula is often the best bet to guarantee a flawless finish that stays true to its color.
Think of primer as the ultimate peacemaker between the old finish and the new paint. It creates a neutral canvas that ensures your final color looks exactly as you envisioned, without interference from what's underneath.
What Is the Best Paint to Use on Stained Wood?
For surfaces that see a lot of action, like kitchen cabinets, trim, or banisters, durability is everything. We rely on premium acrylic latex paints from trusted brands like Sherwin-Williams or Benjamin Moore. These paints are specifically designed to cure into a hard, resilient shell that can handle daily life.
Opting for a satin or semi-gloss sheen not only looks great but also makes the surface tougher and much easier to wipe clean. While we almost always recommend sanding, there are a few situations where you might be able to use a different technique. We cover some of those in our guide on how to paint furniture without sanding.
Ready to transform your stained wood with a flawless, professional finish? Soca Services provides expert interior painting services across Toronto, Vaughan, North York, and King City. Get a free estimate today!