Thinking about a fresh look for your home's exterior? You might be staring at your tired, chalky aluminum siding and wondering if painting is even an option. The answer is a resounding yes. In fact, using the best aluminum siding paint is one of the smartest ways to give your home a complete facelift without tearing everything off and starting over.
A professional paint job doesn't just slap a new colour on; it brings faded siding back to life, seriously boosts your curb appeal, and adds a crucial layer of protection that can last for years.
A Lasting Facelift for Your Home
Let's be honest, faded or dated aluminum siding can really drag down a home's appearance. For anyone looking for aluminum siding painting in Toronto, Mississauga, or the surrounding GTA, the thought of a full siding replacement is often daunting—it's expensive, disruptive, and a massive undertaking.
The great news is that you have a fantastic alternative. Modern paint technology has come a long way, offering a finish that's not only beautiful but also incredibly durable. This isn't a quick, temporary fix. When done right, a fresh coat of paint is a long-term investment in your home that will stand up to the harsh freeze-thaw cycles of a Canadian winter for a decade or more.
My objective here is to share my real-world, professional experience to help you get a finish that looks like it just rolled out of the factory.
Why Painting Is Such a Smart Move
Deciding to paint your aluminum siding goes way beyond just picking a new colour. It’s a practical choice with some serious advantages.
- It's Incredibly Cost-Effective: Painting your siding costs a fraction of a full replacement. We're talking about saving thousands of dollars while achieving a stunning, high-impact visual transformation.
- Boosts Your Property Value: Never underestimate the power of curb appeal. A crisp, freshly painted exterior makes your home stand out and can significantly increase its market value if you're thinking of selling.
- Adds Protection and Durability: A good quality acrylic paint acts as a shield. It seals out moisture, protects against damaging UV rays, and helps prevent dents and dings, ultimately extending the life of your siding.
- Total Creative Control: The sky's the limit. You get to choose from an endless palette of colours to perfectly match your personal style or complement your neighbourhood's aesthetic.
Understanding the Materials and the Market
The trend towards repainting isn't just a local phenomenon; it's backed by major industry shifts. The North American paints and coatings market is on a massive growth trajectory, projected to hit nearly $48 billion by 2030.
This boom is driven by homeowners looking for smarter, more sustainable, and budget-friendly ways to renovate. Repainting existing materials like aluminum siding fits that need perfectly. You can dive deeper into these market trends over at Persistence Market Research.
From the all-important prep work to the final brush stroke, this guide will cover everything you need to know. You'll walk away with the confidence to either tackle this project yourself or find the best professional near you to get it done perfectly.
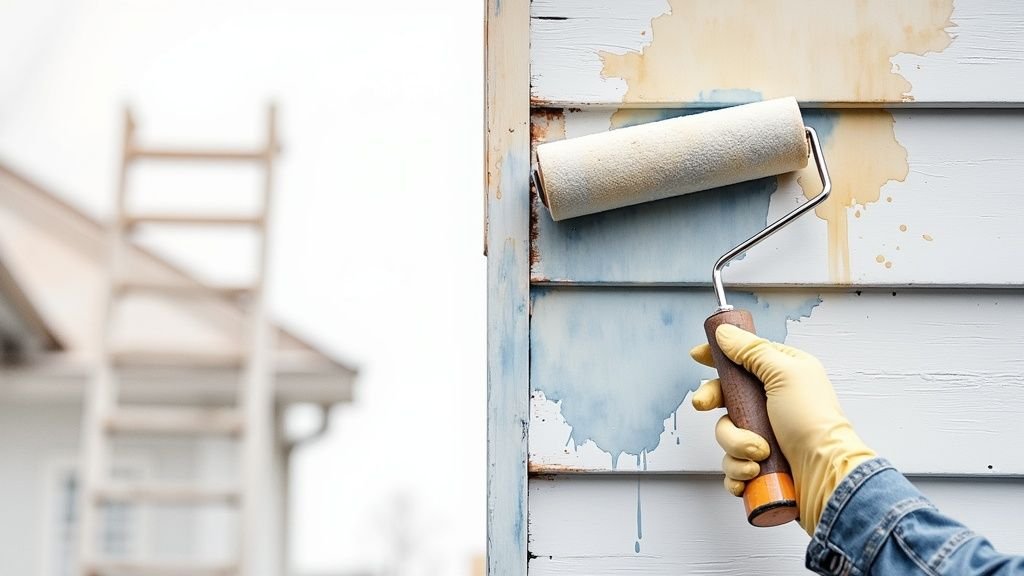
Preparing Your Siding for a Perfect Finish
If you want an aluminum siding paint job that looks brilliant for over a decade instead of failing in three years, it all comes down to one thing: preparation. From my years working across Toronto and the GTA, I can tell you this is the one stage where cutting corners absolutely guarantees a poor result. This isn't just about cleaning; it’s about creating the perfect canvas for the new paint to grab onto for the long haul.
When you do this foundational work correctly, your paint won’t chip, peel, or blister when it’s battered by Mississauga’s changing seasons. You’re essentially transforming that tired, weathered surface into a pristine, solid base ready for a fresh new look.
This objective workflow shows the key stages of bringing your home's exterior back to life, and it all starts with meticulous prep.
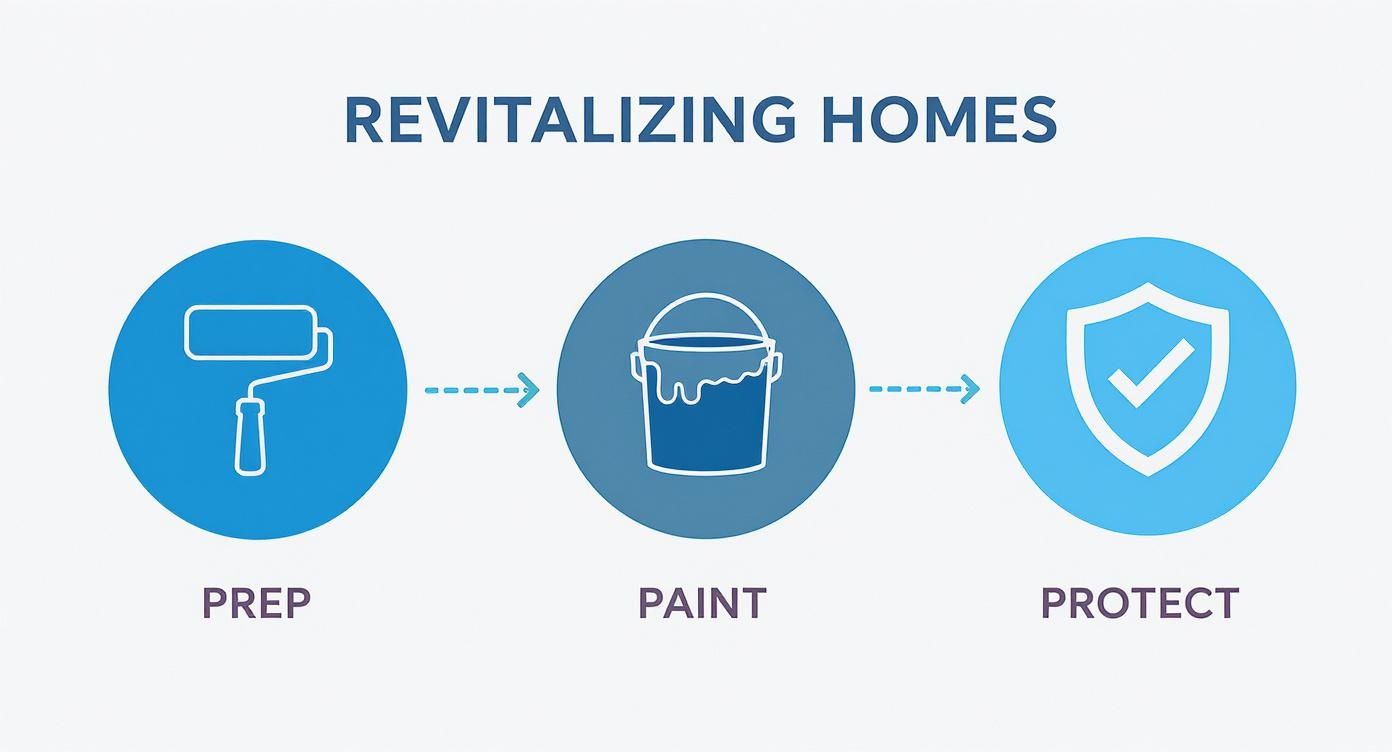
As the infographic shows, preparation isn't just a step—it's the foundation that everything else is built on.
Tackling Chalking and Surface Grime
The first and most common hurdle with older aluminum siding is chalking. That’s the powdery, white residue that comes off on your hand when you touch it. It’s a clear sign the old paint is breaking down, and it has to go. Painting over chalk is like building a house on sand; the new paint will just stick to the powder, not the siding, and it will fail fast.
To get rid of it, you'll need a good cleaning solution. A mix of TSP (trisodium phosphate) substitute, water, and a touch of household bleach usually does the trick. For a really thorough but gentle clean, it’s worth understanding soft wash house cleaning techniques, which effectively remove grime without the risk of damaging the metal.
Get a long-handled, soft-bristle brush and scrub every square inch, always working from the top down. Pay extra attention to the areas under eaves or overhangs, as that’s where dirt and mildew love to hide. Once you're done scrubbing, rinse everything thoroughly with a garden hose until the water runs completely clear.
The Right Way to Power Wash Aluminum
While hand-scrubbing gets the job done, a power washer can save a ton of time. But use it the wrong way, and you’ll cause more harm than good, from dents to water getting trapped behind the panels.
Here’s how to do it safely:
- Use a Low-Pressure Setting: Stick to 1500 PSI or less. Aluminum is a soft metal and a high-pressure jet will dent it in a heartbeat.
- Pick the Right Nozzle: A 25-degree (green) or 40-degree (white) nozzle is what you want. They create a wider fan spray that cleans well without concentrating too much force in one spot.
- Keep Your Distance and Angle: Hold the nozzle at least 12-18 inches from the siding and always spray at a downward angle. This is critical to prevent forcing water up and behind the siding panels, which can cause serious moisture issues later.
A critical mistake I see homeowners make is grabbing that zero-degree (red) nozzle, thinking it will clean faster. That’s the quickest way to permanently scar your siding with lines and dents that no amount of paint will ever hide.
Creating the Ideal Surface for Adhesion
Once the siding is clean and completely dry—and that can take up to 48 hours depending on the weather—it's time for the next phase. This is all about fixing imperfections and giving the primer a surface it can really bite into. The goal is a surface that’s clean, dull, and dry.
Start by looking for any peeling or flaking paint. Use a scraper to get the loose bits off, then grab some 180-grit sandpaper to "feather" the edges of the paint that’s still there. This creates a smooth transition between the old paint and the bare spots, so your repair won't show through the new topcoat.
Next, you need to scuff the entire surface. The slick, glossy finish of old siding is the enemy of good adhesion. You can lightly sand the siding on the whole house with a fine-grit sanding sponge. You’re not trying to strip the paint, just knock down the shine. This micro-abrasion creates millions of tiny scratches for the primer to lock onto. If you want to dive deeper, we have a guide on why proper prep is the secret to long-lasting exterior paint.
Finally, fix any small dents or holes with an acrylic latex filler made for exterior use. Apply it with a putty knife, let it dry, then sand it smooth. The very last thing you do before even thinking about opening a can of primer is to wipe down the entire surface with a damp cloth to get rid of every last bit of sanding dust.
Choosing the Best Paint and Primer
After putting in all that effort to get your siding prepped, the last thing you want is to use the wrong products. Choosing the best paint and primer for aluminum isn't like picking a colour for your living room. Aluminum has its own set of rules, and your product choice is what will make or break the whole project.
Walking into a paint store can feel a bit much, but for aluminum siding, the best choice is actually quite clear. Your one and only option for the topcoat should be a 100% acrylic latex paint made for exteriors. This isn't just a suggestion—it's a must.
Here in the GTA, aluminum siding expands and contracts a lot with the changing temperatures. Acrylic paint is flexible enough to move with the metal, which is exactly what you need to prevent ugly cracking and peeling down the road. Oil-based topcoats, on the other hand, dry hard and rigid; they just can't handle that movement and will fail, sometimes in the first year.
The Unbeatable Bond of the Right Primer
While the paint gets all the attention, it’s the primer that does the real heavy lifting on an aluminum siding job. If your prep work has left any patches of bare aluminum showing, using a top-quality oil-based (alkyd) metal primer is non-negotiable. This is the step that separates a pro-level finish from one that starts failing almost immediately.
Here's why: bare aluminum and latex primers don't mix. The ammonia in latex primers can react with the metal, creating tiny gas bubbles under your beautiful new paint. The result? Widespread blistering and peeling. An oil-based primer acts as a bulletproof barrier, stopping that chemical reaction cold and preventing oxidation. If you want to dive deeper into this, you can learn more about what primer paint is used for and see why it's so vital for adhesion.
Think of an oil-based primer as the perfect mediator between the raw aluminum and your acrylic topcoat. It creates a stable, neutral foundation that ensures your paint sticks properly and lasts for years.
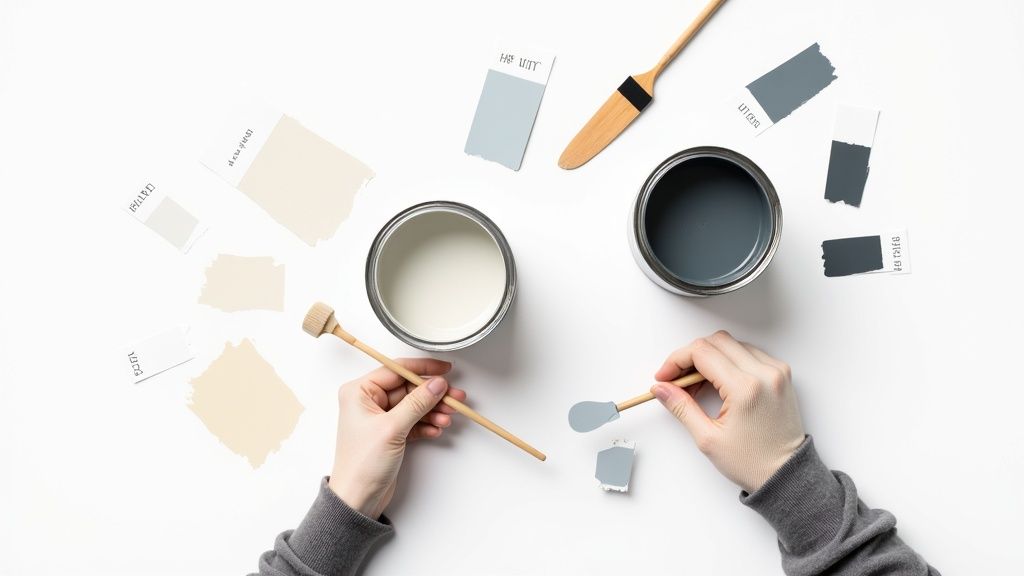
Selecting the Perfect Sheen for Your Home
Once you've got your 100% acrylic paint, you need to pick a sheen. This decision affects not just how your house looks but also how the paint performs over time. For aluminum siding, your best bets are satin or semi-gloss.
-
Satin Finish: This is easily the most popular choice, and for good reason. It has a soft, low-lustre look that’s fantastic at hiding minor dings and dents. It’s also durable and cleans up well.
-
Semi-Gloss Finish: If you want a sleeker, more polished appearance, semi-gloss is the way to go. Its hard film is incredibly resistant to moisture and stains, making it even easier to wash. Just be aware that its reflective nature will put every single surface imperfection on full display.
A little knowledge of basic home design color principles can go a long way here, helping you understand how different sheens and colours will interact with natural light on your home's exterior.
Paint and Primer Selection for Aluminum Siding
Seeing your options laid out clearly can make the final decision much easier. This table breaks down the best products, helping you match the right one to your specific needs for a flawless finish.
| Product Type | Key Feature | Primary Benefit | Best For |
|---|---|---|---|
| Oil-Based Primer | Superior Adhesion | Blocks oxidation and prevents latex paint reactions on bare metal. | Essential for any areas of bare or exposed aluminum. |
| 100% Acrylic Paint | Flexibility | Expands and contracts with the siding, preventing cracking and peeling. | The required topcoat for all aluminum siding projects. |
| Satin Sheen | Low-Reflective | Hides minor surface imperfections for a smooth appearance. | The go-to, forgiving finish for most aluminum siding. |
| Semi-Gloss Sheen | High-Reflective | Offers maximum durability and is very easy to clean. | Homes with smooth, well-maintained siding where a sleek look is desired. |
Ultimately, pairing the right oil-based primer on bare spots with a quality acrylic topcoat in your chosen sheen is the professional formula for success. It ensures the hard work you put into preparation pays off with a durable, long-lasting finish that looks fantastic.
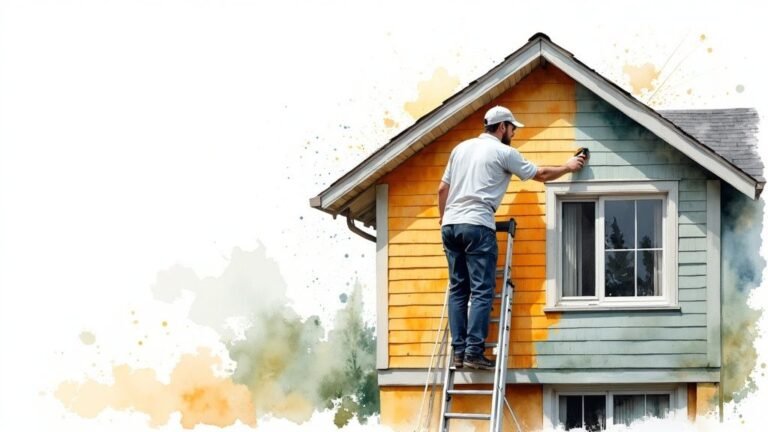
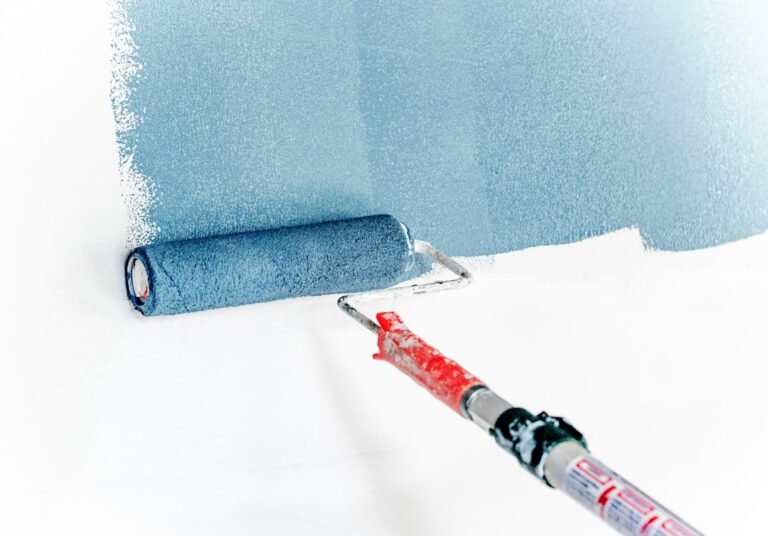
Mastering Your Painting Application
With all the meticulous prep work behind you, it’s time for the most satisfying part of the project—actually applying the paint. This is where your home's transformation really comes to life.
The method you choose will make a huge difference, not just in the final look but also in how long the job takes. Whether you go with the speed of a sprayer or the classic control of a brush and roller, the right technique is what separates a DIY job from a professional-grade finish. The goal is simple: an even, consistent coat of paint that bonds perfectly and stands up to the elements for years to come.
Spraying for a Factory-Smooth Finish
If you want a truly pristine, factory-like finish, nothing beats a paint sprayer. It atomizes the paint into a fine mist, creating a perfectly smooth surface without a single brush or roller mark in sight. This method is incredibly fast for covering large, uninterrupted stretches of siding, which is why most pros lean this way.
But there's a trade-off for that speed: the prep work is extensive. To avoid overspray—that fine mist of paint that seems to land on everything you don't want painted—you have to be absolutely thorough with your masking.
- Cover Everything: Use painter's tape and plastic sheeting to meticulously cover windows, doors, light fixtures, soffits, and gutters.
- Protect Your Yard: Lay down drop cloths to shield shrubs, gardens, and any walkways near the house.
- Pick the Right Tip: A .015 or .017 tip size is usually the sweet spot for spraying exterior latex paint. It gives you excellent coverage without laying the paint on too thick, which can lead to drips and runs.
Once you start spraying, keep the nozzle a consistent 10-12 inches from the siding. Move in smooth, steady passes, overlapping each one by about 50%. This ensures you get that beautiful, even coverage you're after.
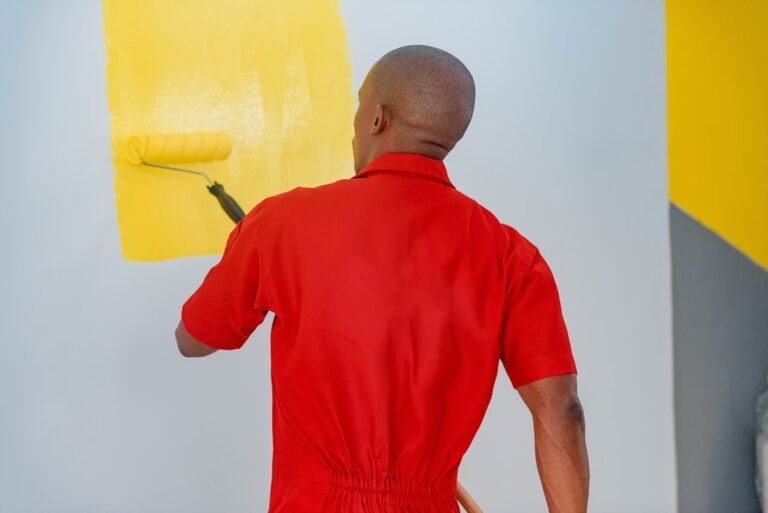
The Classic Brush and Roller Technique
If the idea of all that masking makes you groan, or you just prefer a more hands-on approach, the brush and roller method is a fantastic alternative. Sure, it takes more time and muscle, but it gives you incredible control and virtually eliminates the risk of overspray.
The real secret to a great rolled finish is avoiding lap marks. These are the noticeable lines that appear where wet and dry paint edges meet. To prevent them, you have to maintain a wet edge at all times. This just means you should only ever be applying fresh paint next to a section that's still wet.
Work in small, manageable areas—maybe three to four feet wide at a time—and complete each section from top to bottom before moving on. This systematic approach is the key to a seamless finish.
A common mistake I see DIY painters in Mississauga make is trying to "stretch" the paint on the roller too thin. Keep your roller well-loaded with paint. This is crucial for maintaining that wet edge and avoiding a patchy, uneven look.
For cutting in around windows, doors, and trim, a high-quality angled brush is your best friend. This is what gives you the crisp, clean lines that scream "professional." Many of these techniques apply to other siding materials as well; you can find more detailed advice in our guide on how to paint vinyl siding.
Working with Southern Ontario Weather
Here in the Greater Toronto Area, the weather can be your best friend or your worst enemy on an exterior paint job. Getting the conditions right is non-negotiable for proper curing and long-term durability.
Here's what you should be looking for:
- Temperature: Aim for a day between 10°C and 30°C. If it's too cold, the paint won't cure properly. Too hot, and it dries too fast, leaving you with brush marks and poor adhesion.
- Humidity: Low to moderate humidity is ideal. High humidity slows down the drying time and can trap moisture in the paint film, which is bad news.
- Sunlight: Never paint in direct, intense sunlight. The heat will literally bake the paint before it has a chance to bond with the siding, causing blisters and peeling down the road. Plan your day to "follow the shade" around your house for the best results.
Always, always check the forecast before you start. You'll need a solid 24-48 hours of dry weather after you finish painting to let the coating cure properly. There's nothing worse than watching a sudden rainstorm wash away all your hard work.
Budgeting for Your Aluminum Siding Paint Job in the GTA
Before you get too deep into choosing colours, let’s talk numbers. Figuring out the budget is a crucial first step for any home project, and painting your aluminum siding is no different. Whether you're planning to tackle it yourself or bring in the pros, a clear budget will keep the project on track and prevent any nasty surprises down the road. Costs in the Greater Toronto Area, from Mississauga to Toronto proper, can fluctuate, so it's smart to understand what shapes the final price.
Your budget will boil down to two key things: materials and labour. If you're going the DIY route, you're mostly looking at the cost of top-notch aluminum siding paint, a solid oil-based primer for any bare spots, and the necessary gear—rollers, brushes, painter's tape, and drop cloths. But if you’re hiring a crew, labour is where the bulk of your investment will be.
How Professional Painters Price a Job
When you start collecting quotes from local painting companies, you'll notice most of them price the job by the square foot. It’s the industry-standard way to give you a baseline estimate based on your home's size. But that’s just the starting point; a few other things can really move the needle on that initial quote.
Here’s what a professional painter is looking at when they build your estimate:
- Your Home's Size and Height: A sprawling bungalow is one thing, but a three-storey home in an older Toronto neighbourhood is another. Taller houses mean more equipment—think tall ladders or even scaffolding—and more safety considerations, which naturally adds to the labour cost.
- The State of Your Siding: If your siding has a lot of peeling paint, chalky residue, or a few dents and dings, the prep work is going to be far more intensive. All that extra scraping, sanding, and cleaning adds hours, and therefore cost, to the job.
- How Easy is it to Access?: Are there tricky corners, intricate architectural details, or a prized garden bed right up against the house that needs careful protection? Anything that makes the job more complex or slows the painters down will be factored into the price.
Getting familiar with the average painting rate per square foot can give you a much better sense of how these quotes come together. When you understand the pricing structure, you're in a much better position to compare the estimates you receive.
What to Expect Cost-Wise
While rates here in the GTA have their own local flavour, looking at broader industry numbers helps set a realistic expectation. Across North America, painting aluminum siding is a significant home improvement investment. Recent data suggests homeowners can expect to pay anywhere from $1.50 to $2.50 per square foot for a professional job.
For a typical 2,500-square-foot home, that works out to a total cost between $3,125 and $8,300. Professional painters typically charge between $25 and $100 per hour, with the higher end of that range reserved for more complicated projects. You can get a more detailed look at these numbers and what influences them by reviewing this cost breakdown from Angi.com.
One thing to keep in mind, especially for homeowners in older Toronto neighbourhoods, is the potential for lead paint. If your home was built before the late 1970s, you might need certified lead abatement, which is a specialized process that will add another layer to your budget.
Finding the Right Painter for the Job
This is probably the most important decision you'll make in this whole process. The best painter—one who really knows their way around aluminum siding—will deliver a flawless finish that can easily last a decade or more. They understand that the secret isn't just in the final coat of paint, but in the meticulous prep work that comes before it.
Your first step is to find the best local painters in the Mississauga and Toronto areas who specifically mention experience with aluminum. Once you've got a shortlist, it's time to do your homework.
- Always Get at Least Three Quotes: This isn't just about finding the lowest price. In fact, you should be wary of a quote that's dramatically lower than the others; it often means corners are being cut on prep or materials. The goal is to find the best value.
- Ask Smart Questions: When you're talking to a potential painter, dig into the details. Ask them to walk you through their process for preparing aluminum siding. What specific primer and paint do they recommend? (You want to hear 100% acrylic paint). Do they have examples of similar homes they've worked on?
- Verify Insurance and Check References: Any contractor you hire must have liability insurance and WSIB coverage. Don't be shy about asking for proof. A truly professional outfit will also be happy to provide you with references from recent clients who had the same kind of work done.
Common Questions About Painting Aluminum Siding
Even with a solid plan, a few questions always pop up before starting a big project like painting your home's exterior. It's completely normal. To help you feel confident moving forward, I've put together answers to the most common questions we get from homeowners around Toronto, Mississauga, and the rest of the GTA.
How Long Does a Good Paint Job Last?
This is the big one, isn't it? When you invest the time and money, you want it to last. If you've done your prep work right and used a quality 100% acrylic latex paint, you can reasonably expect the new finish to hold up for a solid 10 to 15 years.
Now, that lifespan really depends on a few things. The quality of your prep work is everything—you can't cut corners there. The paint quality itself is just as crucial. Here in Southern Ontario, our wild freeze-thaw cycles put paint to the test, which is why a flexible acrylic formula is non-negotiable. For a closer look at all the factors, our guide on how long exterior paint lasts gets into the nitty-gritty.
Is It Better to Spray or Roll Aluminum Siding?
For that super-smooth, almost factory-like finish, spraying is hands-down the best method. It atomizes the paint, leaving a perfect, even coat without any of the brush or roller marks you might otherwise see. It's also way faster for covering the large, flat expanses of siding.
The catch? Spraying requires a ton of prep work. You have to meticulously mask off everything you don't want painted—windows, doors, soffits, and even your neighbour's car if it's too close. Brushing and rolling is a great option if you're doing it yourself, but it takes patience to avoid lap marks. Honestly, a lot of pros, our crews included, do a bit of both: we'll spray the main sections for speed and finish, then cut in the trim with a brush for those sharp, clean lines.
Think about the trade-off between application speed and prep time. A sprayer gets the paint on fast, but masking can take hours. A roller takes longer to apply the paint, but setup and cleanup are much quicker. Your choice really comes down to your comfort level and the specifics of your house.
Can I Paint Directly Over Faded or Chalky Siding?
Let me be blunt: absolutely not. Painting over that chalky residue is one of the fastest ways to guarantee your new paint job will fail. That powder is the old paint literally breaking down. If you paint over it, the new coat is just sticking to dust, not the siding itself. It will peel, and it will happen fast.
You have to get that chalkiness completely off. A good scrub with a TSP substitute and a pressure washer on a low setting is usually the best way to handle it. The goal is a surface that's clean, dull, and bone-dry before a drop of primer ever touches it.
What Colours Are Best for Aluminum Siding?
Your personal taste is important, but I always steer people away from very dark colours for aluminum. Shades like deep charcoal, black, or navy blue soak up a huge amount of heat from the sun. This causes the metal panels to expand and contract dramatically.
All that extra movement puts a ton of stress on the paint, leading to cracking and peeling much sooner than you'd expect. Light to mid-tone colours are a much safer bet. They reflect heat instead of absorbing it, which means less stress on the siding and a longer life for your beautiful new paint job.
Ready to give your home the best professional finish it deserves without all the hassle? The expert team at Soca Services Painting has the experience and precision to revitalize your aluminum siding, ensuring a beautiful, durable result that stands the test of time. Visit us online to get your free, no-obligation estimate today!