

Painting vinyl siding is a highly effective way to update your home's appearance without the significant cost of replacement. The key to a durable finish is using a 100% acrylic latex paint specifically formulated to be "vinyl-safe." This type of paint accommodates the expansion and contraction of siding with seasonal temperature changes, which is critical for preventing cracks and peeling.
Should You Paint Your Vinyl Siding?
Homeowners often face the choice: paint or replace? Painting can completely transform your home's exterior. However, the project requires careful planning and execution to achieve long-lasting, professional-quality results. Let's analyze whether this is the right approach for your home.
A new coat of paint provides an immediate and significant visual upgrade. If your siding is faded, chalky, or an outdated colour, painting offers a wide range of modern palettes. It allows you to reflect your personal style and enhance your home's curb appeal without a full-scale renovation.
Painting vs. Replacing Siding: A Quick Comparison
The decision between painting and a full siding replacement depends on several key factors. This table outlines the essentials to help you determine which option best aligns with your budget, timeline, and long-term goals.
| Factor | Painting Siding | Replacing Siding |
|---|---|---|
| Cost | Significantly lower initial cost. Can save up to 70%. | High upfront investment in materials and labour. |
| Timeline | Much faster project, minimizing disruption at home. | A longer, more invasive process that takes weeks. |
| Customisation | Huge range of colour choices for a personalized look. | Limited to manufacturer's available colours. |
| Durability | A professional job lasts 5-10 years with proper prep. | New siding can last 20+ years, depending on the material. |
| Home Value | Boosts curb appeal and offers a solid return on investment. | A major upgrade that significantly increases home value. |
Ultimately, if your siding is structurally sound but cosmetically worn, painting is a smart, cost-effective solution that delivers excellent results.
Cost Versus Replacement
The primary motivation for painting is the substantial cost savings. For homeowners in the GTA, from Mississauga to Toronto, replacing vinyl siding is a major financial commitment. In contrast, the best professional paint job is a fraction of that cost, making it a budget-friendly alternative.
- Significant Savings: Painting can save you up to 70% compared to the cost of a full replacement.
- Increased Home Value: A modern, well-maintained exterior boosts curb appeal and can increase your property's market value.
- Faster Turnaround: Painting is a much quicker project than tearing off and installing new siding, resulting in less disruption.
Project costs can range from $300 for a small DIY job up to $10,000 for a very large home with premium materials. Most homeowners should budget approximately $4,000 for a quality, professional job.
Understanding the Material and Process
Before proceeding, it is important to understand the material. Identifying your specific type of siding is a crucial first step, as different materials have unique properties. You can learn more by understanding the different types of siding.
It is also important to be aware of potential drawbacks. Painting your siding may void its warranty; it is wise to check with the manufacturer first. Proper preparation is non-negotiable. Skipping the cleaning and preparation stage will result in paint failure. For those considering a complete exterior project, our guide on the exterior painting of a house may be useful.
The success of a vinyl siding paint job hinges on using the right product. Modern vinyl-safe paints are engineered with acrylic and urethane resins that bond to the vinyl and flex with temperature changes, preventing the cracking and peeling common with standard exterior paints.
In conclusion, painting is an excellent choice for siding that is structurally sound but cosmetically dated. It adds a durable, protective layer against the elements and provides a fresh, updated look.
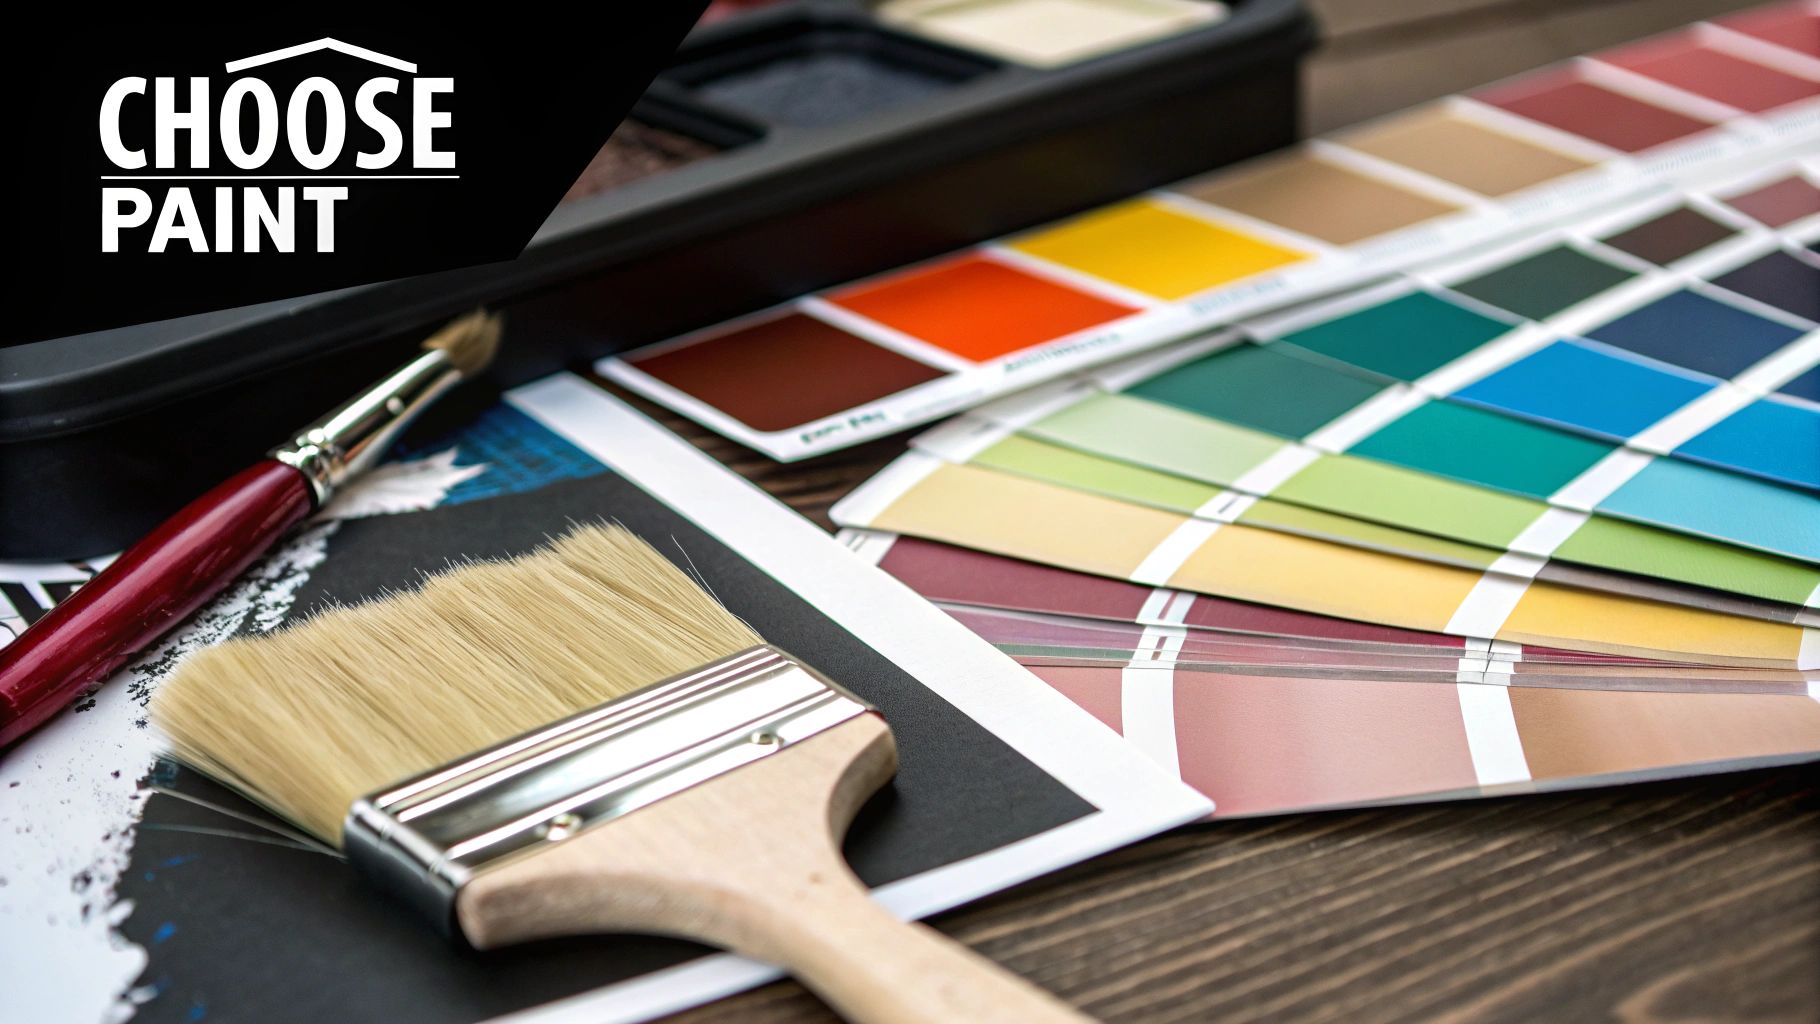
Picking the Right Paint and Primer for Your Vinyl
The success of your project depends entirely on the materials selected. Choosing the right paint and primer is the most critical decision in this process. It is not advisable to use any standard exterior paint.
Vinyl siding expands and contracts with the temperature fluctuations experienced in the Greater Toronto Area. Most standard exterior paints are too rigid for this movement. When the vinyl moves, inflexible paint will crack, flake, and peel.
This is why "vinyl-safe" paint is the correct solution.
Why Vinyl-Safe Paint is Your Only Real Option
Vinyl-safe paint is a specific formula engineered for this application. These paints are almost always a 100% acrylic latex blend, often with urethane resins. This composition creates a flexible, durable film that bonds with the vinyl and moves as it expands and contracts.
Using regular paint on vinyl is analogous to wearing rigid dress shoes for a marathon; they will fail under pressure. Vinyl-safe paint is the high-performance equivalent, designed to flex and adapt.
This specialized formula is why water-based acrylics have become the industry standard. They offer the necessary flexibility and are generally lower in VOCs (volatile organic compounds), aligning with environmental regulations.
The Colour Problem: How to Avoid Warped Siding
Colour selection for vinyl siding is a matter of physics, not just aesthetics. Vinyl is designed to tolerate a specific heat range. Dark colours absorb more solar energy than light colours, which can cause the panels to overheat, soften, and warp permanently.
Here are the guidelines for choosing a colour:
- Maintain Shade Value: The safest approach is to select a colour that is the same shade as, or lighter than, the original siding.
- Look for Special Formulas: If a darker colour is desired, many major paint brands offer special vinyl-safe palettes. These use unique pigments that reflect more solar heat, keeping the vinyl cooler.
- Consult Experts: Speak with paint specialists at a local store or a professional from a company like ours. We have extensive experience with what works in the Toronto and Mississauga areas.
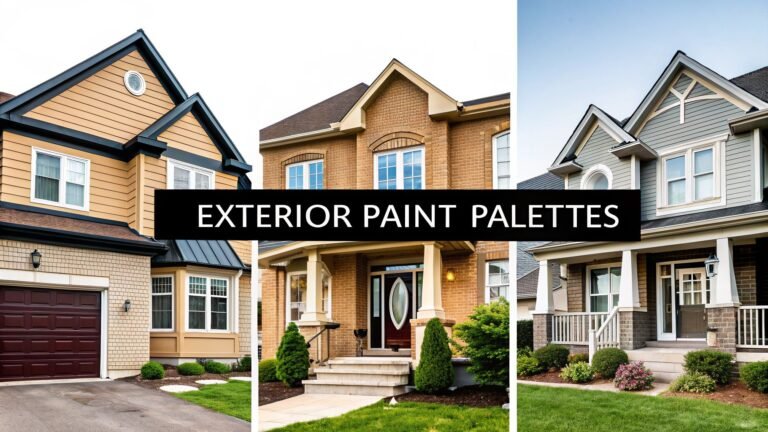
For inspiration, our guide on exterior paint colour combinations can be a helpful resource.
Primer: A Crucial Step or a Time-Saver?
The need for a separate primer depends entirely on the condition of your siding.
- For Siding in Good Shape: If your siding is relatively new and only slightly faded, a high-quality paint-and-primer-in-one product is usually sufficient. These formulas are designed to adhere well to clean, stable surfaces.
- For Older, Weathered Siding: If your vinyl is old, chalky, pitted, or porous, a separate bonding primer is non-negotiable. This step is essential for creating a uniform, solid base for the topcoat to adhere to, ensuring a long-lasting finish.
A good bonding primer functions like double-sided adhesive. It adheres to the weathered vinyl and provides an ideal, non-porous surface for the finish coat. Skipping it on compromised siding will lead to paint failure.
Finding the Perfect Finish: Choosing a Sheen
The chosen sheen affects both the final appearance and the ease of cleaning. While options range from flat to high-gloss, one is clearly superior for vinyl.
A satin or low-lustre finish is recommended for nearly all vinyl siding projects. It provides the best balance, offering a subtle sheen that is easy to clean without highlighting minor imperfections in the siding.
Flat finishes tend to retain dirt and are difficult to clean. High-gloss finishes can appear cheap and will accentuate every bump and wave in the panels. For most homes in Mississauga and across the GTA, satin provides the ideal combination of a durable, attractive, and forgiving finish.
To assist in your decision, refer to the following guide.
Vinyl Siding Paint Sheen Guide
Selecting the right sheen is critical to the final outcome. This guide details the most common options and their suitability for siding.
| Sheen Type | Best For | Pros & Cons |
|---|---|---|
| Flat/Matte | Siding with many imperfections | Pros: Hides flaws exceptionally well. Cons: Very difficult to clean; can scuff easily and hold dirt. Not ideal for siding. |
| Eggshell | Low-traffic areas, minimal flaws | Pros: Offers a soft, low-sheen look with slightly better cleanability than flat. Cons: Still less durable and washable than satin. |
| Satin/Low-Lustre | (Recommended) All vinyl siding | Pros: The perfect balance of durability, washability, and flaw-hiding ability. Cons: Can show brushstrokes more than flat if not applied carefully. |
| Semi-Gloss/Gloss | Trim, doors, and accents only | Pros: Extremely durable and very easy to clean. Cons: Highlights every single imperfection, bump, and dent on siding panels. Too shiny for large surfaces. |
A satin finish provides the durability and cleanability required for an exterior surface while maintaining a sophisticated appearance that does not draw attention to minor flaws in the vinyl.
The Critical Prep Work Your Siding Needs
90% of the project's success is determined before any paint is applied. The preparation stage is paramount. Taking shortcuts here is the most common mistake and invariably leads to peeling, bubbling, and a poor finish within a year.
This process establishes the foundation for the paint. Paint will not adhere to dirt, mildew, or the chalky film that develops on old siding. The objective is to create a perfectly clean, stable surface that allows the new paint to form a strong bond directly with the vinyl. This is a meticulous process that validates the effort invested.
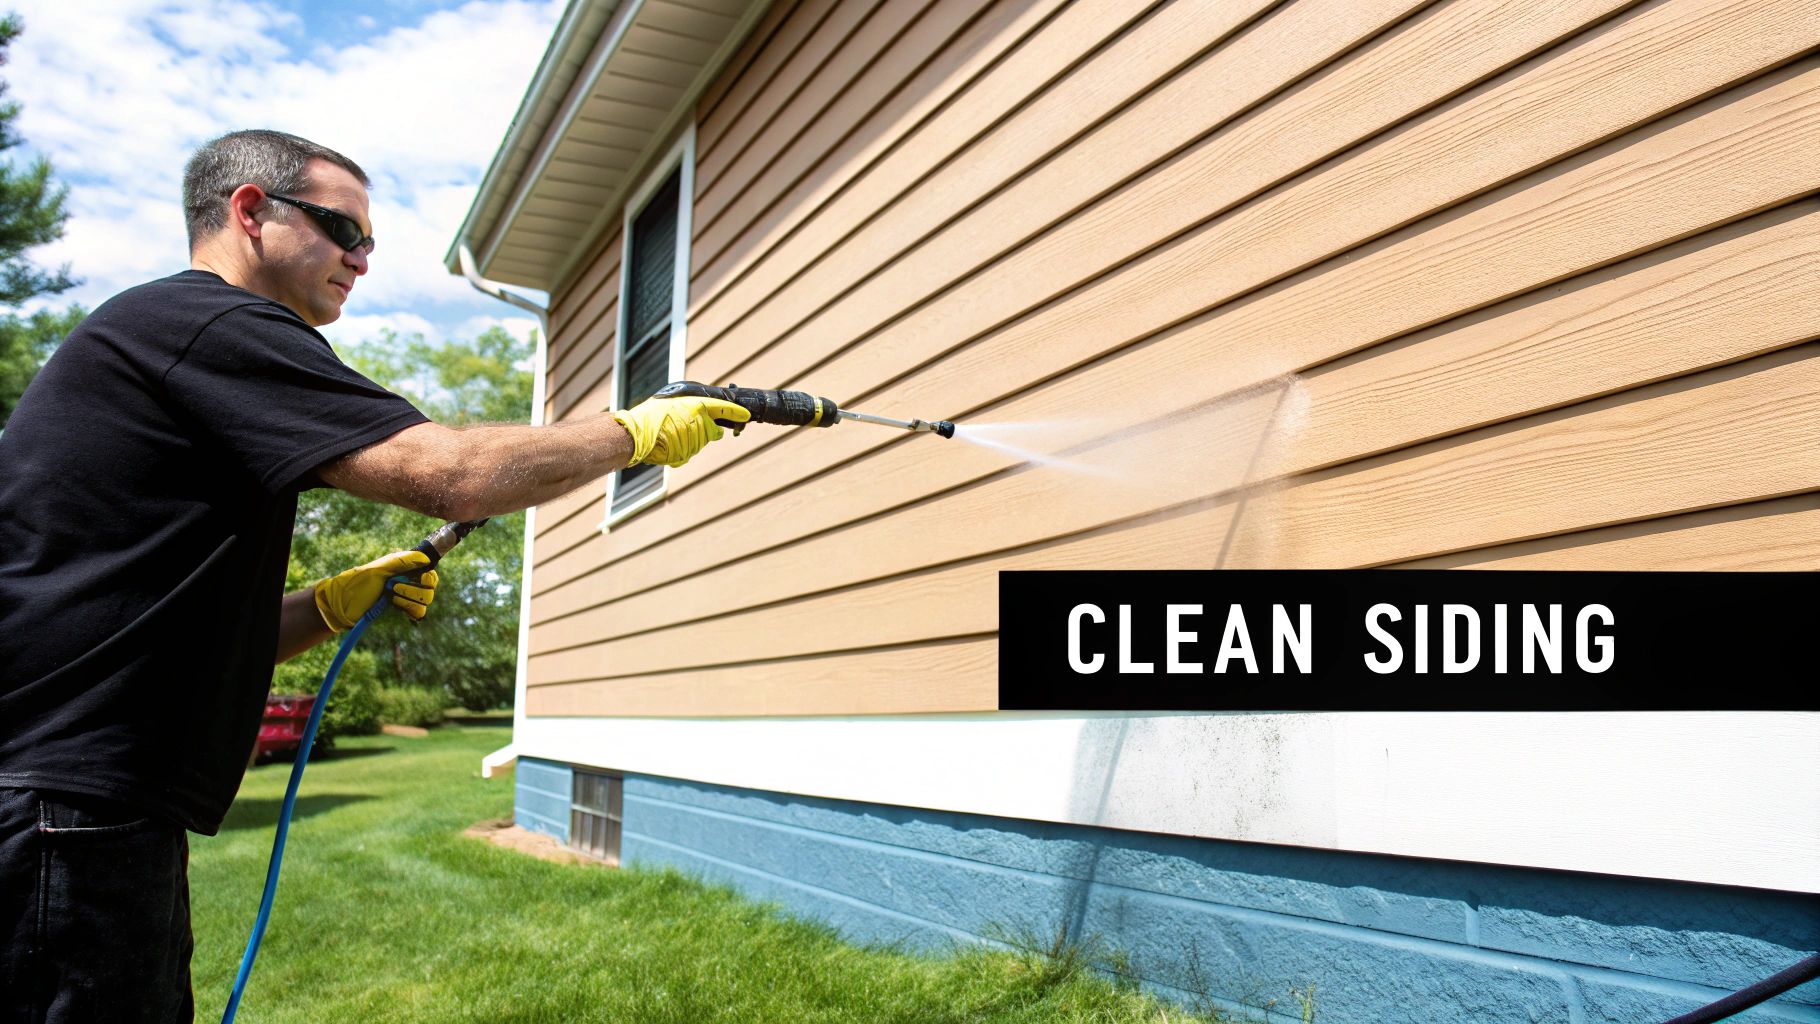
The Deep Clean Your Siding is Crying For
Siding accumulates grime, pollen, and a chalky residue from oxidation over time. This film prevents paint adhesion. There are two primary methods for cleaning the surface effectively.
The most efficient method is a pressure washer, but caution is necessary. A low-pressure setting (approximately 1,500 to 2,500 PSI) must be used with a wide-angle tip, such as a 25 or 40-degree nozzle. Maintain a safe distance from the siding and never spray upwards, as this can force water behind the panels and cause significant moisture issues.
The alternative method is manual but equally effective. Use a long-handled, soft-bristle brush and a bucket of cleaning solution. A simple and powerful mixture is:
- ⅓ cup of powdered laundry detergent
- ⅔ cup of a household cleaner (e.g., a TSP alternative)
- 4.5 litres of water
For mildew, a stronger solution is required. Understanding how to clean mold off vinyl siding is essential for a flawless finish. A solution of one part bleach to four parts water is typically effective.
Regardless of the method, a thorough rinse with clean water is mandatory. Always work from the top down to ensure all soap and grime are removed.
Inspecting and Making Minor Repairs
Once the siding is clean, inspect it for damage. Check for small cracks, holes, or gaps, focusing on areas around windows, doors, and corner trim. Addressing these minor issues is important for the integrity of the paint job.
For minor flaws, use a vinyl-specific, paintable acrylic caulk. This product is formulated to remain flexible, accommodating the siding's movement with temperature changes. Apply a small, smooth bead into any gaps and smooth it with a damp cloth or finger for a seamless finish.
Patience during preparation yields significant returns. After cleaning, rinsing, and repairs, allow the siding to dry completely. Painting over damp vinyl traps moisture, which guarantees blisters and peeling. Wait at least 24 to 48 hours in good weather.
Protecting Your Surroundings
The final step before priming is protecting adjacent surfaces. This initial time investment prevents hours of cleanup and ensures a crisp, professional appearance.
- Windows and Doors: Use painter's tape for sharp lines around frames. Cover glass with plastic sheeting.
- Fixtures: Cover light fixtures, doorbells, house numbers, and outlets with plastic and tape. Removal is preferable if possible.
- Landscaping: Drape lightweight drop cloths over shrubs, flower beds, and lawns to protect them from drips and overspray.
- Decks and Patios: Use heavy-duty canvas or plastic drop cloths on ground-level surfaces adjacent to the house.
Properly masking off these areas ensures a clean result. With preparation complete, you have a clean, dry, and protected surface—the ideal starting point for a successful project.
How to Apply Paint Like a Professional
With the preparation finished, the application phase begins. The objective, whether using a sprayer or a roller, is a smooth, durable finish that appears factory-applied.
The choice between spraying and rolling depends on the house's size and your comfort with the equipment. For large, open walls, a sprayer provides a flawless coat efficiently. For smaller homes or areas with extensive trim, a quality roller offers excellent control.
Choosing Your Application Method: Sprayer vs. Roller
A paint sprayer is the preferred tool for professionals seeking speed and efficiency, especially on larger homes found in areas like Mississauga or across the GTA. It atomizes the paint into a fine, even mist, which is ideal for covering large surfaces quickly and penetrating the texture of vinyl siding without leaving brush marks.
Alternatively, a brush-and-roller combination is a reliable choice that requires less taping and masking. While more labour-intensive, rolling offers direct control, pressing the paint firmly into every groove for superior adhesion. The best professional teams in Toronto often use a hybrid method: spraying large sections and using brushes for detailed cut-in work around trim.
This visual guide outlines the key steps and timing for the process.
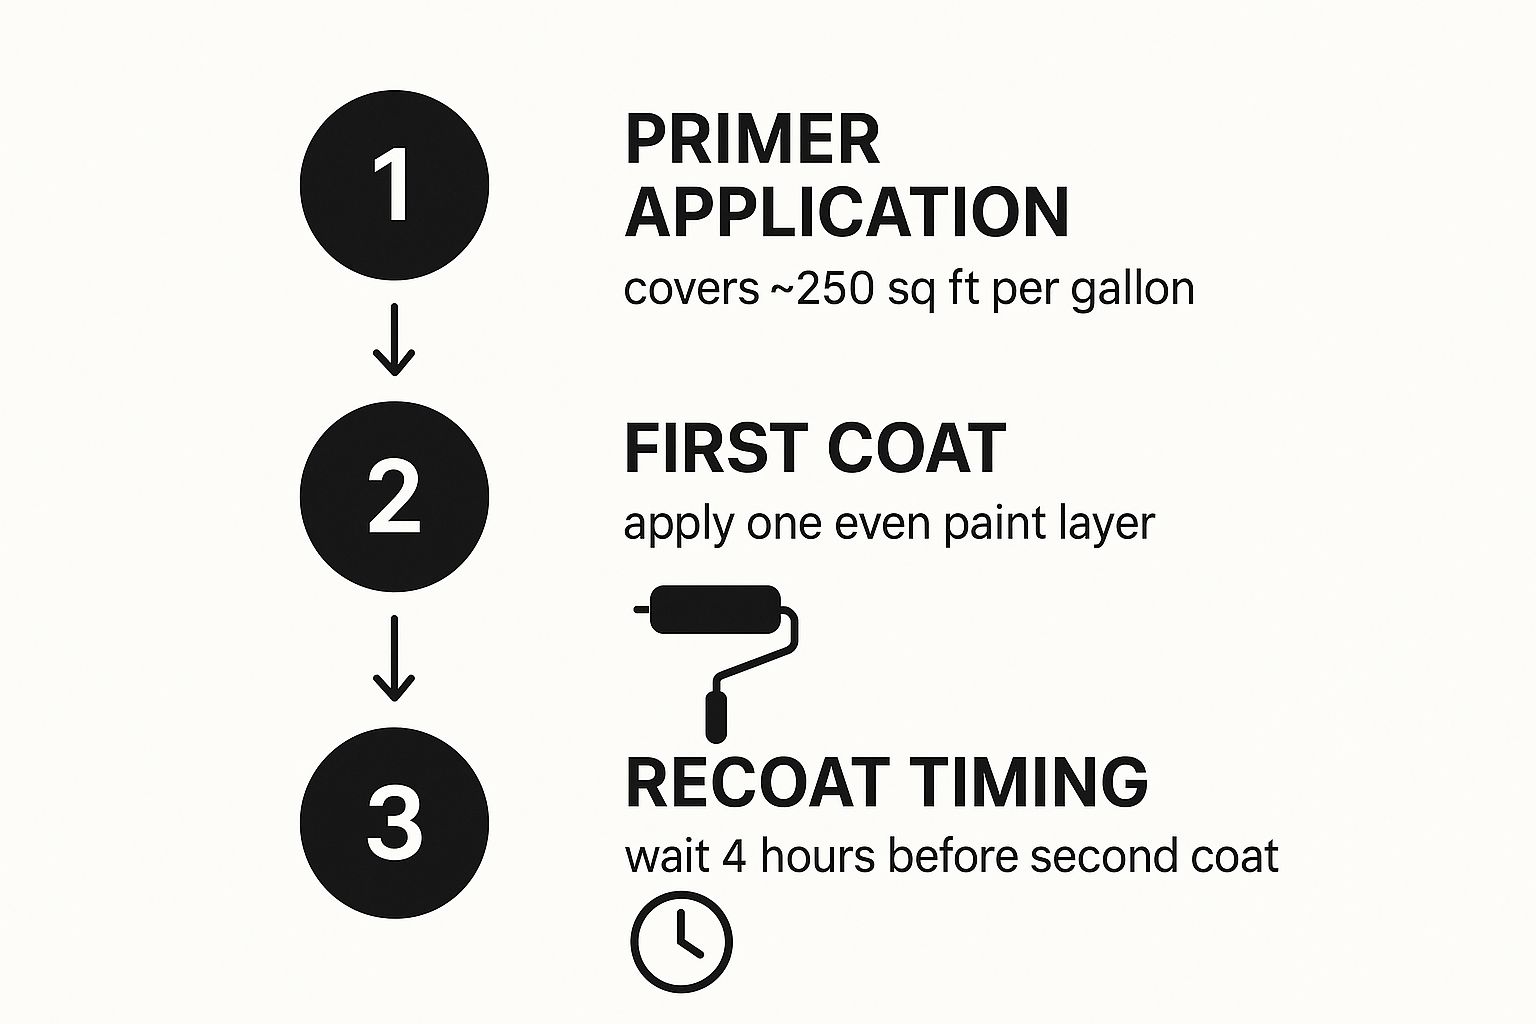
The process is straightforward, but patience is essential, particularly regarding recoat times. Rushing this step will compromise the durability of the finish.
Techniques for a Flawless Sprayer Finish
When using a sprayer, proper technique is crucial. Before beginning, test the spray pattern on cardboard to ensure an even fan shape. When painting the siding, hold the sprayer approximately 25-30 centimetres from the wall and maintain this distance.
Keep the sprayer in constant motion, using steady, overlapping passes from top to bottom. It is better to apply two light coats than one heavy one, as a thick coat is prone to drips and runs.
A professional technique is back-brushing. Immediately after a section is sprayed, a second person follows with a long-handled brush. This action forces the paint into the siding's texture, ensuring a strong bond and eliminating potential drips.
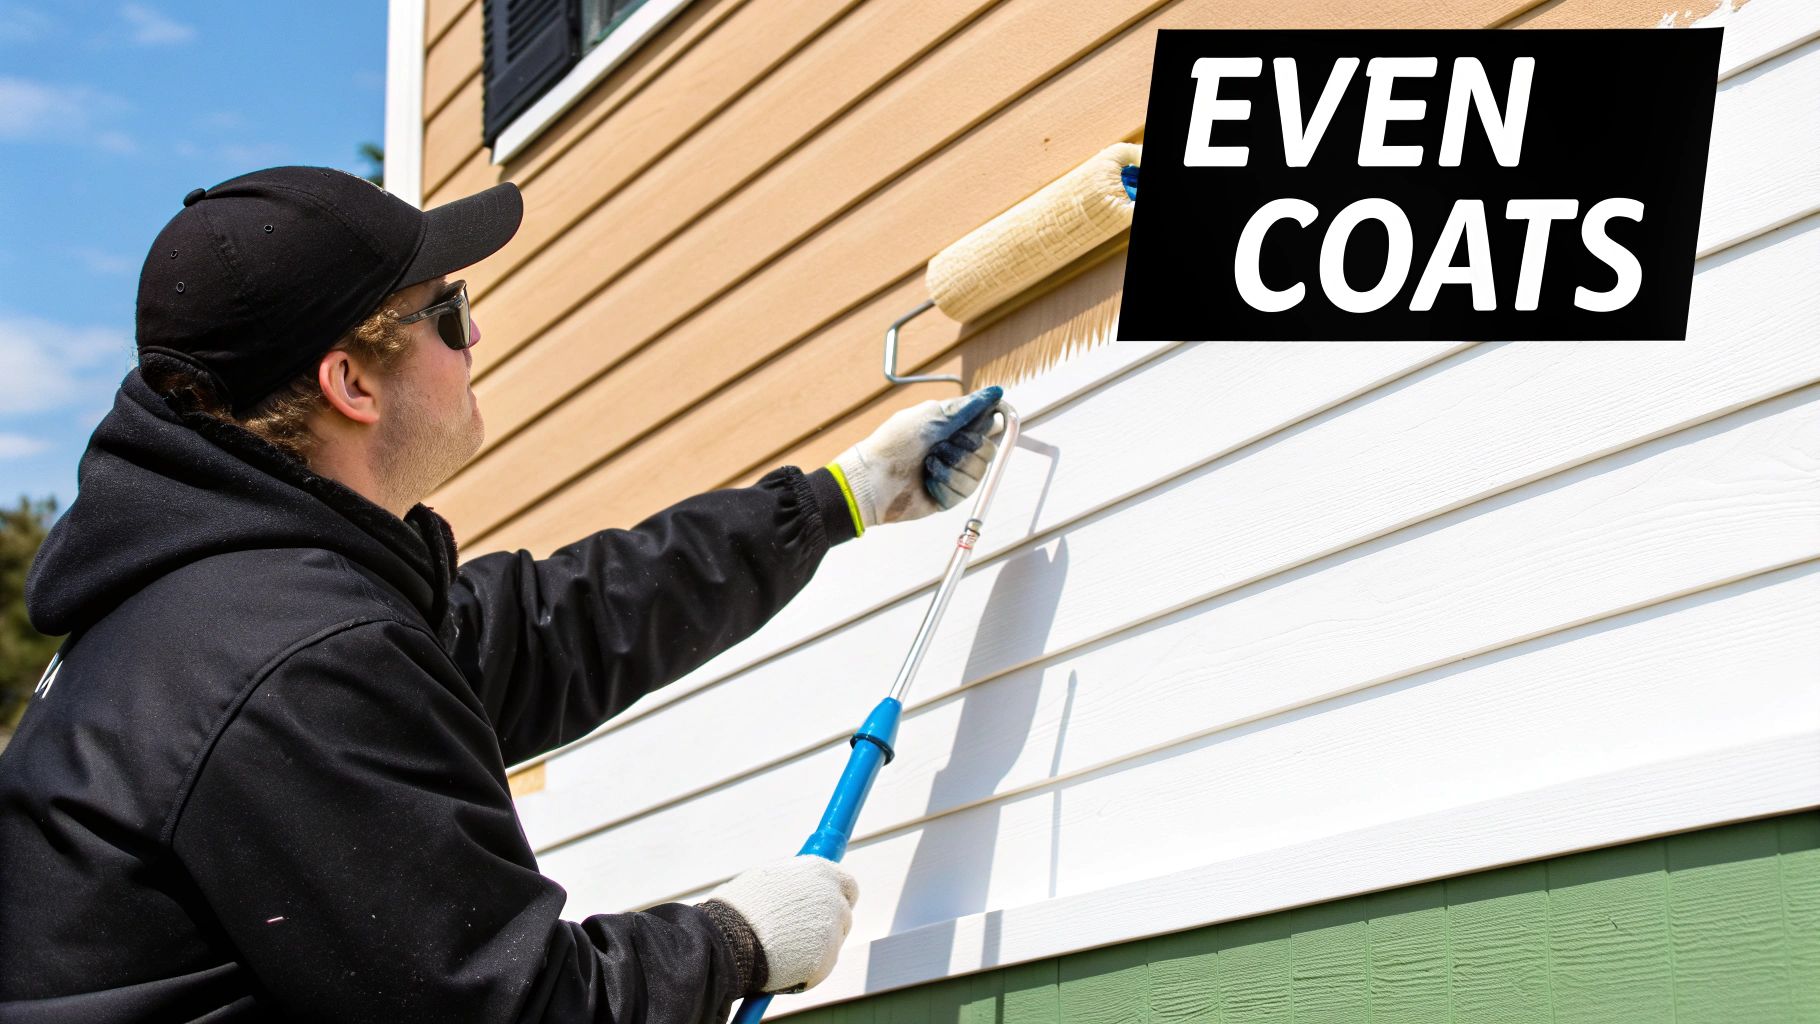
Mastering the Art of Rolling
When rolling vinyl siding, the main challenge is avoiding "lap marks"—visible lines where wet and dry paint edges overlap. To prevent this, always maintain a wet edge. This means not allowing the edge of the last roller pass to dry before overlapping it with the next one.
Work in manageable sections, about one metre wide at a time. Apply paint in a "W" or "N" pattern, then immediately go over the area with straight, even strokes from top to bottom. This technique ensures full, uniform coverage.
Pro Tips for Application Day
Regardless of the application method, following a few key rules will ensure a better outcome. First, two thin coats are always superior to one thick coat. A heavy coat may seem faster, but it is prone to peeling and takes longer to cure properly.
Another critical tip is to work in the shade. Plan the day to avoid painting in direct, hot sunlight. When vinyl siding becomes hot, paint can flash-dry before it can properly bond. This leads to poor adhesion, visible brush marks, and a finish that will not last. Working on shaded sides of the home allows the paint the necessary time to level out and cure into a hard, protective shell.
Keeping Your Painted Siding Looking New
The final coat of paint has been applied, but the work is not complete. Routine care is the secret to a long-lasting finish and protecting your investment for years.
Post-painting maintenance should be proactive. A small amount of annual attention can prevent minor issues from becoming major problems and preserve your home's curb appeal.
Your Annual Siding Care Routine
The best method for maintaining painted siding is a gentle annual cleaning. This simple wash removes the dirt, pollen, and grime that accumulate throughout the year. If this layer is left, it can trap moisture and degrade the paint.
The process is straightforward:
- Mix a solution of mild soap and water.
- Use a soft-bristle brush on an extension pole to lightly scrub the siding.
- Work in manageable sections, from top to bottom.
- Rinse each section completely with a garden hose to remove all soap residue.
This annual wash revitalizes the colour and provides an opportunity to inspect the siding up close.
Spotting and Fixing Minor Issues
During the annual cleaning, look for early signs of wear. Common issues include minor chalking or small spots of peeling paint, which typically appear in areas with high sun exposure or constant moisture.
Chalking is a fine, powdery residue that forms as paint binders break down from UV exposure. Peeling or blistering indicates that moisture has penetrated the paint film, causing adhesion failure. Early detection makes these issues easy to fix.
For small touch-ups, lightly sand the area to remove loose paint, clean it, and apply a small amount of leftover paint with a brush. This targeted repair prevents a small flaw from expanding. These proactive repairs are much simpler than a full repaint. Similar principles apply to other exterior surfaces; see our guide to waterproofing painted wood for material-specific measures.
Address small issues before they escalate. A five-minute annual touch-up can add several years to the life of your paint job, saving you from a much larger project later.
How Long Will Your Paint Job Last?
It is important to have realistic expectations. A high-quality acrylic paint on properly prepared vinyl siding can last 5 to 10 years. The longevity of your specific project depends on several key factors.
Sun exposure is the most significant factor. The sides of a house that receive direct, intense sunlight will show wear faster than shaded sides.
The chosen colour also has an impact. Lighter colours reflect more UV radiation and tend to last longer than dark, heat-absorbing shades. Your local climate is also a factor; regions with high UV exposure can accelerate paint degradation.
By adhering to a simple maintenance schedule, your siding has the best chance of reaching the 10-year mark.
Have Questions About Painting Vinyl Siding? You're Not Alone.
It is wise to have questions before beginning a project of this scale. Obtaining correct information now can prevent future complications and expense. Here are answers to some of the most common inquiries.
Can I Just Use Any Exterior Paint?
The answer is unequivocally no. You must use a paint specifically formulated for vinyl, which will be labeled "vinyl-safe."
These are typically 100% acrylic latex paints containing special resins that provide flexibility. Vinyl siding expands and contracts significantly with temperature changes in the GTA. Standard exterior paint is too rigid and will crack and peel. Vinyl-safe paint is engineered to flex with the siding, which is essential for a durable finish.
This is a matter of material science, not brand preference. A vinyl-safe formula is designed to accommodate the siding's thermal expansion and contraction. Adherence to this standard is the best defence against paint failure.
What’s the Big Deal About Cleaning the Siding First?
Skipping the cleaning step will ruin the paint job. Vinyl siding accumulates a layer of chalky oxidation, dirt, and mildew. Painting over this contamination means the paint is adhering to the grime, not the siding.
The first significant rainfall will wash away the grime, taking the new paint with it. A thorough cleaning is non-negotiable because it allows the primer and paint to form a strong bond directly with the vinyl surface.
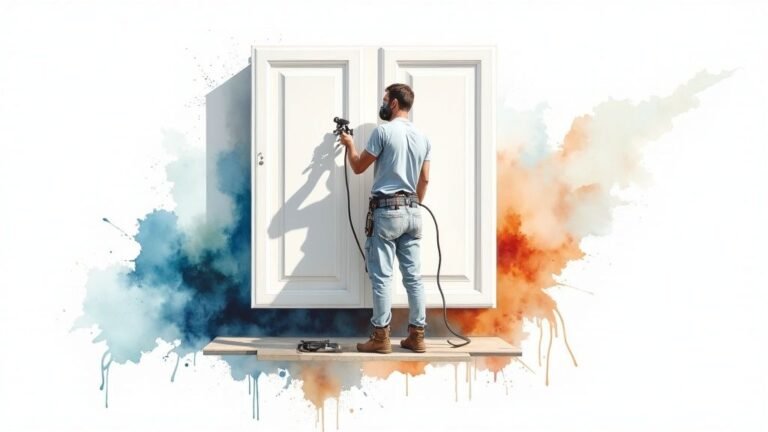
Is It Better to Spray or Roll the Paint On?
Both methods can produce an excellent finish; the choice depends on the project and your skill level.
-
Spraying: This is the best method for speed and achieving a smooth, factory-like finish. It is ideal for large, uninterrupted walls. A professional tip used throughout the Toronto area is "back-brushing"—one person sprays while another follows with a brush to work the paint into the siding's texture for optimal adhesion.
-
Rolling: A high-quality roller is also effective. It provides more control and requires less masking. The most critical technique is maintaining a "wet edge" to avoid visible lap marks on long siding panels.
Often, the best strategy combines both methods. Use a sprayer for large areas and a brush for detail work around windows and trim.
Will Painting My Siding Void the Warranty?
This is a critical consideration. The answer is: yes, it could. Many siding manufacturers state in their warranty documents that any alteration, including painting, voids their coverage.
Before purchasing paint, your first action should be to review your siding's warranty or contact the manufacturer directly. Obtaining a definitive answer from them is the only way to ensure you are not making a costly error.
Ready to see what a professional touch can do for your home's exterior? The team at Soca Services Painting is the best in the GTA, with the expertise and materials to give your vinyl siding a flawless, durable finish. Get in touch with us today for a free, no-obligation estimate and let's talk about boosting your home's curb appeal.

One Comment