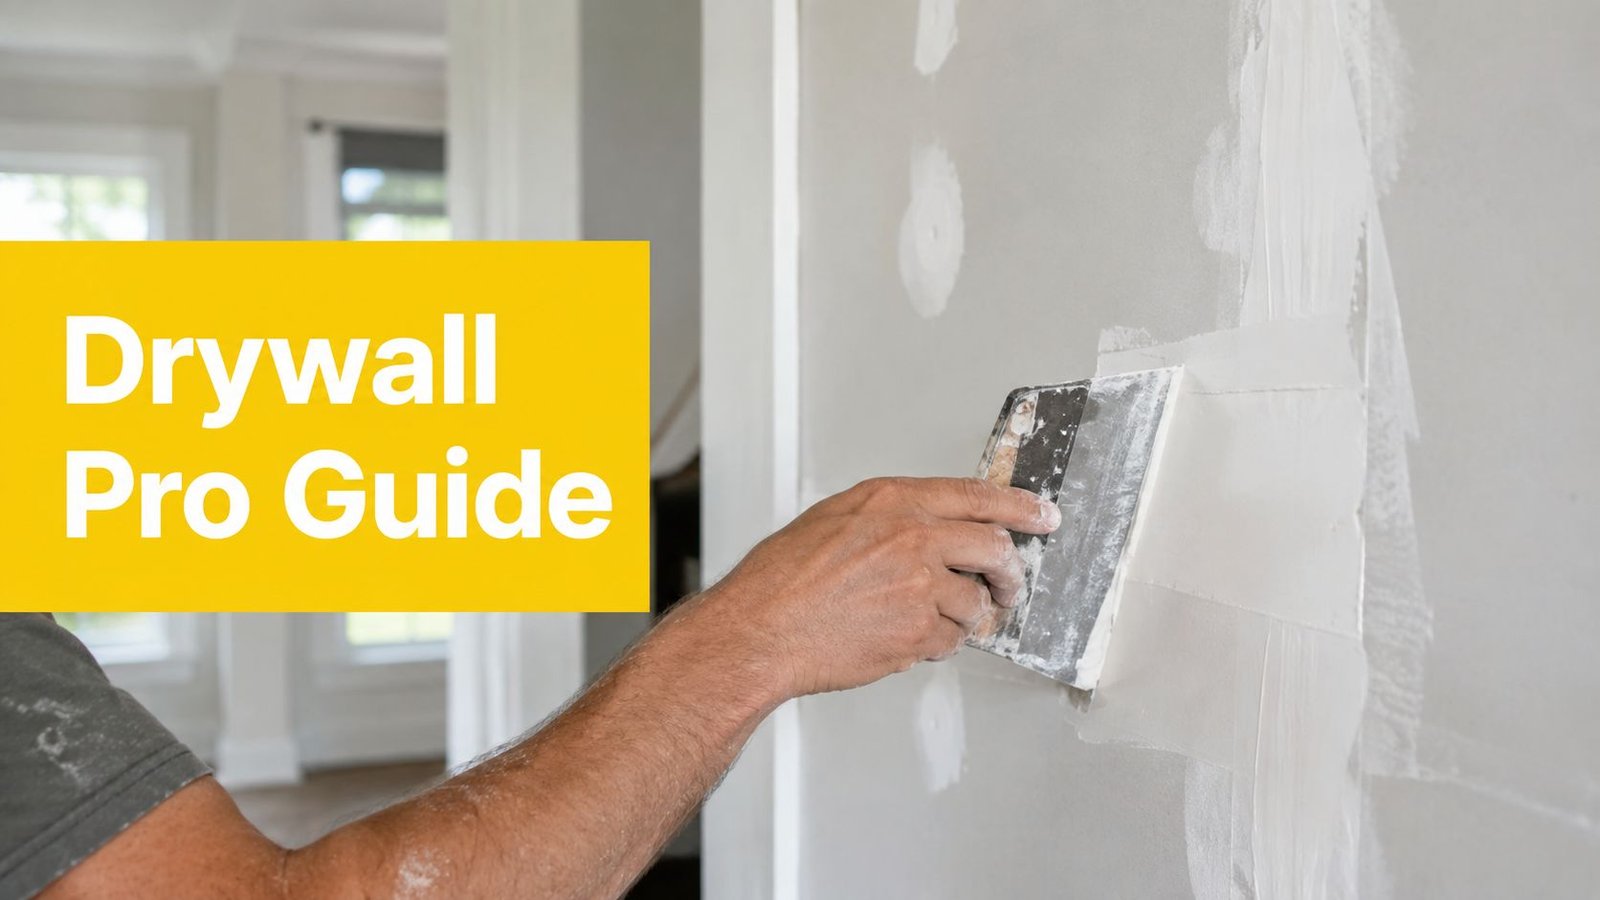
Most Scarborough drywall and paint failures trace back to moisture, settling, or skipped preparation, and a clean professional result usually takes two to four days for a typical room. The repair only lasts when the underlying cause is addressed before the compound, primer, and finish paint go on.
A homeowner usually notices the problem at an inconvenient moment: a brown ceiling ring appears after rain, a hallway corner starts bubbling, or a crack returns just weeks after someone painted over it. In older Toronto housing, the visible defect is often only the final symptom. Water intrusion, basement dampness, movement in the framing, or a failed previous repair may sit behind the paint film.
That's why drywall repair and painting in Scarborough should be treated as a moisture-and-substrate problem first and a cosmetic job second. The right sequence is simple, but skipping any part can lead to peeling, flashing, recurring cracks, or a callback. Inspect the cause, stabilize the surface, repair the board, let the compound cure, prime correctly, and only then apply the finish coats.
Why Drywall Fails First in Scarborough Homes
A Scarborough homeowner may repaint a hallway in spring, only to see the corner bubble again before the next heating season. The instinct is to blame the paint, but paint usually exposes a weakness underneath rather than creating it. Drywall is a finish layer, not a structural one, so it can't compensate for movement, damp insulation, or water entering behind the wall.
Older bungalows and back-split homes often have decades of repairs layered over the original construction. A roof or plumbing leak can leave a stain that returns after painting. A basement wall can remain cool and damp while the finished side looks acceptable. Exterior walls may also respond to Toronto's changing temperature and humidity, especially where insulation and air sealing are limited.
Start with the cause
Three causes appear repeatedly in older Scarborough interiors:
- Water intrusion: Roof leaks, plumbing failures, condensation, and poorly ventilated bathrooms can soften gypsum and loosen the paper face.
- Movement and settling: Hairline cracks may form where walls meet ceilings, around door frames, or at inside corners.
- Moisture migration: Basement dampness can move into wall finishes, while high indoor humidity can condense on cold surfaces.
Ontario guidance identifies moisture as the condition that allows mould to grow indoors. Health Canada lists showering, cooking, plumbing leaks, condensation, flooding, and inadequate ventilation among common moisture sources, and recommends maintaining indoor relative humidity between 30% and 50% (Health Canada's moisture and mould guidance).
Practical rule: If a stain, bubble, or crack returns after repainting, stop adding paint. Find out what is moving, leaking, or staying damp.
A useful comparison is wall repair and painting in North York, where the same preparation principle applies across older Toronto-area properties. The neighbourhood changes, but the repair logic doesn't. Identify the cause first, then decide whether the board needs cleaning, sealing, patching, or replacement.
Common Types of Drywall Damage Around Scarborough
Scarborough has a substantial repair market because many homes and rental units require ongoing maintenance. Toronto housing-condition analysis found that 6.9% of households reported living in dwellings needing major repairs, while Scarborough Village reached 12.8%, compared with the Toronto average of 6.9% (Toronto housing conditions analysis). Major wall and ceiling repairs often lead directly to drywall remediation before repainting.
Use the visible symptom as a starting point, not as the final diagnosis.
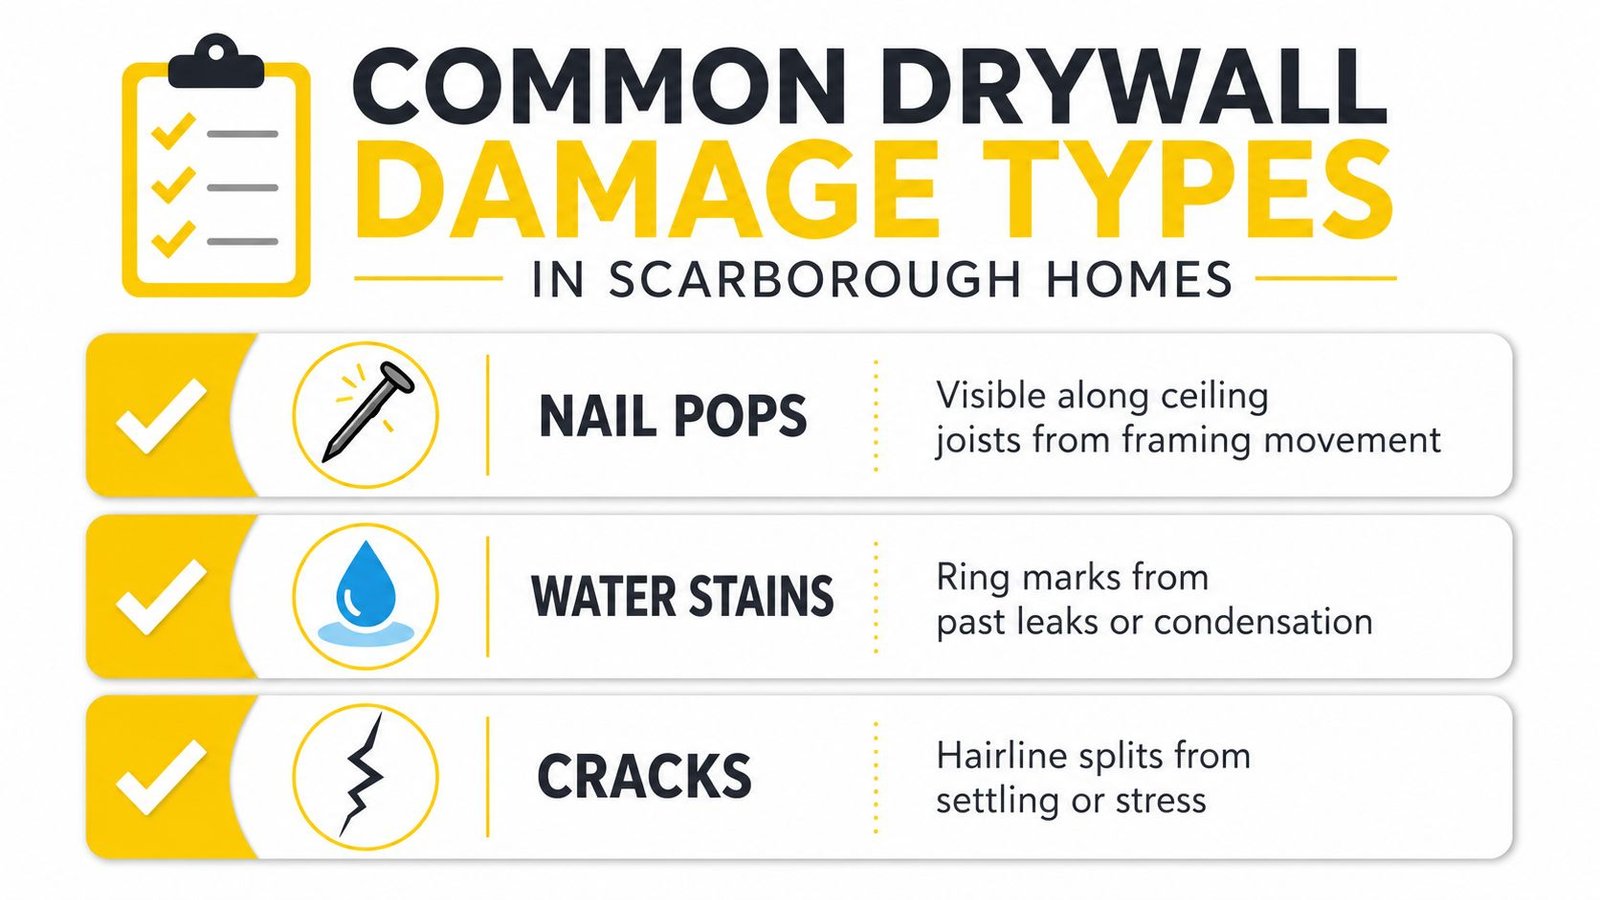
Match the defect to the likely scope
- Nail pops: A small, round bump along a ceiling or wall may come from framing movement or a fastener working loose. A professional usually resets or removes the fastener, adds proper support where needed, fills the depression, sands it flat, and primes the spot. This is often a surface repair.
- Settlement cracks: Hairline splits at inside corners, above door frames, or where a wall meets the ceiling may reflect normal movement. A narrow stable crack can often be opened slightly, filled, reinforced, and refinished. A wider or repeatedly moving crack deserves a closer assessment before cosmetic work.
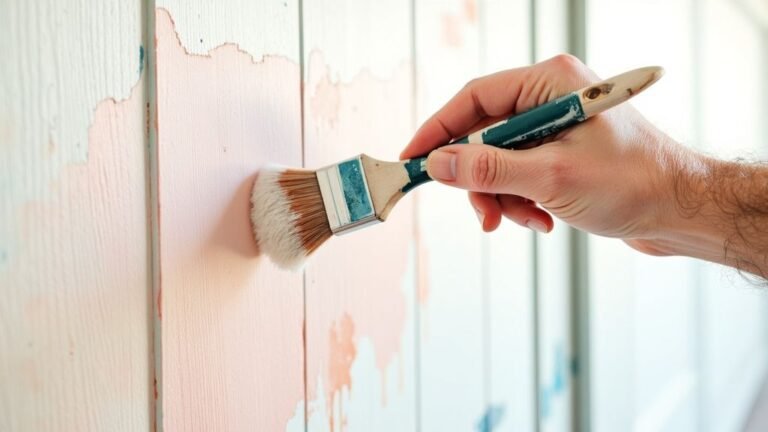
- Water stains and bubbles: Ring marks near bathroom exhaust fans, roof lines, or plumbing runs point to past or active moisture. If the gypsum remains firm, the area may need drying, stain-blocking primer, and a finish repair. Soft, swollen, delaminated, or mould-affected board generally needs removal.
- Basement softening: A lower-level wall that feels spongy or has a persistent musty odour may be affected by dampness behind the finish. Painting over it doesn't correct hydrostatic pressure or a failed moisture-control detail. Cut-out and replacement may be necessary.
- Tenant turnover damage: Scuffs, anchor holes, chair marks, and small dents are common after a unit changes occupants. These usually suit patching, sanding, spot priming, and a controlled repaint, provided the wall has no broader moisture problem.
- Peeling joint tape: Tape that lifts in a straight line often reflects weak original mud work, movement, or moisture. The loose material must be removed and retaped. Painting over the ridge leaves a visible seam.
For broader ceiling issues, practical advice such as these South Florida ceiling leak tips can help homeowners think through the relationship between a visible ceiling mark and the leak above it. The climate differs, but the diagnostic habit is useful: trace the source before repairing the finish.
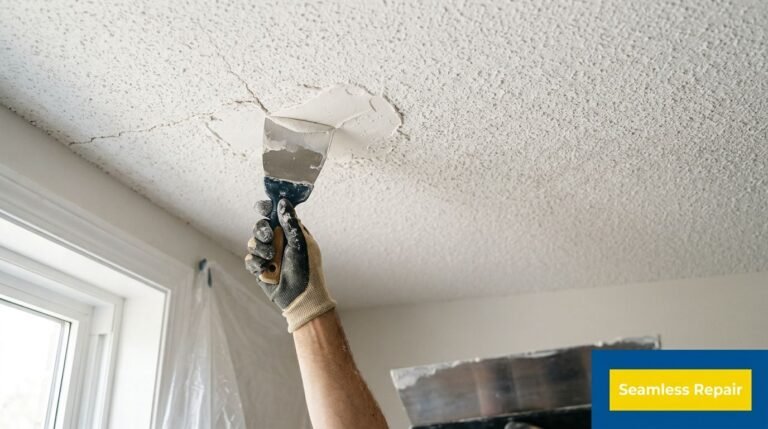
If the surface has texture, a repair may require a controlled blend rather than a flat patch. Soca's guide to repairing a textured ceiling is relevant when the texture itself has broken away around the damaged area.
Should You Repair Drywall Yourself or Hire a Pro
DIY drywall repair makes sense when the damage is small, dry, stable, and easy to reach. A confident homeowner can usually handle a few anchor holes, a single nail pop, or a shallow scuff under 6 inches with a setting-type patch, careful sanding, and primer. The result still depends on lighting, sheen, and colour matching, so a repair that looks fine under a ceiling fixture may show clearly beside a window.
Professional help becomes more valuable when the damage involves moisture, a ceiling, unknown existing coatings, or a larger area that must disappear into the surrounding wall. Water-damaged board may need a cut-out and a vapour-barrier check. A crack wider than a credit card, a repair requiring a lift, or paint that may contain lead in an older home shouldn't be approached as a casual patch.
A practical comparison
| Scenario | DIY Feasible | Pro Recommended |
|---|---|---|
| Small anchor holes | Yes, if the wall is dry and sound | Useful when many holes require uniform repainting |
| Single nail pop | Usually, with careful fastening and filling | Recommended if pops recur across a ceiling |
| Shallow scuff under 6 inches | Yes, after cleaning and light filling | Better when the wall has a difficult sheen or colour |
| Water-damaged drywall | No, not until the source and substrate are checked | Yes, especially where board, insulation, or vapour control may be affected |
| Ceiling cut-out | Rarely practical for a homeowner | Yes, because access, dust control, and overhead finishing affect the result |
| Wide or recurring crack | Not without diagnosing movement | Yes, before filling and repainting |
| Unknown old paint | Test and assess before sanding | Recommended where lead-containing coatings may be present |
DIY also carries a time cost. Compound needs to cure, dust needs to be contained, and the painter must feather the repair far enough that the new paint doesn't create a visible halo. A flat-rate professional repair can be cheaper than redoing a patch that shrinks, flashes, or telegraphs through the finish.
Decision rule: If the damage is dry, isolated, and smaller than your hand, DIY may be reasonable. If moisture, movement, ceiling access, or uncertain coatings are involved, hire a professional before the problem becomes a repaint.
Soca explains the boundary between wall preparation and broader painting work in its guide to whether drywall repair is included in painting services. That distinction helps homeowners request a quote that separates repair, preparation, primer, and finish work instead of accepting one vague line item.
Step-by-Step Repair and Painting Workflow That Lasts
A Scarborough wall can look like a paint problem while hiding moisture, weak gypsum, or a failed repair underneath. Durable work follows the order of the building problem, not the order that makes the room look finished fastest. The surface must be dry and stable before compound, cured before primer, and evenly based before colour is judged.
Inspect and protect
Start by checking for active leaks, soft gypsum, loose paper, mould, condensation, and cracks that continue through the substrate. Exterior walls need particular care because Ontario building guidance places the vapour barrier on the warm side of insulation. In kitchens and bathrooms, moisture-resistant backing matters. New work near tubs or showers commonly requires cement board or an equivalent within 200 mm of a water source, as outlined in Ontario drywall repair guidance.
Protect floors, furniture, trim, vents, and nearby fixtures before disturbing the wall. Drop cloths and masking contain sanding dust and primer, while giving the crew room to cut, feather, and inspect the repair without damaging occupied areas.
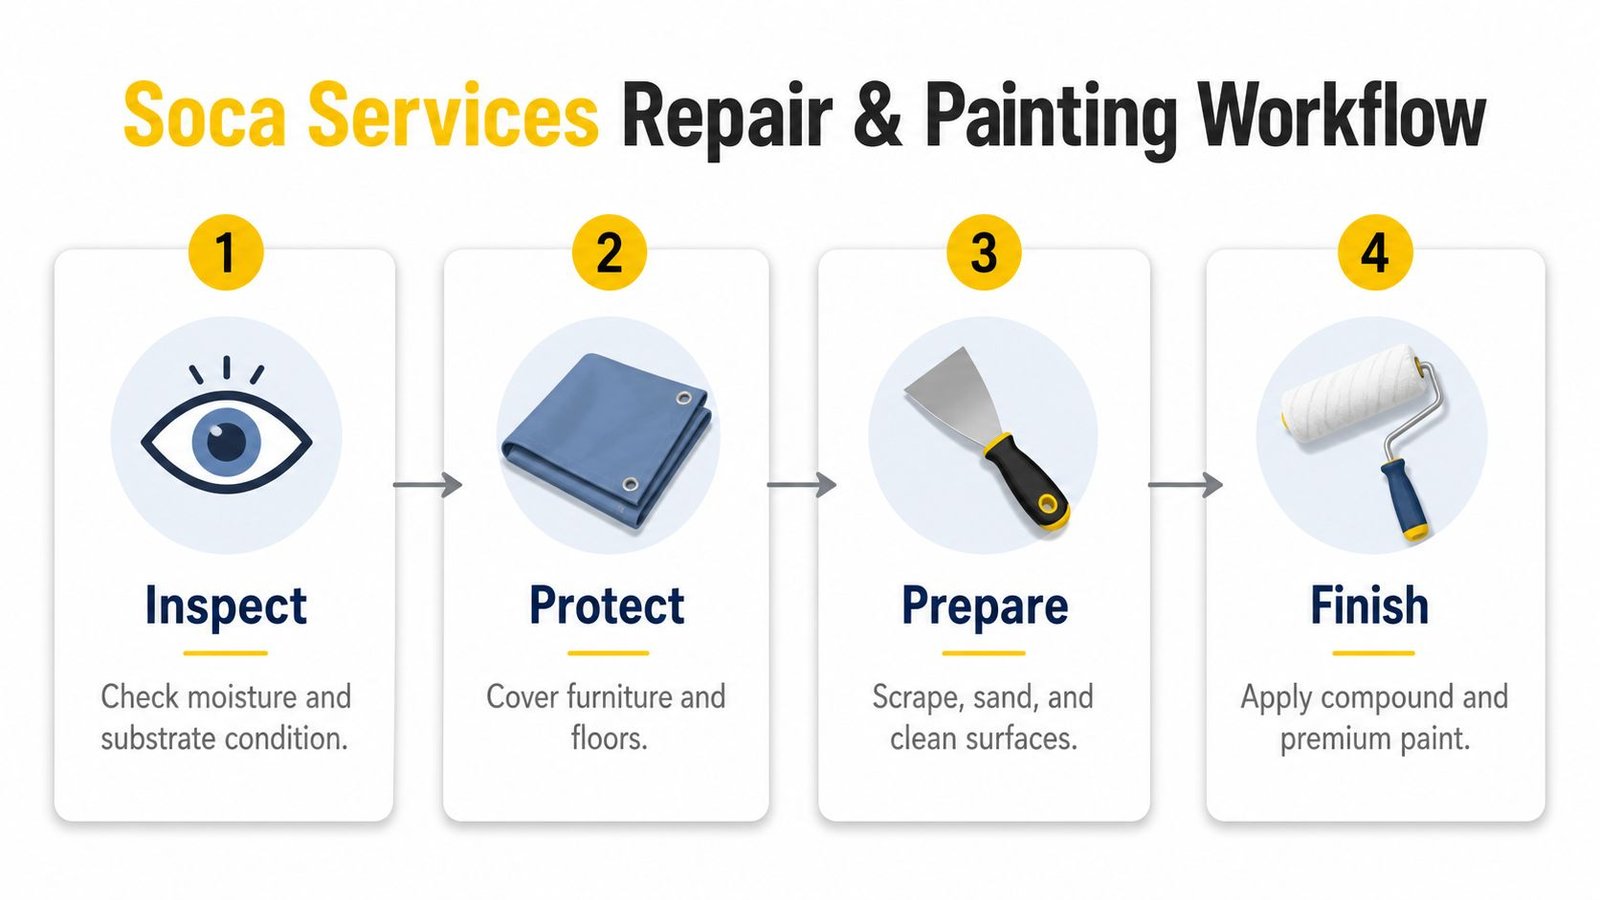
Prepare the substrate
Remove loose paint, bubbled paper, failed tape, and crumbly compound. Cut damaged drywall back to sound edges, then fit matching 1/2-inch board where appropriate. The insert must be supported and aligned with the existing plane. Extra mud cannot correct movement or a poorly supported patch.
Proper wall preparation follows the steps in our guide to how to prepare walls for painting, starting with substrate inspection and protection. The Red Seal drywall finisher standard describes preparation as correcting deficiencies before taping and finishing. That sequence prevents joint compound from hiding a defect that will return.
Finish, cure, and prime
A paint-ready interior is typically finished to Level 4 under the Gypsum Association GA-214 standard. Apply tape, a fill coat, and a finish coat, sanding between coats. Joint compound generally needs about 24 hours minimum between coats, while GTA humidity and temperature can extend drying time. The drywall finishing level guidance explains why the selected finish level must match the lighting and coating.
Strong sidelight or higher-sheen paint may justify a Level 5 skim coat because raking light exposes joint telegraphing. Water stains need a compatible stain-blocking primer, often oil-based or shellac, selected for adhesion and stain isolation. Latex wall paint alone usually will not lock down an old brown leak mark.
Wall-mounted work also depends on solid support rather than the visible surface, a point illustrated by installation guidance at The Sofa Cover Crafter.
Finish with an even coating system, normally two coats with controlled rolling and back-rolling where the product and surface require it. Federal VOC rules set limits including 100 g/L for flat coatings, 150 g/L for non-flat coatings, 250 g/L for high-gloss coatings, and 200 g/L for other primers, sealers, or undercoaters (Canada's architectural coatings regulations). Choose products by appearance, durability, odour, and compliance.
Typical Costs and Timelines for Scarborough Projects
A drywall and painting quote should separate the damaged surface from the area that must be painted. A small patch may use little material yet require travel, floor protection, drying time, sanding, colour matching, and a return visit. A full-room project costs more because every wall needs preparation, furniture must be managed, and new repairs must blend with older Toronto housing surfaces.
Use these planning ranges for Scarborough budgeting, then confirm the scope on site:
| Project Scope | Drywall Repair Cost | Painting Cost | Typical Timeline |
|---|---|---|---|
| Small patch-and-paint area | Around $150 to $350 per area | Included or quoted with the area | About half a day to one day |
| Full-room resurfacing | $2.50 to $4.50 per square foot | $3 to $5 per square foot | About four to five days |
| Water-damage repair with stain priming | Depends on cut-out and drying scope | Depends on room and coating system | About two to three days |
| Nail-pop patching | Usually included in a small repair visit | Depends on whether the wall is repainted | About half a day |
Treat these figures as planning ranges, not a final diagnosis. The written scope should show whether primer, sanding, protection, disposal, and the second finish coat are included. A lower number may leave those tasks unpriced. For broader context, this overview of trusted painter pricing shows why labour, preparation, materials, and access belong in the quote.
What moves the quote
- Hidden hazards: Asbestos concerns or knob-and-tube wiring in pre-1980 homes can change the safe work plan.
- Access: Ceiling repairs may require a proper lift or scaffolding instead of a small ladder.
- Moisture remediation: Mould behind failed vapour-control details can expand the work beyond drywall finishing. The moisture source must be addressed before cosmetic repair.
- Colour changes: A strong colour change may require additional preparation or coats for an even result.
- Occupied spaces: Furniture moving, dust control, tenant coordination, and daily cleanup add labour while protecting occupants and finished areas.
Timelines also depend on drying conditions. Water-damage work may pause while damp materials are removed and the remaining structure is assessed. Compound, primer, and paint each need suitable drying time before the next stage. A responsible contractor should identify these dependencies, state what the price includes, and explain which findings could change the final cost.
Questions to Ask Before Hiring a Drywall and Painting Contractor
A stained ceiling, soft patch, or recurring crack needs more than a paint colour and a phone estimate. Before hiring anyone, confirm that the contractor will investigate moisture, assess the board, meet the required finish level, and document the paint system. Older Scarborough homes and rental units often need that sequence because a cosmetic repair can hide a leak, movement, or deteriorated material.
Ask for evidence, not reassurance
- Can you provide WSIB clearance and liability insurance certificates? Ask for current documents before work begins. Reluctance to show coverage or pressure to pay cash creates avoidable risk.
- Will the written scope separate drywall from painting? It should list removal, board replacement, taping, compound, sanding, primer, finish coats, protection, and cleanup. Unlisted tasks can become change orders.
- What primer will you use over water damage? The answer should identify a suitable stain-blocking product and explain why it fits the substrate. One coat of ordinary wall paint will not reliably hide a water mark.
- What finishing level are you promising? Confirm whether the repair is Level 4 or whether a Level 5 skim coat is needed for strong sidelight or a demanding sheen. Ask the contractor to explain the appearance and labour trade-off.
- Who will be on site each day? Crew size affects tenant access, furniture coordination, daily cleanup, and the timing of a final inspection.
- What warranty covers the repair and the paint? The written terms should separate workmanship from a future leak, settlement, or other building movement. A warranty cannot replace correcting the moisture source.
- Can you show similar Scarborough work? Request examples involving post-war bungalows, high-rise condos, rental units, or commercial interiors comparable to the project.
- What payment schedule applies? Keep a meaningful balance payable after the final walkthrough and punch-list items are complete.

A contractor who skips moisture inspection and prices the job entirely by phone may be quoting a cosmetic patch when the wall needs replacement. Rental work also requires clear response planning. The Toronto tenant-repair report records repair-request and maintenance-satisfaction findings, reinforcing the need for communication without rushing technical checks. Property managers should confirm how the contractor will report discoveries, coordinate entry, and document completed work.
Soca Services Painting's guide to choosing the right painting contractor offers a further checklist for reviewing insurance, scope, communication, and finish expectations. Use those questions before signing, then compare written scopes rather than choosing on phone price alone.
How Soca Services Delivers a Clean, Lasting Finish
Soca Services Painting treats drywall repair in Scarborough as a moisture and substrate problem before treating it as a paint job. The crew checks whether the wall is sound, dry, and suitable for patching before mixing compound. Swollen board, contamination, or repeated dampness changes the scope. Painting over any of those conditions only hides the cause temporarily.
For visible walls, Level 4 finishing usually provides a reliable paint-ready surface. Strong sidelight or a demanding sheen can justify a Level 5 skim coat, although it requires more preparation and may not be necessary for every room. Patches receive stain-blocking primer where required, followed by a controlled two-coat finish. Light sanding between coats is used when the surface or product calls for it, helping the repair blend with the surrounding wall.
Preparation in occupied homes
Drop cloths protect floors, masking keeps trim clean, and HEPA dust control limits fine compound dust in occupied houses, rental units, offices, and commercial spaces. The crew keeps materials contained, maintains an orderly work area, and completes a final walkthrough. Missed edges, visible defects, and cleanup concerns can then be addressed before sign-off.
The method changes with the building and the damage. A water-stained ceiling patch in a Wexford bungalow requires source verification, removal of failed material, drying, stain isolation, and a finish that remains inconspicuous under normal room lighting. A full-wall crack repair in a Malvern semi needs broader blending and careful feathering, followed by a repaint plan that keeps one repaired strip from standing out.
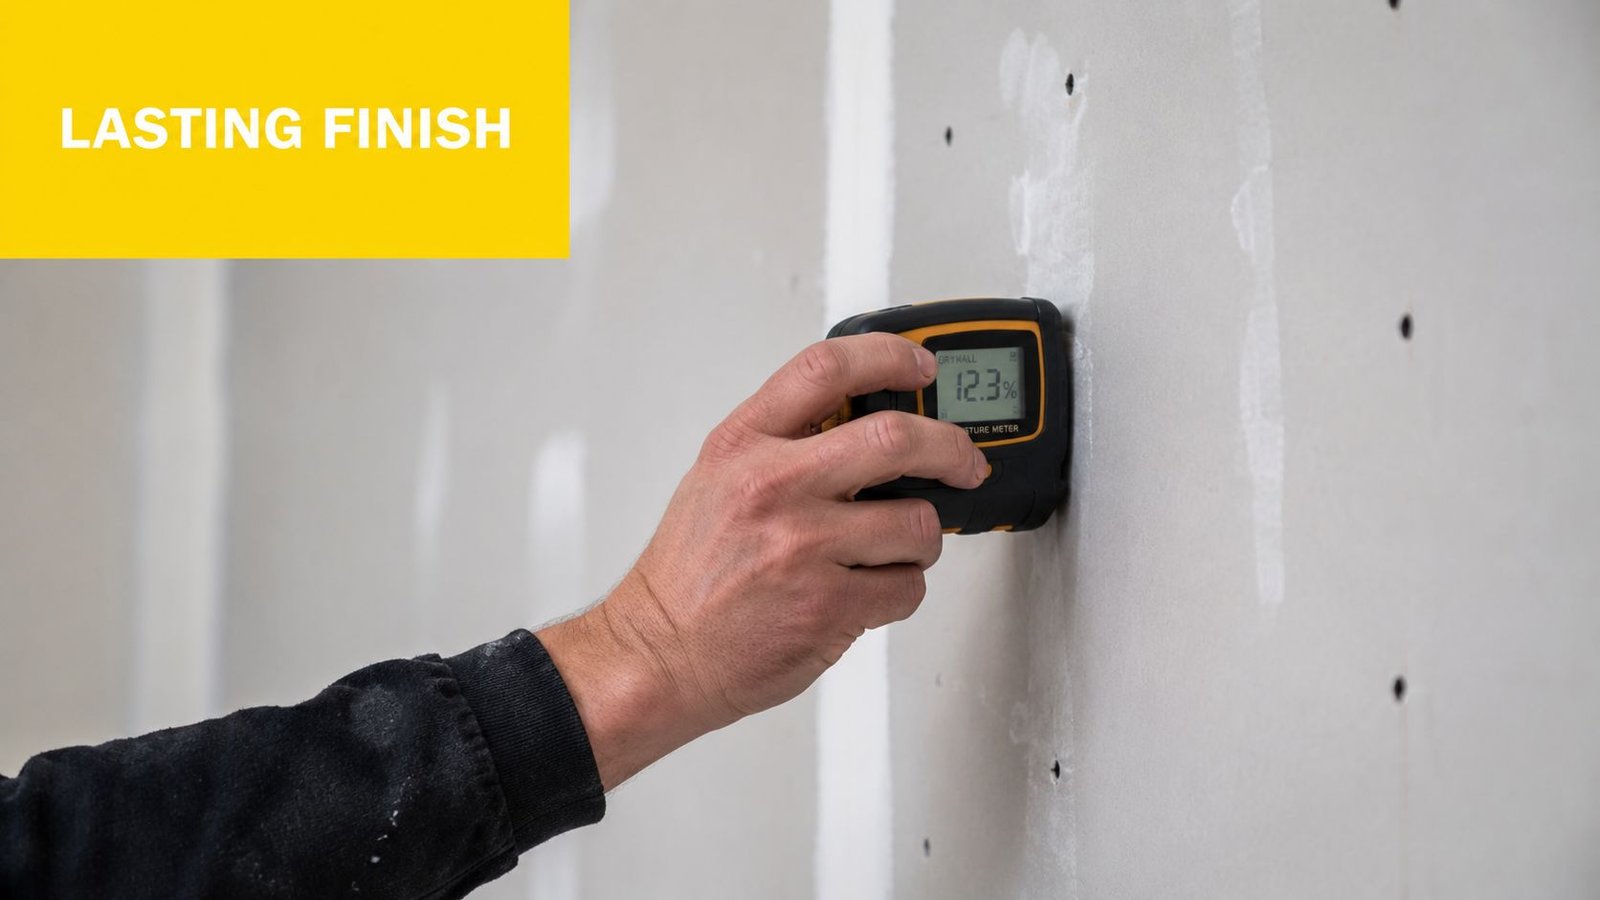
A written estimate should identify repair areas, preparation, primer, paint brand and sheen, finish coats, surface protection, cleanup, and exclusions. Confirm scheduling across the GTA, including Toronto, Vaughan, North York, and King City, along with what the on-site walkthrough covers. Soca Services Painting can discuss Sherwin-Williams, Benjamin Moore, wall colours, interior painting, and a finish suited to the repaired surface.
If a crack, stain, or bubbling patch appears in a Scarborough home, rental unit, or commercial property, check the cause before covering it. Request a written assessment and free estimate that separates drywall repair from home painting, so the work reflects the actual condition.
Soca Services Painting provides drywall repair, surface preparation, stain-blocking priming, and interior painting for Scarborough properties and clients across Toronto, Vaughan, North York, and King City. Visit Soca Services Painting to request a free estimate and arrange a practical walkthrough before painting begins.