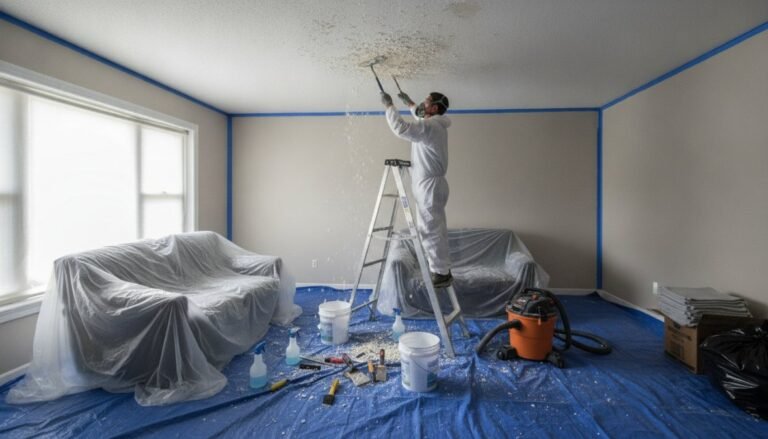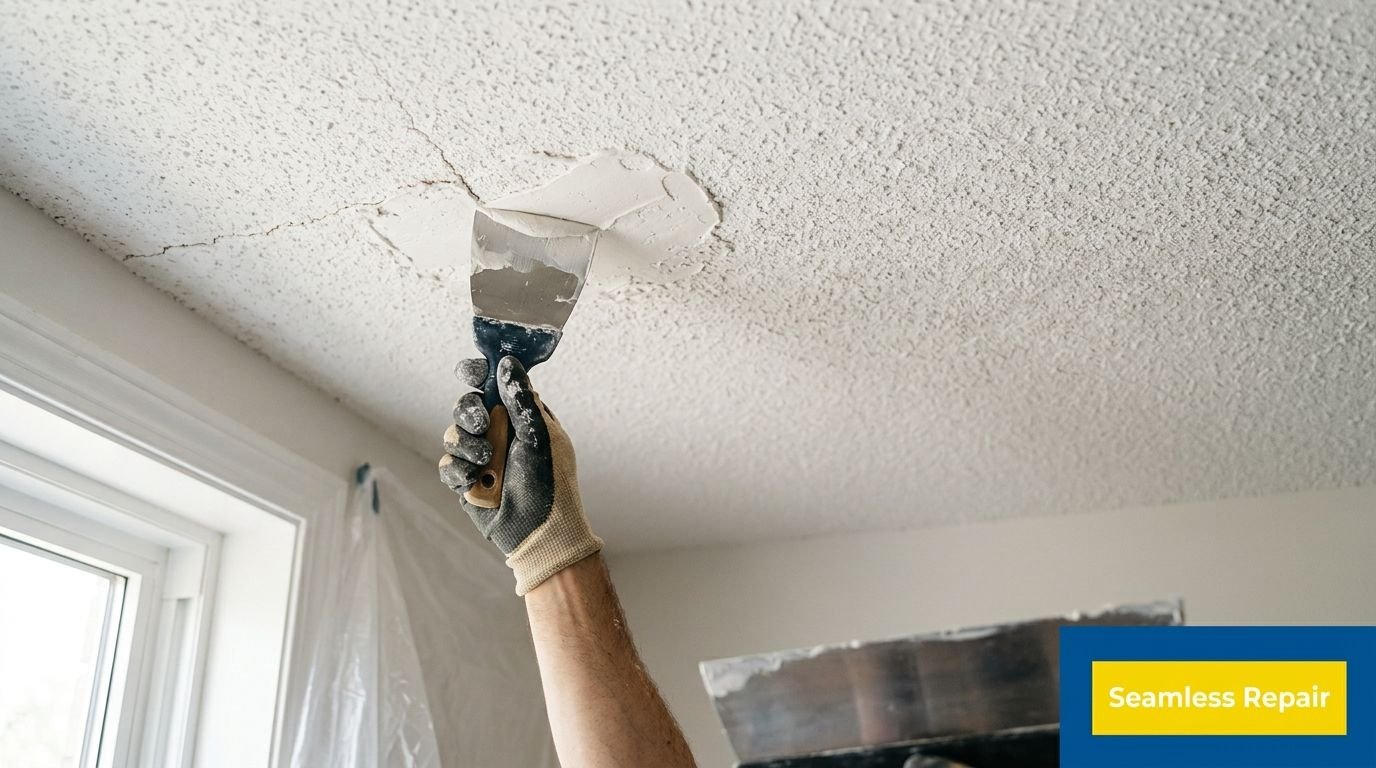
You spot it on a Tuesday night, usually under harsh kitchen LEDs. A faint water mark on a popcorn ceiling in North York. A crumbling knockdown patch over a Vaughan island. A homeowner sees a small blemish and assumes it'll be a quick patch, a bit of paint, and done. In practice, repair textured ceiling work is often a decision about visibility, not just damage, because the wrong fix can look worse once the lights are on and the room is lived in.
That's why ceiling repair in Toronto, Vaughan, North York, and King City often comes down to one question before any ladder comes out, do you need a spot repair, or do you need the whole plane repainted? The answer depends on texture, lighting, moisture history, and how critical the finish needs to look in real daily use. A ceiling can be structurally fine and still be a poor candidate for a small repair if the texture and sheen won't blend cleanly.
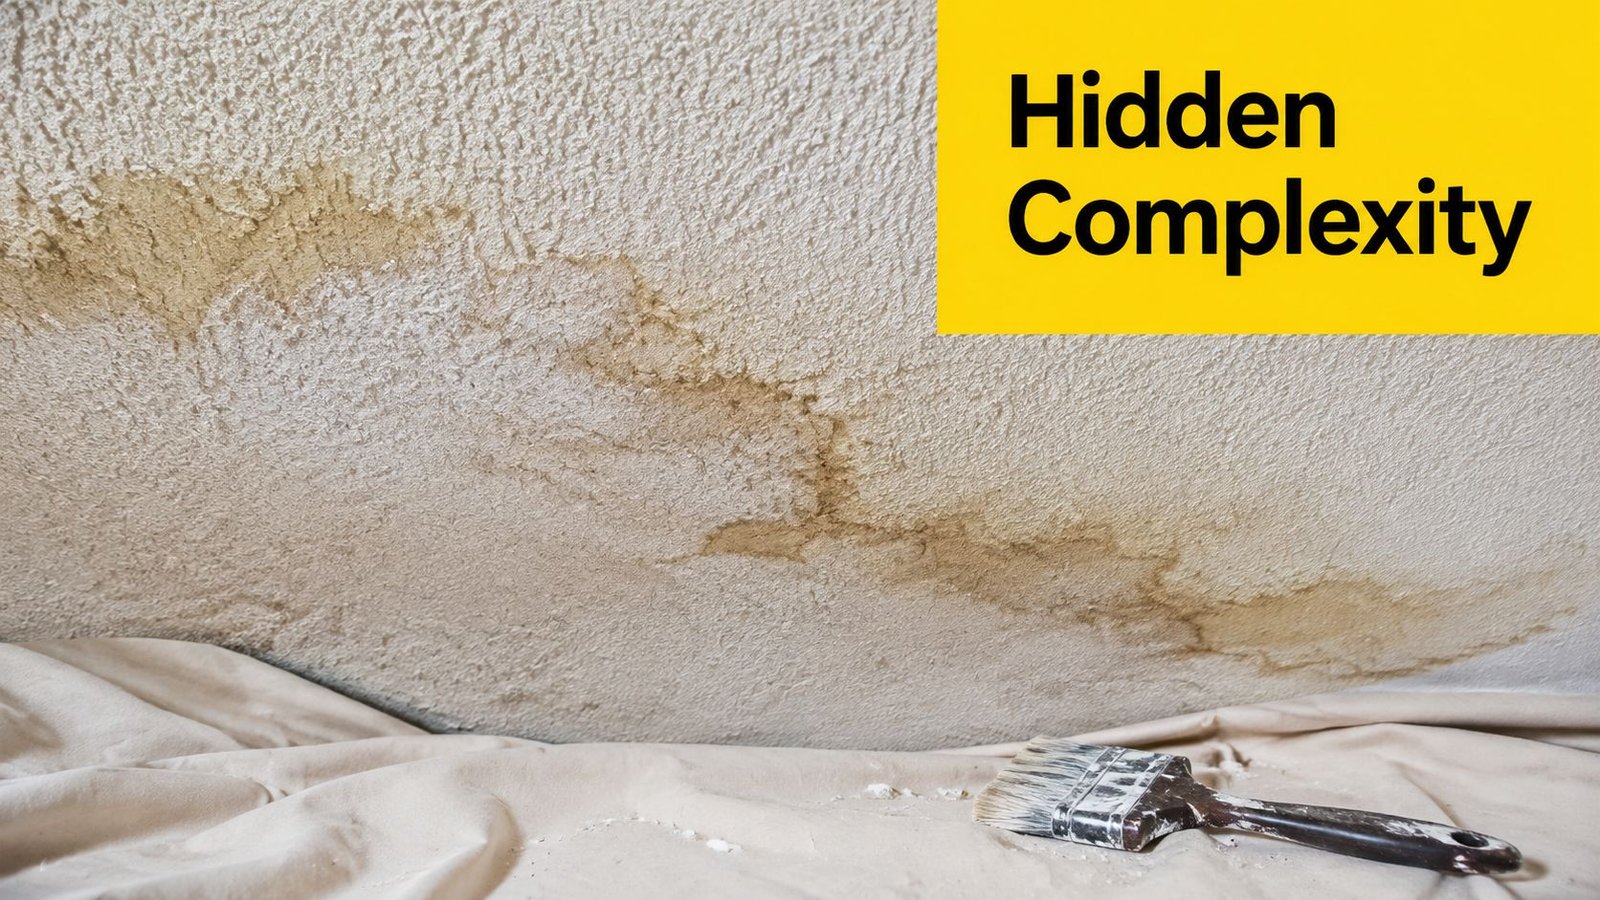
For a broader look at why old acoustic finishes can affect resale and renovation planning, Soca Services has a useful overview on why popcorn ceilings lower home value. If the damage came from a leak, it can also help to review a water-damage claim resource like Oregon water damage public adjuster, especially when you're sorting out who's responsible for repairs.
Why Textured Ceiling Repairs Are Tricky
A North York homeowner can stand in a finished room, point at a stain the size of a plate, and still be staring at a repair that won't disappear. Textured ceilings are unforgiving because the eye notices pattern, shadow, and sheen before it notices the actual patch. Under modern LEDs, that mismatch gets sharper, not softer.
Texture is the real finish, not just the paint
Flat ceilings forgive a little patching. Textured ceilings don't. The repair has to recreate the surface, then blend it into the surrounding field so the eye doesn't catch the edge, the slope, or the change in sheen. That's why the job often involves more than a fill, it involves matching the existing finish, then priming and painting so the repair doesn't flash.
Practical rule: if you can feel where the repair starts, you'll probably see it in daylight too.
The type of ceiling matters. Popcorn, knockdown, and orange peel all behave differently, and each one responds to a different amount of scraping, patching, and retexturing. A quick wipe-on fix that might work on a flat wall usually fails once the ceiling throws shadows across the room.
The trade-off is simple. A spot repair is cheaper and faster, but it only works when the surrounding ceiling is forgiving and the lighting is soft. In a modern Ontario home with bright fixtures, the better repair can be the one that covers a larger area and avoids the obvious “patch on the patch” look.
For homeowners comparing texture issues with removal options, Soca Services also publishes a practical guide on popcorn ceiling removal in Toronto. That matters because sometimes the cleanest repair is not a patch at all, it's changing the ceiling finish entirely.
When small damage becomes a bigger decision
The hidden problem is not always the hole. It's the room. A small blemish above a dining table, kitchen island, or open-concept living area can pull the eye every time the lights come on. Once that happens, the repair stops being a labour question and becomes a design question.
That's the logic behind professional ceiling work. The goal isn't just to cover damage. It's to make the ceiling disappear again.

Safety Checks and Texture Identification Before You Start
The safest ceiling repairs start before the knife touches the surface. In Toronto, Vaughan, and King City, that means checking the age of the house, the moisture history of the damage, and the texture type itself. If those checks are skipped, a small patch can turn into a safety problem or a finish problem.
Identify the texture before you disturb it
Popcorn texture looks chunky and irregular, with a rough, sprayed-on look. Knockdown has a more flattened, mottled surface, often with soft peaks knocked back while the material is still wet. Orange peel is finer and more subtle, with small bumps that resemble the skin it is named after.
The texture tells you how aggressive the repair can be. Popcorn often needs more containment and more care around loose material. Knockdown depends on timing. Orange peel usually calls for a lighter hand so the blend does not stand out more than the original damage.
Check for asbestos before scraping old ceilings
Older Ontario homes can still carry legacy materials, and textured ceilings are one of the places where that issue shows up. Federal and provincial guidance in Canada treats materials installed before the late 1980s as a possible asbestos concern, and Ontario requires specific precautions and training when hazardous materials are involved. In an older home, the first move is confirming what you are dealing with before any scraping starts.
If the ceiling may contain asbestos, the practical question is whether to test, encapsulate, or remove it under the right controls. A cosmetic repair on the surface does not solve a hazardous substrate underneath. It can make the job more dangerous if the texture gets disturbed without proper planning.
Make moisture the deciding factor, not guesswork
A ceiling that was water-damaged has to be completely dry before patching. Moisture left in the drywall can soften the texture, cause discoloration, and make the repair fail after paint goes on. Repair crews treat drying as a step, not a feeling.
If the substrate still holds moisture, the finish will not stay stable.
For occupied homes, protection matters too. Lay down drop cloths, seal the area with plastic sheeting, and use safety glasses plus a respirator when sanding or spraying. That keeps the mess controlled and makes it easier to work in lived-in spaces without spreading dust through the room.
One practical note for homeowners comparing repair and removal paths, Soca Services offers popcorn ceiling removal in Toronto, which is relevant when the old finish is beyond patching. That option can be the cleaner choice when texture, age, or safety concerns make a spot repair a poor bet.
Step-by-Step Repair Methods for Textured Ceilings
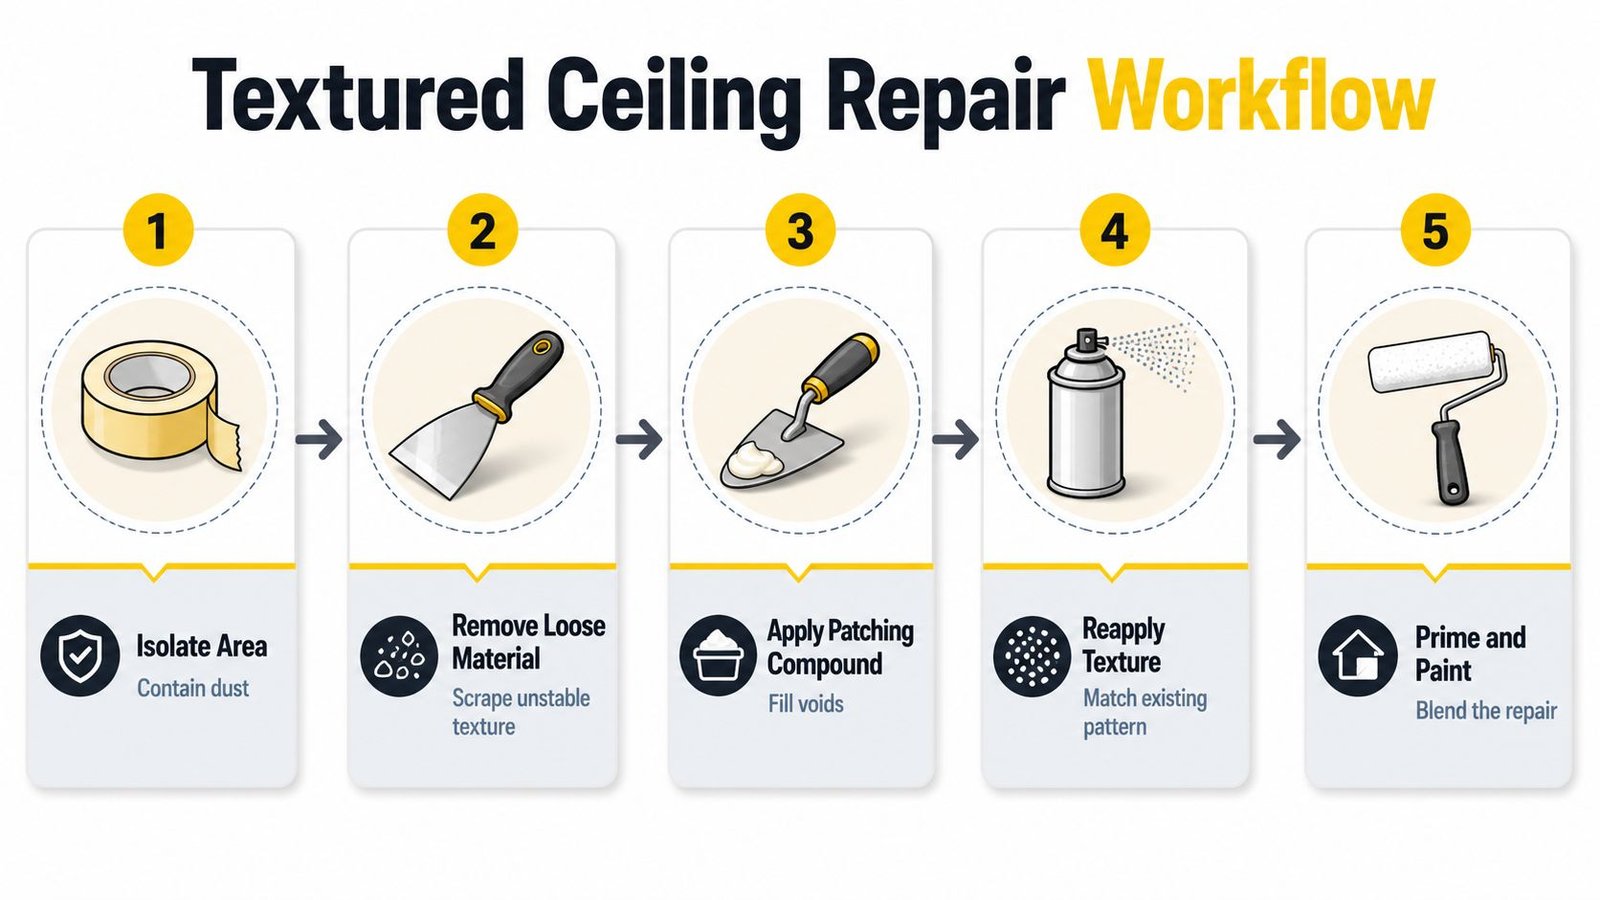
The repair itself is a sequence, not a single patch. First isolate the area so dust stays contained. Then remove the loose texture and any failing paper, rebuild the surface, recreate the finish, and only then prime and paint. Each stage matters because a textured ceiling hides very little once the room is lit properly.
Start by clearing the unstable material
Loose popcorn or failing knockdown should come off before any compound goes on. The working area needs enough cleared perimeter so the new material has room to blend. One practical benchmark from repair guides is to remove the surrounding texture for about two inches beyond the patch boundary to create a transition zone.
For stubborn texture, a light water soak helps. Canadian repair guidance recommends softening the material with water for about 5 to 10 minutes before scraping, which gives the surface enough give without turning the substrate into mush. That matters most on older repairs where the texture clings harder than expected.
Rebuild the surface, don't polish it to perfection
A common mistake is trying to make the patched spot perfectly smooth before retexturing. That usually wastes time and can make the transition worse. The goal is to get the surface level enough to support the new finish, not to create a showroom-smooth drywall panel underneath a textured ceiling.
For larger damaged areas, contractor guidance from Fine Homebuilding recommends skim-coating with two or three skim coats of joint compound, with light sanding between coats and before primer. That approach works when the existing finish is too damaged or too inconsistent for a simple dab and spray. In those cases, a cleaner base gives you a cleaner texture match.
Practical rule: if the substrate isn't flat enough to support the new finish, the texture won't save it.
Re-create the texture with the right timing
Knockdown needs timing discipline. One source-backed benchmark says to spray the irregular splatters, then flatten them after 10 to 15 minutes as the material starts to set. If you flatten too soon, it smears. Too late, and the patch gets crunchy and obvious.
For spray texture, testing the pattern on cardboard first is a smart move. That lets you dial in distance and output before you hit the ceiling, which reduces over-application and helps the patch look like the original finish instead of a fresh spray job. Small control changes make a big difference overhead.
Once the repair has set, prime it. Skipping primer is a mistake I see a lot. The patch might hold texture well, but the sheen or stain difference can still show through paint if the area wasn't sealed first.
For homeowners who want a contractor-facing overview of the same workflow, Soca Services also has a practical page on how to repair popcorn ceiling. And if you prefer to see the repair sequence in motion, the embedded demo below shows the general process very clearly.
Spot Repair Versus Full-Ceiling Repainting
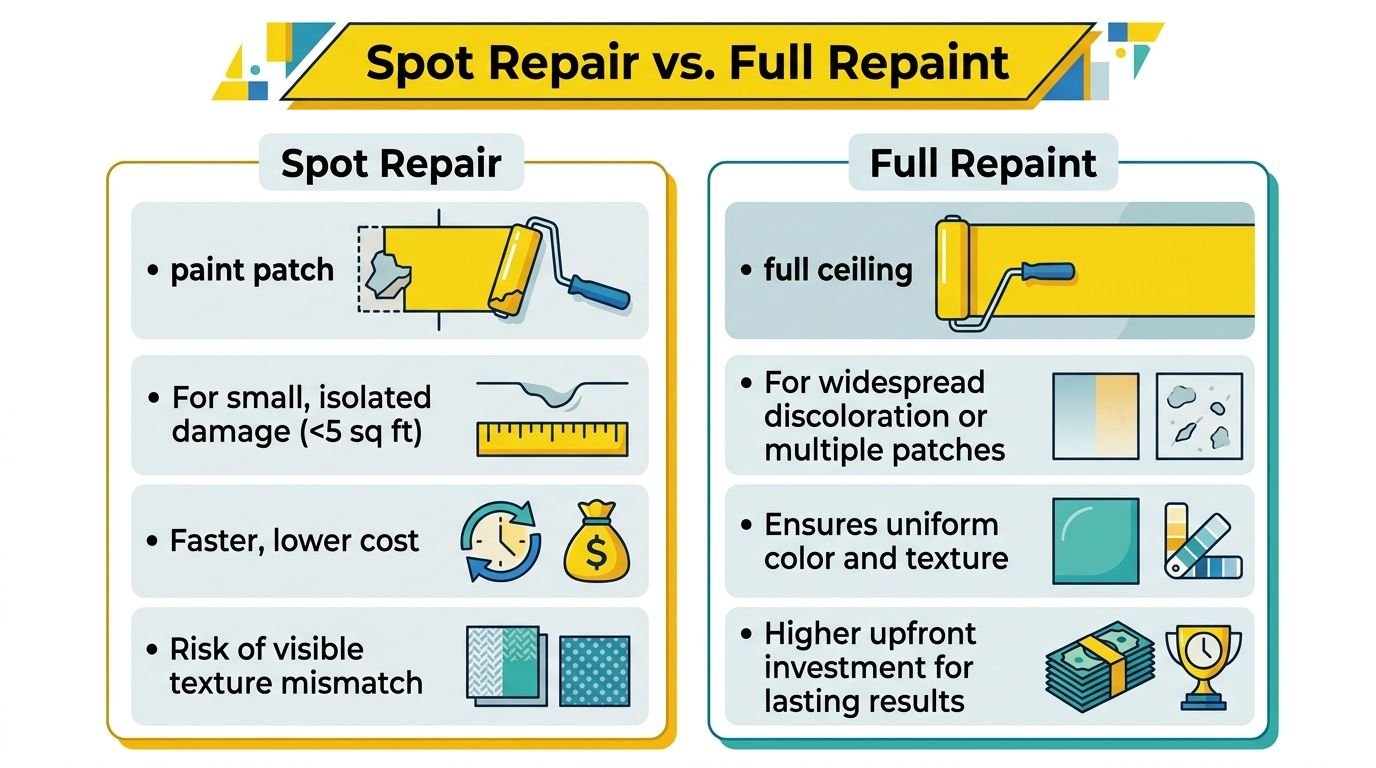
The repair that looks cheapest on paper isn't always the cheapest in the room. A tiny patch can be enough on a low-traffic ceiling with soft lighting. In many Toronto and North York homes, especially open-concept layouts with LED pot lights, the safer choice is often repainting the full ceiling plane so the repair doesn't flash.
Spot repair works when the room is forgiving
Spot repair makes sense for small, isolated damage where the surrounding texture is consistent and the ceiling doesn't throw hard shadows. It can be the right answer for a tiny hole, a small scrape, or damage tucked into a low-glare room. The downside is that a perfect match is hard to guarantee, especially if the original finish has aged or discoloured unevenly.
The repaired area also has to stand up to the room itself. Modern LED lighting reveals transitions that older incandescent lighting used to hide. If the patch sits under direct light, the edge can read as a different tone or texture even when the workmanship is solid.
Full repainting wins when consistency matters
A full-ceiling repaint is usually the safer bet when there are multiple patches, widespread staining, or a ceiling that already has uneven ageing. It also helps when the ceiling is part of a luxury or high-turnover property where first impressions matter. In those spaces, a uniform finish is more valuable than preserving the smallest possible repair footprint.
For property managers, this is often the lower-risk choice. One visible patch can trigger complaints, while a full plane finish looks deliberate and clean. That's why ceiling repair is often a paint-and-finish decision, not just a drywall decision.
In bright rooms, the patch you save money on can be the patch everyone notices.
For a separate perspective on water-damaged ceilings and repair planning, the Eagle Restoration ceiling guide is a useful resource. It reinforces the same practical point, matching the patch is only half the job if the final finish still reads in the room.
The decision usually comes down to three things
- Lighting: Direct LEDs and daylight make mismatches easier to see.
- Coverage: More than one repair usually pushes the job toward repainting.
- Expectation: If the ceiling has to look uniform, full-plane repainting is often the cleaner answer.
Cost and Time Estimates for Textured Ceiling Repairs
Budgeting for ceiling repair gets easier once you separate the surface work from the finish work. A textured ceiling isn't priced like a simple drywall patch because matching texture, priming, and paint all add labour. In a high-cost market like California, that difference is already visible in the published ranges, and the same logic explains why Toronto-area homeowners often get estimates that feel higher than they expect.
What the published pricing actually says
One 2026 cost guide places California ceiling repair at $550–$1,660, compared with a U.S. national range of $150–$4,500 and an average of about $1,079. For textured ceiling work specifically, national repair estimates commonly fall around $358–$562 per patch or $363–$570 per repair, while broader ceiling-repair pricing models put most jobs at $45–$90 per square foot. Angi's ceiling repair guide captures those ranges clearly.
Texturing and painting are separate line items too. HomeGuide's texture cost breakdown puts texturing at $1–$2 per square foot, or about $130–$440 for an average room, with retexturing after texture removal rising to $1.80–$3.80 per square foot. It also notes that small repairs with retexturing can reach $50–$100 per square foot because setup and matching work dominate the job. The same guide shows texturing or painting commonly adding $150–$600 to a repair.
A practical cost table for textured ceilings
| Texture Type | Cost per Square Foot | Typical Room Cost |
|---|---|---|
| Popcorn texture repair | Qualitatively low to moderate, depending on matching needs | Often moves into the mid hundreds once patching and repainting are included |
| Knockdown texture repair | Usually similar to other sprayed finishes, but timing-sensitive | Commonly rises when texture blending and repainting are needed |
| Orange peel texture repair | Can stay modest on small areas, but finish quality changes the price | Often increases if the ceiling needs a larger repaint field |
For a more detailed local framing of removal pricing, Soca Services also has a guide on the cost of removing popcorn ceiling. That matters because removal can be cheaper than endless matching when the old finish is already patchy or discoloured.
Time is part of the budget too
Repair time depends on dry time, texture set time, and whether the room needs a full repaint. A patch that looks simple can still take multiple visits if the compound needs to cure, the texture needs to set, and the finish needs another coat. In occupied homes, that affects furniture moving, dust control, and when the room can be used normally again.
When to Hire Professional Painting Services
DIY can make sense on a tiny, low-visibility patch. Once the damage spreads, the texture is unknown, or the room sits under unforgiving lighting, professional work becomes the practical choice. That's especially true for Toronto, Vaughan, North York, and King City homes where ceilings are part of a high-expectation finish, not just a background surface.
The signs the job has crossed the line
Recurring water damage usually means the substrate needs more than patch material. Multiple visible repairs usually mean the ceiling should be repainted from break to break. If asbestos is even a possibility, the project needs the right testing and controls before anyone starts scraping.
Large open-plan ceilings are another tipping point. They're hard to blend by hand because the eye sees the whole plane at once. A repair that looks fine in a small bathroom can look off in a kitchen or main living space.
A ceiling can be structurally repaired and still be visually wrong.
What professional finish work changes
Professional painters use smoother substrate work, more careful feathering, and better finish control. Fine Homebuilding's repair guidance points to skim-coating damaged surfaces with two or three coats where needed, which gives the texture a better base and helps the final paint read more evenly. That same disciplined approach matters when using premium interior paints from Sherwin-Williams or Benjamin Moore, especially in rooms where sheen and colour consistency need to hold up over time.
Soca Services Painting offers drywall repair and popcorn ceiling removal, both of which fit naturally into ceiling restoration when a patch won't stay discreet. For property managers and homeowners, that means one contractor can handle the surface repair and the repaint together instead of leaving the job half-finished.
When to stop chasing a patch
If the ceiling needs to look smooth in daylight, under LEDs, or in a premium interior, hire a pro. If the repair is on a large plane, above a feature space, or in a house with older materials, a careful professional approach usually saves time and repeat labour. That's the point where quality stops being a nice-to-have and becomes the more economical decision.
For more context on the value of professional work, Soca Services also covers whether professional interior painting is worth it. If your ceiling repair needs to disappear instead of merely being covered, that's the conversation to have.
Soca Services Painting handles ceiling repair, drywall repair, and interior painting for homes and commercial spaces across Toronto, Vaughan, North York, and King City. If you want a ceiling that blends cleanly under real room lighting, visit Soca Services Painting to get a free estimate and talk through the right repair or repaint plan for your space.