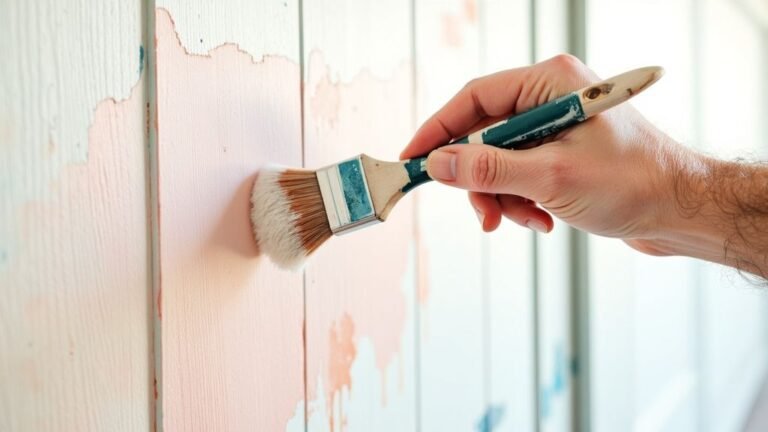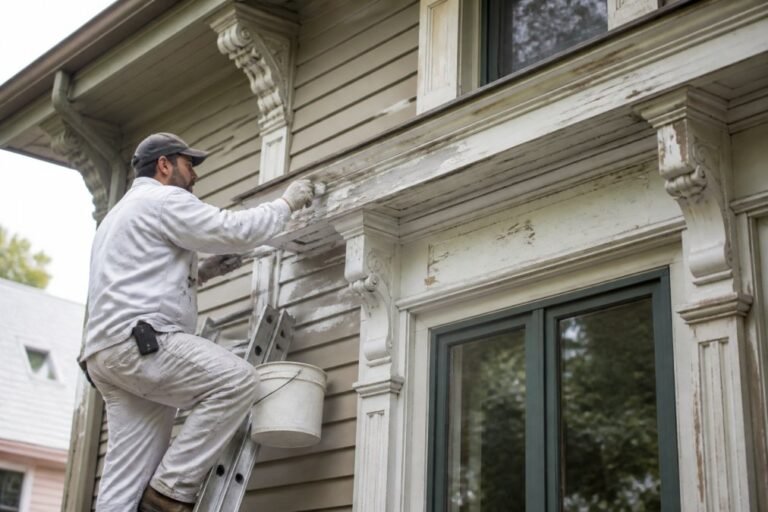
A fresh coat of paint is often treated as the answer to peeling, bubbling, or cracked walls. In North York, that advice can waste money. Paint failure usually points to a problem beneath the surface, such as moisture intrusion, settling, age, poor adhesion, or an earlier repair that was rushed.
That matters across Toronto, where detached homes, older plaster interiors, newer infill, and high-rise condos sit side by side. In the North York Centre area, 92% of dwellings are in buildings taller than five storeys, and 90% are one- or two-bedroom units, according to the City of Toronto North York Community Council Area profile. Those compact, multi-unit homes create regular demand for drywall patching, turnover repairs, repainting, and careful coordination with property managers.
Soca Services Painting approaches wall repair and painting North York projects as surface work with a diagnostic stage first. The right result isn't just a room that looks freshly painted today. It's a wall system that has been checked, repaired, dried, primed, and finished so the new coating has a fair chance to last.
Why Fresh Paint Won't Fix Underlying Wall Problems
Peeling paint doesn't automatically mean the paint is old. A coating can lift because water is moving through the wall, because the substrate wasn't clean, or because someone painted over a weak or damp surface. Bubbling near a window, ceiling edge, bathroom, or exterior wall deserves investigation before anyone opens a paint can.
North York properties present different versions of the same problem. Older detached homes may contain plaster walls with several previous coating layers, while high-rise condos can develop stains or swollen drywall around plumbing chases, windows, balconies, and shared walls. A recently renovated unit may look modern but still have failed joint compound, poor sanding, or construction moisture beneath the finish.
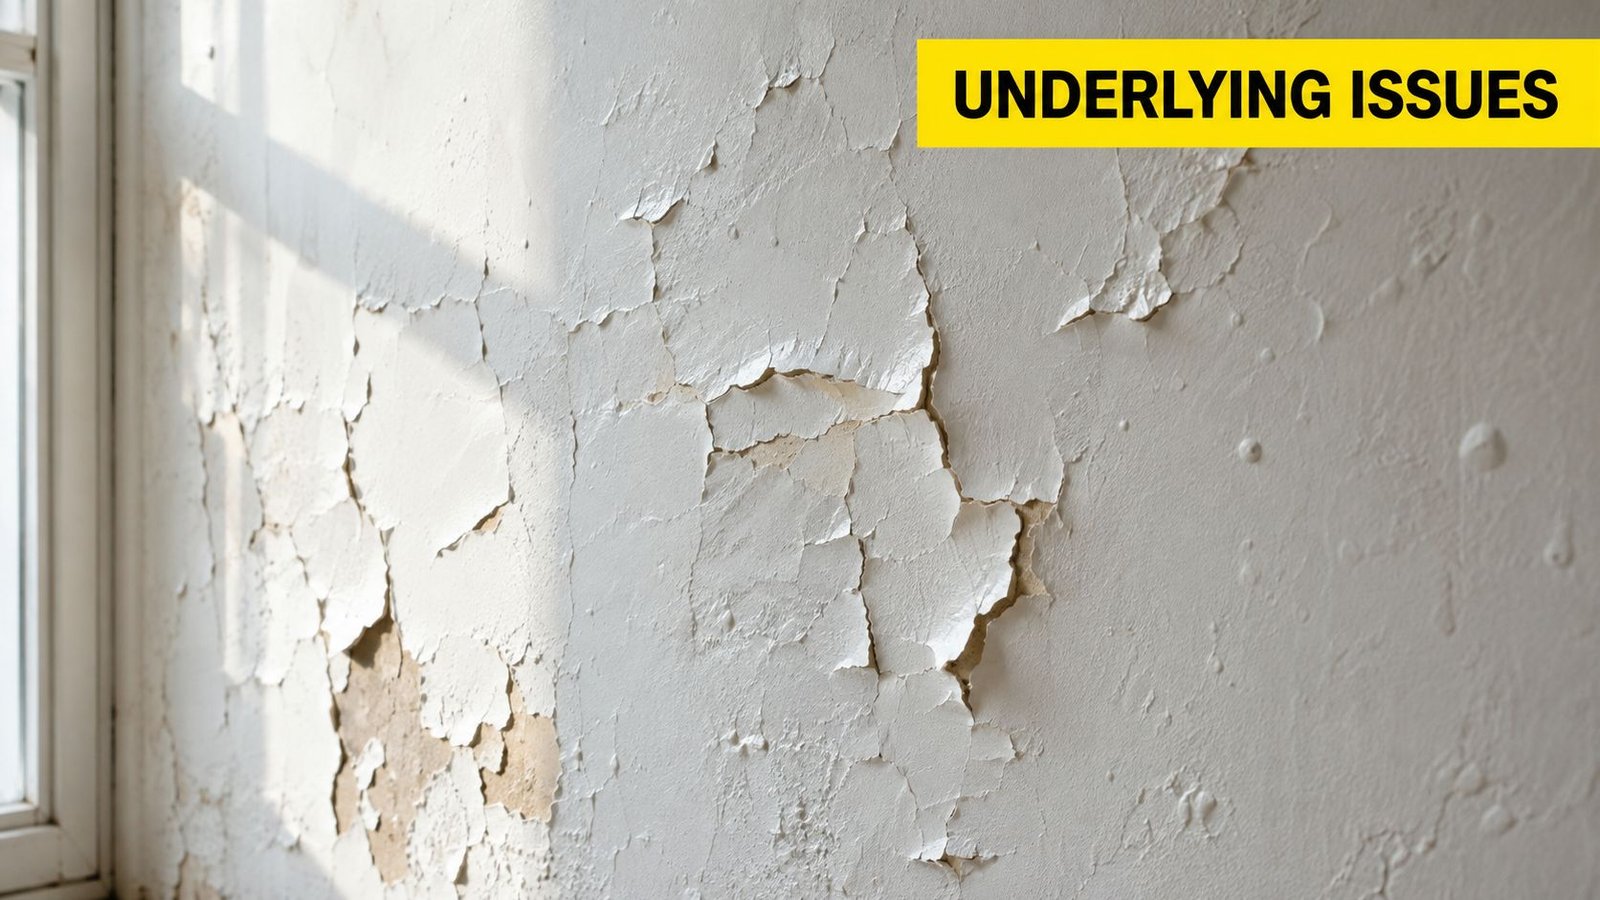
Read the symptom before choosing the product
The pattern of damage gives useful clues:
- Peeling or flaking: Often points to poor adhesion, repeated dampness, or incompatible coatings.
- Bubbling: Can indicate moisture behind the paint or trapped air over a weak surface.
- Recurring cracks: May result from movement at a joint, settling, thermal changes, or a repair that wasn't reinforced correctly.
- Brown or yellow staining: Commonly signals an old or active water event. The stain can return through ordinary latex paint if it isn't sealed properly.
- Soft or sagging drywall: Requires more than filling and sanding. The affected material may need removal after the moisture source has been corrected.
Toronto's repair pressure reinforces why cosmetic work alone can be inadequate. A Toronto tenant survey summarised by ACORN's State of Repair report found that 60% of respondents faced issues getting building repairs completed during the previous 12 months. That doesn't mean every peeling wall has a serious defect, but it does show why visible wall damage should be treated as part of a maintenance decision, not just a colour-update opportunity.
Practical rule: If the same mark, crack, or bubble returns after painting, stop adding coats and investigate the substrate.
A repair-first assessment
A useful inspection starts with the location and behaviour of the defect. Check whether the area feels cool, soft, powdery, or swollen. Look for staining on the opposite side of the wall, around trim, below a window, or near plumbing fixtures. On plaster, test whether the surface is firmly attached. On drywall, press gently around the damage, without forcing a weak section.
For a detailed explanation of what painters may include beyond coating application, see whether drywall repair is included in painting services. The important distinction is between cosmetic preparation, such as filling a stable nail hole, and corrective repair, such as replacing wet board or securing loose plaster.
A professional assessment also protects owners preparing a unit for lease or sale. Selective wall repair may be more sensible than repainting an entire property when the defect is concentrated, but only after the cause is understood. Painting over damage may produce a clean handover appearance briefly, while a proper repair addresses the reason the finish failed.
Identifying and Repairing Common Wall Damage
North York wall repairs usually fall into a few recognisable categories. The repair method depends on the wall material, the depth of the damage, and whether the area is stable and dry.
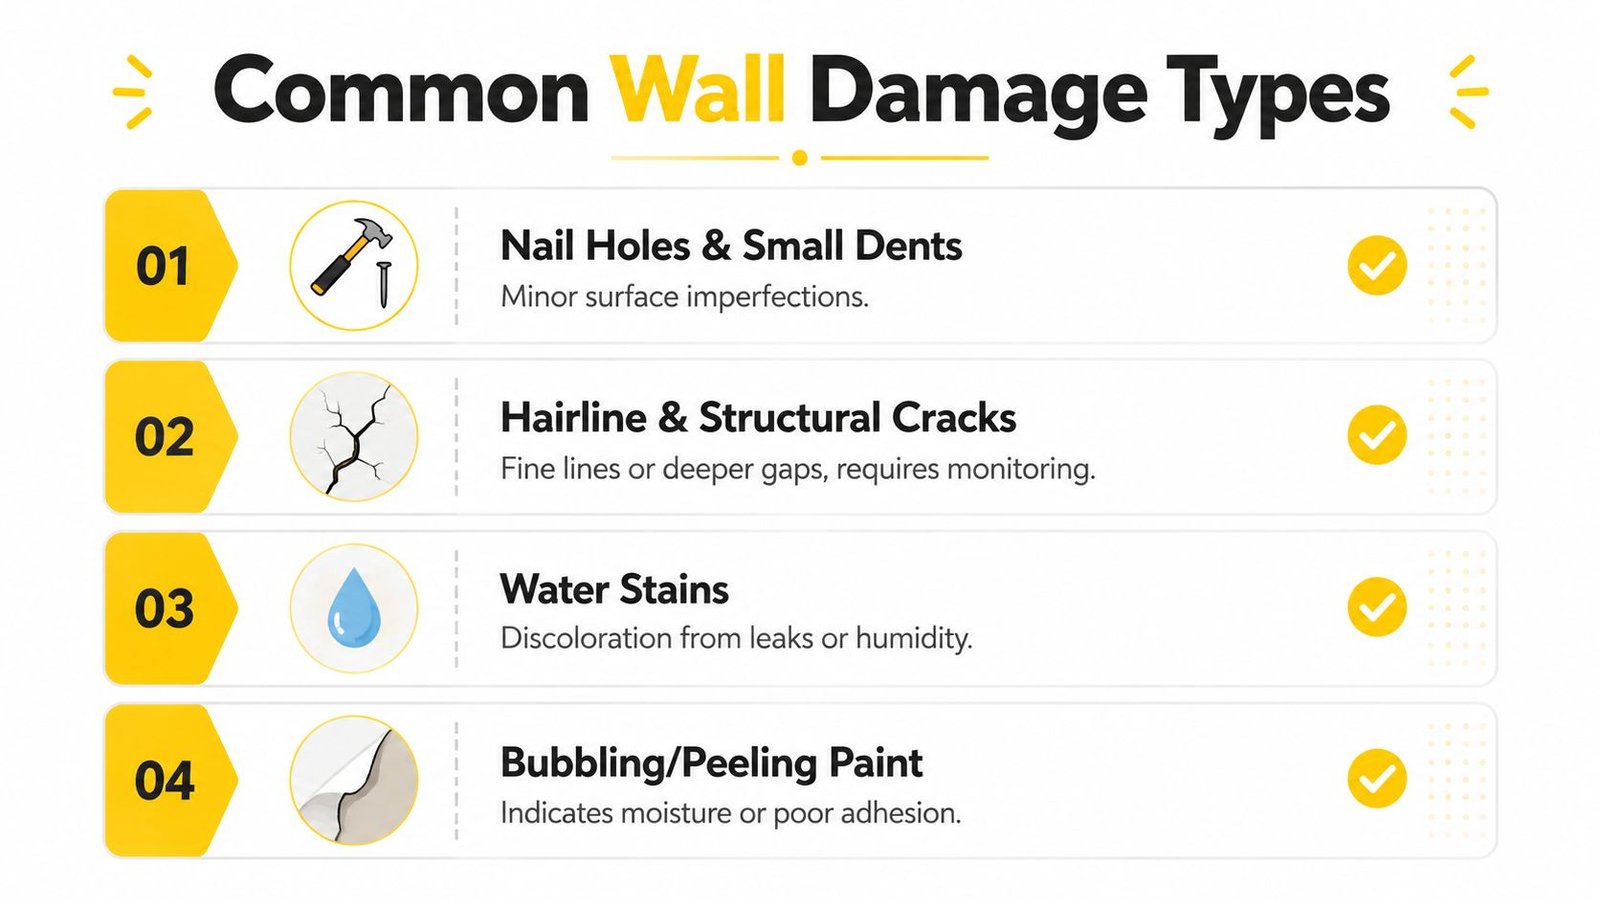
Nail holes and small dents
Small holes from picture hooks or furniture contact are suitable for many careful DIY repairs. Remove loose paper or paint, press lightweight spackle or setting compound into the hole, allow it to dry, then sand the patch flush with fine abrasive paper. Wipe away dust before priming.
For a shallow dent in drywall, don't spread a thick mound of compound over the surrounding wall. Build the repair in thin applications. A wide taping knife helps feather the edges, which reduces the visible halo that often appears under side lighting.
Plaster needs a slightly different approach. If the plaster remains firm, fill the indentation with a compatible patching compound and avoid cutting into sound material unnecessarily. If the area sounds hollow, moves when pressed, or has separated from the lath, a surface skim won't provide a durable repair.
Hairline and deeper cracks
A short, stable hairline crack may be opened slightly with a utility knife, cleaned, filled, sanded, and primed. The small groove gives the compound somewhere to sit instead of leaving a fragile film on top of the paint.
Deeper or recurring cracks deserve closer attention. Cracks that widen, run diagonally from openings, cross several materials, or reappear after patching may reflect movement rather than a simple surface flaw. A contractor can document the crack, check adjacent surfaces, and determine whether the repair needs mesh tape, joint reinforcement, plaster stabilisation, or another trade.
Don't fill a crack that contains dampness or active staining. Dryness and cause come first.
Water stains and moisture damage
Water damage requires the most restraint. A minor, dry stain may be cleaned, sealed with a stain-blocking primer, and repainted. Soft, sagging, swollen, or mould-affected drywall should be removed and replaced only after the leak source has been fixed, as described in this North York drywall repair guidance.
If you suspect a concealed plumbing leak, review how to handle a wall leak before opening the wall. A painter shouldn't be expected to conceal an active plumbing problem. Once the source is repaired, the cavity needs appropriate drying and inspection before new board, tape, compound, primer, and paint are installed.
Large holes and damaged sections
A small puncture can receive a patch, but a broad damaged section may need a clean cut back to sound drywall. The replacement piece should be supported, fastened properly, taped, and feathered over a wide area. Rushing the compound or sanding only the centre leaves a ridge that becomes obvious after painting.
For plaster, extensive damage may require stabilising the base before applying new material. A repair that looks smooth while wet can reveal edges after drying, so the surface should be checked under normal room lighting before the finish coat.
Stop and call a professional when damage is wet, mould-affected, structurally questionable, high above a stairwell, or connected to a recurring leak. For straightforward cosmetic work, how to fix peeling paint provides useful preparation context, but it shouldn't be used to justify sealing over damp material.
Surface Preparation and Moisture Testing
Fresh paint cannot compensate for a dirty, unstable, or damp substrate. Preparation determines whether the coating bonds, dries evenly, and stays uniform. Remove dust, cooking residue, hand oils, and loose material before sanding. Feather the edges of repairs into the original wall, then prime to create a consistent base and contain suitable dry stains.
North York's seasonal temperature changes make moisture testing important in both older houses and high-rise condos. Dryness at the surface does not confirm that drywall, plaster, framing, or a repaired cavity is dry inside. Use a calibrated electronic meter and compare readings across the repair, nearby sound wall, and any stained area. Work should wait until the substrate reaches acceptable dryness, as described in the Canadian interior painting guideline.
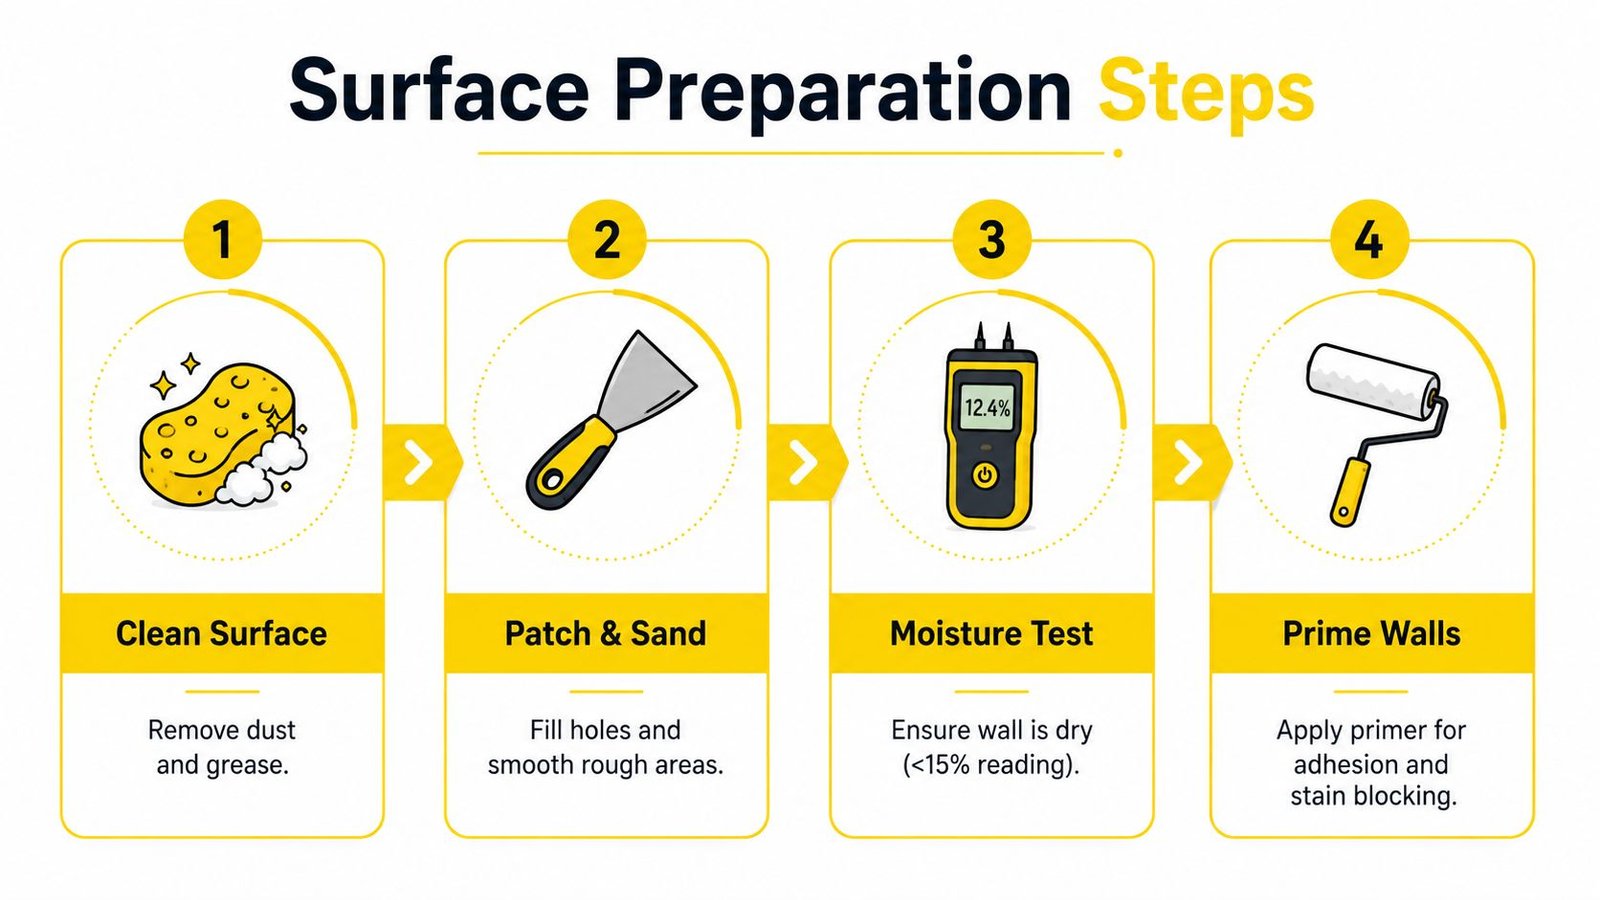
A dependable preparation sequence
- Clean the surface. Match the cleaner to the room and coating condition. Kitchens often need more degreasing than bedrooms. Avoid saturating gypsum board or aggressively scrubbing unstable paint.
- Remove weak material. Scrape loose flakes, cut away torn drywall paper, and remove powdery compound. Sound paint can remain, but clean and degloss it where adhesion is uncertain.
- Patch and sand. Apply compatible compound in controlled layers. Sand the perimeter rather than hollowing the centre. A work light held at a low angle exposes ridges that ordinary room lighting can miss.
- Test moisture. Take several readings across the repair and surrounding wall. A single reading may miss a localised problem, so the pattern matters.
- Prime strategically. Use drywall primer on new board, bonding primer where adhesion is uncertain, and stain-blocking primer for suitable dry stains. Follow the product label for surface and drying requirements.
A wet wall requires a different workflow. Find and repair the source, remove damaged drywall, dry the cavity, and inspect the vapour barrier if an exterior wall has been opened. Only then should patching, priming, and repainting begin. Water intrusion should be dried promptly, and indoor humidity should be controlled to reduce recurring dampness and mould risk. Don't cover wet construction. Verify dryness before priming.
For broader prevention advice to protect a house's wall integrity, inspect window detailing, bathroom ventilation, plumbing access, exterior drainage, and condensation patterns. The wall preparation process from Soca Services Painting provides a practical reference for organising these checks before painting.
Choosing the Right Paint and Finish for Each Room
Paint selection should follow the room's use and the wall's condition. Sherwin-Williams and Benjamin Moore both offer dependable interior systems, but the product name matters less than choosing a coating that suits the substrate, moisture exposure, cleaning demands, and desired appearance. A premium paint applied over an unprepared wall still produces a poor result.
Bathrooms and kitchens need a washable, moisture-tolerant finish and good ventilation. Hallways, entry areas, children's rooms, and rental units benefit from a finish that can tolerate regular cleaning without showing every mark. Flat paint can hide minor surface variation in a low-contact room, but it isn't the easiest option where fingerprints and scuffs are common.
| Room Type | Recommended Finish | Key Features | Best For |
|---|---|---|---|
| Living room | Eggshell or low-sheen | Soft appearance, easier cleaning than flat | Balanced appearance and everyday use |
| Bedroom | Flat or eggshell | Low visual glare, comfortable look | Calm spaces with moderate traffic |
| Hallway and entry | Satin | More washable, handles contact | High-touch circulation areas |
| Kitchen | Satin or suitable washable low-sheen | Practical cleaning and moisture tolerance | Cooking residue and frequent wiping |
| Bathroom | Satin or another manufacturer-approved moisture-tolerant finish | Better suited to humidity than flat | Walls with proper ventilation |
| Trim and doors | Semi-gloss | Tougher film and easier cleaning | Baseboards, casings, and doors |
Colour decisions in North York homes
Light changes across a condo, detached house, or commercial unit. A grey that feels balanced near a bright window may look cooler in a shaded corridor. Test a sample on the actual wall, observe it during morning and evening light, and compare it beside trim, flooring, cabinets, and existing furnishings.
For living rooms, Soca Services' interior finish guidance can help narrow the sheen choice. The right colour still depends on the room's light and the condition of the wall. A smoother finish reflects more light and can reveal sanding marks, while a lower sheen is more forgiving but may require gentler cleaning.
If you're changing from a deep colour to a pale neutral, ask about the primer and number of finish coats rather than assuming the new colour will cover in one pass. For landlords and property managers, durable neutral wall colours can simplify future touch-ups. For luxury and custom homes in Toronto, Vaughan, or King City, colour placement and sheen consistency often matter as much as the colour itself.
Realistic Timelines and Cost Estimates for North York
A responsible estimate can't be based on room count alone. Wall condition, access, furniture, ceiling height, repairs, colour changes, ventilation, and drying conditions all affect the schedule. A small room with extensive patching may demand more preparation than a larger room with sound walls.
A typical workflow may include protection and moving, cleaning, scraping, patching, sanding, dust control, moisture verification where needed, priming, finish coats, touch-ups, and cleanup. Each stage can add time, particularly when compound or primer needs to dry fully before the next operation. A high-rise condo may also require elevator booking, loading access, parking coordination, floor protection, and compliance with building rules.
How to think about the budget
DIY costs usually centre on materials and tools, including compound, sandpaper, knives, primer, paint, rollers, brushes, tape, drop cloths, and cleaning supplies. The financial advantage is strongest when the damage is limited, the walls are accessible, and the homeowner already owns suitable equipment. The trade-off is time, dust, uneven texture, and the possibility of buying materials twice after a failed repair.
Professional pricing reflects labour as well as risk management. A quote can increase when walls need extensive skim coating, when peeling extends across several rooms, when ceilings are high, or when the project involves an occupied rental or commercial space. It can also change when the requested colour is substantially different from the existing one or when furniture cannot be removed easily.
A low quote isn't automatically a bargain. Ask whether it includes surface preparation, repairs, primer, protection, cleanup, and the number of finish coats needed for the selected colour.
Compare quotes properly
Request a written scope that identifies:
- Repair allowance: Which holes, cracks, stains, or drywall sections are included?
- Preparation: Does the contractor clean, sand, scrape, caulk, and prime?
- Materials: Are the proposed Sherwin-Williams or Benjamin Moore products specified?
- Access: Who handles condo bookings, parking, elevator access, and protection?
- Completion standard: How will touch-ups, colour matching, and cleanup be handled?
For scheduling questions, how long interior painting takes offers useful planning context. Treat any timeline as conditional until the wall condition is inspected. A property manager in North York may value a clear, staged scope more than an artificially short completion promise, especially when tenants or commercial operations remain in place.
When to Hire Professional Painting Services
DIY painting makes sense for stable walls, small nail holes, simple colour changes, and homeowners who can prepare carefully. It becomes a poor trade when the wall is wet, soft, repeatedly cracking, mould-affected, difficult to reach, or attached to a leak that hasn't been resolved.
Hire a professional when any of these conditions apply:
- Moisture is present: The source needs diagnosis, drying, and a repair sequence before coating.
- The substrate is unstable: Loose plaster, swollen drywall, or delaminated paint can require more than filler.
- Access is hazardous: Stairwells, tall ceilings, awkward landings, and high-rise logistics create safety and protection concerns.
- The deadline is fixed: A move, lease turnover, listing, or commercial reopening leaves little room for trial and error.
- The finish must match: Repairs beside existing texture, trim, or colour need controlled blending and careful inspection.
- The property needs documentation: Owners and managers may need a clear scope, photos, product details, and a defined completion standard.
Soca Services Painting provides painting and related wall repair services for projects in Toronto and North York. The practical value of a professional team lies in combining diagnosis, surface preparation, appropriate materials, safe access, and organised execution rather than applying paint as a standalone task.
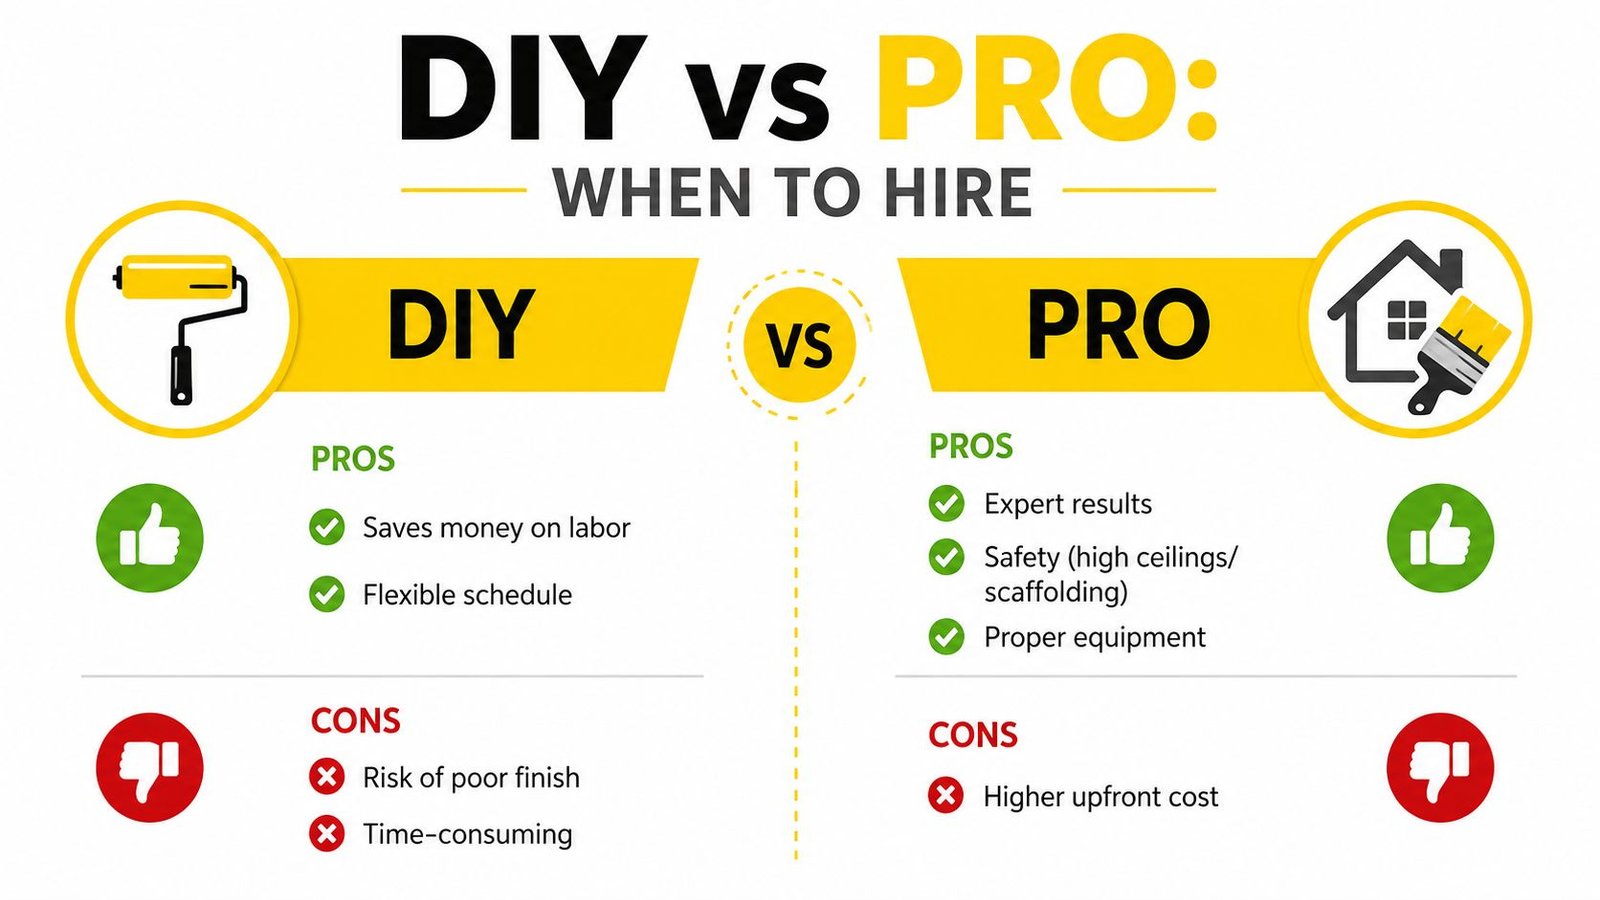
Before hiring, ask who will inspect the wall, what happens if moisture is found, which primer and finish are proposed, how repaired areas will be blended, and what the written scope excludes. Be cautious when a contractor skips preparation questions, refuses to identify products, offers a vague verbal price, or promises to conceal active damage with paint.
The same repair-first approach applies to condominiums, detached homes, rental properties, offices, and renovation projects. A professional can also identify when another trade, such as a plumber or building envelope specialist, needs to resolve the cause before painting starts.
Soca Services Painting can assess wall damage, prepare surfaces, repair drywall or plaster, prime problem areas, and complete durable interior painting in North York and the wider Toronto area. Visit Soca Services Painting to request a free estimate and discuss the right repair-first plan for your home, condo, rental, commercial space, or renovation project.