Choosing the right paint remover for wood is not a one-size-fits-all situation. The best product for any project depends on three key factors: the type of paint being removed, the number of layers, and the kind of wood.
For example, an old oak dresser with a century's worth of oil-based paint requires a heavy-duty solvent-based stripper to cut through the layers. Conversely, a single coat of latex paint on a delicate pine frame calls for a much gentler biochemical remover. Making the correct choice from the start is the secret to a smooth, successful project.
A Guide to Selecting the Best Paint Remover for Wood
Walking into a hardware store and viewing an aisle full of paint removers can be intimidating. Whether you're restoring an antique from a Mississauga market or stripping kitchen cabinets in your Toronto home, the product you pick can make or break the final result. This is not a time for guesswork; it's about making an informed choice for your specific job.
First, you need to know what you’re up against. Is it a single, thin layer of modern latex paint, or are you dealing with decades of built-up, potentially lead-based enamel? Each scenario requires a different chemical approach. Using a stripper that’s too weak will waste time and energy, while one that’s too harsh could permanently damage the wood’s surface or its aged patina.
The Four Main Types of Paint Strippers
To make the right decision, it is helpful to understand the four main types of paint removers available in the Greater Toronto Area (GTA). Each has distinct strengths and weaknesses.
-
Solvent Strippers: These are the traditional powerhouses of the stripping world. They work quickly and are effective on almost any finish, including tough ones like epoxy and polyurethane. The downside is that they contain harsh chemicals, such as methylene chloride, which require excellent ventilation and full personal protective equipment (PPE). These are best reserved for challenging jobs with multiple paint layers on sturdy woods.
-
Caustic Strippers: These products use lye (sodium hydroxide) as their active ingredient. It works by chemically breaking down the paint into a soft, soap-like film that can be scraped away. They are effective for thick layers of oil-based paint but are slow-acting and can darken certain woods like oak and maple. A neutralizing wash is required after stripping.
-
Biochemical Strippers: Made from plant-based solvents derived from sources like citrus or soy, these are a more eco-friendly option. They have a low odour and are safer for indoor projects. While effective, they work more slowly than solvents—sometimes requiring several hours or even an overnight application. They are an excellent choice for delicate antiques or any project where harsh fumes are a concern. For instance, if you are refreshing a bathroom vanity, our guide on painting bathroom vanities and cabinets offers great ideas for the finishing stages once the old paint is gone.
-
Zero-VOC Strippers: As the name suggests, these are the newest and safest products available, containing no volatile organic compounds. They are practically odourless and non-caustic, making them the go-to for anyone with chemical sensitivities or for jobs in spaces with poor ventilation. The trade-off, much like with biochemicals, is speed.
We're seeing a huge shift in the home renovation world towards safer, more effective products. This trend is a major driver in the North American paint remover market, which is expected to see significant growth. You can explore detailed market insights on Coherent Market Insights.
To help you decide, here’s a quick breakdown of your options.
Comparing Paint Removers for Wood
Use this quick comparison to find the best paint remover for your specific wood and paint type.
| Remover Type | Ideal Use Case | Pros | Cons | Where to Find in the GTA |
|---|---|---|---|---|
| Solvent | Multiple layers of oil, epoxy, or polyurethane on durable wood. | Fastest-acting, highly effective on tough finishes. | Harsh fumes, requires full PPE and ventilation, contains strong chemicals. | Major hardware stores like The Home Depot, Lowe's, Canadian Tire. |
| Caustic | Thick, built-up layers of oil-based paint or varnish on wood or masonry. | Effective on old, stubborn paint, relatively inexpensive. | Slow-acting, can darken wood, requires a neutralizing step. | RONA, specialty paint stores, some hardware chains. |
| Biochemical | Latex or oil-based paints on delicate or antique wood; indoor projects. | Low odour, safer for indoor use, eco-friendlier ingredients. | Works slowly (can take hours), sometimes less effective on synthetics. | Lee Valley Tools, eco-friendly building supply stores, most hardware stores. |
| Zero-VOC | Any project in poorly ventilated areas or for chemically sensitive users. | Safest option, virtually no odour, non-caustic. | Slowest-acting, may require multiple applications for thick layers. | Specialty paint shops, larger hardware stores with "green" sections. |
Choosing the right stripper is the most critical part of the prep work. Taking a moment to assess your project will save significant frustration down the line.
Essential Safety Measures for Handling Paint Strippers
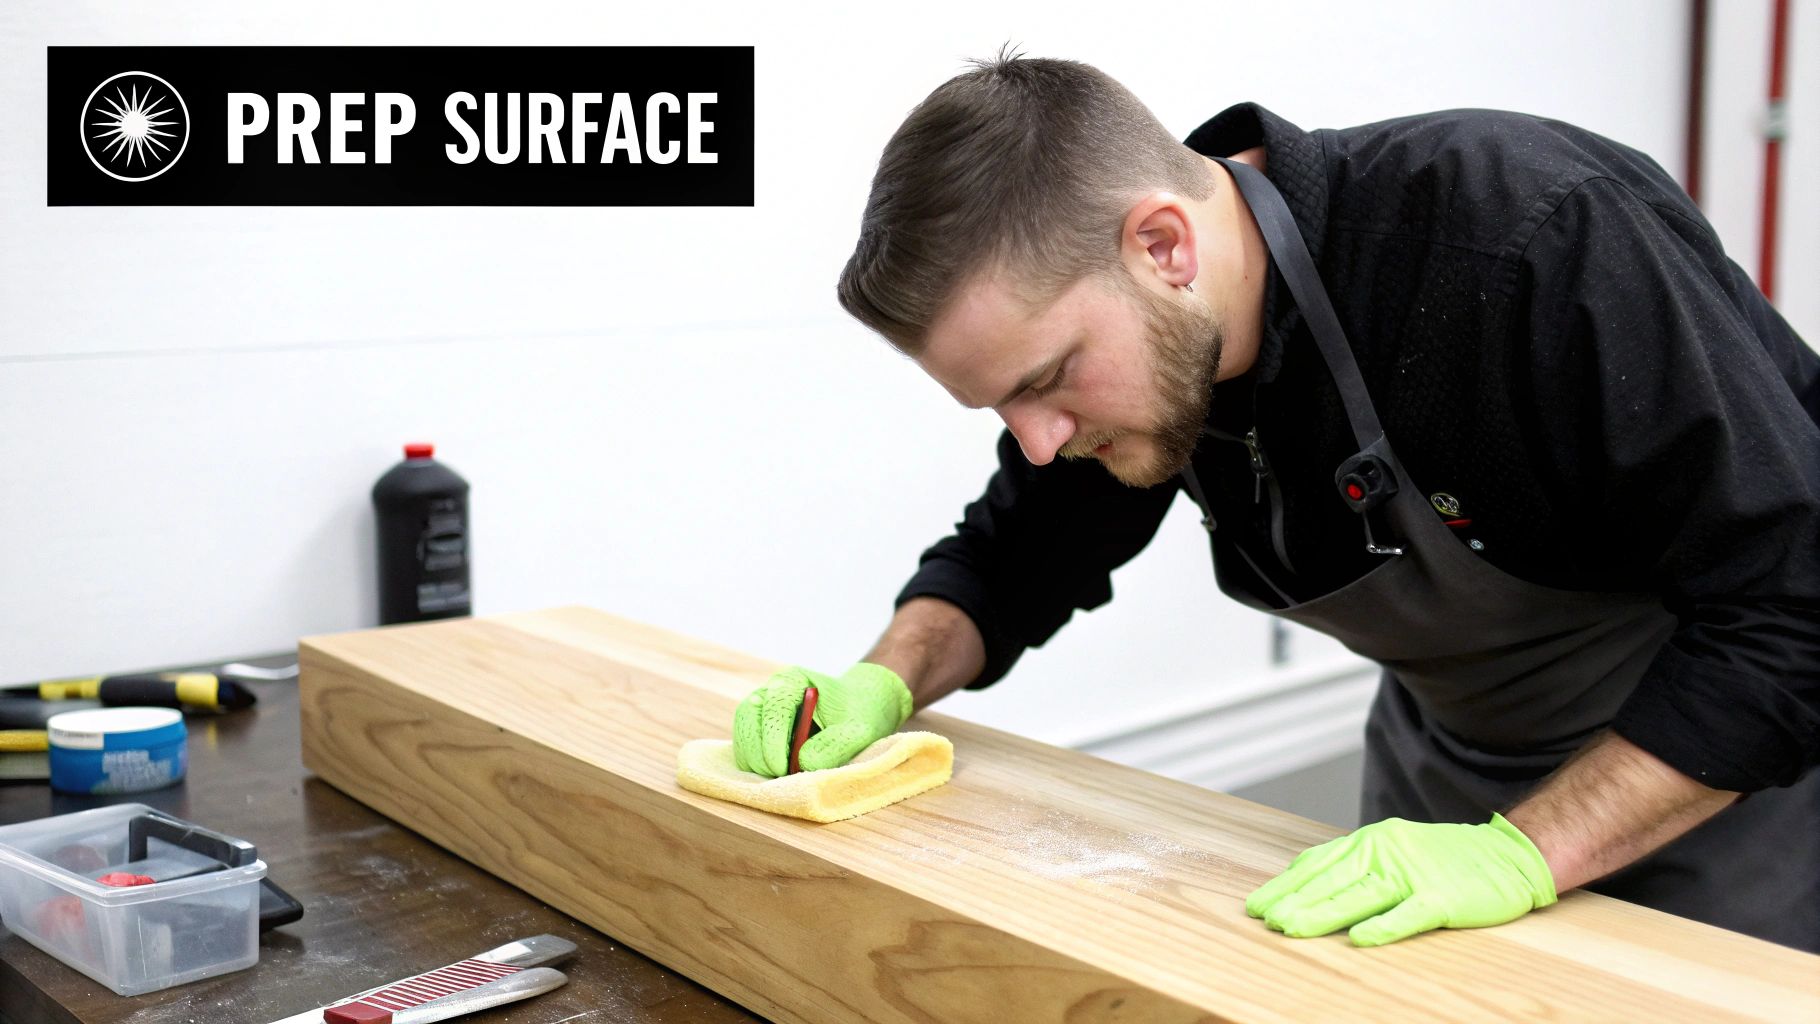
Before opening a can of paint remover on wood, it is crucial to address safety. This is not just about keeping a workspace clean; it's about protection from harsh chemicals. Whether for professional use in a workshop or a DIY project in a GTA garage, this step cannot be skipped.
The first line of defence is Personal Protective Equipment, or PPE. Do not cut corners here.
- Chemical-Resistant Gloves: Standard latex gloves are inadequate. A pair of thick, chemical-resistant gloves, typically made from butyl rubber or neoprene, that cover the wrists completely is necessary.
- Safety Goggles: Splashes can happen. Protect eyes with goggles that create a full seal; they offer far more protection than standard safety glasses.
- Respirator: A simple dust mask is ineffective against chemical fumes. A proper dual-cartridge respirator fitted with organic vapour cartridges is needed to keep fumes out of the lungs.
The Critical Role of Ventilation
The most important safety tool is not something worn—it's the air being breathed. Good ventilation is absolutely essential for removing the volatile organic compounds (VOCs) that most paint strippers release. Without a steady flow of fresh air, these fumes can quickly build up to dangerous levels, leading to dizziness, headaches, or more severe respiratory problems.
No matter the work location, even in a large open space like a Mississauga garage, cross-ventilation must be established. Open every available window and door. A useful technique is to place a box fan in one window, pointing outwards, to actively pull contaminated air out of the room. This simple action creates a constant cycle of fresh air and dramatically reduces exposure.
The smell from a paint remover on wood can linger for hours, so odour management is also part of the safety equation. For indoor work, find useful tips in our guide on how to get rid of paint odors.
Understanding Chemical Risks
Many older, more powerful strippers contain methylene chloride. While this chemical is incredibly effective, it also poses serious health risks, an ongoing issue in the industry. Studies have shown that even professional workshops often have poor ventilation, failing to keep exposure levels within safe limits.
Research from California's DTSC revealed that methylene chloride-based strippers were still common on retail shelves, and using them indoors could easily cause air concentrations to spike well beyond what's considered safe.
For the average DIYer, the best course of action is almost always to choose a modern, safer alternative. Products that are biochemical or soy-based may take longer to work, but they eliminate the most severe inhalation risks, making the project much safer for everyone in the house.
Safe Disposal of Hazardous Waste
After the paint is removed, you will be left with chemical-soaked rags, leftover stripper, and a sludge of old paint. All of this is considered household hazardous waste and must be disposed of properly according to local Ontario regulations.
Do not pour leftover chemicals down the drain or toss them in the garbage. Collect all waste—including the residue scraped off the wood—into a sealed metal or glass container and label it clearly. Your local municipality, whether in Toronto or anywhere else in the GTA, has designated drop-off depots for hazardous materials where it can all be disposed of safely and legally.
How to Prepare Your Workspace and Wood Surface
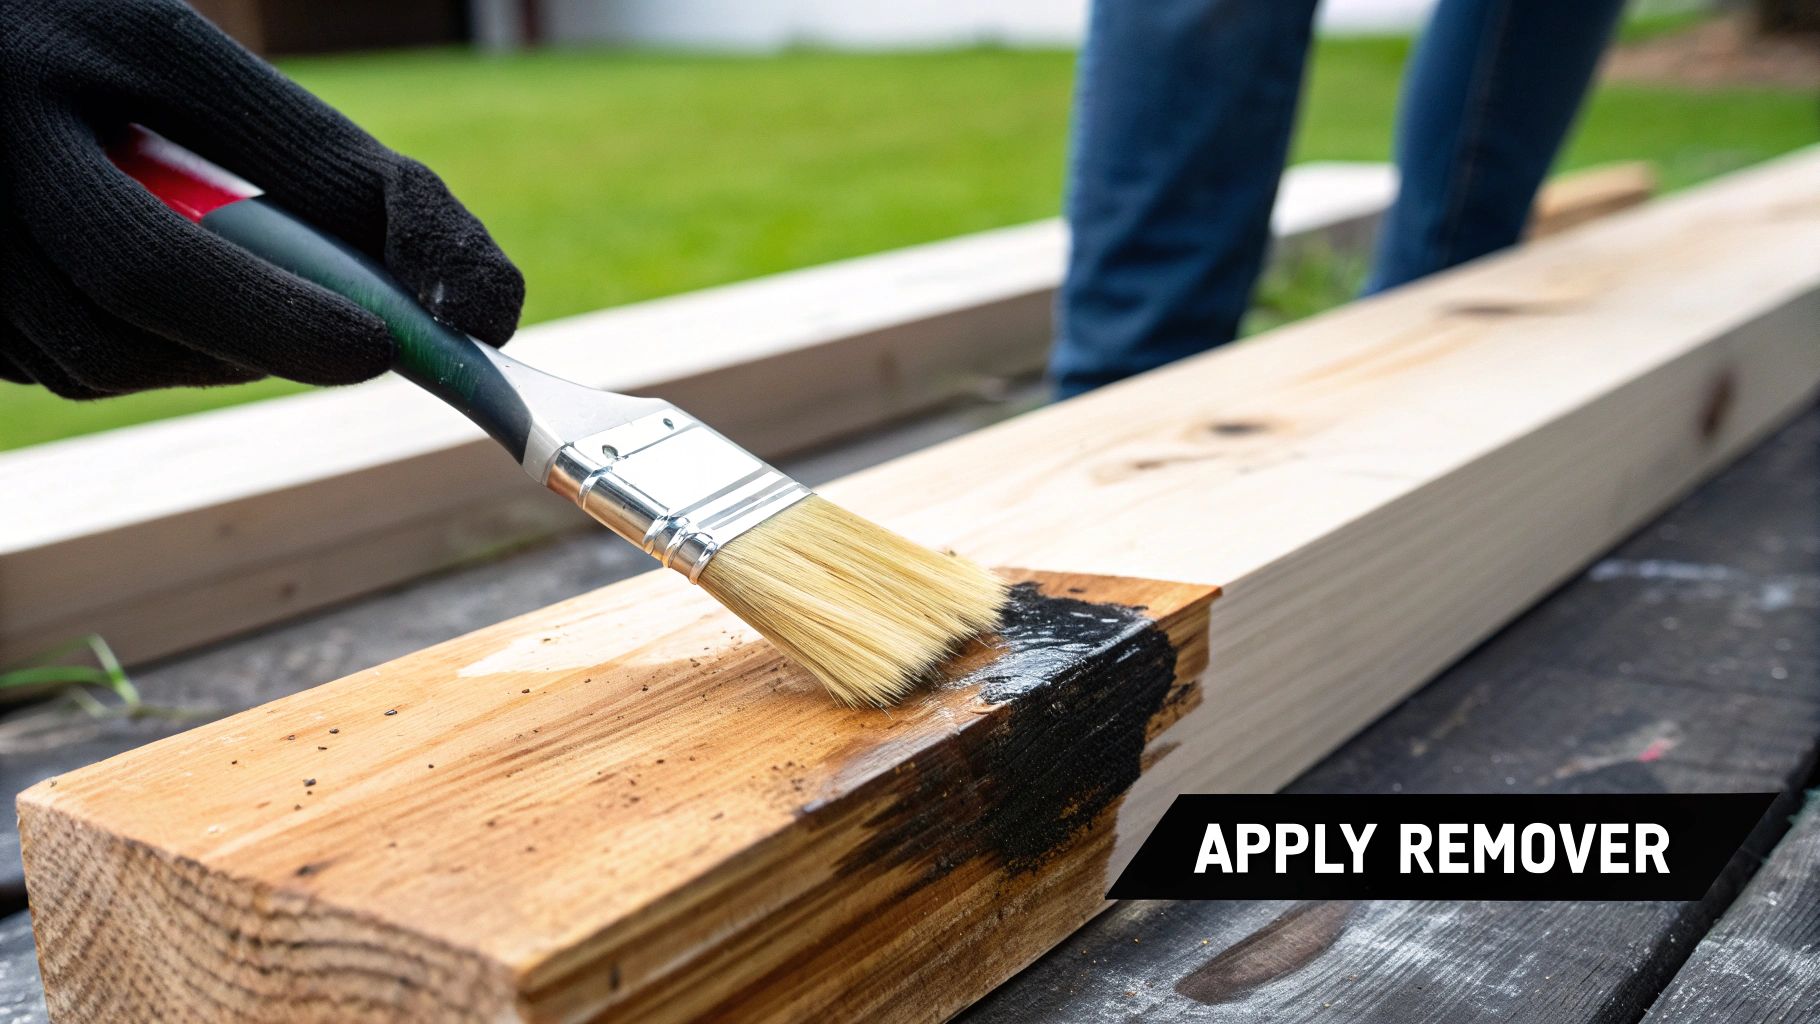
It cannot be stressed enough: a successful paint stripping project is 90% preparation. A common mistake is rushing this first part, which leads to a significant mess and an unsatisfactory finish. So, before opening a can of paint remover on wood, let’s get your space and your piece ready.
First, think about containment. Chemical strippers are designed to liquefy paint, and that residue will get everywhere if not properly contained. Start by laying down heavy-duty plastic sheeting. On top of that, add a layer of cardboard or an old drop cloth. This double-layer approach is the best defence against spills seeping through to your floors.
Whether you are working in a garage in Mississauga or a basement in Toronto, clear the area completely. Move anything that should not be splattered or cover it securely with its own plastic sheeting.
Prepping the Wood Surface
With the work area protected, it's time to focus on the wood itself. The objective is to remove anything that might interfere with the stripper or be damaged by it.
A thorough cleaning is the perfect starting point. A simple bucket of warm water with a degreasing soap will work well. It is necessary to cut through built-up grime and dust so the chemical can work directly on the paint layers.
Next, remove all hardware.
- Knobs and pulls
- Hinges and latches
- Locks and any decorative metal trim
Place everything into a labelled bag to avoid misplacing any screws. Attempting to strip around these pieces is inefficient and risks damaging the hardware or gouging the wood.
The Importance of the Spot Test
This is the one step that is often skipped, yet it can prevent a complete disaster. You must test the paint remover on a small, hidden spot before applying it to the entire surface.
Select an inconspicuous area, like the back of a leg, the inside of a door, or the underside of a tabletop. Apply a small amount of the stripper, follow the instructions, and observe the results. This brief test reveals two crucial things: if the stripper is effective on your type of paint and, more importantly, if it reacts negatively with the wood, causing stains or discolouration.
It is a small effort that can prevent a project-ending mistake. Once the surface is properly prepped, you will be ready for a smooth application. Our guide on paint brushes and rollers can help you choose the right applicator for the job.
Applying and Removing Paint Stripper: The Pro's Technique
With your workspace prepped and wood ready, it’s time for application. Applying and removing paint stripper is where the transformation happens, but the technique used will determine the difference between a clean strip and a frustrating mess.
The biggest mistake is being too sparse with the product. A thin layer will dry out before it can penetrate the paint. It needs to be applied thickly. Using a natural bristle brush (solvents in many strippers will dissolve synthetic bristles), apply a generous coat, aiming for about 1/8 to 1/4 inch of thickness. Brush it on in one direction and then leave it alone. Over-brushing introduces air and can reduce the stripper's effectiveness.
This visual breaks down the core process—application, waiting, and removal—into a simple, easy-to-follow guide.
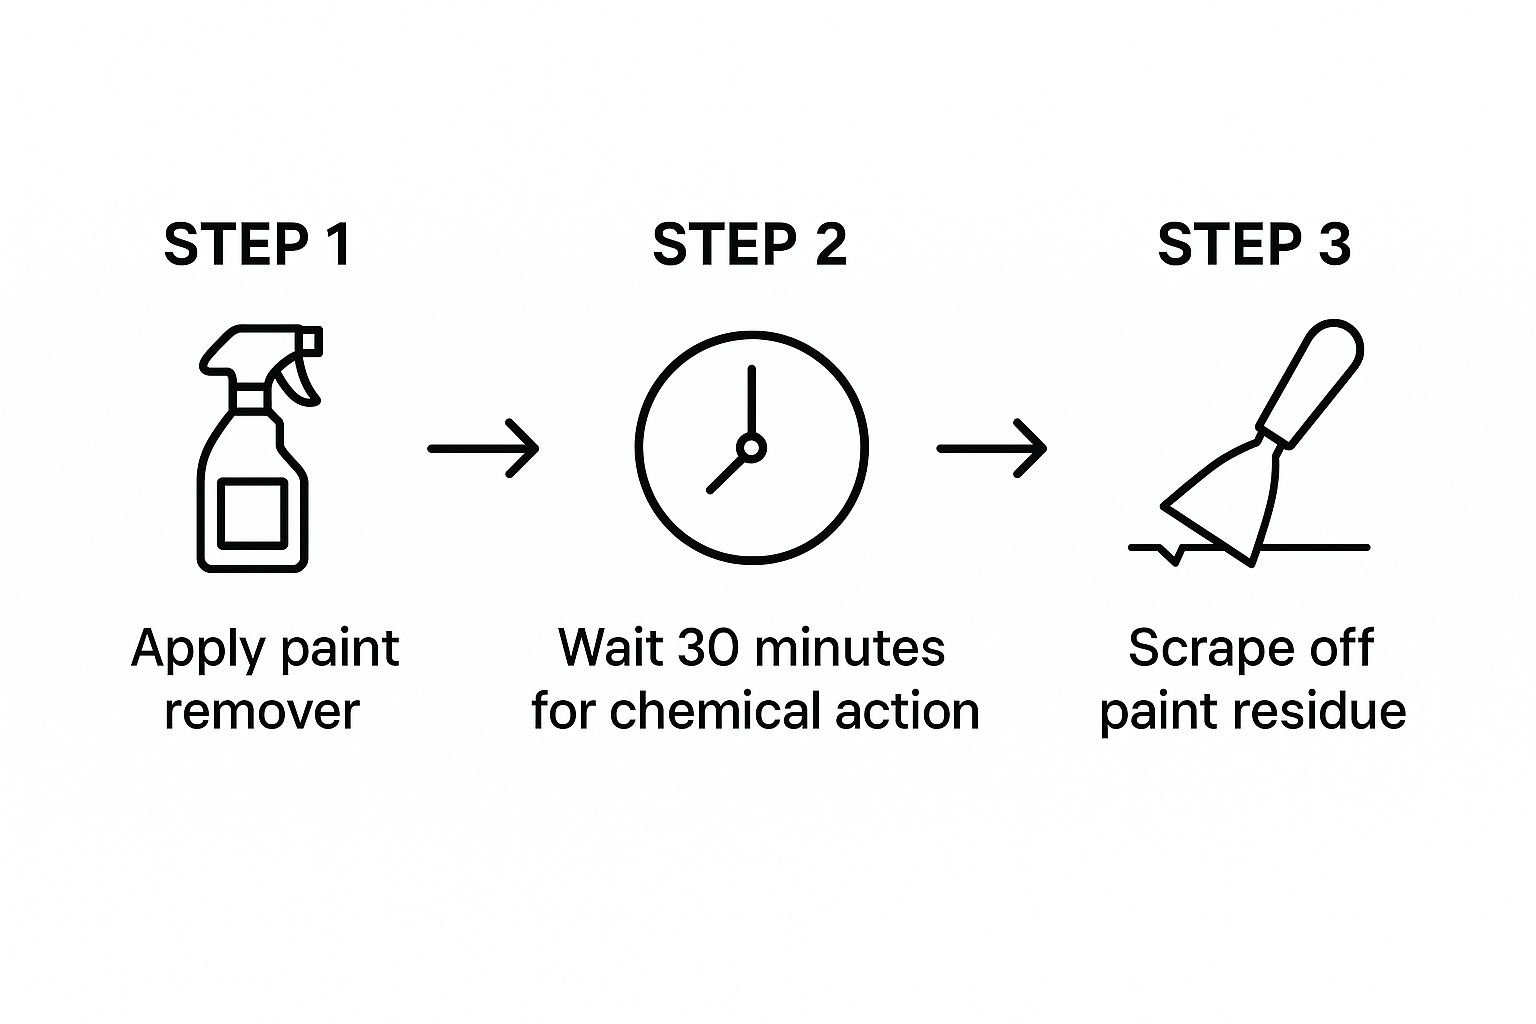
As shown, the waiting period, or "dwell time," is absolutely crucial. Rushing it is a recipe for doing the work twice.
Patience is a Virtue: Mastering the Dwell Time
Once the stripper is applied, it needs time to work. This is the "dwell time," and it should not be rushed. Depending on the strength of the stripper and the number of paint layers, this could be anywhere from 15 minutes to several hours.
The stripper is working when the paint starts to bubble, crinkle, and lift away from the wood. This indicates that the chemical bond is breaking down.
For long dwell times, the stripper might start to dry out. This can be remedied by brushing a little more product over the top. A useful trick, especially for biochemical strippers that need to stay wet for extended periods, is to cover the surface with plastic wrap. This traps moisture and allows the stripper to work effectively.
Pro Tip: Do not try to strip a massive piece of furniture all at once, as this can be overwhelming. Instead, work in smaller, manageable sections. Tackle the top of a dresser first, or a couple of drawer fronts at a time. This approach allows you to scrape off the residue while the stripper is at its peak effectiveness, before it has a chance to re-harden.
The Right Tools for a Clean Scrape
When the paint has a melted appearance, it is ready for scraping. The tools used are just as important as the stripper itself, as the goal is to avoid gouging the wood underneath.
Here is a recommended toolkit for scraping:
- Plastic Scrapers: For any flat surface, these are ideal. They are flexible enough to get under the paint but soft enough to not scratch the wood.
- Contoured Scrapers: These specialized scrapers are designed to fit into mouldings and other detailed profiles, simplifying a tricky job.
- Brass Bristle Brush: A soft brass brush is perfect for getting into the nooks and crannies of deep wood grain without causing damage.
- Steel Wool: For intricate carved details, dip medium-grade steel wool into the stripper and gently work it into the tight spots.
Always scrape with the grain of the wood. Be gentle and let the tool lift the sludge away; it should not require force. It is a messy job, but seeing the clean wood emerge is one of the most satisfying parts of any refinishing project.
For pieces like kitchen cabinets, a perfect strip is the foundation for a flawless new paint job. Getting this step right is non-negotiable. To see the kind of finish that's possible with proper preparation, take a look at our guide on how to paint kitchen cabinets professionally. The same principles of careful, methodical work apply.
The Final Clean-Up and Wood Neutralization
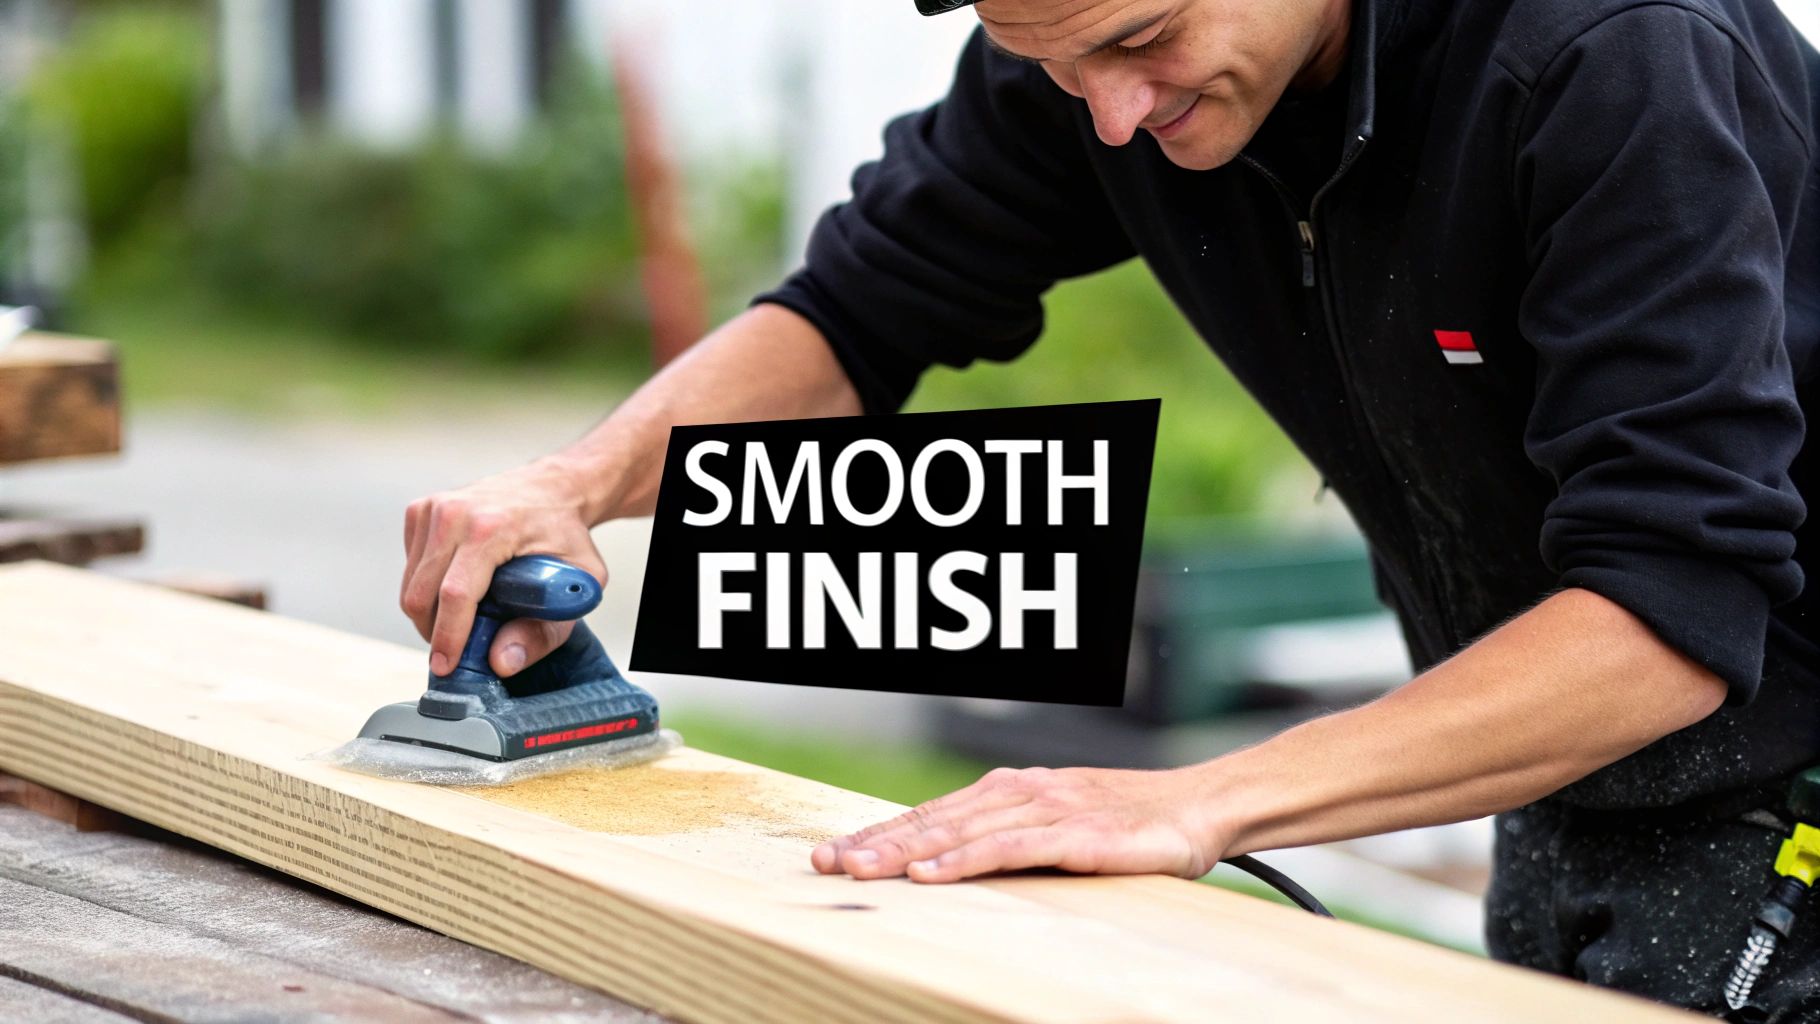
It is tempting to finish after the last bit of old paint is scraped away, but the most crucial part is next. It is a common problem: someone skips the final clean-up and then wonders why their new stain looks patchy or the finish won’t adhere.
Any chemical residue left from the paint remover on wood will sabotage the new coating. It is like trying to paint on a greasy surface; it simply won't work. The goal is to get the wood surgically clean.
The cleaning agent used depends entirely on the type of stripper that was applied.
- Solvent-based strippers typically leave behind a waxy film. The best way to cut through it is with mineral spirits or a specific "after-wash" product recommended by the manufacturer.
- Biochemical or citrus-based products are usually simpler. A good scrub with warm, soapy water often does the trick.
- Caustic strippers are different. They require a specific neutralization step to rebalance the wood’s chemistry.
When in doubt, always refer to the product label. The manufacturer provides the exact instructions needed to prep the surface for its next stage.
Why Neutralizing the Wood Is Non-Negotiable
If a caustic, lye-based stripper was used, the wood’s surface has become highly alkaline. Applying a stain or topcoat directly onto this high-pH surface will lead to blotchy, uneven colour and a finish that may never cure properly.
Neutralizing is the process of bringing the wood back to a stable, receptive state. Fortunately, it is simple. Mix a solution of equal parts white vinegar and water. Use a clean rag, dip it in the mixture, and wipe down every inch of the wood. Some fizzing may occur as the acid in the vinegar reacts with the alkaline residue. This indicates it is working.
After the vinegar wash, give it one last wipe-down with a cloth dampened with clean water. Then, wait. The wood needs to dry completely, which can take anywhere from 24 to 48 hours.
Do not rush the drying process. The wood must be completely dry before sanding or staining. Trapped moisture is the leading cause of a cloudy or peeling finish.
It is also worth remembering why this thorough cleaning is so important from a safety perspective. Many paint strippers contain potent chemicals. For instance, N-Methyl-2-pyrrolidone (NMP), found in up to 25% of paint stripping products in some areas, is a chemical that regulators monitor due to health concerns. Proper cleaning and neutralizing is not just for a better finish; it's about making the surface safe.
With the wood finally clean, neutralized, and dry, you have the perfect canvas. Now is a great time to think about protecting your hard work for the long haul. For more on that, you can dive into our guide on https://socaservicespainting.com/painted-wood-waterproofing/.
Common Questions About Using Paint Remover on Wood
Even after reviewing the process, it is normal for questions to arise, especially when facing a specific project. Getting the right answers can prevent grief and a messy, frustrating outcome. Homeowners across the GTA often ask these exact kinds of questions, so let’s address a few of the most common ones.
From priceless heirlooms to large indoor jobs, here is some practical advice for real-world situations.
What Is the Best Paint Remover for Delicate Antique Furniture?
When dealing with antiques, the guiding principle is to be gentle. It is essential to protect delicate veneers and old glue joints. The best option is almost always a biochemical or citrus-based stripper. While they work more slowly than harsher chemicals, they are far less likely to ruin the wood's patina or cause discolouration.
Before applying the product to the entire piece, a spot test is absolutely essential. Find a hidden area—the inside of a leg, the back of a drawer—and observe how the wood reacts. Specialty woodworking shops in Toronto can recommend products made specifically for restoration.
With antiques, the process is not just about stripping paint; it's about preserving history. A slow, patient approach yields the best results. Aggressive chemicals can permanently damage the wood's character, and that damage is irreversible.
Can I Use Chemical Strippers on My Indoor Wood Floors?
Technically, yes, but this decision should be carefully considered. Stripping an entire indoor floor with chemicals is a massive undertaking with serious safety precautions. The primary concern is the fumes. To attempt this safely, you must create significant ventilation—open every window, place fans in doorways, and ensure all air is pushed outside.
For a large indoor area like a floor, a low-odour soy-gel or a zero-VOC remover is a much smarter and healthier choice. Keep in mind, the cleanup is also a huge chore. Given the health risks and the sheer amount of work, most homeowners in Mississauga and across the GTA opt to hire professionals for floors. The risk is often not worth it.
How Do I Dispose of Paint Stripper Waste in Ontario?
This is a step that cannot be skipped or handled improperly. Never pour leftover stripper down the drain or throw it in the regular trash. The leftover liquid, chemical-soaked rags, and all scraped-off paint sludge are considered household hazardous waste.
In Toronto and every surrounding municipality, this waste must be taken to a designated Household Hazardous Waste Depot. The best practice is to collect everything in sealed containers that are clearly labelled. This protects the environment and ensures public health and safety.
Will Paint Remover Damage the Wood Underneath?
If the correct product is used for the job and the instructions are followed, a good quality paint remover on wood should not cause any damage. Problems typically arise from a few common mistakes:
- Leaving it on too long: A harsh chemical stripper that sits for hours can soak deep into the wood fibres.
- Being too aggressive: Using a sharp metal scraper with a heavy hand is a surefire way to gouge and scratch the surface.
- Skipping the final clean-up: If the wood is not properly cleaned and neutralized after stripping, the new stain or paint may not adhere correctly.
This is precisely why following the directions on the can to the letter and always performing a spot test are the best defences. They protect the beautiful wood you are working so hard to restore.
Whether your project is big or small, having a trusted partner can make all the difference. If you’re dreaming of a flawless, professional finish without the stress and mess, contact Soca Services Painting. Discover how our expert team can bring your vision to life at https://www.socaservicespainting.com.