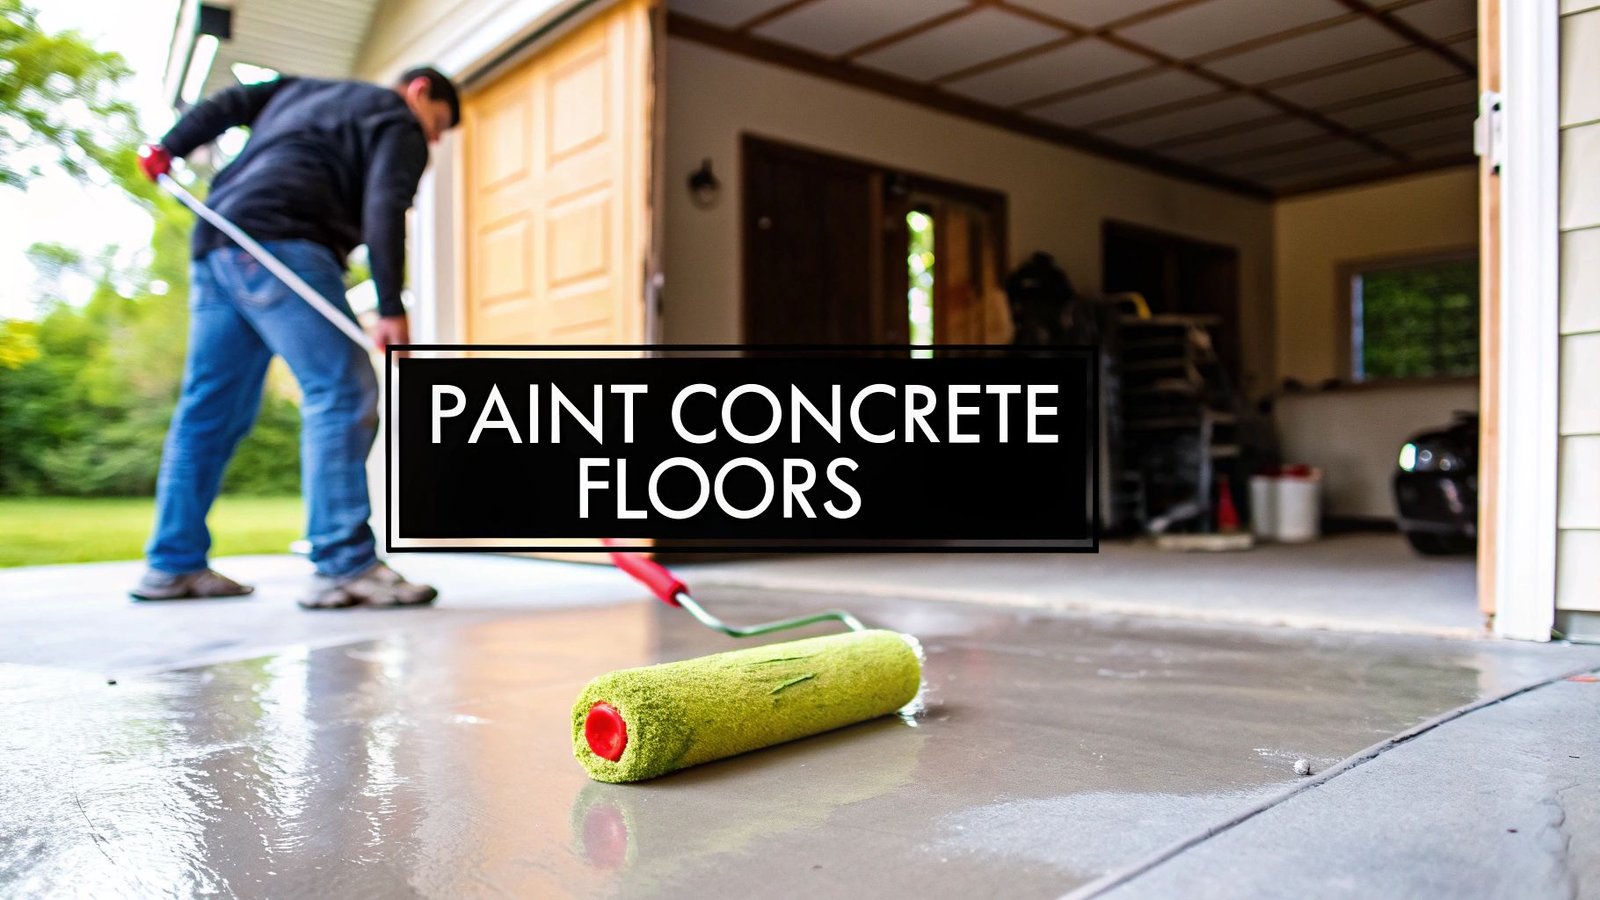
Painting a concrete floor is a project built on three key phases: perfecting the surface preparation, applying the primer and paint with care, and allowing the coating to cure fully. Nailing these steps is the best way to achieve a tough, professional-looking finish that will last for years, whether you're in downtown Toronto or Mississauga.
A Step-By-Step Guide To Flawless Concrete Floors
Turning a drab, grey concrete slab into a stylish, durable surface is one of the most satisfying projects you can take on. This guide provides a clear, objective roadmap to success, whether you're tackling a basement in Etobicoke or a garage in Vaughan.
The whole point is to take the guesswork out of the job. Our objective is to give you the confidence that a professional result is totally achievable. We'll focus on the critical stages that ensure your new floor coating doesn't just look great but also holds up to heavy use anywhere in the GTA.
The Foundation Of A Lasting Finish
Think of this project in three distinct phases. Each one builds on the last, and let me tell you from experience, skipping or rushing any of them is the number one reason painted floors fail. The entire objective is to create an unbreakable bond between the paint and the concrete itself.
To give you a quick overview, here are the essential stages you'll be working through.
Project Snapshot Key Stages for Painting Concrete Floors
| Stage | Objective | Key Action |
|---|---|---|
| Surface Preparation | Create a clean, sound, and porous surface for maximum adhesion. | Deep clean, degrease, repair cracks, and etch the concrete. |
| Primer & Paint Application | Build a durable, protective, and visually appealing coating. | Apply a quality concrete primer followed by two even coats of floor paint. |
| Curing & Maintenance | Allow the coating to reach its full strength and hardness. | Wait the recommended time before subjecting the floor to traffic and use. |
As you can see, the structure is logical, and each stage is vital. Let's dig a little deeper into what each one involves.
- Surface Preparation: This is where you'll spend most of your time, and it's non-negotiable. It involves a thorough cleaning, degreasing, patching any cracks or holes, and often etching the concrete. Etching opens up the pores of the concrete, giving the primer something to really bite into.
- Primer and Paint Application: Once the concrete is perfectly clean and completely dry, the real fun begins. Applying a good-quality concrete primer is a must for proper adhesion. After that, you'll apply at least two even coats of a durable floor paint designed for concrete.
- Curing and Maintenance: The final phase is all about patience. The floor needs to cure fully—which is different from just being dry to the touch—to develop its maximum hardness and chemical resistance.
This simple visual breaks down the core process for painting your concrete floors.
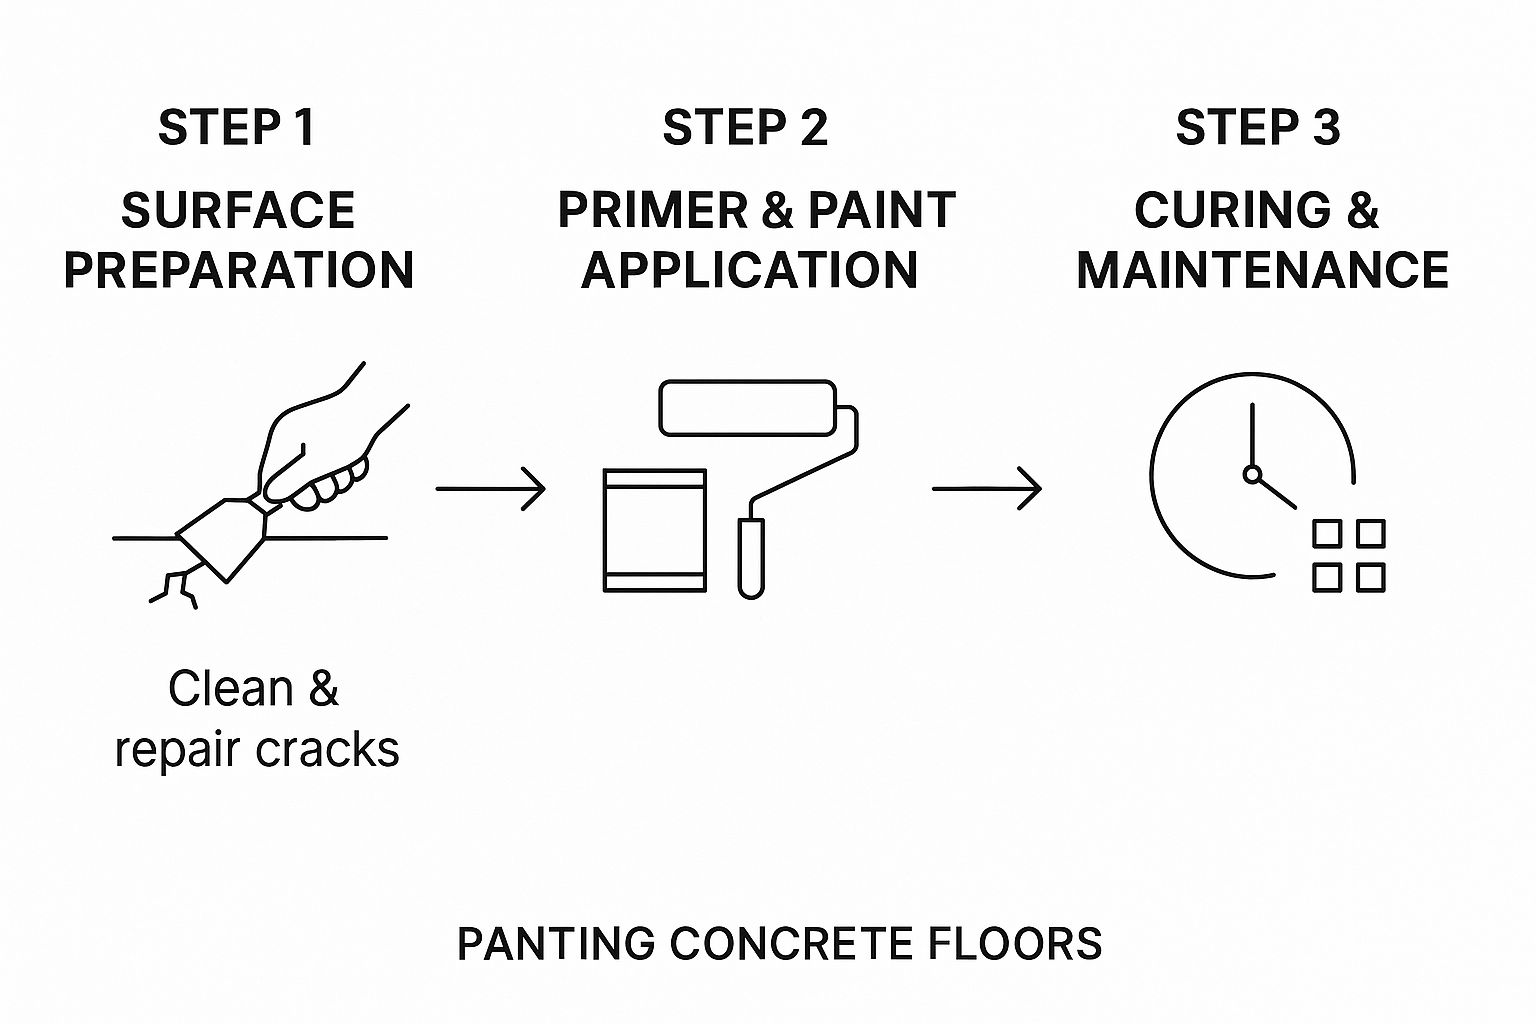
As the chart shows, every step is linked. The quality of your final paint job depends entirely on how well you did the prep work. If you're also trying to budget for your project, getting a handle on the costs involved is a smart move. For a detailed breakdown, you can check out our guide on painting project costs.
Choosing the Right Paint and Primer for Your Project
The success of your newly painted concrete floor really boils down to the products you choose. Walking into a paint store in the GTA, the options can feel a bit overwhelming. But once you understand the main types of coatings, you can simplify your decision and guarantee a finish that lasts.
Your choice depends entirely on where the floor is and what kind of life it's going to lead. A basement floor in Mississauga has completely different needs than a busy garage in Toronto that gets hit with road salt and vehicle fluids all winter. Let's break down the best options.
Comparing Concrete Floor Paints
Not all paints are created equal, particularly when you're trying to get them to stick to a unique surface like concrete. There are really three main players in this game, and each one has its own strengths for different situations.
-
Epoxy Paints: This is the heavy hitter. Epoxy is a two-part system—a resin and a hardener—that chemically bonds to create an incredibly tough, durable, and chemical-resistant surface. This makes it the best choice for garages in the GTA, workshops, or any area where oil spills, chemicals, and hot tire pick-up are a daily reality.
-
Latex or Acrylic Paints: These are much more user-friendly and have fewer fumes, making them a great option for interior spaces like basements or utility rooms. They're designed to be breathable, which helps stop moisture from getting trapped under the paint. Just know they aren't as tough as a true epoxy finish.
-
Polyurethane Paints: Think of polyurethane as the ultimate shield. It's often used as a topcoat over an epoxy base because it offers superior UV resistance, making it perfect for outdoor patios or even indoor areas that get a lot of direct sun. It’s also highly flexible, which helps it resist scratches and impacts.
These same principles don't just apply to floors, by the way. Many of them are just as relevant when you're hunting for the right https://socaservicespainting.com/paint-for-concrete-walls/, as concrete walls also need specific formulas to ensure proper adhesion and long-term durability.
The Non-Negotiable Role of Primer
I know it’s tempting to skip the primer to save a bit of time and money, but trust me, this is a critical mistake. Concrete is naturally porous and a bit chalky, which means it will drink up the first layer of whatever you put on it. A dedicated concrete primer is designed to seal that surface, creating a uniform base for the paint to grab onto.
Using a quality bonding primer is the single best thing you can do to prevent peeling and chipping down the road. It ensures your topcoat actually bonds with the concrete instead of just sitting on top of it, which dramatically increases the lifespan of your floor.
A good primer will also do the heavy lifting of blocking stains and efflorescence (those chalky white salt deposits) from bleeding through your beautiful new paint colour. Always use a primer that’s specifically recommended for concrete and is compatible with your chosen paint.
Understanding Product Labels and Trends
When you're at the store comparing cans, pay close attention to the labels. Look for features like "low-VOC" (Volatile Organic Compounds), especially if you're working on an interior project where air quality is a major concern.
There's a huge push for safer, more environmentally friendly products these days. The North American concrete floor coatings market was valued at $434 million in 2023 and is expected to grow by about 4.8% annually through 2030. This growth is driven by regulations that limit VOCs, pushing manufacturers to create innovative, high-performance, low-odour formulas that are safer for everyone.
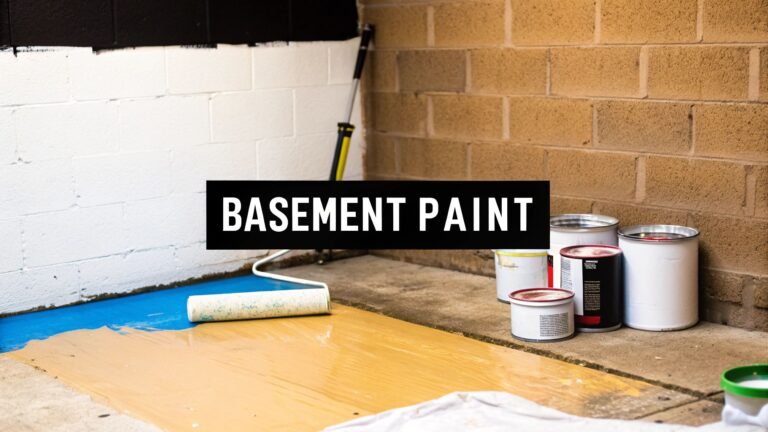
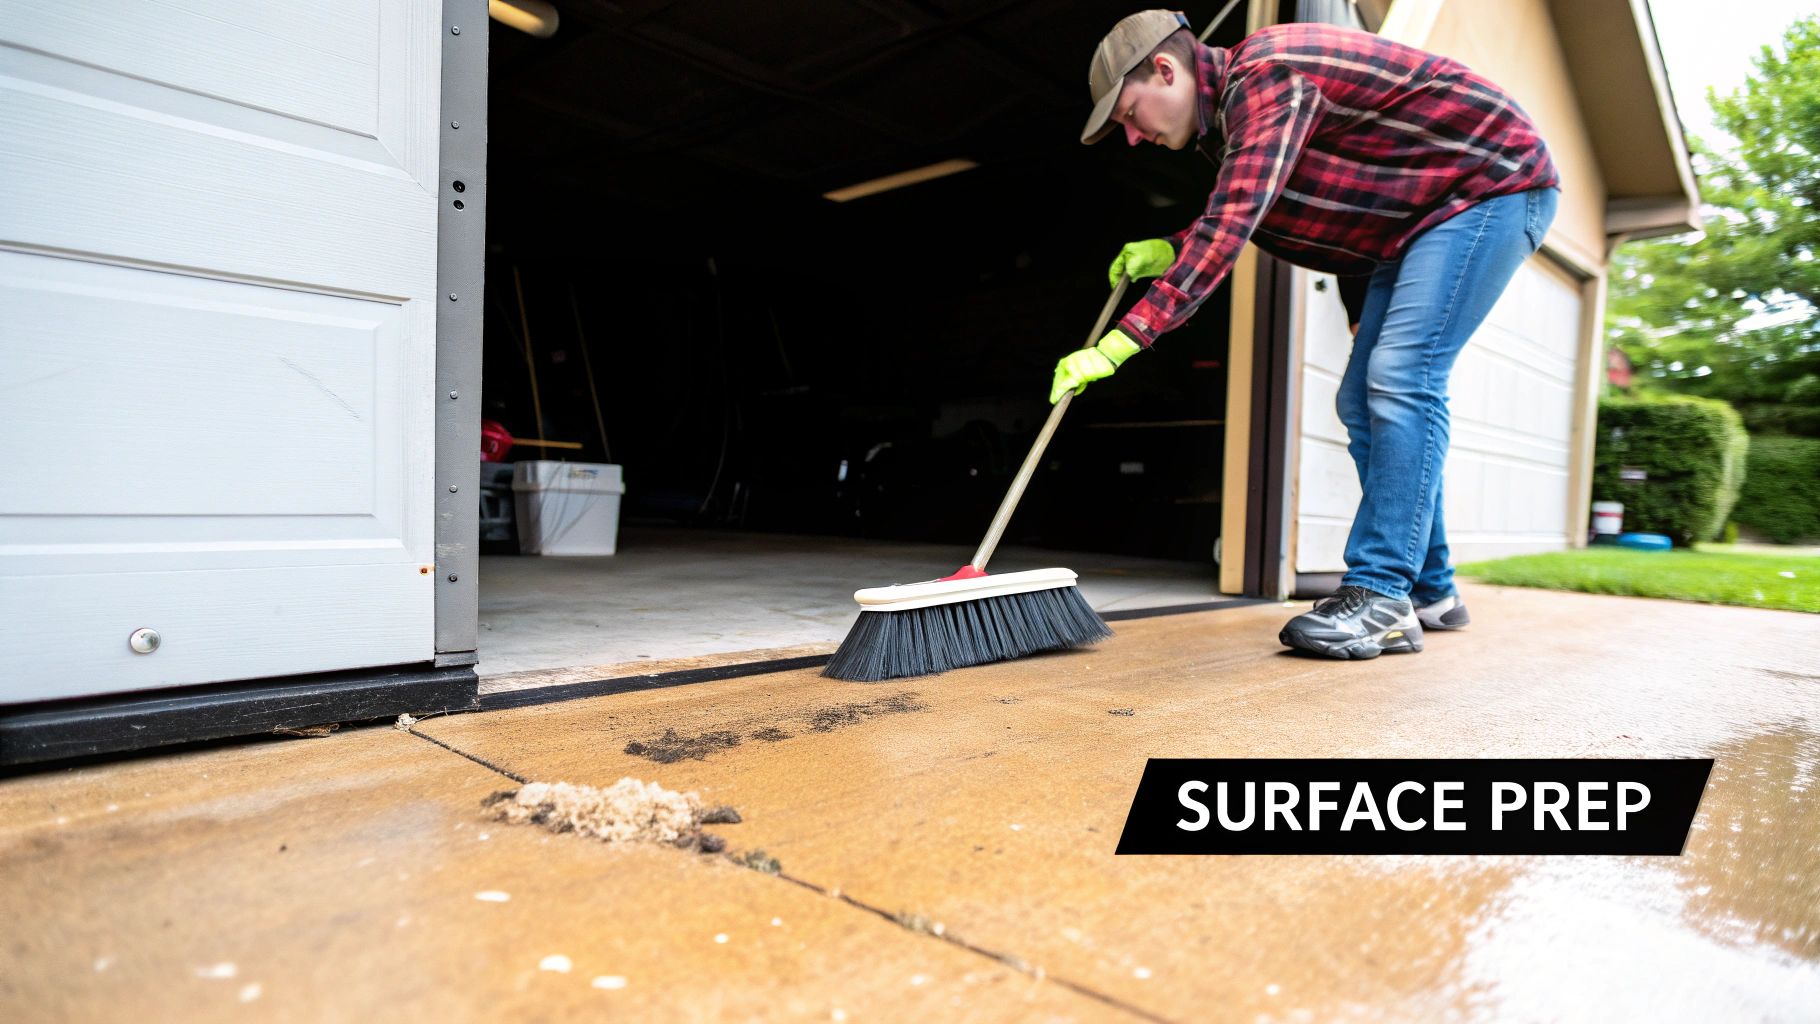
Mastering the Critical Art of Surface Preparation
If you take only one thing away from this guide, let it be this: preparation isn't just a step—it's everything. I've seen countless paint jobs in the GTA fail within a single year, and the culprit is almost always a rushed or skipped prep stage.
This is where the real work happens. It’s gritty, it takes time, but every bit of effort you put in now pays off in a floor that looks great for years. Your objective is simple: create a clean, slightly porous, and stable surface that the primer can really bite into. Think of it as the foundation of a house—if it's not right, everything you build on top is at risk.
Deep Cleaning to Banish Contaminants
First things first, that floor needs to be spotlessly clean. Concrete is a magnet for oil, grease, and grime. If any of that is left behind, it acts as a bond-breaker, and your paint will simply peel away.
Start with a thorough sweep or vacuum to get rid of all the loose dust and debris. Next, it’s time to bring out the heavy-duty concrete degreaser. If you're dealing with a garage floor in Mississauga that’s seen decades of oil spills, you'll need to work the degreaser in with a stiff-bristled brush. You might even have to do this a few times until the concrete no longer darkens when it gets wet—that's the sign that the oil is finally gone.
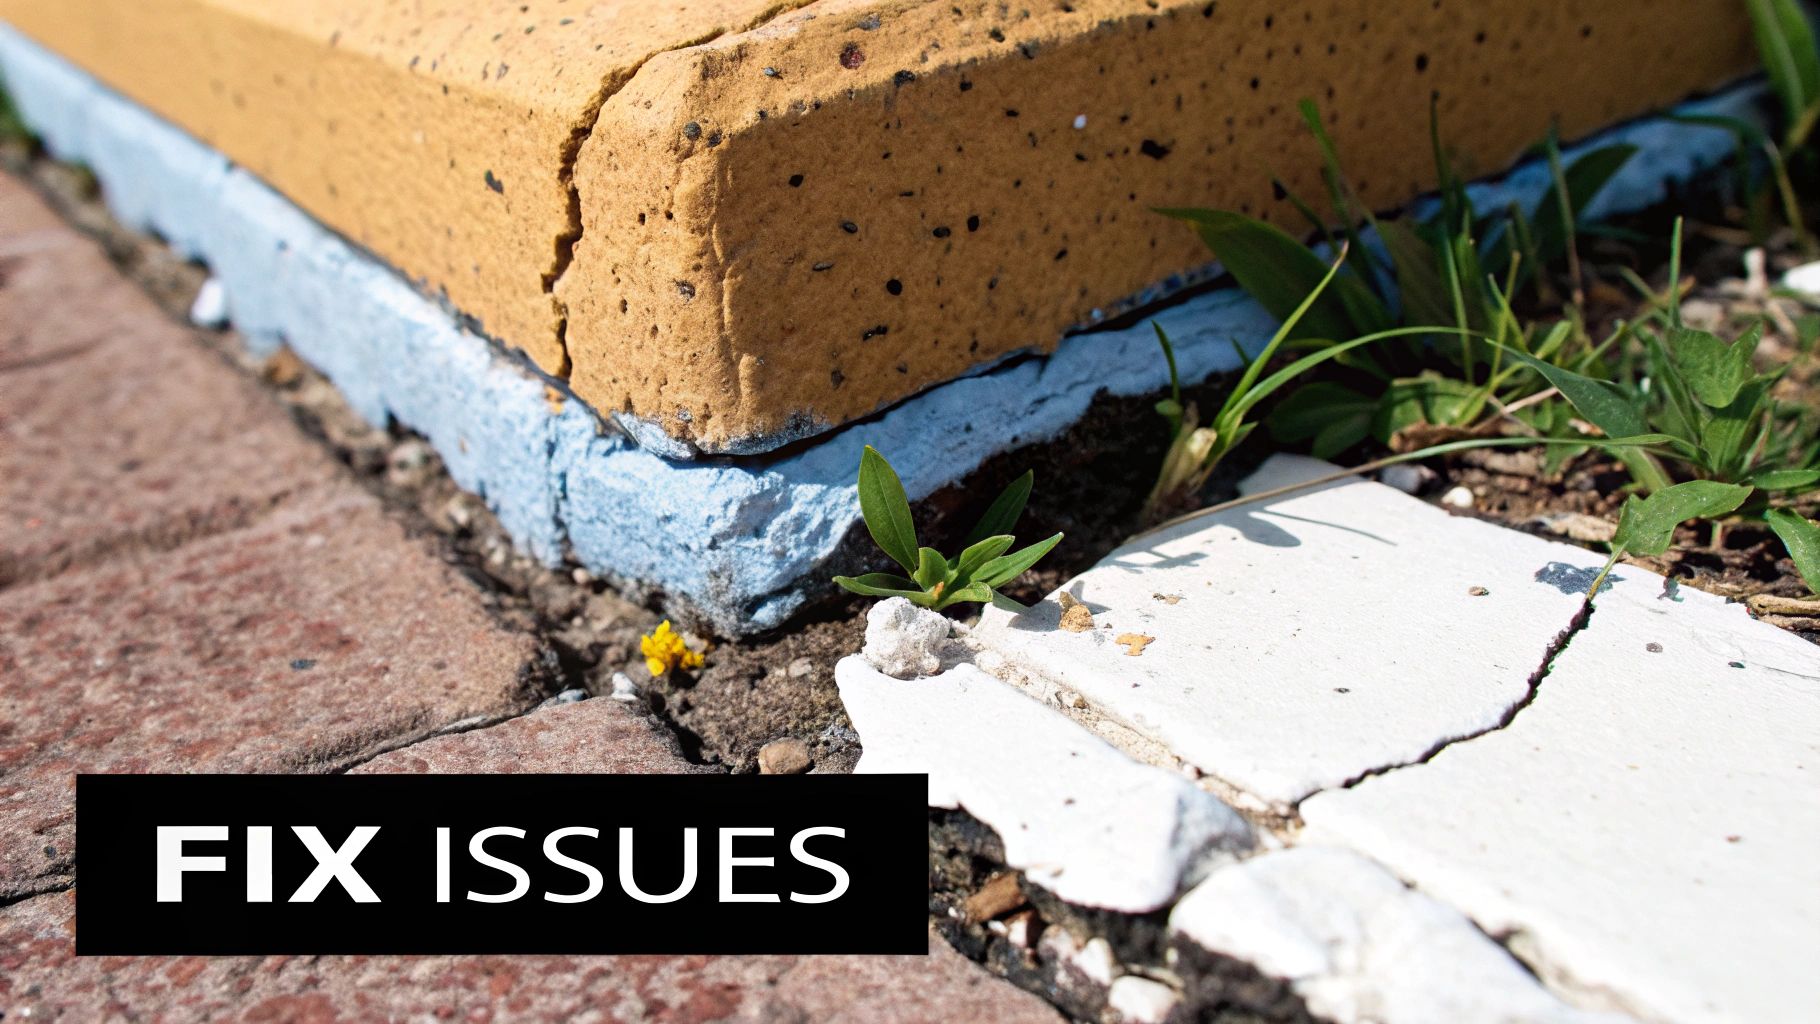
Patching and Repairing Imperfections
Now that the floor is clean, every flaw will be on full display. Take a walk around and mark any cracks, holes, or spalled areas. Tiny hairline cracks are usually fine, but anything wider than a credit card needs to be filled.
For this, you’ll want a high-quality, flexible concrete patch or filler. The trick is to force the material deep into the cracks and then smooth it flush with the rest of the floor. Always follow the manufacturer’s instructions for curing time, which could be anything from a few hours to a full 24 hours.
Here’s a classic mistake I see all the time: painting right over unrepaired cracks. Sure, the paint will hide them at first, but those cracks will almost certainly reappear through the new finish, ruining the entire look. A little time spent patching now saves a massive headache later.
Etching for Maximum Paint Adhesion
With the floor clean, patched, and completely dry, we move on to the final—and most vital—prep step: etching. This involves using a mild acid solution (or a safer, acid-free alternative) to lightly roughen the concrete surface. It essentially opens up the pores, creating a texture like fine-grit sandpaper that gives the primer something to grab onto.
A quick but important safety note: When you’re prepping concrete, especially if any grinding or sanding is involved, be mindful of the potential health risks of respirable crystalline silica. A good respirator mask is non-negotiable here. This safety-first approach is crucial for any masonry project, indoors or out. The principles are surprisingly similar, as you can see in our guide on how to handle preparing and painting outdoor brick.
After etching, the floor must be rinsed thoroughly to neutralize and wash away all residue. Then, let it dry. Completely. A simple way to check is to tape a small square of plastic sheeting to the floor. If you see any condensation under it after 24 hours, the concrete is still too damp. Give it more time—patience here is key to a successful paint job.
Applying Paint and Sealant Like a Professional
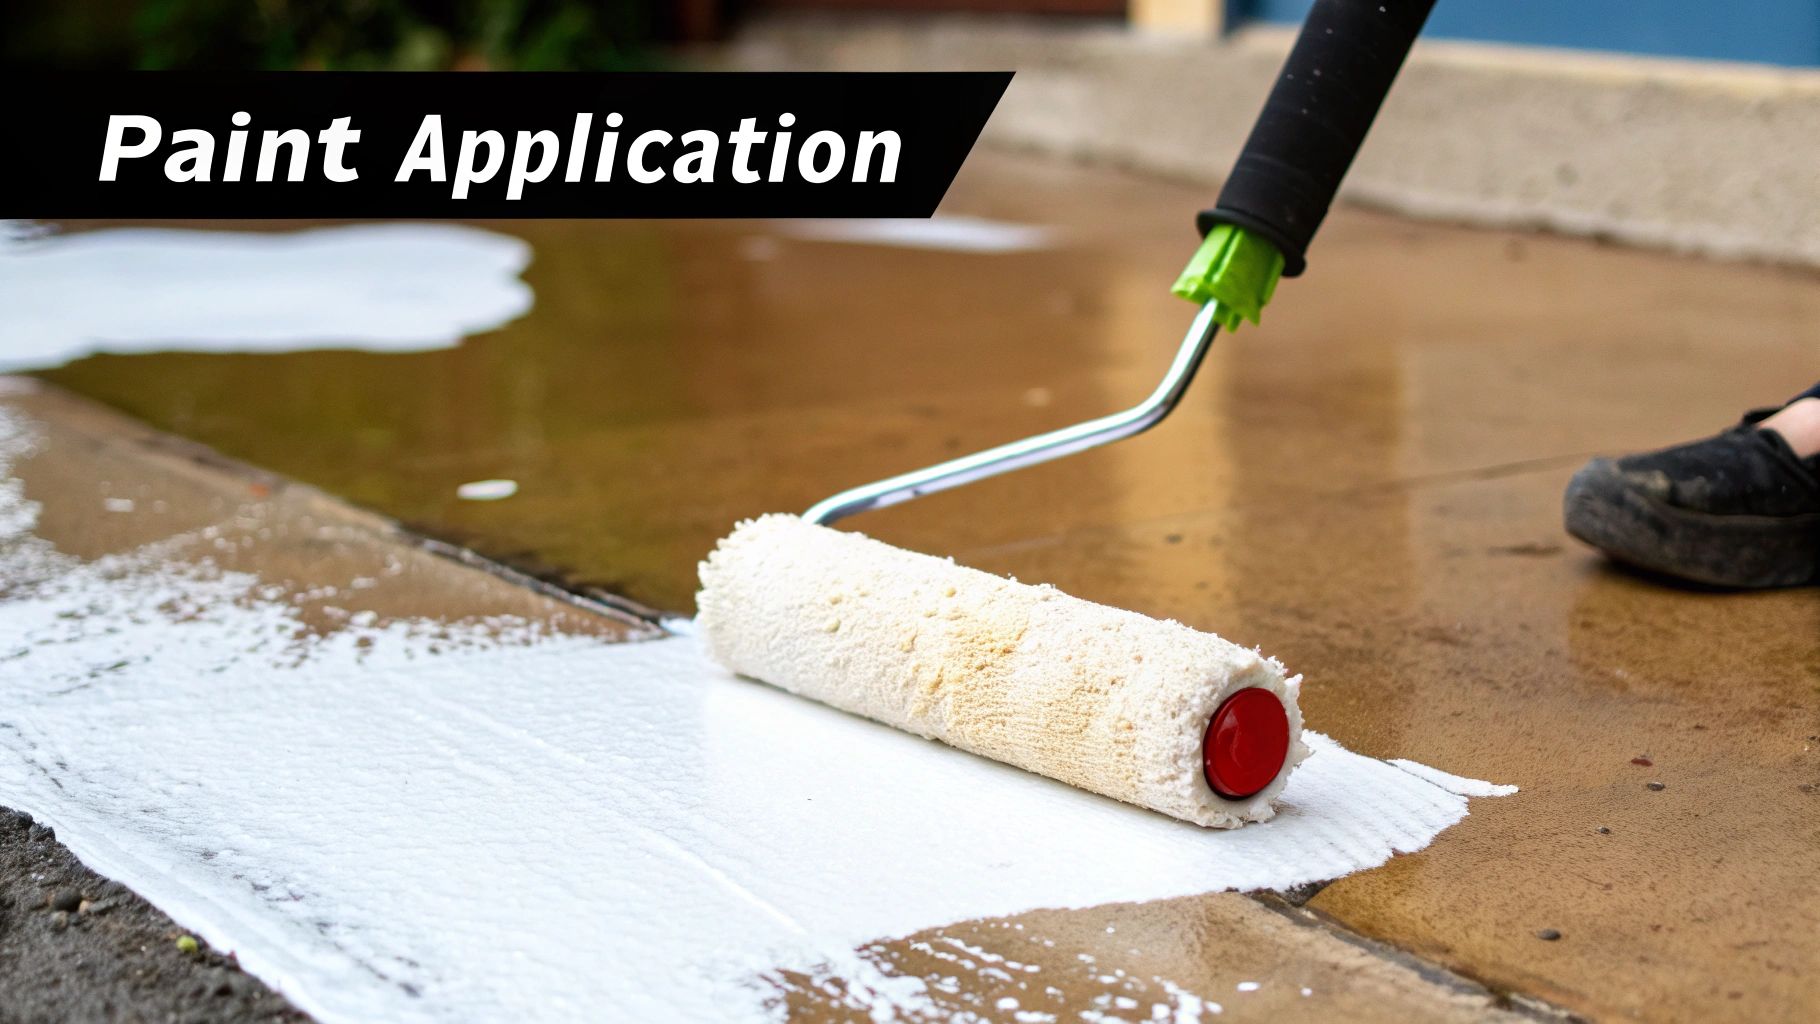
With the tough prep work behind you, it’s time for the fun part. This is where you finally get to see that vision for your floor come to life, turning a plain slab into something special. A professional-looking finish isn't about speed; it's all about using the right technique and having a bit of patience.
The right tools make all the difference here. You’ll want a high-quality roller, and for concrete, a nap length of 3/8-inch to 1/2-inch is usually your best bet. Grab an extension pole (your back will thank you later) and a good angled brush for getting into the corners and along the edges. Seriously, don't skimp on your tools—it shows in the final result.
Getting the Application Just Right
Before you even think about the main floor, you need to "cut in." Take your angled brush and paint a 3-4 inch border all the way around the room, right up against the walls and any other obstacles. This little step is the secret to getting those clean, sharp lines and makes the rolling process so much smoother.
With the edges done, you can start on the main floor. I find it’s best to work in small, manageable sections, maybe 4×4 feet at a time. Roll the paint on in a big "W" or "M" shape first to get it on the surface, then go back over it with straight, slightly overlapping passes to even it all out.
Pro Tip: The objective is thin, consistent coats. Trying to lay it on thick to save time is a classic mistake that leads to bubbles, drips, and a finish that will start peeling before you know it.
Let that first coat dry completely—and I mean completely. Check the paint can for the manufacturer's recommended drying time and stick to it. Once it's ready, go ahead and apply your second coat using the exact same technique. Two thin coats will always look better and last longer than one thick one.
Lock It In with a Good Sealant
After your final coat of paint is fully cured, don't skip the sealant. This clear topcoat is your floor's bodyguard, protecting the beautiful paint job from scuffs, stains, and moisture. A good polyurethane or epoxy sealant adds a serious layer of toughness that you'll appreciate for years to come.
There’s a reason high-performance coatings are so popular. The U.S. market for concrete floor coatings was already worth around $646 million in 2016 and was on track to hit $1.15 billion by 2025. People want floors that can take a beating and look good doing it.
One last thing: safety. Concrete paints and sealants can have strong fumes. Make sure you've got plenty of ventilation—open windows and doors, and use fans to keep the air moving. If you're working in a basement or another enclosed space, looking into the best air purifiers for VOCs is a smart move for your health.
Curing, Maintenance, and Long-Term Care
Once that final coat is on, the temptation to start moving everything back in is huge. But hold on—this is where a little patience goes a long way. Your newly painted floor might feel dry to the touch, but it's still curing, and jumping the gun now can undo all your hard work.
There's a big difference between a floor that's "dry" and one that's "cured." Drying is just the water or solvents evaporating, which happens relatively quickly. Curing is the real magic; it's a chemical process where the paint molecules bond and harden into a tough, resilient surface. This is what gives your floor its strength. For a more detailed breakdown of these timelines, check out our guide on how long different paints take to dry.
Understanding the Curing Timeline
How long does it take to fully cure? It really depends. The type of paint you used is the biggest factor, but so are the conditions in your space. A well-ventilated garage in Toronto on a warm, dry day will cure much faster than a damp basement in Mississauga during the fall.
As a rule of thumb, here’s what you can expect:
- Light foot traffic: You're generally safe to walk on it in socks after 24 to 48 hours. I’d avoid heavy work boots or dress shoes at this stage.
- Heavy foot traffic and furniture: Give it at least 72 hours, but a full week is even better. Dragging a heavy sofa or dropping a tool chest onto paint that hasn't fully hardened can leave a permanent mark.
- Vehicles (for garages): This is the one that requires the most patience. Don't even think about parking your car on it for a minimum of 7 days. Honestly, 14 days is the ideal wait time to prevent "hot tire pickup," where hot tires can literally lift the paint right off the floor.
Taking this curing process seriously is what ensures your floor will perform for years. It's no surprise that the demand for durable floor coatings is booming. The U.S. concrete floor coatings market was valued at $323 million in 2022 and is expected to grow by nearly 5% each year through 2030. People want solutions that last. You can dig into the growth of this industry and its trends if you're curious.
Keeping Your Painted Floor Looking New
Once your floor is fully cured, keeping it looking great is pretty simple. It’s all about gentle cleaning to protect the finish. For daily upkeep, a quick sweep with a soft-bristle broom or a pass with a dust mop is all you need to handle dirt and debris.
For a more thorough clean, grab a microfibre mop and mix a pH-neutral cleaner with some warm water. Steer clear of harsh chemicals like bleach, ammonia, or any abrasive scouring powders. Those will dull the shine and can eventually eat away at the paint.
When it comes to spills, speed is your best friend. Wiping up oil, antifreeze, or other chemicals right away prevents them from seeping into the coating and leaving a nasty stain. Quick action is the easiest way to keep your floor looking pristine.
If you do end up with a chip or a deep scratch, don't sweat it. The fix is straightforward. Just lightly sand the damaged spot, wipe it clean, and use a small artist's brush to dab on a bit of the original primer and paint. A quick touch-up like this will blend right in and keep your floor looking flawless.
Your Top Concrete Painting Questions, Answered
Even the most carefully planned project can leave you with a few lingering questions. When you're tackling something as important as your concrete floors, getting straight answers is key to feeling confident. Here are some of the questions we get asked all the time by homeowners across Mississauga and the GTA.
Is Etching the Concrete Before Painting Really Necessary?
In a word, yes. For almost every concrete floor, this is the one step you absolutely cannot skip. Etching might sound intense, but it's just a process of using a mild acid solution to open up the "pores" of the concrete.
Think of it this way: smooth, dense concrete doesn't have much for paint to cling to. Etching creates a microscopic, sandpaper-like texture. This texture gives the primer something to really bite into, forming a tenacious mechanical bond. If you skip this, especially on new or very smooth concrete, the paint just lays on top and is almost guaranteed to peel and chip, particularly in high-traffic areas. Consider it your insurance policy for a finish that actually lasts.
What’s the Ideal Temperature for Painting a Concrete Floor?
Temperature is a bigger deal than most people realize. It directly affects how the paint cures and its final durability. The sweet spot for most concrete paints is between 10°C and 30°C. Sticking to this range is crucial for the chemical reactions that make the paint harden correctly.
If it's too cold, the paint will seem to take forever to dry and might never fully cure, leaving it tacky and weak. On the flip side, if it's too hot or you're painting in direct, blazing sun, the surface of the paint can flash-dry. This traps solvents underneath, which often leads to ugly bubbles and a weak, uneven finish. Always double-check the paint can for the manufacturer's specific recommendations—they know their product best.
For anyone working on a garage or exterior floor here in the GTA, this means that spring and fall are your best friends. The moderate temperatures give the paint the slow, steady cure it needs to achieve maximum strength and durability.
How Long Can I Expect a Painted Concrete Floor to Last?
The lifespan really comes down to three things: how well you prepped the surface, the quality of paint you chose, and how much abuse the floor takes. An interior floor, like a basement, that sees light foot traffic could easily look great for 10-20 years if done right.
Now, a garage floor in a place like Toronto is a completely different story. It has to deal with cars, road salt, and constant wear. For that kind of environment, using the best high-performance epoxy with a protective topcoat will get you a solid 5-7 years before it might need a touch-up. The absolute best thing you can do to maximize its life? Finish with a durable sealant. That clear topcoat takes all the scuffs and scrapes, protecting the coloured paint layer underneath.
When you want professional results without the DIY headaches, it’s time to call in the experts. Soca Services Painting provides stunning, long-lasting concrete floor finishes throughout Toronto and the GTA. If you're looking for the best painters near me in Toronto or Mississauga, visit us for a consultation at https://www.socaservicespainting.com.