Table of Contents
- Step 1: Inspect and Plan Your 6 Steps to a Perfect Exterior Paint Job
- Step 2: Exterior House Painting Preparation and Surface Cleaning
- Step 3: Essential Exterior Painting Tools List and Materials
- Step 4: Scraping, Sanding, and Repairing Surfaces
Last Updated: July 12, 2026
Step 1: Inspect and Plan Your 6 Steps to a Perfect Exterior Paint Job
A thorough inspection determines the success of your entire exterior paint job. Walk your property’s perimeter and document peeling paint, wood rot, mold, caulking condition, and structural damage. Take photos, these become your roadmap for the work ahead.
Climate matters significantly in Toronto and surrounding Ontario areas. Your exterior faces temperature swings, moisture, freeze-thaw cycles, and UV exposure. Plan your project for late spring or early fall when temperatures stay between 50-85°F during application and drying.
Document everything with photos. When you contact a painter or material supplier, these images help them recommend the right products and estimate your actual material needs accurately.
Step 2: Exterior House Painting Preparation and Surface Cleaning
Preparation separates professional results from amateur mistakes. Start with pressure washing to remove dirt, mildew, algae, and loose debris. Use 1500-2500 PSI for most siding; keep the nozzle at least 12 inches from the surface and work at a slight downward angle. Pay special attention to shaded areas where mildew accumulates.
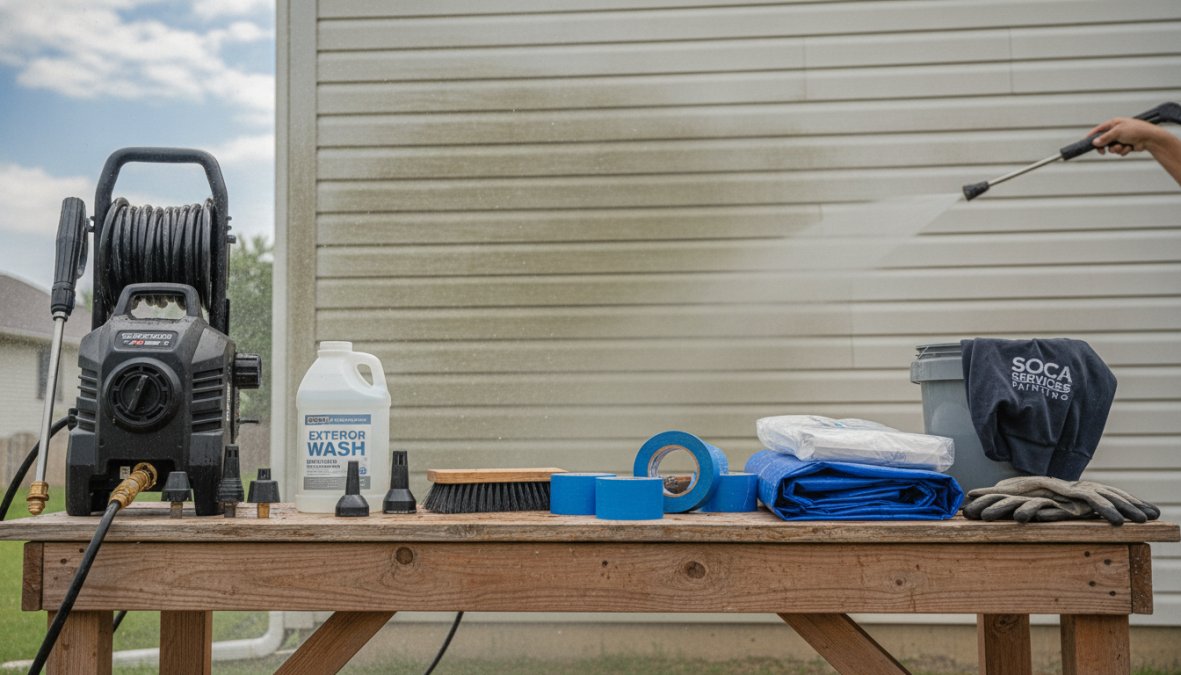
(/house-painting-cost-toronto/) Preparation and Surface Cleaning]
Allow surfaces to dry completely before moving forward, typically 24-48 hours. Wet wood won’t accept primer or paint properly, and trapped moisture leads to peeling within months.
Never pressure wash wood surfaces at angles that drive water into seams, gaps, or behind trim. Water intrusion is the leading cause of wood rot and paint failure. Always work at downward angles and maintain distance from vulnerable areas.
Step 3: Essential Exterior Painting Tools List and Materials
The right tools make the difference between a frustrating DIY experience and professional results.
Essential Tools:
- Pressure washer (2000-2500 PSI)
- Paint scraper with 4-6 inch blade
- 80-120 grit sandpaper and sanding block
- Caulking gun and exterior-grade caulk
- Painter’s tape (quality brand)
- Drop cloths (canvas preferred)
- Extension poles (6-12 feet)
- Paint roller with 3/8-inch nap
- Synthetic brushes for trim
- Paint sprayer (optional)
Select exterior-grade materials designed for your climate. Benjamin Moore and Sherwin-Williams offer excellent finishes formulated for Ontario’s weather. Latex-based paints dry faster and clean up with water, while oil-based paints offer superior adhesion on challenging surfaces.
| Tool/Material | Purpose | Notes |
|---|---|---|
| Pressure washer | Surface cleaning | 2000-2500 PSI for wood siding |
| Paint scraper | Remove loose paint | 4-6 inch blade for efficiency |
| 80-120 grit sandpaper | Smooth rough surfaces | Essential for paint adhesion |
| Exterior caulk | Seal gaps and seams | Prevents moisture intrusion |
| Painter’s tape | Protect trim and fixtures | Quality tape prevents bleed-through |
| Latex exterior paint | Primary topcoat | Fast-drying, water cleanup |
| Exterior primer | Bare wood preparation | Ensures paint adhesion and coverage |
Step 4: Scraping, Sanding, and Repairing Surfaces
Use your paint scraper to remove all peeling, flaking, or loose paint. Loose paint won’t hold new topcoat. Sand all scraped areas smooth to feather edges where old paint meets bare wood, preventing ridges from showing through. Use 80-120 grit sandpaper for initial smoothing, then 150-180 grit for finishing.
Inspect for wood rot or structural damage. Soft, spongy wood requires repair before painting. Small areas can be treated with wood hardener, but extensive rot may require professional replacement. Caulk seams, gaps, and cracks with exterior-grade caulk around windows, doors, and trim joints. Quality caulking prevents moisture intrusion, the primary cause of paint failure.
The most common mistake is insufficient surface preparation. Homeowners underestimate how much loose paint must be removed and how thoroughly surfaces must be cleaned. Rushing preparation guarantees paint failure within two to three years.
Step 5: Priming Bare Wood and Choosing the Right Paint
Priming bare wood is non-negotiable for exterior durability. Bare wood absorbs paint unevenly, leading to blotchy coverage and poor adhesion. Apply primer to all scraped, sanded, or repaired areas. Use a quality exterior primer formulated for your specific surface type. Allow primer to dry completely, typically 2-4 hours for latex, 24 hours for oil-based, before applying topcoat.
In Toronto and surrounding Ontario areas, you need paint formulated for freeze-thaw cycles, moisture, and UV exposure. Quality exterior paints from Benjamin Moore or Sherwin-Williams provide better durability than budget options, resisting peeling, fading, and mildew over time. Choose a sheen level appropriate for your surface: flat finishes hide imperfections but resist dirt less effectively; satin finishes offer balance; semi-gloss provides maximum durability for trim and doors.
Paint should not be applied when temperatures are dropping toward dew point, as moisture will condense on the surface and interfere with drying.
Step 6: Application and Post-Painting Maintenance Schedule
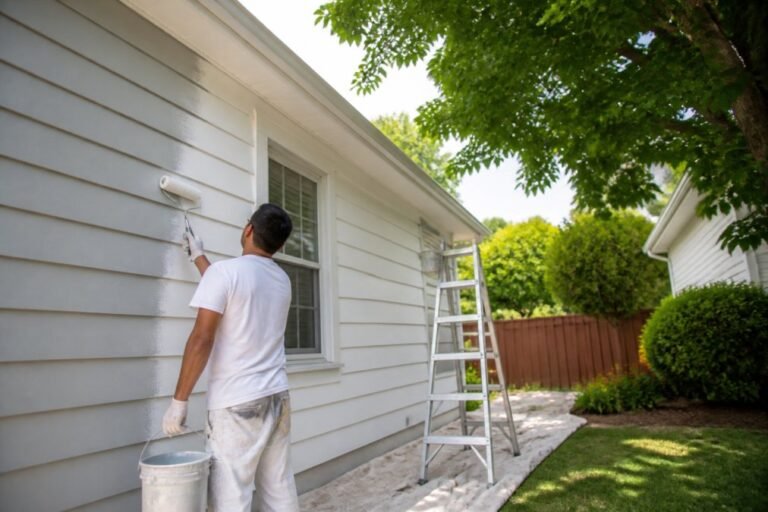
Apply paint in thin, even coats rather than one thick coat. Two thin coats provide better coverage, adhesion, and longevity. Use quality brushes for trim and detail work, and paint rollers for large flat surfaces. A paint sprayer accelerates coverage on expansive siding but requires masking and cleanup.
Apply paint when temperature remains between 50-85°F, humidity is below 85%, and direct sun is not beating on the surface. Allow proper drying time between coats: latex paint typically dries to touch in 2-4 hours but requires 24 hours before a second coat; oil-based paint needs 24-48 hours between coats.
Post-Painting Maintenance Schedule:
| Task | Frequency | Purpose |
|---|---|---|
| Visual inspection | Quarterly | Catch peeling or damage early |
| Caulk inspection | Annually | Reseal gaps before moisture intrusion |
| Mildew cleaning | As needed | Prevent growth in shaded areas |
| Power wash | Every 2-3 years | Remove dirt and mildew buildup |
| Touch-up painting | As needed | Repair small damage before spreading |
Inspect your exterior paint job every season. Early detection of peeling, cracking, or mildew prevents small problems from becoming expensive repairs. Quality exterior paint jobs in Toronto and throughout Ontario last 7-10 years with proper maintenance. Budget finishes may fail in 3-5 years, especially in areas with extreme weather exposure.
Exterior painting requires patience, proper preparation, and quality materials. If you prefer professional results without the time investment, Soca Services Painting delivers expert exterior finishes across Toronto and Ontario. Our team handles every step of the 6 steps to a perfect exterior paint job, ensuring your property receives a durable, beautiful finish. Contact Soca Services today for a free estimate.
Frequently Asked Questions
What is the most important step in exterior house painting preparation?
Surface preparation is critical, it determines how long your exterior paint job lasts. This includes cleaning with a pressure washer, scraping loose paint, sanding rough areas, repairing wood damage, caulking cracks, and priming bare wood. Skipping these steps leads to paint failure, peeling, and premature deterioration. Soca Services emphasizes thorough preparation to ensure your paint adheres properly and delivers lasting durability.
How long does exterior paint drying time typically take between coats?
Exterior paint drying time depends on temperature, humidity, and product type. Most quality exterior paints dry to the touch in 2-4 hours but require 24 hours between coats for full cure. Cooler temperatures, high humidity, and dew point conditions extend drying time. Check your paint manufacturer's guidelines, rushing application before proper drying compromises adhesion and finish quality. Professional painters monitor weather to optimize timing.
What should I do if I discover peeling exterior paint during inspection?
How to fix peeling exterior paint: first, scrape away all loose paint using a paint scraper or wire brush until you reach solid surface. Sand the edges smooth, fill gaps with caulk, and prime any bare wood with quality primer. The peeling often indicates moisture issues or poor surface adhesion, so addressing the root cause prevents recurrence. For extensive peeling, professional assessment ensures proper repair and material selection for lasting results.
Do I need to pressure wash before painting my house exterior?
Yes, pressure washing is essential for exterior paint jobs. It removes dirt, mildew, algae, and loose debris that prevent paint adhesion. Use 1,500-2,500 PSI for most surfaces; avoid excessive pressure on wood siding. Allow 48 hours drying time after washing before priming or painting. Proper cleaning ensures the topcoat bonds securely and achieves the professional finish your home deserves. Contact Soca Services for expert guidance on your specific exterior condition.
This article was written using GrandRanker