Tossing a paint-soaked roller into the bin is a waste of money and resources. Learning how to clean a paint roller properly is a simple skill that saves you money, cuts down on waste, and ensures your tools are ready for a professional finish on your next project.
The secret to the best cleaning method comes down to the type of paint you've used: water-based (latex) or oil-based (alkyd). This guide provides an objective structure for cleaning your rollers perfectly every time, whether you're working in Toronto, Mississauga, or anywhere in the GTA.
A Guide to Flawless Paint Roller Cleanup
Properly cleaning your painting tools is a non-negotiable skill for any DIYer. It’s tempting to throw out a roller after a single use, but that habit gets wasteful and expensive. Whether you're painting a feature wall in Mississauga or tackling a whole-home project anywhere in the GTA, these methods will keep your gear in top condition.
The benefits are clear:
- Save money. A good quality roller is not a disposable tool. Reusing it means you aren't buying new ones for every project.
- Achieve a better finish. A clean roller, free from old, dried paint flecks, is key to a smooth application on your next job.
- Reduce waste. Cleaning and reusing tools is an environmentally responsible practice.
The first and most important step is identifying the paint type, as latex and oil-based paints require completely different cleaning approaches. You can learn more about picking the right tools by checking out our comprehensive guide on the best paint brushes and rollers for your specific job.
Preparing Your Cleaning Station
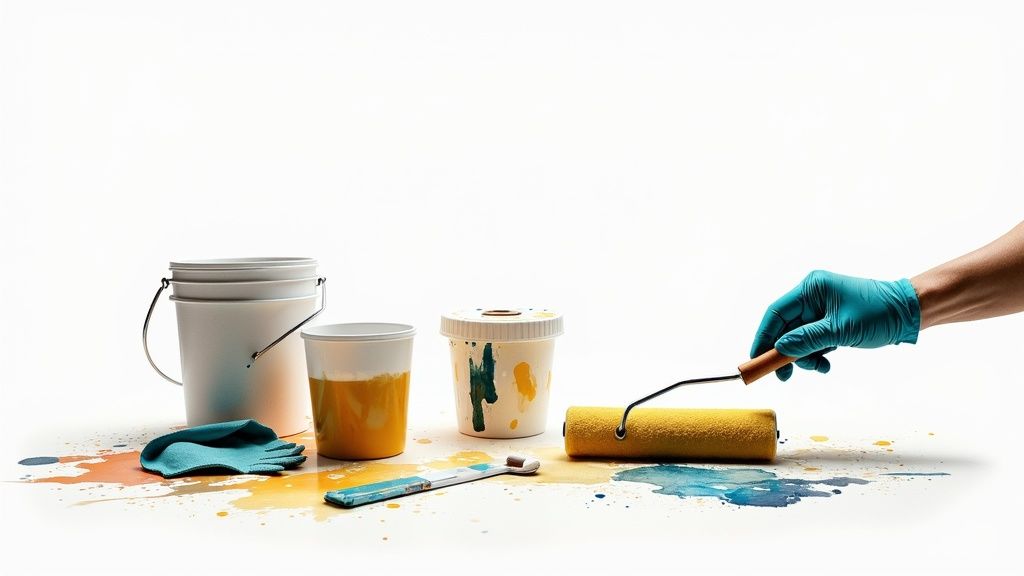
Before cleaning the roller, you need a dedicated space. A clean workspace isn't just for painting—it's crucial for cleanup to avoid making a bigger mess.
Just like you would clean your walls before painting, preparing your cleaning station is a non-negotiable first step. A utility sink is ideal, but a spot in the backyard with a hose also works well. The key is having everything you need within arm's reach.
Roller Cleaning Toolkit
Here is what you need to make the process quick and painless:
- A 5-in-1 painter's tool is essential for scraping off the first layer of thick, excess paint.
- Two buckets: one for the initial soapy wash and the second for a clean rinse.
- The correct cleaning agent: Mild dish soap and warm water are perfect for latex paint, but you'll need mineral spirits or another appropriate solvent for oil-based paints.
Pro Tip: For frequent projects, invest in a roller spinner. It connects to a drill and uses centrifugal force to remove most of the water, significantly reducing drying time. It's one of the best tools for the job.
How to Clean Latex Paint from a Roller
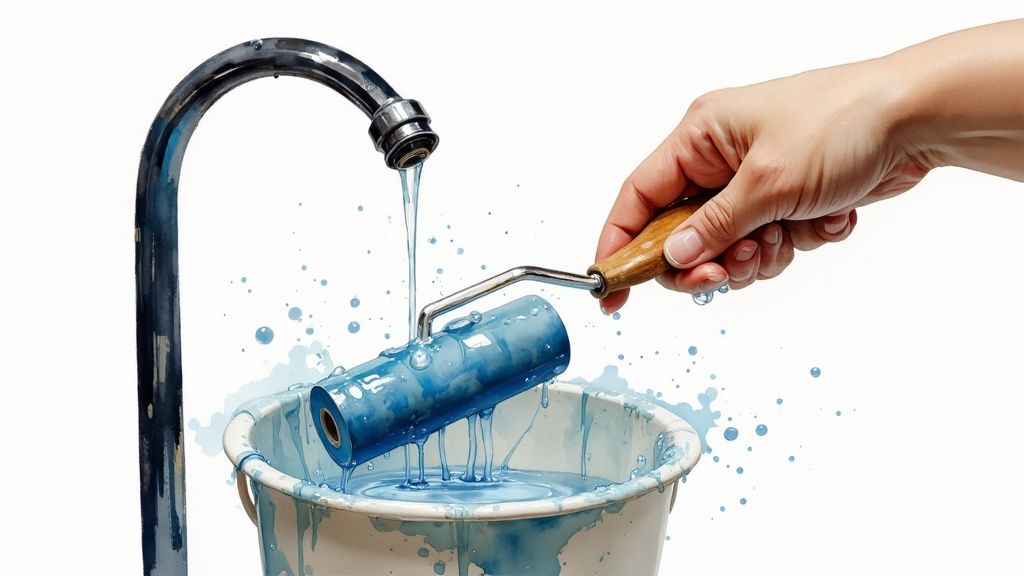
If you've been working with latex paint, the cleanup is straightforward. First, scrape every last drop of excess paint from the roller sleeve back into the can. This step saves paint for touch-ups and makes the washing process much easier.
After scraping, take the roller sleeve to a sink and run it under warm water. Use your fingers to work the paint out from deep within the fibres. For any stubborn spots, a small amount of dish soap will break down the residue.
Clean tools are a key part of the job, just as important as knowing how to paint interior walls for that professional look.
A quick word on disposal: while a small amount of latex rinse water is generally fine for the drain in a one-off project, be mindful if you're painting frequently. For a deeper dive, Green Building Advisor has some great insights on eco-friendly paint cleanup.
How to Clean Oil-Based Paint from a Roller
When you're working with alkyd or oil-based paints, water and soap will not work. You need a solvent like mineral spirits to properly break down the sticky paint.
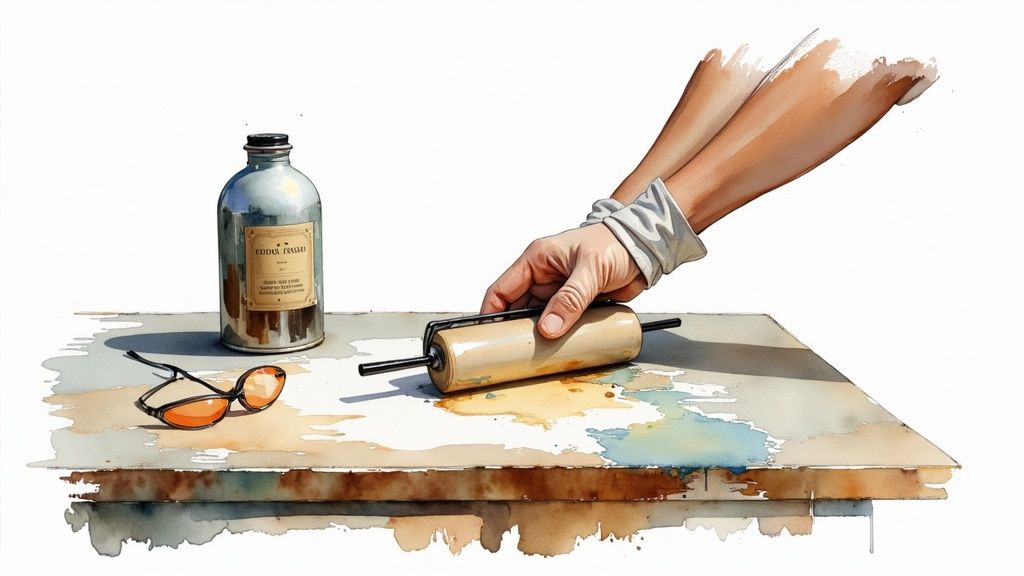
Before you begin, focus on safety. Working with solvents requires serious precautions. Always wear chemical-resistant gloves and ensure you're in a well-ventilated space. If you can do this outside, that is the best option.
The process is straightforward. Pour a small amount of your chosen solvent into a clean container, then submerge and work the roller cover in it. The paint will loosen and dissolve as you work the solvent into the fibres. It’s a similar principle to using a chemical paint remover on wood; the solvent does the hard work.
Crucial Safety Note: Never pour used solvents down a drain or onto the ground. For proper, responsible disposal in Toronto, Mississauga, and the GTA, you must contain the used solvent in a sealed container and take it to a local household hazardous waste depot.
The Best Way to Dry and Store Your Rollers

You've cleaned your paint roller, but the job isn't finished. Tossing a damp roller cover into a toolbox is a recipe for a rusted frame and a matted, useless nap. Properly drying your roller is the final, crucial step to making it last.
The fastest method to remove most of the water is with a roller spinner. This tool uses centrifugal force to fling out moisture in seconds. If you don't have one, roll the clean, damp cover firmly over an old towel or a clean patch of concrete to squeeze out the excess.
Once it's no longer dripping, stand the roller cover on its end and let it air dry completely. This simple trick prevents flat spots from forming on the nap, which helps ensure a flawless, even finish on your next paint job.
Just as you need to know how long paint takes to dry for a perfect wall, you must give your tools the time to dry properly for them to perform their best.
What to Do When Roller Cleaning Fails
Even with the best intentions, sometimes a roller doesn't clean up perfectly. Here is a guide to solving common problems.
Dealing With Dried-On Paint
If paint has started to set, don't panic. For latex paint, a long soak in very hot water can often soften it enough to work it out. If you were using an oil-based paint, you'll need to submerge the roller in the appropriate solvent for the same effect.
Reviving a Stiff or Matted Roller
Sometimes, a roller nap dries stiff and matted even after a thorough cleaning. A simple wire brush is the best tool for this. Gently brushing the fibres will fluff them back up, restoring the roller's texture and getting it ready for the next job.
Knowing When to Replace a Roller
You can't save every roller, and it's important to know when to let one go. If the nap is shedding fibres or it stays hard and crusty no matter what you do, it has reached the end of its life. A worn-out roller will ruin your paint finish, making it not worth the risk.
Ultimately, preventing problems is the best strategy. Being mindful of the process, much like avoiding common dryer vent cleaning mistakes you should avoid, will save you hassle in the long run.