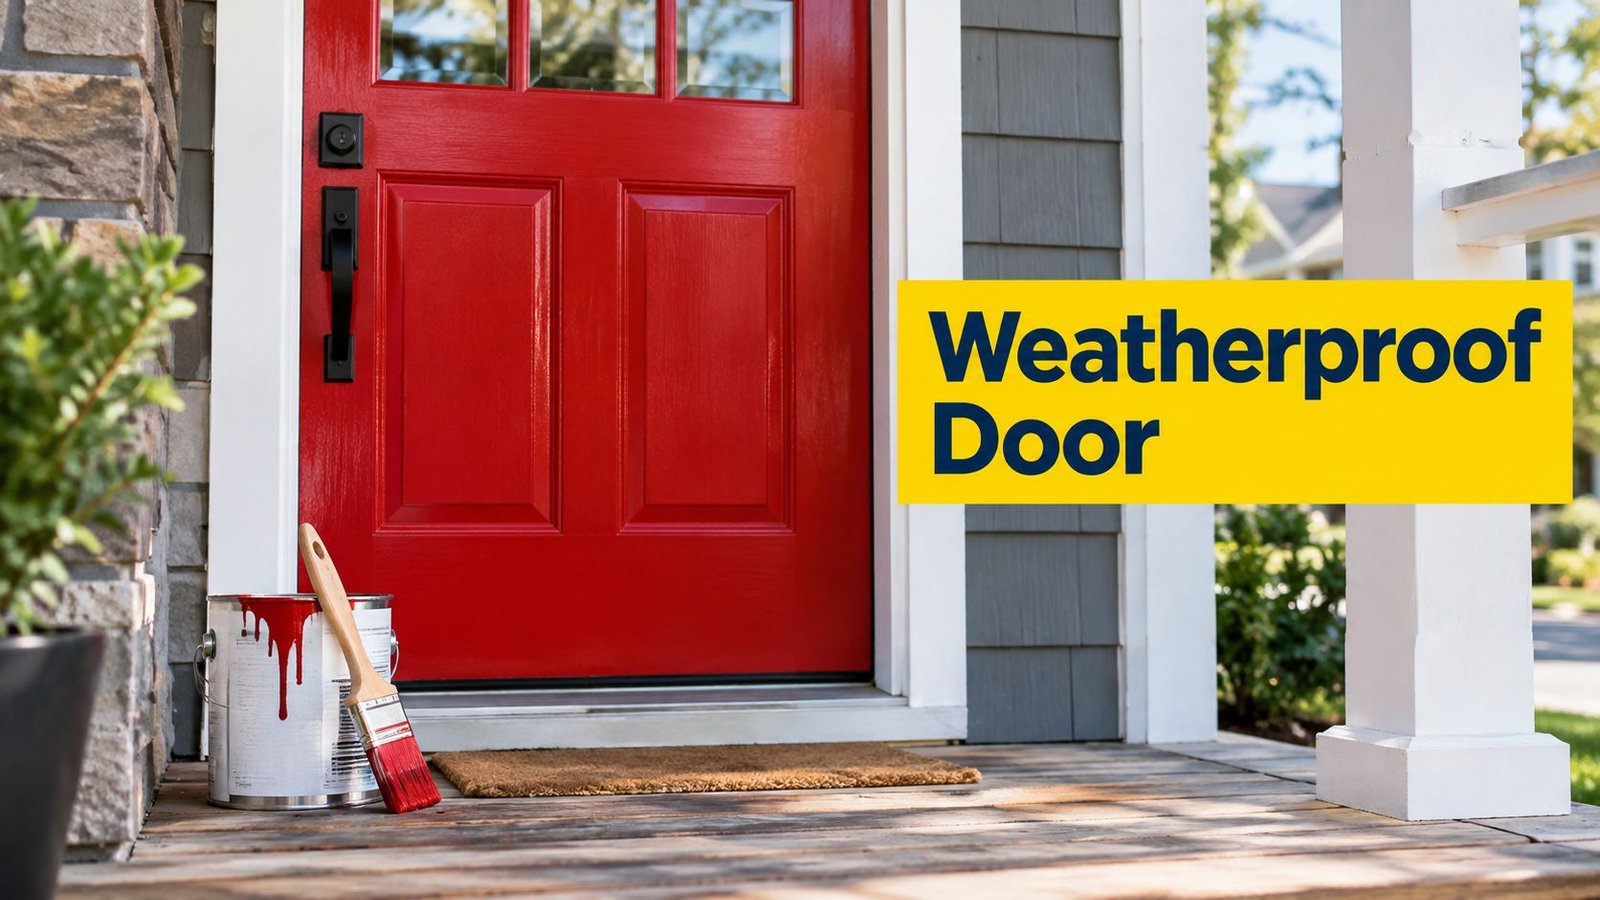
You notice it every time you come home. The front door looks faded, the edges feel rough, and the old coating has started to peel where winter moisture and daily use have taken their toll. In Toronto, Vaughan, North York, and King City, painting an exterior door is not merely a weekend colour update. The job has to withstand summer sun, rain, ice, freeze-thaw movement, and constant contact around the handle, lock, frame, and threshold.
A durable result depends on more than choosing a striking colour. Cleaning, sanding, repairing, priming, sealing all exposed surfaces, and allowing the coating to cure properly protect the door as well as improve curb appeal. The process below explains how to paint exterior door surfaces with the standards a professional painter would use for a GTA home, rental property, or commercial entry.
Your Front Door Is More Than Just an Entryway
A front door is one of the first exterior features visitors notice, but its finish also helps protect the structure beneath it. A sound coating limits direct exposure to rain and humidity, while neglected cracks and bare edges give moisture an easier route into wood, composite material, or vulnerable metal. On a wooden door, repeated wetting and drying can contribute to swelling, movement, and coating failure.
Toronto-area weather makes that maintenance more demanding. A door may face bright summer UV exposure, driving rain, snow, road salt, and repeated expansion and contraction as temperatures change. A south- or west-facing entry can fade faster than a shaded door, while a covered porch may protect the face but leave the top and bottom edges exposed.
Practical rule: Treat the exterior door as a protective building component, not as a flat decorative panel.
A fresh finish can sharpen curb appeal and help a property feel cared for before a buyer, tenant, customer, or guest steps inside. Homeowners considering a sale may also find it useful to review this guide on the benefits of painting a home before selling, especially when the entrance is one of the most visible parts of the exterior. For broader design inspiration, Jimmy Clemmons' exterior design portfolio offers examples of how colour, trim, lighting, and entry details work together.
Soca Services approaches front-door painting as a small project with several technical decisions behind it. The team assesses the door material, existing coating, exposure, hardware, weather conditions, and surrounding trim before recommending a system. That matters in Vaughan and across the GTA because a beautiful colour won't compensate for poor adhesion, an unsealed edge, or paint applied while the surface is damp.
The right finish can support the home's presentation and reduce avoidable maintenance. The wrong shortcut often becomes visible first around the corners, latch area, sill, and lower edge, exactly where weather and hands create the most stress.
Gathering the Right Tools and Quality Materials
A smooth door finish starts with a controlled work area and materials that match the substrate. You don't need every tool in a professional van, but you do need products that won't introduce lint, uneven texture, or weak adhesion.

Shopping checklist
| Category | Item | Pro Tip |
|---|---|---|
| Protection | Drop cloths | Cover the floor, threshold, nearby siding, and hardware area. |
| Masking | Painter's tape | Use quality tape around glass, hinges, weather stripping, and trim. |
| Removal | Screwdriver set | Label screws and keep hardware together in a container. |
| Cleaning | Cleaning supplies | Remove grease, hand oils, dirt, and salt residue before sanding. |
| Preparation | Sanding block | Use a suitable grit for dulling the old finish and smoothing repairs. |
| Repairs | Putty knife | Fill small dents and shallow defects with a compatible exterior filler. |
| Sealing | Caulk gun and exterior caulk | Seal suitable stationary gaps, but don't block drainage or moving joints. |
| Priming | Exterior primer | Prime exposed wood, repaired areas, and metal where the product requires it. |
| Application | Paintbrushes | Choose a quality angled brush for profiles, corners, and edges. |
| Application | Paint roller | Use a small fine-finish roller for broad, flat sections. |
| Application | Paint tray | Keep the roller load consistent and avoid overloading the door. |
| Finish | Exterior paint | Choose a coating rated for the door material and local exposure. |
Acrylic latex exterior paint is often a practical choice because it can accommodate normal movement and is available in products formulated for doors and trim. Oil-based coatings can have a place on specific surfaces, but they require careful compatibility checks and handling. A professional won't apply a new system over an unknown old coating without first testing adhesion and assessing the substrate.
Premium lines from Sherwin-Williams and Benjamin Moore are common options for exterior trim and door work because they offer products designed for demanding exterior conditions. The specific product still matters more than the logo. Select the sheen, colour, primer, and substrate compatibility as one system, not as separate purchases.
Canadian guidance notes that exterior-grade paint with built-in primer can cost 40% to 60% more but may last three to five years longer in harsh Canadian climates, while south- or west-facing doors may need repainting every three to four years because UV accelerates fading. Those figures are discussed in this Canadian exterior paint durability guidance. The trade-off is straightforward: a higher material cost may be worthwhile when it reduces early fading and repeat preparation.
For brush and roller selection, this guide to paint brushes and rollers can help you match the tool to the surface. Soca Services Painting also offers front-door painting and staining as part of its painting services, which is useful when the door needs more than a simple colour refresh.
The Critical Preparation Stage for a Flawless Finish
Preparation determines whether the new coating bonds to the door or merely sits on top of dirt, chalk, and unstable old paint. Rushing this phase can leave visible ridges, peeling patches, and a finish that fails first around the edges and high-contact areas.
Remove, clean, inspect
Start by removing the handle, lock escutcheon, knocker, kick plate, and other hardware wherever practical. If hardware must remain in place, mask it carefully and protect it from abrasive dust and paint. Set screws in labelled bags so reinstallation doesn't become a guessing game.
Wash the door with a suitable cleaner, paying special attention to the handle area, lower section, threshold side, and any place exposed to salt or traffic grime. Rinse when the product requires it, then allow the surface to dry completely. A clean-looking door can still hold oils that interfere with adhesion.
Inspect the entire surface before sanding. Look for peeling paint, raised grain, rust, dents, open joints, failed caulk, cracks, and swelling near the bottom. A steel door may need corrosion treatment, a wooden door may require attention to exposed fibres, and a fibreglass door needs a coating system compatible with its manufactured surface. Don't assume one primer suits all three.
Sand and repair with purpose
Sand glossy areas until the sheen is removed and the surface feels uniformly dull. Feather the boundaries of peeling areas rather than leaving a hard ridge that will show through the new paint. Remove dust with a clean method that won't redeposit residue, then fill minor defects with an exterior-rated product.
A door's condition also determines whether repainting is sensible. If the slab is badly warped, the bottom has extensive rot, or the metal has deep corrosion, paint alone won't correct the underlying problem. In those cases, repair or replacement may be more appropriate.
Use the weather window as part of preparation, not as an afterthought. Canadian guidance for exterior door painting in Ontario recommends working when temperatures stay roughly between 10°C and 30°C, with humidity below about 70%, because excess moisture slows drying and can interfere with curing and adhesion. Check both the air and the door surface, since a shaded slab can remain cooler or damp after the surrounding air feels comfortable.

For a more detailed look at cleaning, sanding, repairs, and masking, use Soca Services' guide to preparing surfaces for painting in Toronto. Good preparation takes time, but it saves more time than correcting peeling paint after the first difficult season.
Applying Primer and Paint Like a Professional
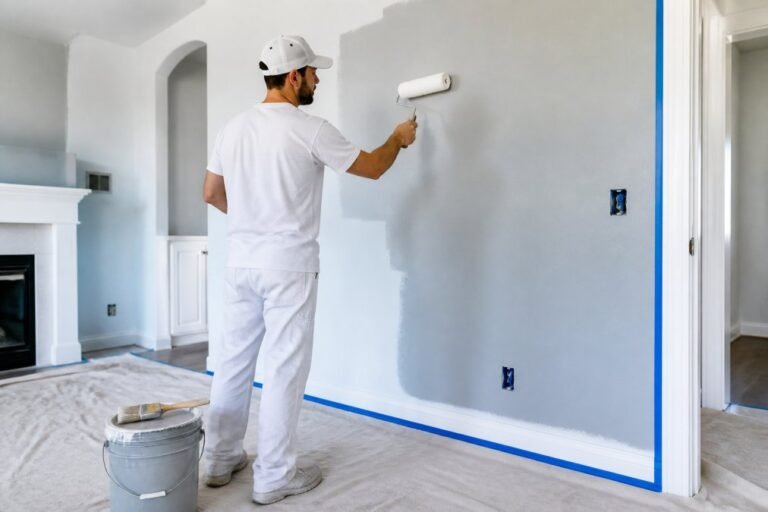
Once the door is clean, dry, repaired, and dull enough to accept a coating, application becomes a matter of order and control. Keep the door stable, protect the surrounding area, and avoid trying to cover everything with one heavy coat.

Prime the areas that need it
Apply primer to bare wood, exposed metal, filled repairs, and any surface where the existing coating has been removed. Spot priming can work when the surrounding finish is stable, but broad substrate changes may call for a more complete primer coat. Follow the product instructions for drying and recoat timing rather than relying on touch alone.
Primer helps create a consistent base, but it can't rescue grease, dust, loose paint, or moisture trapped in the surface. If the door has stains, tannin bleed, rust, or an unknown coating, choose a primer designed for that problem and test a small area first.
Paint in a controlled sequence
For a panelled door, work from recessed panels and mouldings toward the larger flat areas. Brush the profiles and corners first, then use a fine-finish roller or controlled brushwork on the broad faces. Keep a wet edge and don't repeatedly brush paint that has begun to set, since overworking creates drag and visible marks.
A quality angled brush gives better control around glass, profiles, and corners. A small roller can produce a more even texture on flat sections, but it still needs light finishing passes where the roller leaves stipple. Thin, even coats usually outperform one overloaded coat that sags, stays tacky, or hides detail.
Finish all six sides
The door has six surfaces, two faces and four edges. Professional door-care guidance recommends finishing the top, bottom, hinge-side, and latch-side edges as well as the visible faces, because incomplete coverage can contribute to warping and adhesion failure. That protection matters in Ontario, where moisture and freeze-thaw stress repeatedly challenge exterior components.
Paint the top and bottom edges when the door is positioned safely and the coating system permits it. Don't flood the hinge recesses, weather stripping, drainage paths, or hardware openings. On a door that receives strong sunlight, consider how a dark colour may absorb more heat and place additional stress on the material, particularly if the door is wooden or composite.
For more background on coating fibreglass entry doors and avoiding substrate-specific mistakes, this fibreglass entry-door painting guide from Breaking Glass Co. is a useful companion resource.
Allow the coating to dry according to its label and the actual site conditions. One Canadian exterior doors-and-trim product listing gives a 24-hour recoat time and a 1,440-minute dry time, as shown on this Canadian Tire product listing. Those times illustrate why a door shouldn't be closed, handled, or exposed to difficult weather even if the surface feels dry.
If you use a product with stricter conditions, follow its data sheet. For example, Dulux Diamond Exterior 100% Acrylic Paint guidance specifies air, surface, and product temperatures between 2°C and 32°C, at least 3°C above the dew point, with those conditions maintained for the following 24 hours. The requirements appear in this Canadian product guidance for exterior paint application. Product instructions take priority over general seasonal advice.
Weatherproofing and Final Touches for Durability
A newly painted door still needs careful handling. Reinstalling hardware too soon can mark the coating, while worn weather stripping can allow moisture and drafts to reach the very areas you just prepared.

Refit hardware without damaging the finish
Before reinstalling the handle, lock, knocker, and kick plate, check that the paint has hardened sufficiently for normal handling. Place a clean cloth under tools, tighten screws gradually, and avoid dragging metal across the new surface. If the old hardware has worn through the coating around the latch or handle, use the opportunity to correct that contact point rather than hiding it under a plate.
Operate the door several times and check that the latch engages cleanly. Paint buildup around the jamb, hinge edge, or strike area can affect movement, so remove only what interferes and keep the new finish neat.
Inspect the seal and surrounding details
Examine the weather stripping for compression, cracking, gaps, or areas that no longer contact the door. Replace damaged sections with a compatible product, and check the sweep and threshold for signs of water entry. For broader guidance on how to prevent door leaks and energy loss, review the weatherproofing advice from Superior Home Improvement.
Use exterior caulk only where a stationary joint needs sealing. Don't seal over drainage routes or moving components. A well-finished door should open smoothly, close firmly, and shed water without trapping moisture against the slab or frame.
For product selection suited to local conditions, see Soca Services' guide to the best exterior paint for Toronto weather. A final inspection should cover the colour consistency, edges, hardware, seal, threshold, and surrounding trim, not just the front face.
Enjoy Your New Door or Call in the Experts
A durable exterior-door finish comes from several decisions working together: choose a compatible coating, prepare every surface, prime exposed areas, paint all six sides, and respect the weather and curing requirements. That process protects the door from Ontario moisture and temperature changes while giving the entrance a clean, intentional appearance.
DIY painting can be satisfying, especially when the door is sound and the weather cooperates. It also demands time for removal, cleaning, sanding, repairs, masking, careful application, drying, and hardware reinstallation. If the door has peeling layers, rust, difficult profiles, glass, or a high-use commercial entry, professional preparation can prevent small defects from becoming an early repaint.
Homeowners in North York, Vaughan, Toronto, and nearby communities can review this guide to exterior painters in Toronto when comparing service options. Soca Services can assess the door and recommend a practical finish based on its material, exposure, condition, and use.
Soca Services Painting offers exterior door painting and staining, including the preparation and detailed coating work needed for a durable GTA finish. Visit Soca Services Painting to request a free estimate for your Toronto, Vaughan, North York, or King City project and arrange a professional assessment.