

Painting a basement can transform a dark, underused space into a bright, livable part of your home. The key to a professional-looking, durable finish lies in the preparation, especially for basements in the GTA, which are often prone to dampness. This guide provides the objective steps for a successful project.
Laying the Groundwork for a Perfect Basement Finish
The success of any basement painting project is determined by the preparation phase. Skipping these steps is the fastest way to paint failure. Professional painters in Toronto and Mississauga understand that the unique, below-ground environment of a basement presents challenges not found in other rooms.
This initial phase is about creating a healthy, long-lasting surface. Proper wall preparation ensures the paint adheres correctly and can resist moisture, preventing common issues like peeling, bubbling, and mildew. It is the difference between a project that lasts for years and one that requires fixing next season.
Cleaning and Degreasing Concrete Walls
The first step is to get the walls impeccably clean. Unfinished basements collect dust, cobwebs, grime, and efflorescence (a chalky white salt deposit leached from concrete).
Follow this objective structure for cleaning:
- Sweep and Vacuum: Remove all loose dust and debris from walls and floors. A shop vac is highly effective.
- Scrub Down the Walls: Use a heavy-duty cleaner or a Trisodium Phosphate (TSP) substitute mixed with warm water. With a stiff-bristled brush, scrub the walls thoroughly to remove built-up grime or grease.
- Rinse Thoroughly: After scrubbing, rinse the walls completely with clean water to remove all cleaning residue, which can interfere with paint adhesion. Allow the walls to dry completely for at least 24-48 hours.
This step is non-negotiable for painting a basement in Mississauga or anywhere in the GTA. You must remove any substance that could prevent a strong bond between the paint and the concrete.
Patching Imperfections for a Smooth Surface
Once the walls are clean and completely dry, inspect every inch of the concrete for cracks, holes, or uneven areas. Even minor flaws will be noticeable after painting.
For repairs, use a quality hydraulic cement or a dedicated masonry crack filler. These products expand as they cure, creating a watertight seal that is essential for below-grade walls.
The time spent on prep work provides a significant return. Across North America, finishing a basement is one of the smartest ways to add home value. For every $1,000 invested in a basement project, homeowners can expect to see approximately a 70% return on investment—a valuable boost in competitive real estate markets like the GTA.
Selecting the right materials for repairs is critical. To understand which products can handle the unique demands of a basement, you can discover the best paint for concrete walls in our detailed guide, which also covers the best primers and fillers for the job.
Selecting the Right Paint and Primer for Below-Grade Walls
When you're painting a basement, the products chosen are critical. This is not just about colour selection; it's about building a protective system that withstands the challenges of a below-grade space. The right products ensure a finish that lasts for years, while the wrong ones can lead to peeling paint within months.
The most critical choice is the primer. A common mistake is using standard drywall primer on bare concrete walls, which is ineffective. A product engineered specifically for masonry is required.
Look for a dedicated masonry primer or, for superior performance, a waterproofing primer. These formulas are designed to adhere to high-alkaline surfaces like concrete and create a barrier that actively blocks moisture. Skipping this step is a near guarantee of future paint failure.
Understanding Paint Finishes and Formulas
With the correct primer applied, the topcoat can be selected. The paint finish plays a significant role in the final appearance and durability of your basement walls.
Here is a summary of the best options:
- Satin or Eggshell: These are the top recommendations for most basement walls. They have a slight sheen that helps reflect light, brightening the space, without highlighting minor imperfections in the concrete.
- Matte or Flat: While a flat finish is excellent for hiding surface flaws, it lacks durability and can be difficult to clean. It also absorbs light, which can make a basement feel smaller without sufficient lighting.
- Semi-Gloss: This finish is highly durable and easy to clean, but its high reflectivity will accentuate every imperfection. It is best reserved for trim, doors, or small basement bathrooms where moisture resistance is a key benefit.
Beyond the finish, the paint's formula is important. For any basement "near me" in the GTA, a paint with a built-in mould and mildew inhibitor is essential. These paints contain additives that prevent mildew growth, a common issue in many basements.
View your materials as an investment. Spending more on a top-tier waterproofing primer and mildew-resistant paint now will prevent the significant cost and effort of redoing the entire job in a few years.
Choosing the right paint type can be complex. The following section compares the most common options.
Basement Paint Type Comparison
The table below compares the most suitable paint types for basements, outlining their advantages and disadvantages.
| Paint Type | Best For | Pros | Cons |
|---|---|---|---|
| Waterproofing Paint | Unsealed concrete and masonry walls with minor moisture issues. | Creates a moisture barrier; mildew-resistant; adheres well to masonry. | Thicker consistency; limited colour options; can be more expensive. |
| Epoxy Paint | Concrete floors and walls needing maximum durability and protection. | Extremely durable and chemical-resistant; easy to clean; waterproof. | Strong fumes during application; more complex preparation; can be slippery if not textured. |
| Acrylic Latex with Mildewcide | Previously painted walls in good condition or properly primed masonry. | Wide range of colours and finishes; easy application and cleanup; flexible. | Not a waterproofing solution on its own; less durable than epoxy. |
| Masonry Paint (Elastomeric) | Exterior or interior concrete and brick requiring crack-bridging properties. | Flexible to cover hairline cracks; breathable; very durable against weather. | Can be more expensive; thicker application; may not be necessary for stable interior walls. |
Each paint serves a specific purpose. While a quality acrylic latex paint is a solid choice for a pre-painted, dry basement, an unsealed concrete wall will benefit most from a true waterproofing or masonry-specific product.
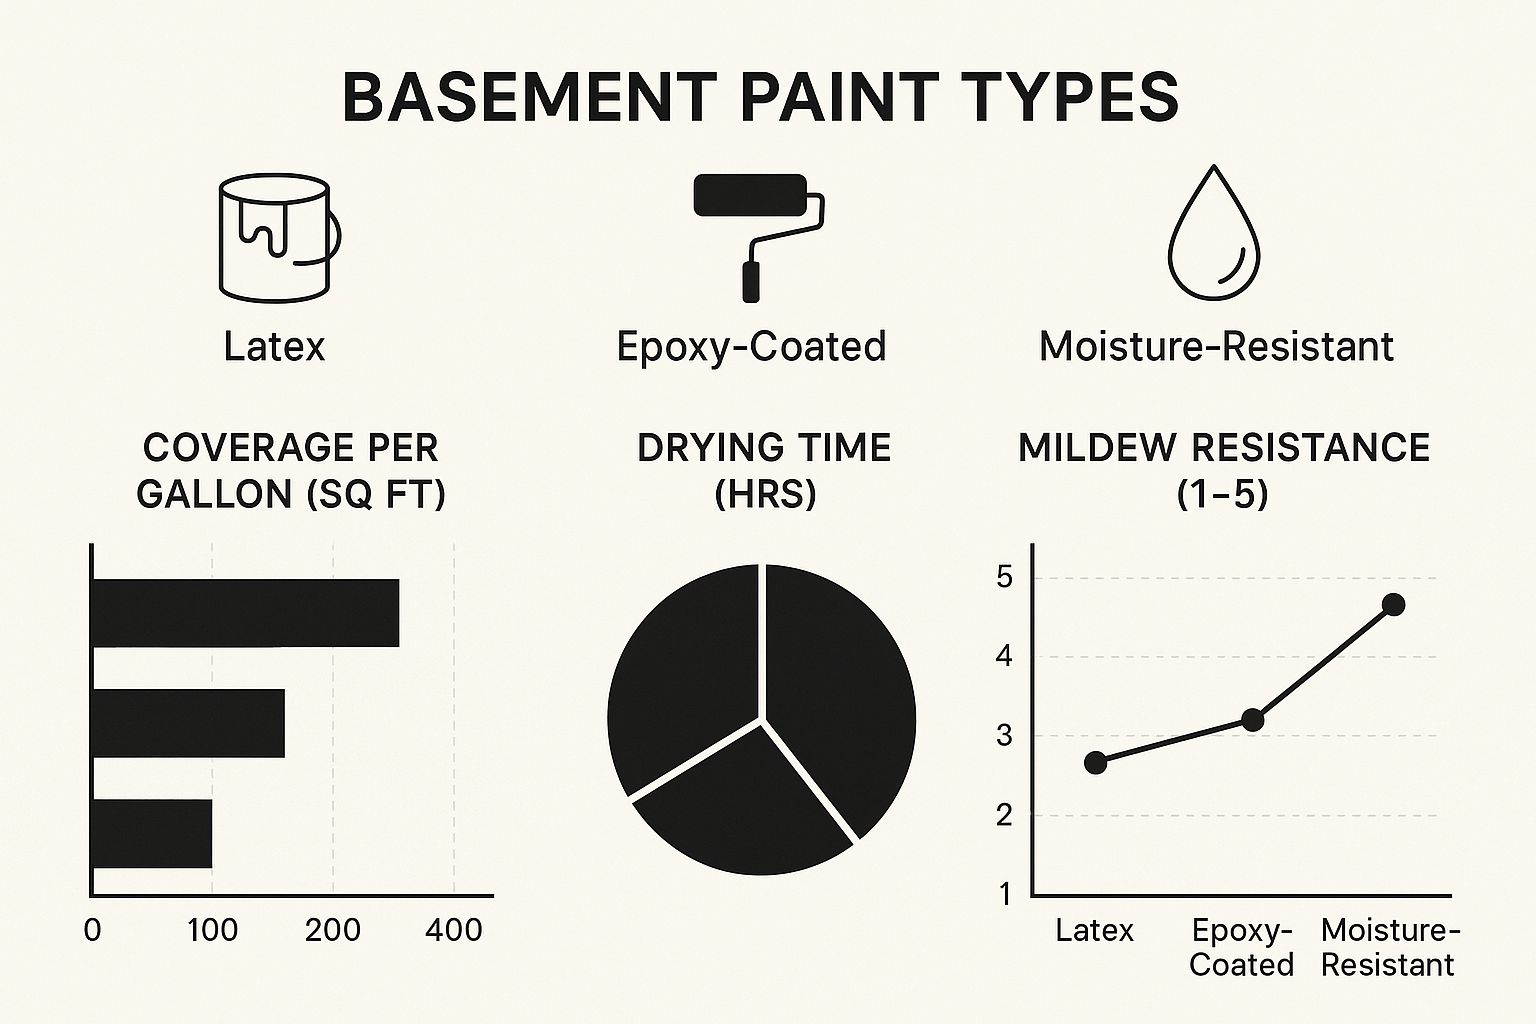
The objective is to balance performance and appearance. By layering a high-quality masonry primer with a topcoat designed to resist moisture and mildew, you create a fresh, durable finish that will stand the test of time in your basement.
Mastering the Art of Paint Application
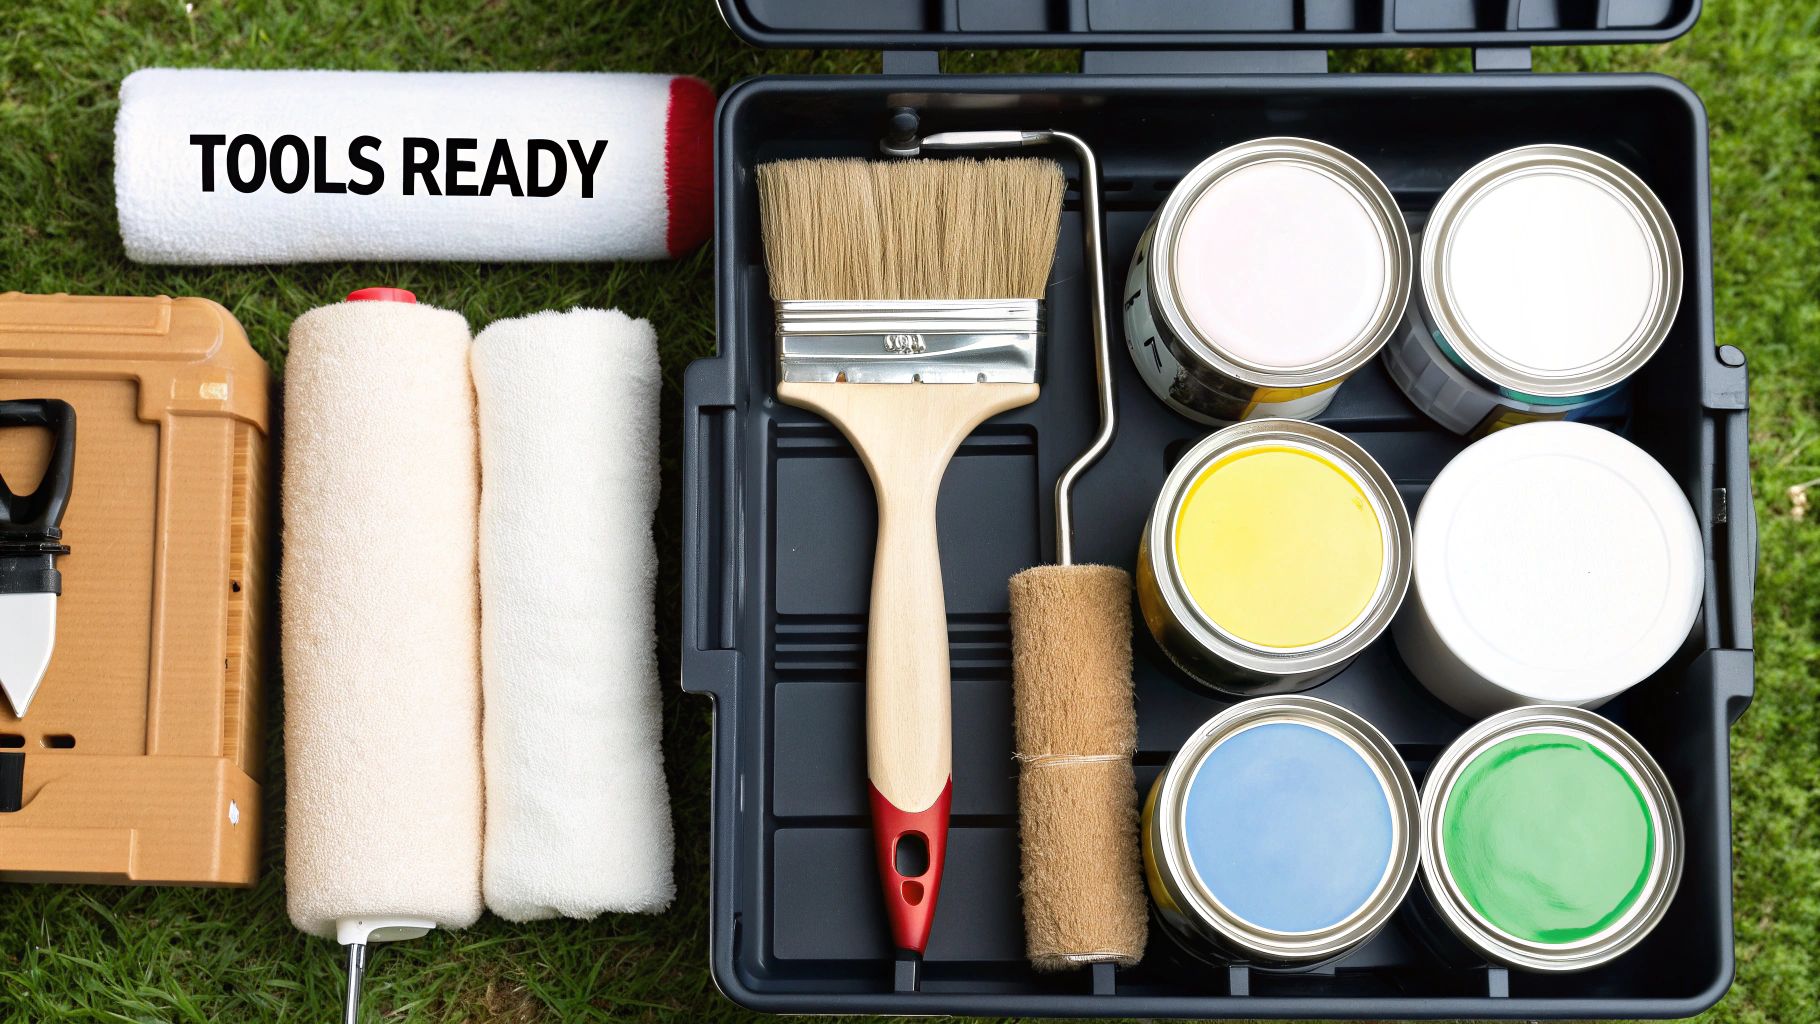
With surfaces prepped and materials selected, the application phase begins. This is where the preparation work becomes visible. The best professional painters in Toronto and Mississauga agree that the application technique is as critical as the prep work.
Applying paint is a methodical process that, when done correctly, produces a smooth, durable finish. Every step, from the first brushstroke to the final roll, contributes to the basement's transformation.
Start by Cutting in for Crisp Lines
Before using a roller, you must "cut in." This technique involves using an angled brush to paint areas the roller cannot reach, such as corners, the line where the wall meets the ceiling, and around trim or outlets.
The goal is to create a clean, 2-3 inch painted border. A quality 2.5-inch angled sash brush provides excellent control for sharp, professional lines. When loading the brush, dip only the first third of the bristles into the paint to prevent drips and maintain precision.
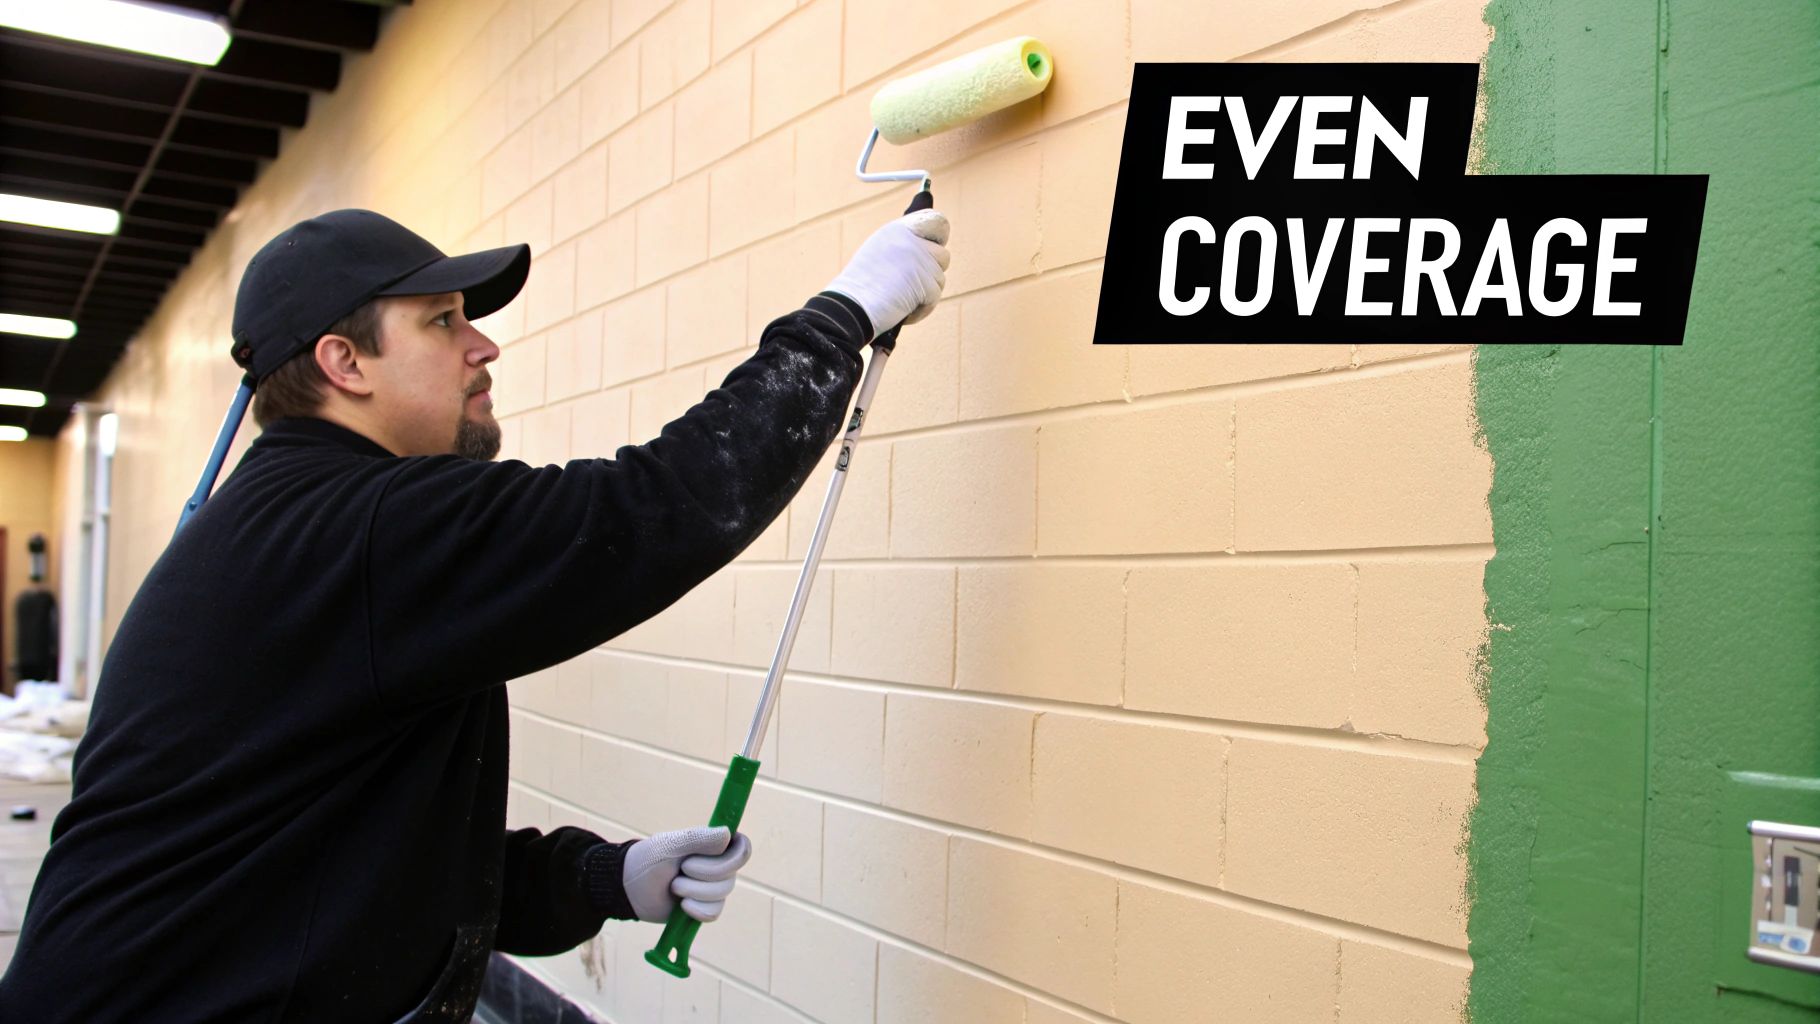
The key to a seamless finish is maintaining a "wet edge." Cut in one entire wall, then immediately begin rolling that same wall while the brushed paint is still wet. This allows the brushed and rolled textures to blend, eliminating visible lines after drying.
Perfecting Your Rolling Technique
With a wall freshly cut in, it's time to roll. For smooth drywall, a roller with a 3/8-inch nap is suitable. However, for porous surfaces like concrete or cinder block, a thicker nap of 1/2-inch to 3/4-inch is needed to push paint into all the small crevices.
Follow this procedure for the best roller results:
- Load the roller properly: Use a paint tray with a grid. Dip the roller into the paint, then roll it over the grid to distribute the paint evenly and remove excess.
- Use a "W" or "M" pattern: Begin a few inches from the corner and roll a large "W" or "M" pattern, approximately three feet wide, to apply paint in a controlled manner.
- Fill it in: Without lifting the roller, go back over the "W" pattern with straight, slightly overlapping vertical strokes to smooth the paint and ensure consistent coverage.
Familiarity with different brushes and rollers improves the final outcome. For more information, see our complete guide on how to choose the right paint brushes and rollers for any project.
Applying the Second Coat and Ensuring Proper Drying
Even if a paint claims one-coat coverage, a second coat is almost always recommended for basements. It enhances colour richness, ensures a uniform sheen, and adds a critical layer of durability needed in a moisture-prone space.
Patience is required before applying the second coat. Check the paint can for the manufacturer's recommended recoat time, which is typically 4-6 hours for most latex paints. Rushing this step can pull up the first coat and ruin the finish.
Good ventilation is mandatory, especially in a basement with limited airflow. Open windows, use fans to circulate air, and run a dehumidifier in damp spaces. Proper airflow is crucial for your health and for the paint to cure into a hard, long-lasting finish.
Adding Finishing Touches for a Cohesive Look
With the walls completed, the next step is to address the details that create a truly finished room: the floors, trim, and ceiling. This is how you achieve a cohesive design.
Tackling the Floors, Trim, and Ceiling
An unpainted concrete floor can detract from freshly painted walls. For basements with high foot traffic, epoxy paint is an excellent choice, creating a durable surface resistant to scuffs and spills. A high-quality concrete floor paint is a simpler alternative that still provides a great finish.
Proper floor prep is essential for any paint choice. The concrete must be perfectly clean, dry, and etched with a concrete etching solution to ensure the paint adheres properly and does not peel.
Next, address the trim, doors, and ceiling. A fresh coat of paint on these elements can make the basement feel brighter and larger. A crisp, white semi-gloss is a classic choice for trim and doors, providing a sharp contrast that makes wall colours stand out.
Don't overlook the ceiling. For basements in the GTA with exposed joists, painting them can be transformative:
- Painting them white creates an illusion of height, making the space feel more airy.
- Painting them black or dark charcoal produces an industrial-chic aesthetic, causing the ceiling to recede and hiding pipes and ductwork.
These finishing touches are the frame for the artwork. The walls are the main feature, but the trim, floor, and ceiling complete the picture for a professional renovation, distinguishing it from a quick paint job.
Long-Term Maintenance
After the final coat is dry, the focus shifts to protecting the work. This involves managing the basement's environment, primarily its humidity.
Invest in a quality dehumidifier and maintain the relative humidity below 50%. This is the best defense against moisture problems that can damage a paint job.
For cleaning, a simple wipe-down with a soft cloth, mild soap, and water is sufficient to keep walls looking fresh. For Toronto homeowners seeking design inspiration, our guide can help you select the best paint colours for your basement.
While labour rates in areas like Mississauga vary, a full basement painting project adds significant home value. For context, the average cost to paint a standard room is around $1,100, but basements are larger and have specific prep needs. Reviewing typical room painting costs can assist with budgeting.
Finding the Best Local Basement Painters in the GTA
When the scope of painting a basement proves too large for a DIY project, hiring a trustworthy contractor is the next step. The challenge is finding a professional who understands the unique demands of below-grade spaces in Toronto, Mississauga, and across the GTA.
Hiring the best crew protects your investment. A reliable painter delivers a finish that looks great and is durable, helping you avoid issues like peeling paint, moisture damage, and other expensive repairs.
Vetting Potential Painting Contractors
The search for the best local painters should begin with thorough vetting. Do not be swayed by a single review or a flashy website. Deeper investigation is required to ensure you hire a legitimate and experienced professional.
Key qualifications to look for:
- A Strong Portfolio: Request examples of previous basement projects. Look for before-and-after photos of work on surfaces similar to yours (e.g., concrete block, poured concrete).
- Proof of Insurance: A reputable contractor must provide a certificate of liability insurance. This is non-negotiable and protects your property from accidental damage.
- WSIB Coverage: In Ontario, verifying active Workplace Safety and Insurance Board (WSIB) coverage is critical. It protects their workers and shields you from liability in case of injury on your property.
Asking the Right Questions
During the consultation, assess the painter's expertise. A professional specializing in basement painting will answer questions confidently and offer sound recommendations.
Ask these essential questions:
- What specific preparation steps will you take for my basement walls?
- Which primers and paints do you recommend for this environment, and why?
- How will you manage ventilation and dust control during the project?
A contractor's answers reveal their experience. If they cannot explain their choice of a specific waterproofing primer or dismiss questions about moisture, they may not be the best fit for your project. The details are critical.
The professional painting industry is a major economic sector. The industry is valued at approximately $6.1 billion in California alone, highlighting the importance of hiring qualified tradespeople who adhere to professional standards. You can learn about the economic impact of the painting industry to understand why professionalism is key. If you're looking for the best team with proven local expertise, our roster of professional Toronto painters is an excellent place to start your search.
Got Questions About Basement Painting? We've Got Answers
Painting a basement presents unique challenges. As a painting contractor serving Toronto, Mississauga, and the GTA, we have compiled answers to the most frequently asked questions.
What’s the Best Paint for a Damp Basement?
For a damp basement, a two-part system is required.
First, apply a high-quality waterproofing primer designed for masonry. This acts as a primary defence, creating a seal to help block moisture from penetrating the concrete.
Next, apply a premium acrylic-latex paint that contains mould and mildew inhibitors. This combination provides the most robust and durable finish. Avoid oil-based paints, as they do not allow walls to breathe, which can trap moisture and cause peeling.
How Do I Get Rid of That White Powder on My Basement Walls?
The white, chalky substance is efflorescence, which consists of salt deposits left behind as water evaporates from the concrete. It must be removed completely before painting.
Use a stiff wire brush to scrub it off. Afterward, wash the wall with a solution of one part white vinegar to five parts water. The most critical step is allowing the wall to dry completely. Efflorescence indicates a moisture problem, so identify and repair any leaks before priming.
Can I Paint Over My Already-Painted Concrete Floor?
Yes, but success depends on preparation. If the floor has a latex or acrylic coating, the process is simpler. Clean the floor thoroughly, then lightly sand it to create a rough texture for the new paint to adhere to.
If the floor has an old epoxy coating, more aggressive sanding is required to create a suitable profile for the new paint to bond. Regardless of the previous coating, all peeling or flaking paint must be completely scraped and sanded away. Do not cut corners on this step.
How Much Should Professional Basement Painting Cost in the GTA?
For professional basement painting services in the Greater Toronto Area, expect costs to range from $2,000 to over $5,000. The final price depends on the basement's size, the condition of the walls, and the scope of work.
A straightforward job with minor prep and two coats on the walls will be at the lower end. If the project requires extensive repairs, waterproofing, or painting ceilings, floors, and trim, the price will increase. Remember, quality paint jobs require proper drying time between coats. You can learn more about how long paint takes to dry to help plan your project timeline.
Ready to transform your basement with a flawless, professional finish? Contact Soca Services Painting today for a detailed, no-obligation quote and see why we're the best choice for homeowners throughout Toronto, Mississauga, and the GTA. Visit us at https://www.socaservicespainting.com.

3 Comments