Table of Contents
- Why Proper Preparation Matters for Exterior Siding
- Essential Steps to Prepare Exterior Siding for Staining
- How to Remove Old Stain from Wood Siding
- Best Exterior Wood Stain for Toronto Climate
Last Updated: August 17, 2026
Why Proper Preparation Matters for Exterior Siding
Skipping prep work ruins exterior staining projects. Prep work determines whether your stain lasts three years or ten. When you apply stain directly to dirty, weathered siding, the finish won’t adhere properly. Mildew, loose paint, and surface grime create a barrier between the stain and the wood, resulting in peeling and fading within a season or two.
How to prepare exterior siding for staining follows a predictable sequence: clean, repair, sand, and seal. When done correctly, your exterior finish resists weathering, maintains color, and looks professional for years. This guide walks you through the exact process for residential and commercial projects across the Greater Toronto Area.
The most common mistake is rushing the cleaning phase. Many homeowners use a garden hose when they need a pressure washer. Low pressure leaves organic growth and dirt embedded in the wood grain.
Essential Steps to Prepare Exterior Siding for Staining
Preparing exterior siding requires five core steps executed in order.
Step 1: Pressure Wash the Surface
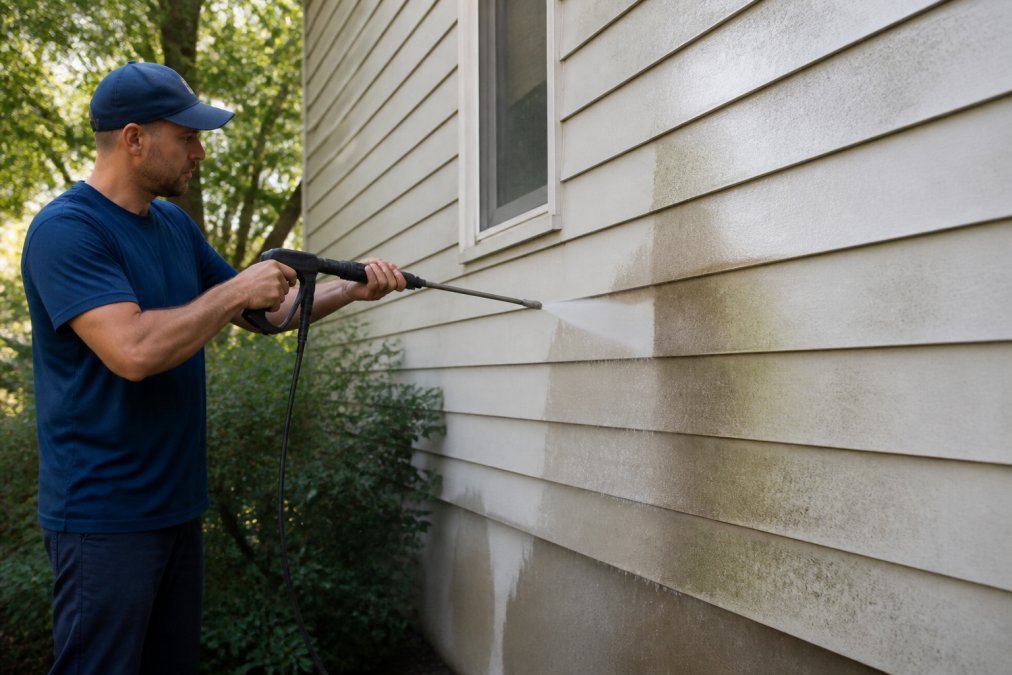
Start with a pressure washer set to 1500-2000 PSI. Work methodically from top to bottom, keeping the nozzle 30 centimeters from the surface. Pay special attention to north-facing walls, areas under eaves, and spots near downspouts where mildew thrives. For heavily soiled areas, apply a TSP solution (trisodium phosphate) before pressure washing.
Allow the wood to dry completely, typically 48 hours in dry conditions.
Step 2: Scrape Loose and Peeling Paint
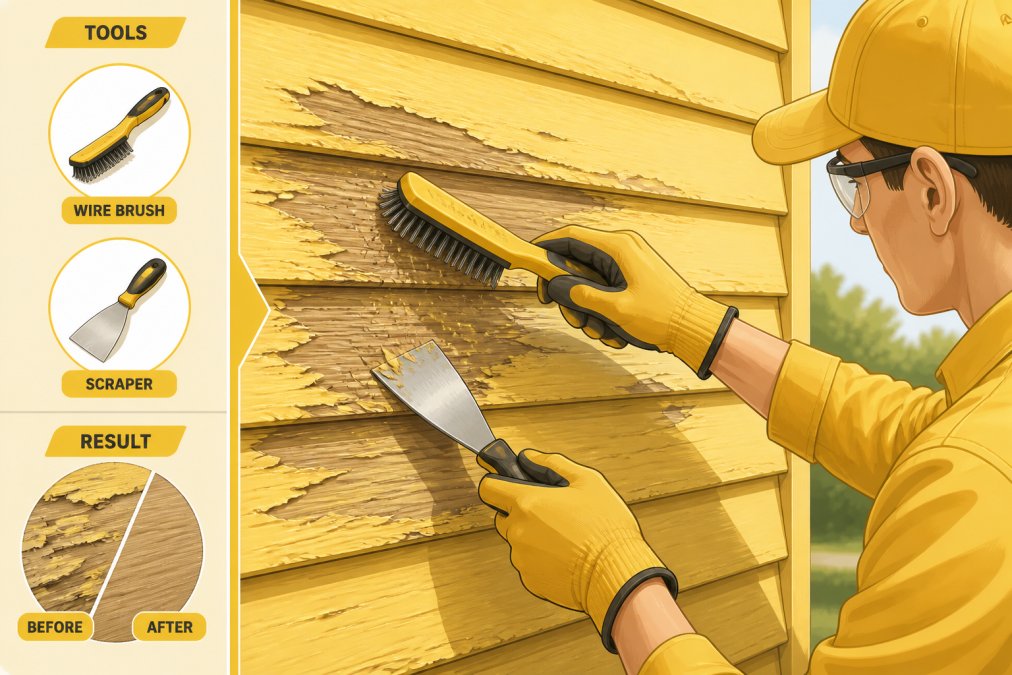
Old stain or paint that’s peeling must come off. Use a paint scraper or wire brush to remove any loose material. This is labor-intensive but non-negotiable. Stain won’t bond over flaking finish.
Step 3: Sand the Surface
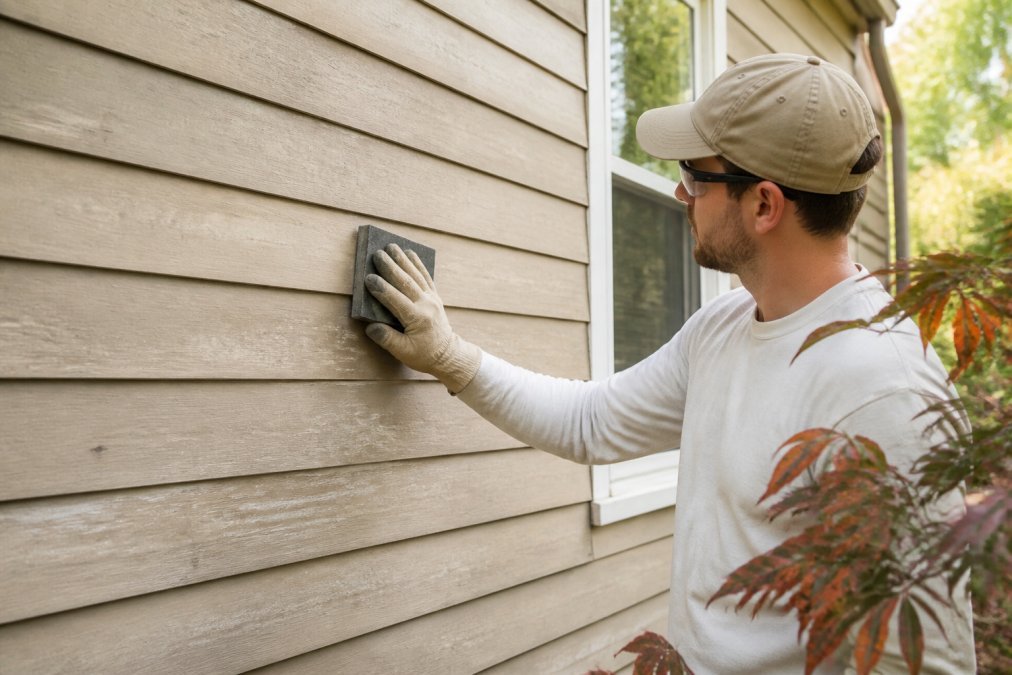
Sanding removes remaining surface contaminants and opens the wood grain so stain penetrates evenly. Use 80-120 grit sandpaper for heavy sanding, then move to 150-180 grit for final prep. Sand with the grain to avoid cross-grain scratches that show after staining. A dustless sanding system reduces cleanup and keeps fine particles from settling on neighboring surfaces.
Step 4: Fill Gaps and Cracks
Wood moves with temperature and humidity changes. Caulk gaps between boards and cracks with paintable, flexible exterior caulk rated for wood movement. Apply smoothly and wipe excess with a damp cloth before it dries. This prevents water from infiltrating behind the siding.
Step 5: Final Cleaning
After sanding, dust settles everywhere. Wipe down all surfaces with a damp cloth or use a soft-bristle brush to remove sanding dust. A tack cloth picks up fine particles and prevents dust nibs in the finished stain.
Never sand in direct sunlight or high heat. Work in mild, cloudy conditions or early morning when the surface is cool.
How to Remove Old Stain from Wood Siding
Removing old stain differs from removing paint. Old stain sits in the wood grain rather than forming a protective film on top.
Assess the Condition First
If the old stain is still adhering well and you’re recoating with a similar or darker color, light sanding and cleaning often suffice. If the stain is peeling, fading unevenly, or showing bare spots, removal is necessary.
Pressure Washing for Light Stain
For lightly weathered stain, pressure washing at 2000 PSI often removes enough surface material to accept new stain. Follow with thorough drying and sanding.
Get Your Free Estimate Today! →
Sanding for Heavy Buildup
When old stain is thick or heavily built up, sanding is more effective. Start with 60-80 grit sandpaper to cut through the stain layer. Use respiratory protection and a dustless sanding system. After breaking through, switch to 120 grit to smooth the wood surface.
Chemical Strippers as a Last Resort
For extremely stubborn stain, exterior wood stripper can speed removal. Always follow manufacturer’s instructions and use adequate ventilation. Wear gloves, eye protection, and a respirator. After using stripper, sand and clean the wood thoroughly before staining.
Pressure washing plus sanding beats chemical stripper plus sanding in most cases because it avoids harsh fumes and produces a more uniform surface for new stain.
Best Exterior Wood Stain for Toronto Climate
Toronto’s freeze-thaw cycles, high humidity, and UV exposure stress stain finishes. A stain formulated for this climate must resist moisture infiltration, prevent cracking during freeze-thaw cycles, and maintain color under UV exposure.
Semi-transparent stains showcase wood grain and require recoating every 2-3 years. Solid-color stains hide grain but last longer, typically 4-5 years before recoating.
Popular Stain Brands for Exterior Wood
Sherwin-Williams and Benjamin Moore both offer exterior stain lines formulated for Canadian climates. Sherwin-Williams Exterior Stain provides good UV protection and moisture resistance. Benjamin Moore Arborcoat offers flexible resin technology that accommodates wood movement. Both brands are available at most paint suppliers across the Greater Toronto Area.
Testing Stain Before Committing
Order samples and apply them to inconspicuous areas of your siding. Observe how the color looks in different light conditions. Let test patches weather for a few weeks to show how the stain fades and whether it meets your durability expectations.
Application Conditions Matter
Apply stain when temperatures are between 10°C and 25°C, humidity is below 85%, and rain isn’t forecast for at least 48 hours. Toronto’s spring and early fall offer ideal staining windows. Summer heat can cause stain to dry too quickly, resulting in uneven absorption.
Preparing your exterior siding properly transforms how long your stain lasts and how professional the finished result looks. Each step, pressure wash, scrape, sand, fill gaps, and clean thoroughly, builds surface integrity and ensures stain penetration.
If you’re managing multiple properties across Toronto, Vaughan, or North York, or if your siding requires specialized repair before staining, professional painters handle this work faster and with superior results. Contact Soca Services to discuss your exterior staining project and get a free estimate. Our team brings expertise with exterior finishes, detailed project proposals, and stress-free service from start to finish.
Frequently Asked Questions
Do I need to sand my siding before staining?
Yes, sanding is essential for proper stain adhesion. Scuff sanding removes the weathered surface layer and opens wood pores so stain can penetrate evenly. Use 80-120 grit sandpaper for most exterior wood siding. This step ensures a paint-ready surface and prevents blotchy, uneven color. Skip this and your stain may peel or fade prematurely.
What is the best way to clean exterior wood siding before staining?
Start with pressure washing at 1500-2000 PSI to remove dirt, mildew, and organic growth. Follow with a TSP (trisodium phosphate) solution for stubborn stains and mold. Scrub with a soft-bristle brush, rinse thoroughly, and allow 48 hours of drying time. Clean wood ensures proper stain penetration and a uniform finish. For heritage properties or delicate surfaces, lower pressure or hand-scrubbing may be needed.
How long should I wait for wood to dry after cleaning before staining?
Wait at least 48-72 hours after pressure washing before staining, depending on weather conditions. Check moisture content with a moisture meter, wood should read below 15% moisture. In humid conditions or during cooler months, allow extra time. Staining wet wood prevents proper penetration and can cause peeling. Weather-resistant finishes require a completely dry substrate for optimal UV protection and durability.
When should I hire professional painters for exterior staining?
Consider hiring professionals if your siding shows extensive wood rot, the project covers more than 500 square feet, or you lack specialized equipment like scaffolding. Professionals handle surface integrity testing, stain compatibility, and application techniques that ensure long-lasting results. They also manage disposal of chemical runoff responsibly. For heritage properties or complex repairs, professional expertise prevents costly mistakes and guarantees a finish that withstands the local climate.
This article was written using GrandRanker