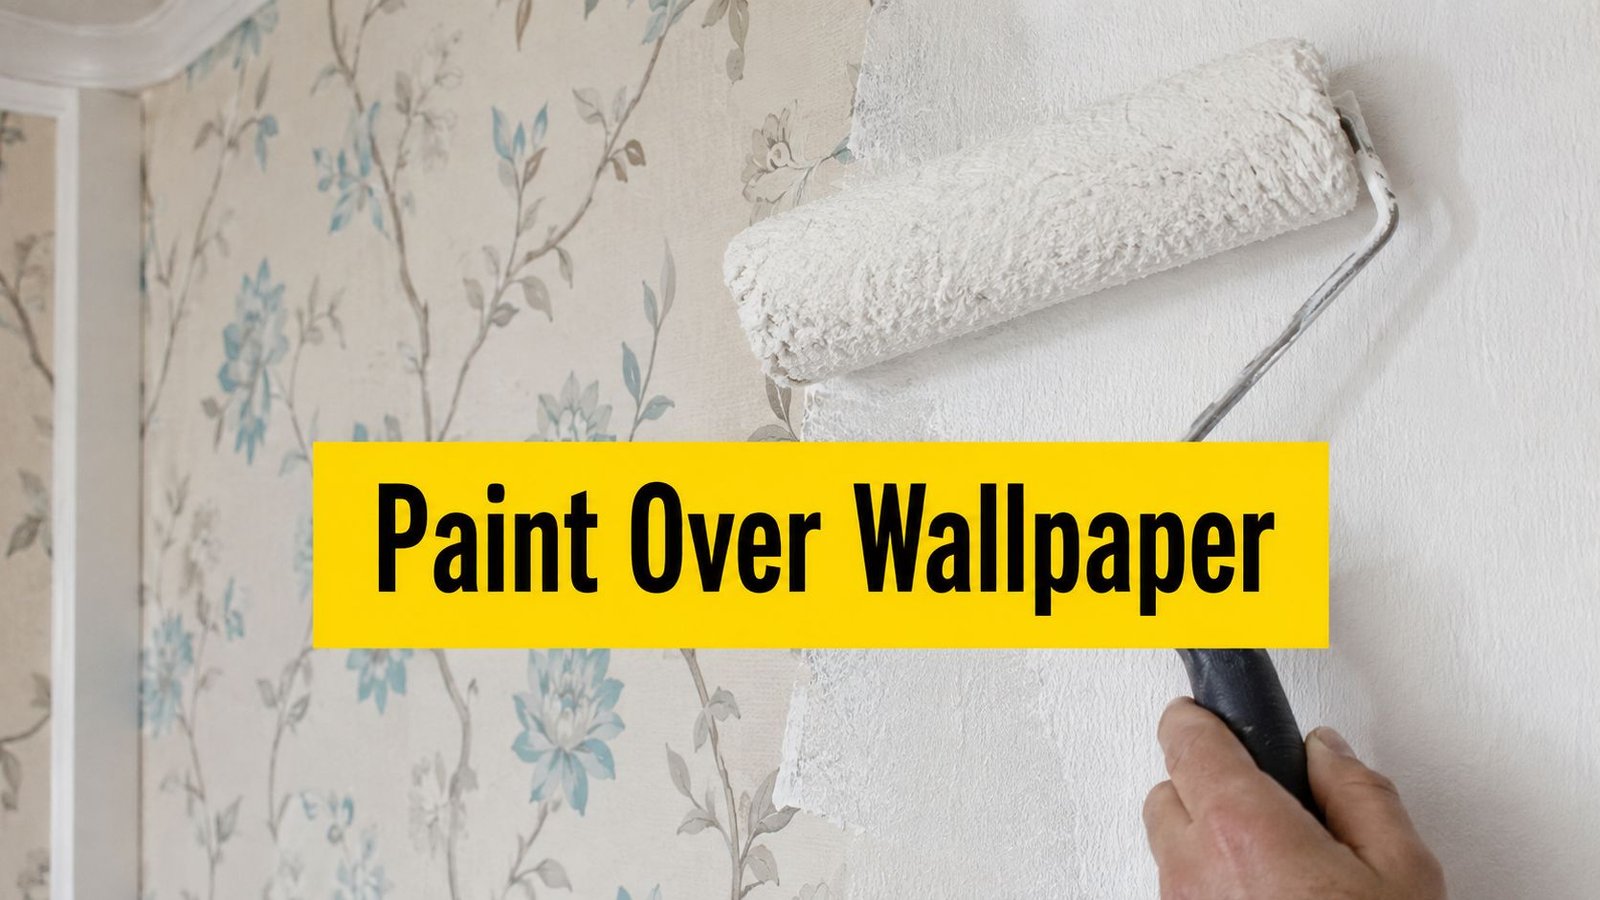
Yes, you can paint over wallpaper when the paper is fully adhered, smooth, and limited to one layer, and even then it's a workaround rather than best practice. In a Toronto house, that usually means one thing, if the wall is sound and the wallpaper is calm, painting can save time, but if it's peeling, bubbled, or hiding damage, don't do it.
I've stood in plenty of North York basements and Vaughan family rooms where a homeowner peeled back one corner and found three generations of wall finishes underneath. That's the Toronto and GTA problem, not the paint itself, but what's hiding behind the paper, especially in older semis, bungalows, and pre-1980s homes where plaster, lath, or tired drywall may be waiting under the surface.
The Straight Answer for Toronto Homeowners
A good paint-over starts with one question. Is the wallpaper sound enough to behave like a wall, or is it already failing? If it is tight, flat, dry, and only one layer deep, painting can be a workable shortcut. If it is lifting, textured, water-stained, patched, or hiding damage, remove it first. That is the straight call, and it saves homeowners from turning a manageable wall problem into a bigger one.
Toronto and the GTA make this question harder than most guides admit. Older houses in places like North York, Vaughan, and King City often hide plaster, lath, old repairs, and more than one wallpaper layer under newer finishes. A clean-looking room can still have a tired substrate underneath, and that substrate decides whether paint-over holds or fails.
The moisture rule is simple. If you see staining, soft spots, mildew smell, or any sign the wall has taken on water, stop and inspect the wall behind the paper before you paint. In that case, the wallpaper is not the primary issue, the wall assembly is. Paint will not fix moisture, and it will trap problems that should be opened up and dealt with properly.
Practical rule: if the wallpaper feels like part of the wall, you can consider painting. If it feels like something sitting on top of the wall, assume removal is the safer move.
Cost matters, but it should not make the decision for you. PaintDeck's estimate puts paint-over materials at about $50 to $100 per room and DIY labour at 4 to 6 hours, while removal and repainting can run $300 to $1,200 and take 8 to 24 hours. It also estimates professional labour at $200 to $500 per room for paint-over work and $600 to $1,200 for removal plus repainting, which is why the shortcut can save roughly 50% to 70% when the wall is in good shape. That saving disappears fast if the finish peels, bubbles, or telegraphs old seams through the paint.
When Painting Over Wallpaper Actually Works
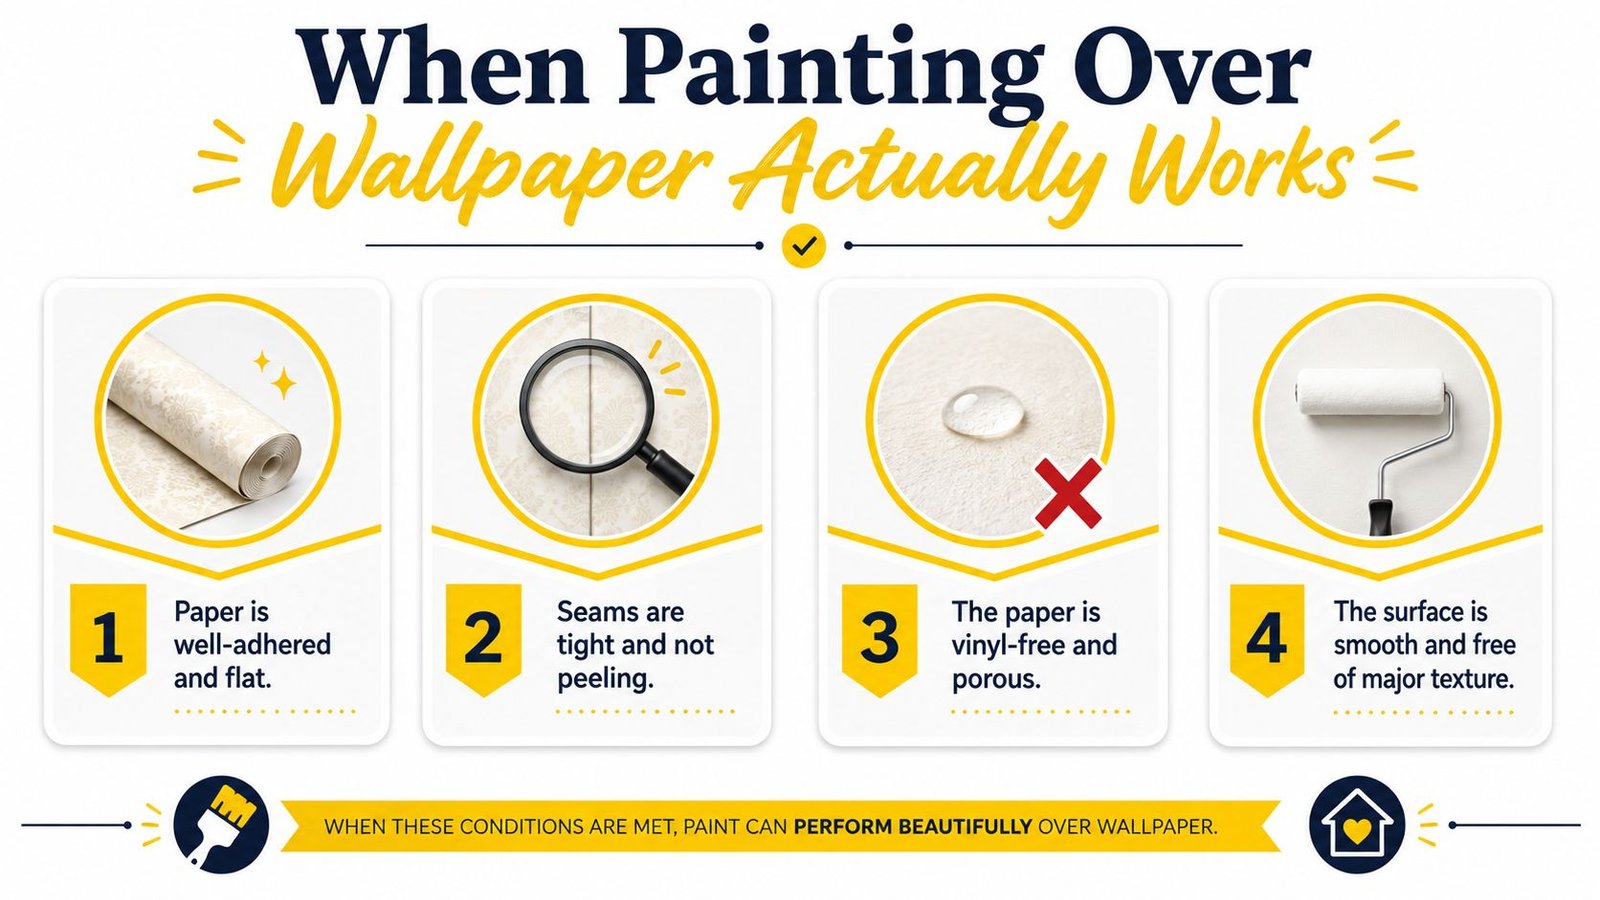
The walls that can handle paint-over share the same traits. They're flat, tight, dry, and single-layered. If any of those fail, the job becomes a gamble.
Four conditions that make the job viable
| Wall Condition | Paint Over? | Remove Instead? |
|---|---|---|
| Paper is fully adhered and flat | Yes | No |
| Seams are tight and not peeling | Yes | No |
| Surface is smooth, not heavily textured | Yes | Usually no |
| Only one layer is present | Yes | If multiple layers exist |
Press the corners near windows and baseboards. Check around outlets, since those areas often show the first signs of lifting. Look for repeating seam lines too, because that usually means you’re not dealing with one clean layer.
The practical threshold is not cosmetic perfection, it’s adhesion. Consumer and trade guidance consistently says wallpaper should be sound before any paint goes on, and older Toronto homes are exactly where that matters most. A smooth, well-bonded paper layer in a 1960s bungalow can be a candidate, while a layered wall in a King City older home is often a removal job.
The other thing to judge is texture. If the wallpaper has embossing, heavy patterns, or old repairs telegraphing through the surface, paint won’t magically flatten it. It’ll just give the wall a new colour while keeping the same problems.
If you can already see the seams, you’ll probably see them again after paint.
For product choice and wall prep details, the guide on the best primer for walls is a useful companion read if you’re deciding whether your surface is worth keeping.
Risks and Drawbacks Most Guides Understate
The biggest mistake homeowners make is thinking paint hides wall problems. It doesn’t. It only changes the finish on top of them.
Seam telegraphing is the first issue. Even after good prep, the joints between strips can show through the new paint, especially on older paper that has shrunk, relaxed, or been patched before. In a Toronto living room or hallway, that means the wall can still look busy and uneven when the light hits it from the side.
Bubbling and blistering are the next problem. Wet primer or paint can reactivate adhesive underneath, which is why water-based primer is the wrong move in this situation and why oil-based or shellac-based primer is the safer sealing layer, as noted in Wickes’ guidance on painting over wallpaper. If the wallpaper starts to lift after coating, you don’t get a fresh wall, you get a larger repair bill.
Moisture is the hidden trap. A painted surface can look finished while sealing in a past leak behind the paper, especially in bathrooms, kitchens, basements, and exterior walls. That’s why older homes in the GTA need a more cautious approach, because the main question is whether the wall assembly is dry and stable enough to seal.
Paint-over is fine when the wall is stable. It’s a bad idea when the wall is already trying to fail.
If you want a broader look at how one finish choice can create long-term problems, the discussion of painting hardwood floors white pros makes a useful comparison. Different surface, same lesson, a shortcut only works when the substrate can support it.
For rooms that need a fresh look without hidden failure, the smarter move is often removal first, especially if you’re dealing with water marks, soft seams, or visible repairs. A pretty topcoat won’t fix a tired wall assembly.
Prep Steps That Make Paint-Over Last
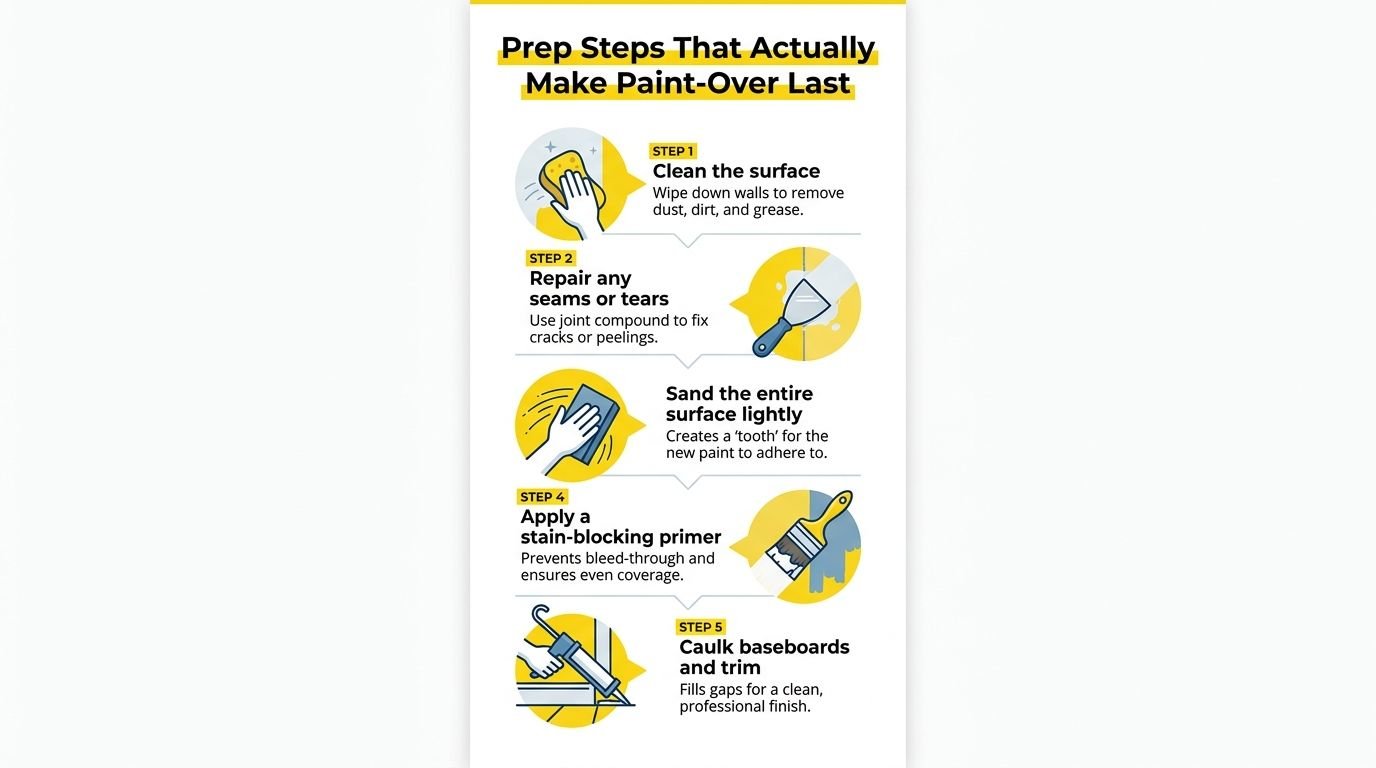
If the wall passes inspection, prep decides whether the finish holds up. In older Toronto and GTA homes, especially pre-1980s plaster, lath, and hidden wall assemblies, the primary issue is usually the substrate, not the wallpaper. Get the wall wrong and you’ll see peeling seams, flashing, or uneven sheen before long.
The sequence that works
- Clean the surface. Wipe off dust, grease, and residue so the primer bonds to the wall instead of sitting on grime.
- Repair loose edges and tears. Trim lifted seams with a utility knife and close gaps with a flexible filler.
- Sand lightly. Knock down ridges, but do not sand through the paper.
- Seal with an oil-based or shellac-based primer. That locks down the surface and helps stop the adhesive from rewetting.
- Finish with two topcoats. One coat usually will not cover seams or old pattern bleed.
If the wallpaper was hung recently, wait 36 to 48 hours before painting it, as noted in The Pioneer Woman’s guidance. Rushing that window traps moisture and weakens adhesion.
Primer choice matters more than most homeowners think. Water-based primer is familiar, but in this case it can wake up the paste underneath and create new bubbles. Use a sealing primer if you are trying to stabilize a papered wall, and read our wall preparation guide before you start.
If you are weighing prep work against other interior projects, the kitchen design cost insights piece is a useful reminder that surface prep often decides whether a project stays controlled or turns into surprise labour.
I tell homeowners to treat wallpaper paint-over like a repair job, not a colour change. If you want a wall that looks good in daylight, you earn that finish before the first coat goes on.
Cost, Durability, and When Removal Wins
The cheapest route is usually paint-over, but cheap only matters if the wall can hold it. On a decent wall, paint-over is a practical budget move. On a wall that is already failing, you are paying to hide the problem for a while, then paying again when the finish lets go.
A homeowner in an older Toronto house needs to think about the substrate first. Pre-1980s plaster, lath, patched drywall, and hidden damage behind the paper can turn a simple paint job into a repair job fast. If the wall is sound, paint-over can keep costs down. If the wall is soft, damp, or full of old seams that keep telegraphing through, removal is the better spend because it solves the wall, not just the look.
I do not see the point in guessing on numbers room by room when the issue is condition. Paint-over is cheaper because it skips stripping, patching, and the extra labour that comes with exposed defects. Removal and repainting cost more because the wall usually needs real correction before it can look clean again. That cost gap is real, but so is the risk of doing a low-cost fix on a wall that was never a good candidate.
Durability is where homeowners get caught out. Paint-over is a temporary solution, not a fresh start. If seams are already showing, they can still show after paint. If the paste underneath is weak, the new finish can blister, peel, or lift when the house goes through normal seasonal movement, which happens all the time in GTA homes.
Moisture changes the decision fast. Any sign of staining, bubbling, soft patches, musty smell, or past leak damage means stop and remove the paper. Paint does not solve a damp wall, and sealing over suspect material can trap the problem inside the assembly. If you are dealing with an older home and the wall smells off, or the paper feels loose near bathrooms, kitchens, or exterior walls, removal wins.
For homeowners planning to sell, appearance matters, but a finish that fails under the listing lights hurts more than a proper repair done once. If your goal is to attract serious buyers in Toronto, the room has to look finished, straight, and intentional. A rushed paint-over that flashes seams or bubbles reads as a shortcut, and buyers notice that immediately.
Best fit by situation
- Paint over: one sound layer, no moisture history, no active peeling, and a room where a good but not perfect finish is acceptable.
- Remove first: multiple layers, loose seams, old glue failure, texture you can feel through the paper, or any sign of water damage.
- Use a hybrid approach: when the paper is mostly stable but the wall still needs targeted repair before paint.
If you are still deciding whether stripping is worth the effort, the guide on how to remove wallpaper easily is the right place to start before you commit to a finish that may not last.
Alternatives Worth Considering
Paint-over is only one option, and in older Toronto housing it isn’t always the best one. The right choice depends on what’s under the paper, not just what colour you want next.
Full removal is the cleanest finish. It gives you a fresh substrate, which matters when you’re dealing with damaged seams, old glue, or a wall that needs real repair before paint. The trade-off is obvious, it takes more labour and can be risky if plaster or lath is hiding underneath.
Three realistic paths
| Option | Best For | Trade-Off |
|---|---|---|
| Full removal | Damaged or layered walls | More time and mess |
| Partial removal with lining paper | Uncertain older substrates | Extra materials and steps |
| Paint-over | Stable, single-layer walls | Less durable than removal |
Partial removal with lining paper is often the smartest middle ground in heritage-style Toronto neighbourhoods. You strip the loose material, smooth what's left, and give the wall a more forgiving surface before paint. That's especially useful where the underlying wall condition is uncertain and you don't want to risk tearing into brittle old surfaces.
Paint-over remains the fastest path, but only if the wall is already a good candidate. In a North York condo with a single modern layer, it can be perfectly reasonable. In a King City home with older assemblies and multiple layers, I'd lean hard toward removal or a lined finish instead.
If you're sorting through the cost and trade-off question from another angle, the piece on alternatives to expensive painting contractor gives a useful view of how homeowners can compare scope before they commit.
The honest rule is simple. If the wall is stable, paint-over can work. If the wall is questionable, you're buying future problems with today's shortcut.
When to Call a Professional Painter in the GTA
Call a pro when the wall fails any of the basic checks, especially if you're dealing with multi-layer wallpaper, moisture history, or a room where the finish has to look clean the first time. That includes pre-sale work, visible main-floor rooms, and any wall where you suspect plaster or lath might be underneath.
A professional is also worth it when you need judgment, not just labour. The hard part is knowing whether the wall can take paint, and that's where an experienced eye saves time and avoids damage.
The internal guide on is professional interior painting worth it is a good read if you're deciding whether the project belongs in a weekend DIY plan or on a contractor schedule.
For Toronto, Vaughan, North York, and King City homeowners, the cleanest next step is usually a site visit if the paper is peeling, the room has moisture history, or the substrate is old enough to be uncertain. If the wall passes inspection, paint-over can be sensible. If it doesn't, removal is the better investment.
If your wallpaper is questionable, don't guess at it. Soca Services Painting can inspect the wall, recommend the right prep, and handle the job with the kind of finish quality that holds up in Toronto homes, Vaughan townhomes, North York condos, and King City properties. Get a free estimate and make the wall decision once, the right way.