You've finished the last wall in a Toronto bedroom, the Benjamin Moore colour looks even, and it's already late. The roller sits in the tray with a plan to clean it “tomorrow.” By morning, the nap is stiff, the edges are crusted, and a tool that could have handled another room is headed for the bin.
Good paint rollers cleaning habits prevent that outcome, but the right method depends on the coating. Latex and acrylic paint respond to soap and water. Oil-based enamel needs solvent, ventilation, and more careful waste handling. Whether you're painting a condo in North York, a rental in Vaughan, or a custom home in King City, identifying the paint before you start determines whether you should clean, wrap, store, or retire the sleeve.
Why Proper Paint Rollers Cleaning Matters
A roller cover is more than a disposable tube of fabric. Its nap controls how much paint it carries and how evenly it releases colour across drywall, trim, or a previously painted surface. Once dried paint hardens inside those fibres, the cover can drag, shed particles, or leave ridges in a finish that looked smooth when you first rolled it.
The first useful decision happens before water or solvent touches the sleeve. Check the paint label and identify whether you're using a water-based latex or acrylic product or an oil-based coating. A Sherwin-Williams wall paint and a Benjamin Moore latex generally follow the water-cleanup route, while an oil-based enamel belongs in the solvent workflow.
Practical rule: The sooner you remove excess paint, the less effort you'll spend cleaning the nap later.
Scrape the roller while the paint is still workable, and recover as much coating as possible into the tray or paint container. That reduces residue in your rinse water and helps preserve the roller's shape. Leaving a loaded sleeve overnight is rarely a harmless shortcut unless you've wrapped it tightly for the next coat.
A dedicated tool can make this less messy. A roller and brush cleaner from Neasden Hardware may help remove paint from the cover and frame when ordinary scraping leaves residue, especially if you're maintaining quality applicators between rooms.
California's experience shows why cleanup deserves more thought than a quick rinse. PaintCare reports about 45.2 million gallons collected to date through drop-off sites across California (California paint stewardship information), while the state directs households toward hazardous-waste programs and retailer take-back systems for paint and related materials. For Toronto-area projects, the local rules differ, but the principle is the same: reuse good tools, limit waste, and handle contaminated materials responsibly.
For broader preparation advice, see what VOC means in paint, particularly before selecting products for occupied homes or enclosed rooms.
Cleaning Rollers After Water-Based Paint
Latex and acrylic coatings clean up most efficiently while they are still workable. For Toronto-area homeowners, property managers, and crews moving between rooms, the practical decision is simple: recover usable paint, wash a sleeve worth saving, or retire one that will take longer to clean than it is worth.
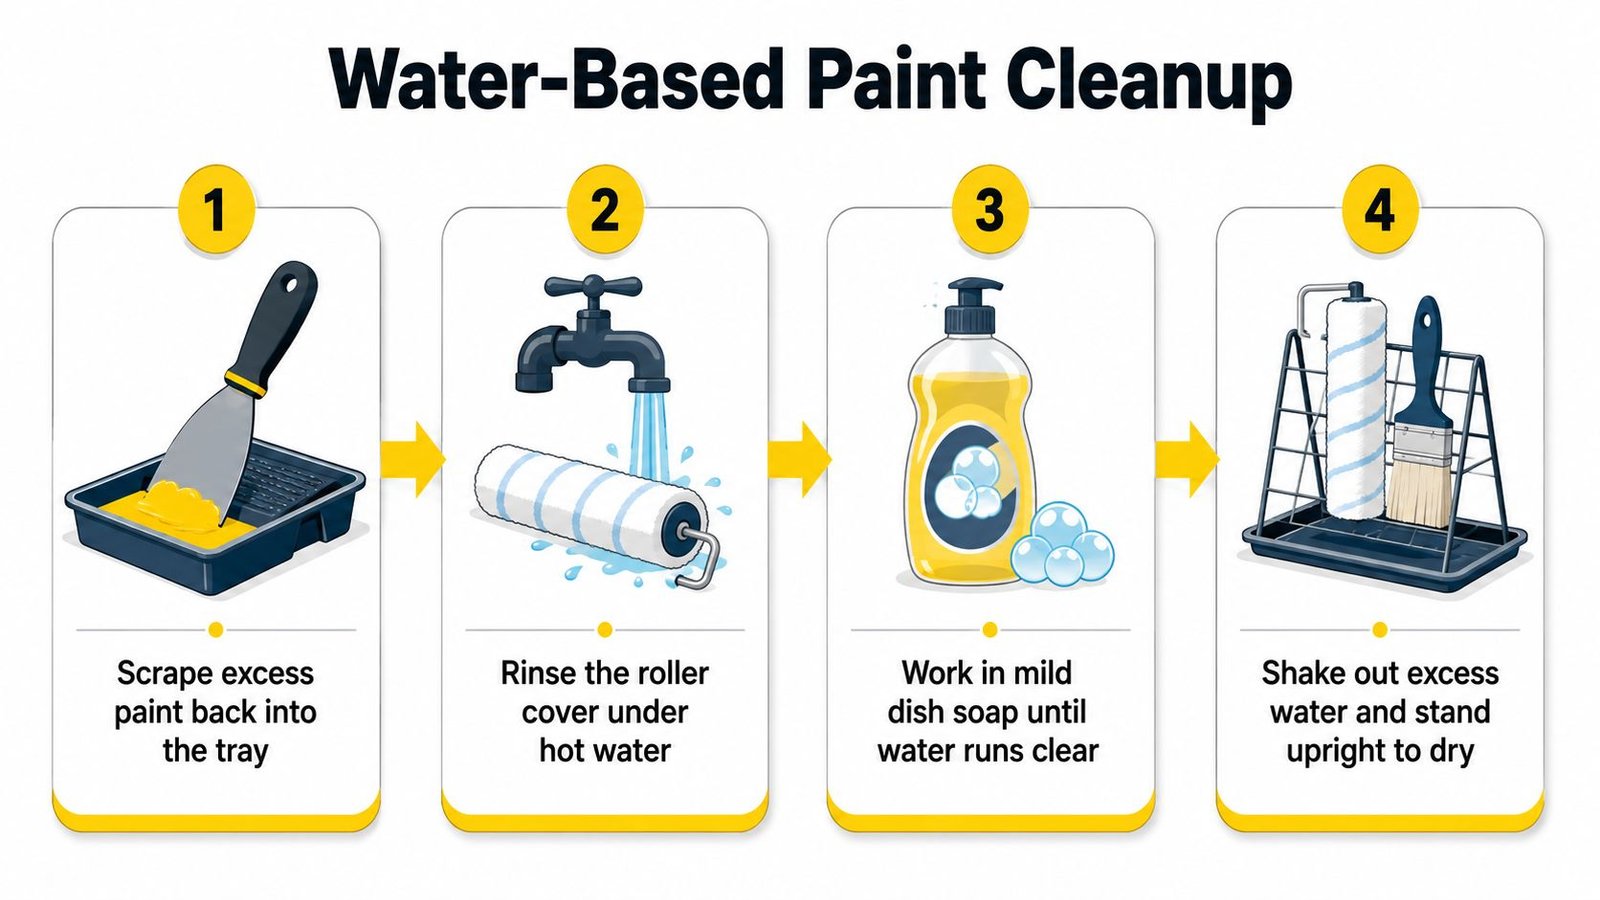
Remove paint before rinsing
Hold the roller over the tray and press excess coating back into it with a putty knife or scraper. Work along the sleeve without crushing the nap. Rolling it across the tray grid or clean cardboard removes more paint before water reaches the fibres, reducing mess and preserving material that can still be used.
Take the cover off the frame before washing. Clean the frame separately, paying attention to the cage and end caps where paint can harden and stop the sleeve from turning smoothly.
Wash the fibres thoroughly
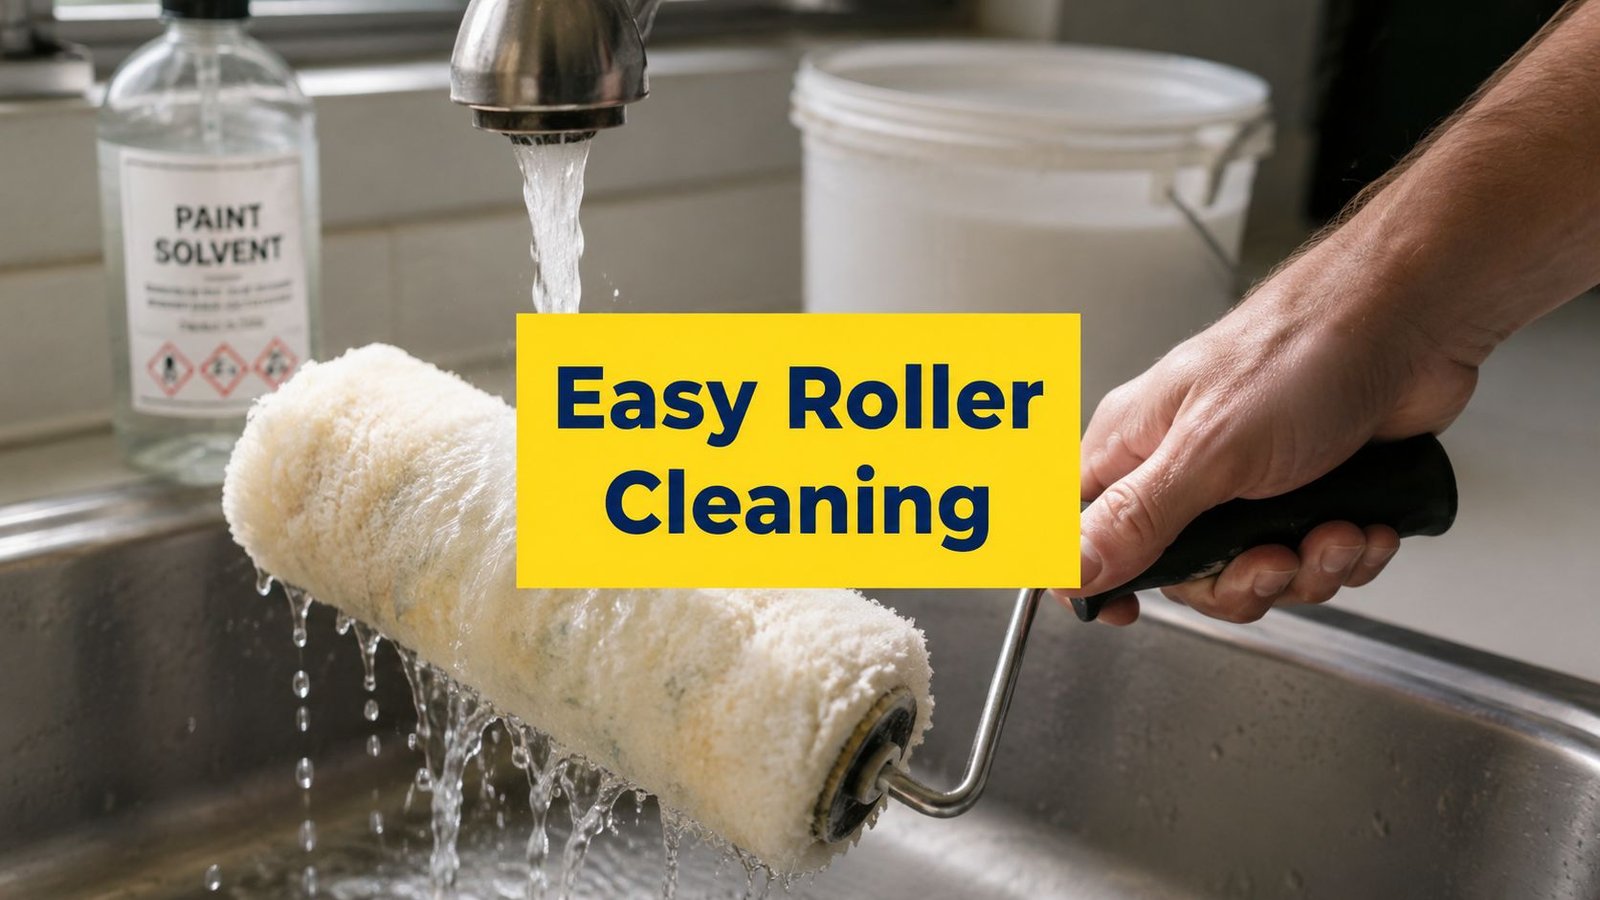
Run the cover under hot water and add a few drops of dish detergent. Benjamin Moore recommends working the fibres by hand until the runoff is clear (cleaning rollers after water-based paint).
Massage from the centre outward, then squeeze gently. Avoid aggressive twisting, which can distort the nap or loosen the cover. A putty knife can draw paint from dense fibres, but use controlled pressure so the nap does not bend or mat. Continue rinsing until the water shows no cloudy colour.
For multi-room jobs, a three-bucket method keeps the wash area more controlled. Use one bucket for the dirty first rinse, one for soap, and one for the final rinse. Leave enough space in each container to reduce splashing, and change the water before paint solids begin settling back onto a clean sleeve.
Handle rinse water responsibly
Keep paint solids out of storm drains, soil, and waterways. Rinse water should go to a sink connected to a sewer only when the plumbing system can safely accept it. In a condo, commercial property, or multi-unit building, use the approved utility area and follow the site's waste requirements. A bucket-based workflow can also reduce unnecessary water use during larger cleanups, as described in this water-wise cleaning guidance for painting equipment.
Shake out excess water, then stand the cover upright or hang it so the nap keeps its shape. If the sleeve has shed fibres, remains stiff, or still releases colour after thorough washing, replacement is usually the better workflow choice. For related care decisions, see this paint brushes and rollers guide.
Cleaning Rollers After Oil-Based Paint
A roller used for oil-based trim paint can be worth saving, but only if the sleeve still has a sound nap and the next job justifies solvent cleanup. Water will not remove this coating. Use paint thinner or another product listed as suitable on the paint label, then decide whether to clean, store, or retire the sleeve.
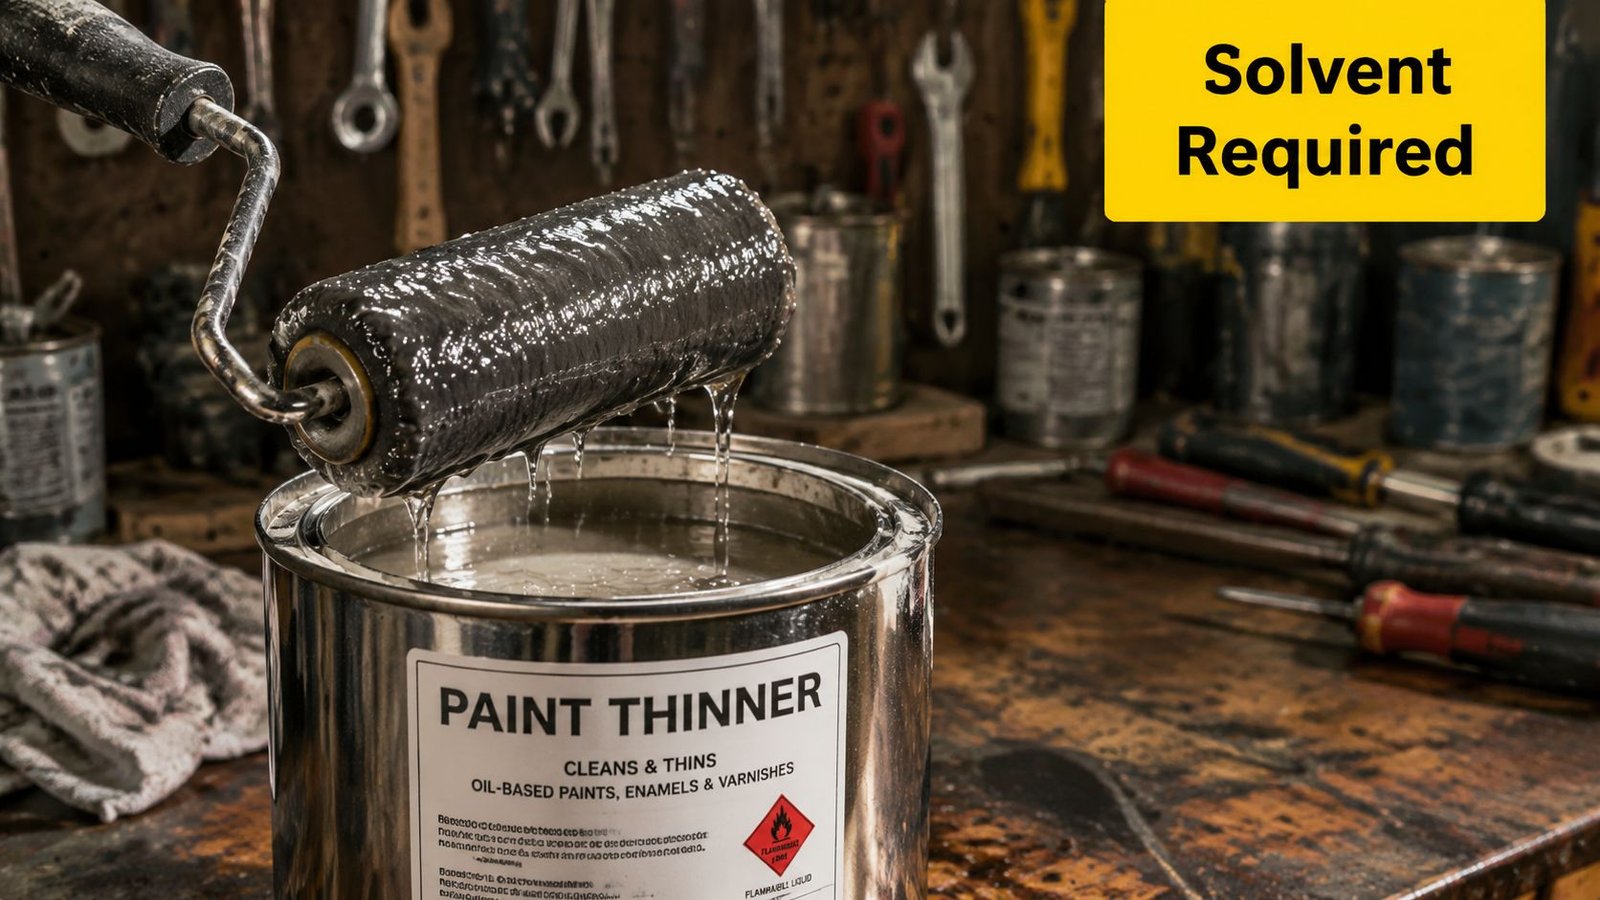
Scrape excess paint into the original container or tray before opening the solvent. Wear suitable gloves, work outdoors or in strong ventilation, and keep the container away from flames, pilot lights, sparks, children, and pets. A closed bathroom or unventilated basement is the wrong place for this task.
Work solvent through the nap
Use a sturdy container with enough solvent to wet the sleeve without encouraging splashing. Rotate and press the cover gently so the solvent reaches paint held in the fibres. Hard wringing can distort the nap, loosen the cover, or leave it matted.
Move the sleeve to fresh solvent once the first container becomes heavily contaminated. Continue until the liquid carries little obvious paint. Keep the solvent workflow separate from the soap-and-water wash used for water-based coatings. A bucket-based setup can reduce mess during multi-room work, but each container must remain stable and leave room for splashes.
Wash the sleeve with soap and water after the solvent stage to remove residue. Rinse it carefully, squeeze out excess liquid, and dry it in a ventilated location away from ignition sources. This solvent distinction matters when choosing between oil-based versus water-based paint for historic exteriors, where the coating choice also affects cleanup time.
This demonstration can help you visualise the solvent technique:
Handle contaminated liquids correctly
Never pour used thinner, solvent rinse water, or paint-contaminated liquid down a drain. Keep it in a properly closed, labelled container and take it to an authorised hazardous-waste facility. California guidance treats paint, solvents, and related cleanup materials as regulated waste streams, with disposal handled according to applicable requirements (California hazardous-waste guidance for painting operations).
Contain solvent-soaked rags and absorbent materials as well. Follow local disposal instructions instead of placing them casually in regular rubbish. For Toronto homeowners, condo crews, and property managers, the sleeve is ready for the next coating only after it is clean, dry, and still able to produce the required finish.
Clean It or Replace It, Deciding What's Worth Your Time
Cleaning a roller isn't automatically the economical choice. A sound, dense sleeve used for a premium finish deserves care. A worn cover with flattened fibres, loose lint, or hardened paint may produce a poor finish even after a long cleanup.
For a homeowner finishing one bedroom in a favourite Sherwin-Williams colour, cleaning a usable sleeve usually makes sense. A property manager moving through several Vaughan turnovers may choose disposable-quality sleeves for speed, especially when the cover is already showing wear. The right answer depends on paint type, sleeve quality, job size, and whether the next coat is happening soon.
| Situation | Clean It | Replace It |
|---|---|---|
| One room, water-based wall paint | The sleeve is in good condition and can be cleaned quickly. | Replace only if the nap is shedding, flattened, or damaged. |
| Premium finish with a quality cover | Clean carefully and preserve the cover for consistent application. | Replace when dried residue has changed the nap. |
| Oil-based enamel | Clean when the sleeve is costly, specialised, or still in excellent shape. | Retire it when solvent cleanup creates more labour than the cover is worth. |
| Multi-room turnover work | Clean durable covers between compatible coatings when workflow allows. | Replace low-cost or worn sleeves when moving directly to the next unit matters more. |
| Same colour and another coat soon | Wrap the wet sleeve tightly to prevent drying between coats. | Replace if the cover has already started to stiffen or shed. |
Ontario's disposal network gives contractors and property managers another operational option. Product Care states that leftover residential paint can be dropped off free at 400+ locations across Ontario (Ontario paint recycling locations). That doesn't mean every roller should be discarded, but it makes responsible paint diversion more accessible when a job produces leftover material.
A sleeve that leaves lint in a freshly finished wall costs more than its purchase price in sanding and touch-ups. If you're weighing roller application against another method, compare the workflow in spray painting versus brush painting before starting a large commercial or renovation project.
Storage Tips That Extend Roller Life
Cleaning removes paint. Storage preserves performance. A clean roller can still become useless if dust settles into the nap, moisture remains trapped in the core, or the sleeve dries while you're between coats.
For an overnight pause with the same colour, don't wash the roller unnecessarily. Wrap the cover tightly in plastic wrap or place it in a sealed plastic bag, pressing out loose air around the sleeve. The wrap must contact the roller closely enough to slow drying, and the paint should remain compatible with the next coat.
Refrigeration can help during a short overnight pause, but seal the roller thoroughly first and keep it away from food. Let it return to a workable temperature before rolling. Never use wrapping as a substitute for proper cleaning when the project is finished.
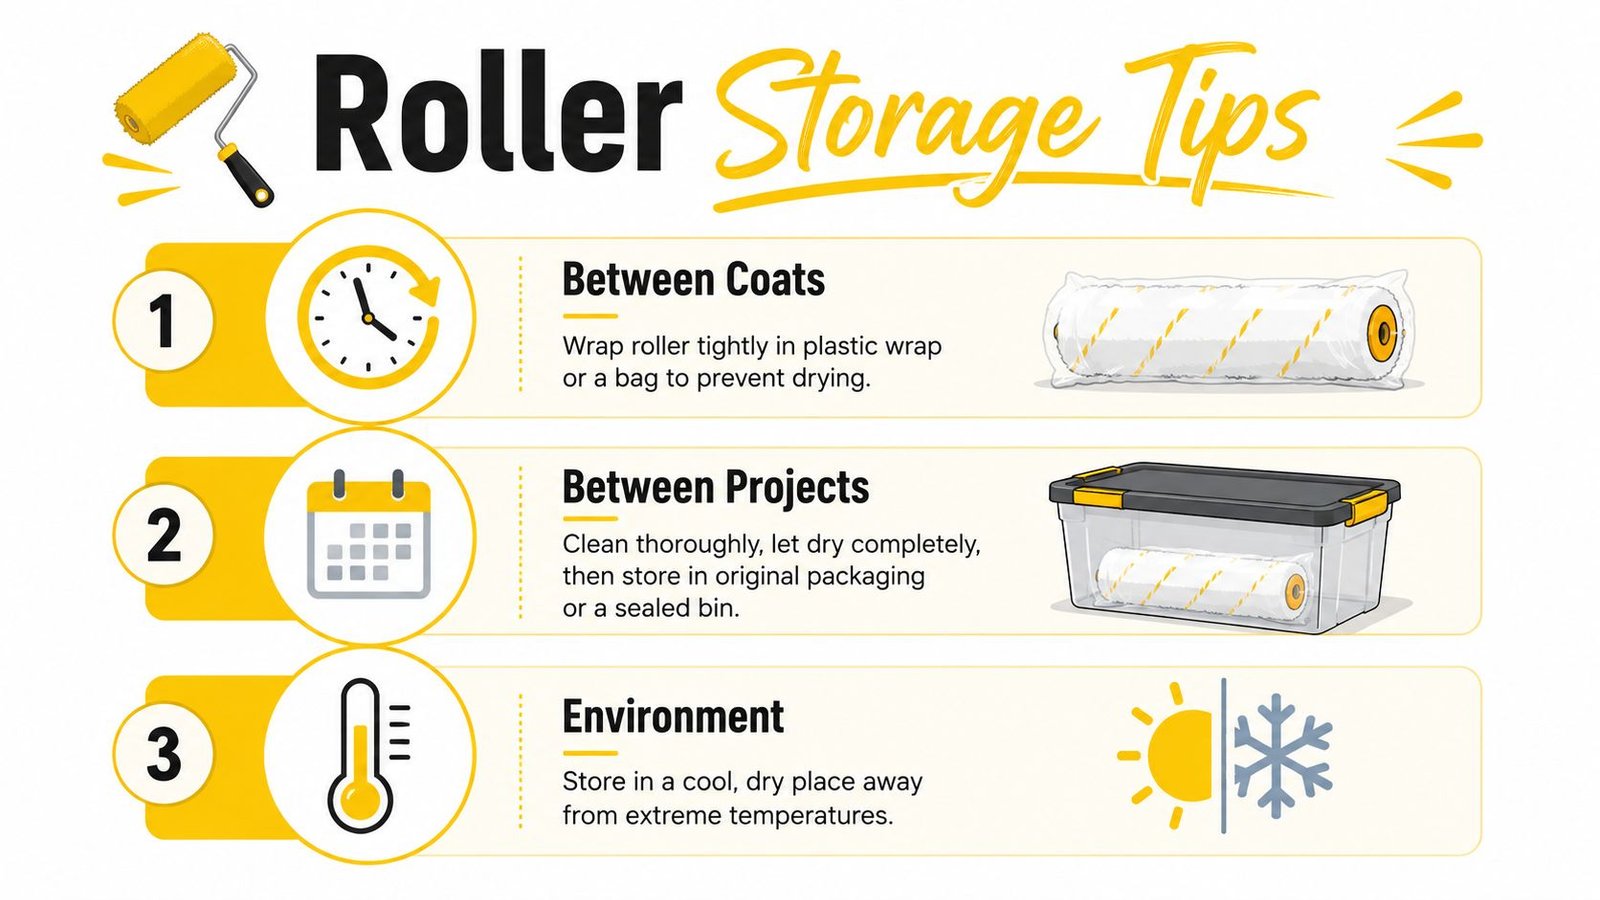
Dry the cover without crushing the nap
After washing, shake out water and stand the sleeve on its end or hang it from the core. Don't leave it lying flat while wet, because the nap can dry with a permanent flattened section. Store it only after it's completely dry.
A practical storage checklist looks like this:
- Separate by coating: Keep rollers used for primer, wall paint, trim enamel, and specialty finishes identified so residue doesn't transfer between products.
- Protect from dust: Use original packaging or a clean sealed bin once the sleeve is dry.
- Control the environment: Choose a cool, dry storage space away from extreme temperatures and damp utility rooms.
- Check before reuse: Run your hand over the nap and inspect for lint, crusted paint, odour, or flattened areas.
At Soca Services Painting, crews keep applicators organised across Toronto, North York, and King City jobs so colour changes and finish expectations remain consistent. That same discipline helps a homeowner avoid starting a fresh coat with a dusty or misshapen cover.
Fixing Rollers with Dried and Stubborn Paint
A roller that dried overnight may still be salvageable, but the result depends on the paint and how it hardened. With latex residue, soak the cover in warm soapy water, then work the nap by hand. Use a putty knife gently to loosen softened deposits, and comb the fibres back into their original direction once the paint releases.
For hardened oil-based paint, work an appropriate solvent through the cover in a ventilated area. Follow with soap and water to remove residue, then inspect the nap closely. If the fibres remain stiff, clumped, or misshapen, the cover won't give you a reliable finish.
A roller is ready to retire when it sheds, drags, carries hardened ridges, or leaves an uneven pattern after cleaning.
Don't keep forcing a sleeve that has reached the end of its useful life. Solvent cleaning can also become a poor trade when the cover is inexpensive and already worn. For safer alternatives to aggressive stripping products, review alternatives to harsh chemical paint strippers.
Paint-soaked materials and leftover paint need responsible handling. CalRecycle states that paint cannot be disposed of on land or in waters and must be recycled or otherwise safely managed, with a statewide take-back network for unwanted paint (California paint disposal guidance). Local Toronto and Ontario requirements differ, so use approved municipal or household hazardous-waste channels rather than regular rubbish when materials remain contaminated.
Key takeaways: Clean water-based sleeves with hot water and mild detergent. Use solvent and controlled disposal for oil-based paint. Wrap rollers between compatible coats, dry them upright between projects, and replace any cover that can no longer produce a clean finish.
Soca Services Painting provides professional interior painting for homeowners, property managers, commercial spaces, and renovation teams across Toronto and the GTA, with careful surface preparation and durable, consistent finishes. For help choosing the right application and cleanup approach, visit Soca Services Painting or contact Soca Services to get a free estimate.