You're standing in the room, looking up at a ceiling that makes the whole space feel dated, flat, and harder to sell than it should. Maybe you've already touched the walls up, picked new wall colours, and started comparing Sherwin-Williams and Benjamin Moore samples, but the popcorn texture still pulls the room backwards. If you live in Toronto, Vaughan, North York, or King City, that ceiling can be the difference between a quick refresh and a messy project that grows legs fast.
A scrape popcorn ceiling job looks simple from the floor. In practice, the work is about safety, moisture control, drywall condition, and whether the ceiling can be removed cleanly without turning into a full repair job. That's where experience matters, especially in older homes where the texture may be painted, brittle, or tied to Ontario asbestos rules.
Why Homeowners Choose to Remove Popcorn Ceilings
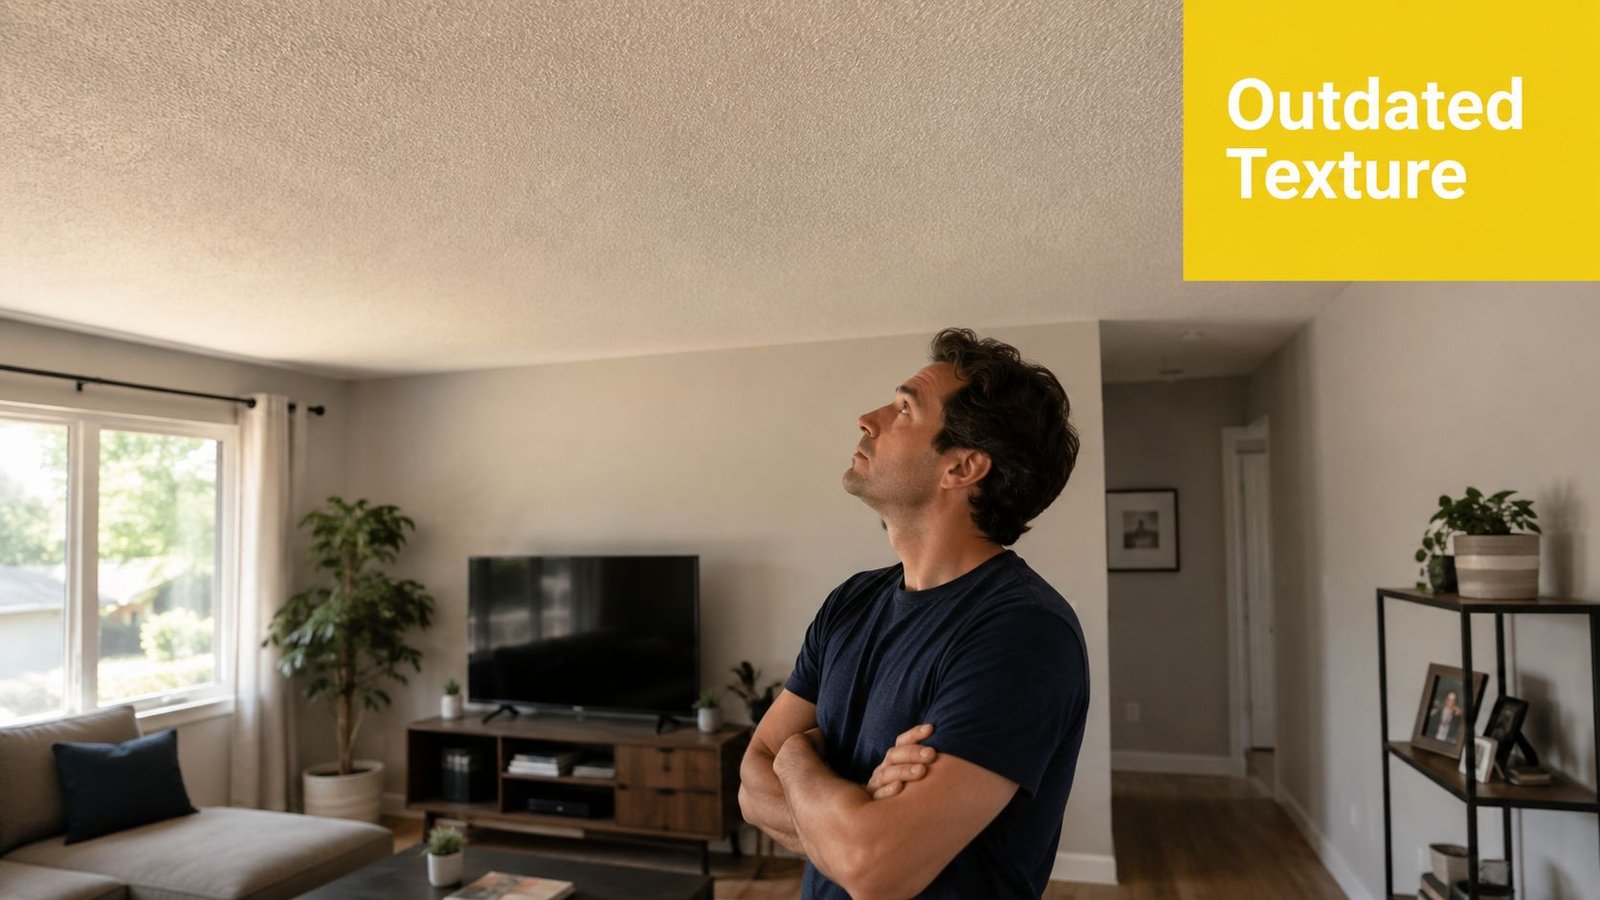
A homeowner usually doesn't wake up excited to scrape a ceiling. The decision starts with annoyance, then turns into a practical problem when the room feels darker, older, or harder to finish properly. In a Toronto semi, a Vaughan family room, or a North York condo renovation, the ceiling often becomes the one surface that still screams the original build date.
What usually pushes the decision
Popcorn ceilings became a major North American finish during the postwar housing boom, especially in the 1950s and 1960s, and their broader popularity ran from the 1950s through the 1980s according to historical coverage in the Los Angeles Times archive. That's why so many older homes still have original textured ceilings today. The ceiling can be part of the home's history, but it's rarely part of the design plan anymore.
Homeowners usually want removal for a few common reasons. Modernising the space is the obvious one, but the practical reasons matter just as much. Popcorn texture can collect dust, make patching awkward, and draw attention to past water marks or sloppy repairs.
A ceiling doesn't have to be in bad shape to be worth removing. It only has to be the one feature that keeps the room from feeling finished.
There's also the resale angle. If the walls are freshly painted and the trim is clean, a textured ceiling can make the whole interior feel unfinished. That's why some clients ask for popcorn removal before listing, while others do it during a broader home painting project or after lighting upgrades.
Know the scope before you start
A small bedroom ceiling is one kind of project. A whole main floor with crown moulding, pot lights, and patched drywall is another. The mess is real, and the room usually needs more than a scraper.
If you're comparing what needs to be done, the decision often starts with whether the ceiling is dated or whether it's also damaged, painted, or potentially asbestos-containing. Soca Services' note on the signs it's time to say goodbye to popcorn ceilings is a useful reality check for homeowners who are still deciding whether removal makes sense at all.
Testing for Asbestos and Preparing the Work Area
Older ceilings need a safety check before anyone lifts a scraper. In Ontario, that matters even more because renovation work in buildings built before 1990 can trigger a Designated Substances survey requirement, and asbestos-containing material has to be assessed before disturbance. That's the point where a popcorn ceiling stops being a cosmetic issue and becomes a regulated job.

Test first, scrape later
Industry references note that pre-1977 or pre-1980 popcorn textures commonly contained asbestos, while homes built after 1986 are considered very unlikely to contain asbestos ceilings, though the risk isn't zero for older stock. One source cites EPA-based estimates that only about 1%–10% of popcorn ceilings installed before 1980 may contain asbestos, but that range still leaves enough uncertainty that guessing is the wrong move. The safer choice is to verify the material before any wet-scraping begins, especially in older Toronto-area homes where original finishes are common. The historical and age-based risk profile is outlined in this popcorn ceiling reference.
If the ceiling may contain asbestos, don't dry scrape. Disturbance can release fibres, and Ontario's asbestos rules require the right controls for the job class. High-risk asbestos work can require a written asbestos management plan, worker training, decontamination procedures, and controlled work areas, all of which change the way the project is staged.
Practical rule: if the material hasn't been tested, treat it as a hazard until proven otherwise.
That's why the right first move is a lab test, not a ladder.
Prepare the room like a containment zone
Once the ceiling is cleared for removal, the work area still needs to be sealed properly. HVAC vents should be shut down or isolated, floors and furniture need heavy-duty plastic, and debris control should be planned before the first spray bottle comes out. In projects where the asbestos class requires it, negative-pressure-style dust control becomes part of the workflow, not an optional upgrade.
For property owners trying to understand the bigger picture, popcorn ceiling removal cost is a helpful resource because testing, containment, and disposal can affect the final scope. Skipping prep can cost more than doing it properly the first time.
A few basic containment habits make the difference between a controlled job and one that spreads dust everywhere:
- Seal the room openings: Tape off doors and vents so dust doesn't migrate into hallways or adjacent rooms.
- Cover everything that stays: Use plastic on floors, fixed furniture, and anything that can't be moved out.
- Set up entry control: Keep one access path clean so you're not dragging debris through the house.
- Plan for decontamination: Don't walk out of the room carrying dust on clothes, shoes, or tools.
Mastering the Wet-Scraping Technique
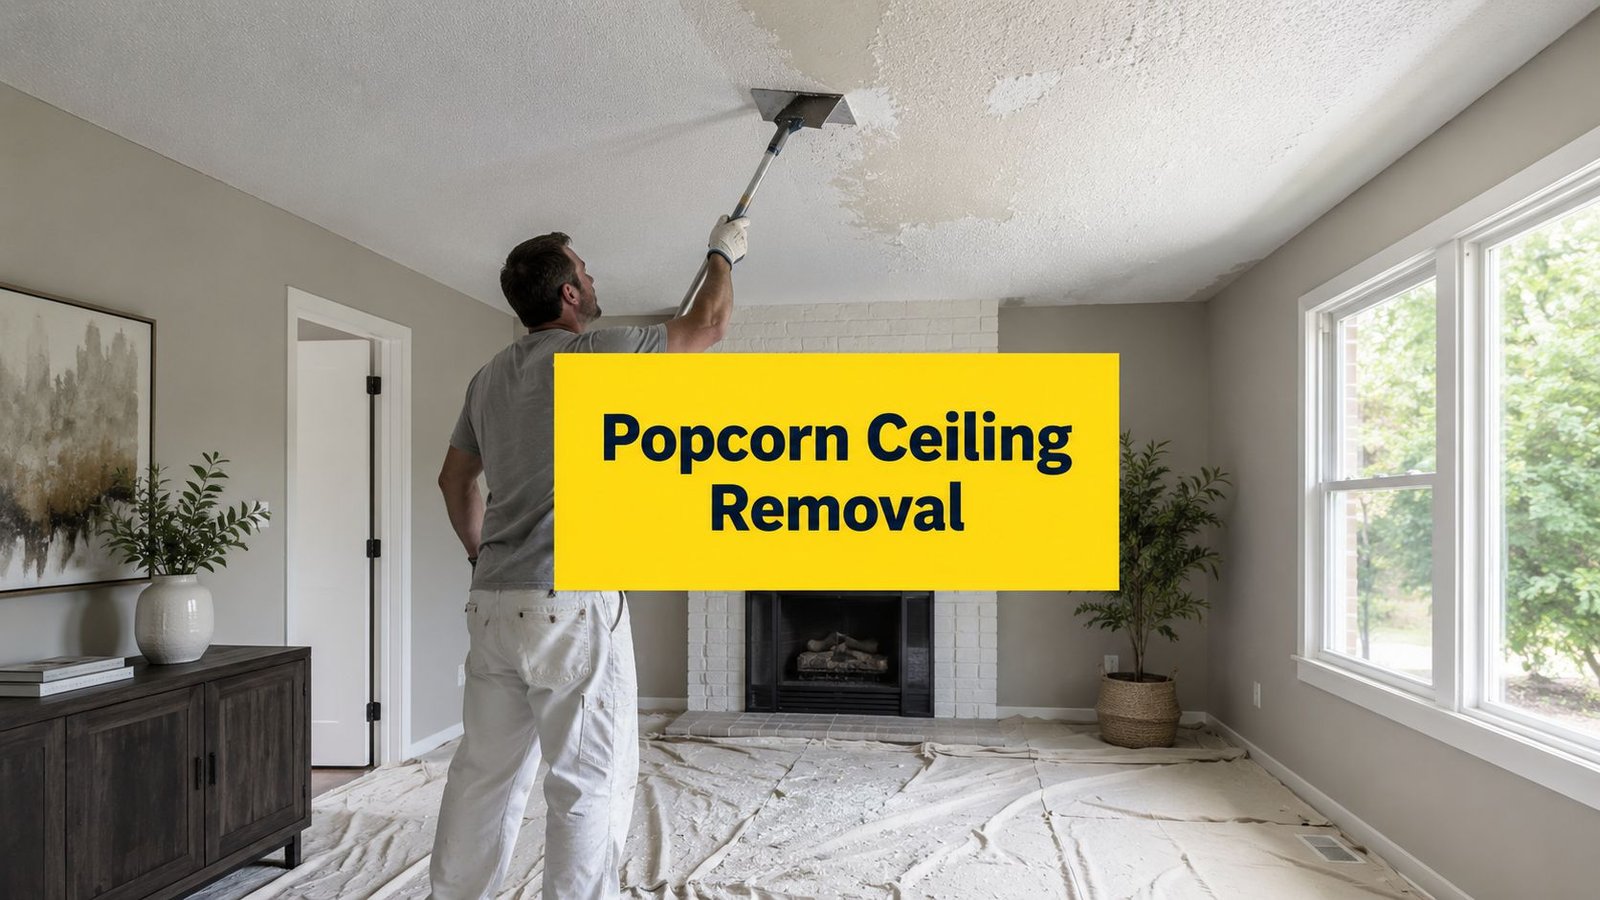
The cleanest way to remove non-asbestos popcorn is still a wet-removal method. Spokane Clean Air's removal guide recommends misting or wetting the ceiling first, then letting the water soak in for about 10 to 20 minutes before scraping, because moisture reduces dust and helps the texture release more cleanly. Home Depot Canada gives a similar practical method, misting the ceiling, waiting about 15 minutes, then working in 4–6 square-foot sections with a long-handled scraper. The point isn't speed. It's keeping the texture damp enough to let go without tearing the drywall face. See the broader process in this ceiling cleaning guide.

Work in damp, manageable sections
The method works because the ceiling has time to absorb moisture before you touch it. Small sections matter. If the ceiling dries out before you get to it, the texture bonds back to the drywall and starts fighting you again.
A field guide on the subject recommends slightly smaller 3×4- to 4×4-foot zones to keep the surface uniformly damp, which is often easier to manage in lived-in homes. That aligns with what contractors see on site. The smaller the zone, the more control you keep over drying time, scrape quality, and mess.
The scraper should stay at a low angle so you're lifting texture, not gouging the paper facing. A shallow pass lets the blade ride under the softened material. If the blade digs in, you're no longer removing popcorn, you're damaging drywall.
The best scrape sounds almost boring. If you hear tearing, you're already too aggressive.
What goes wrong most often
The two most common mistakes are over-wetting and under-wetting. Too much water can swell or tear the paper layer and force extra patching later. Too little water leaves the texture bonded, which makes the scraping noisy, patchy, and frustrating.
Painted texture adds another problem. Water may not penetrate the painted surface well enough to soften the popcorn, which is why the ceiling sometimes looks ready but still refuses to release. That's when people think they need more force, when they need a different strategy.
The rhythm matters too. Mist a section, wait, scrape it immediately, then move on. If you try to strip the entire room before anything dries, you'll end up with uneven results and more touch-up work than you expected.
Keep the cleanup inside the workflow
Scraping isn't finished when the last patch falls off. Dust and residue need to be wiped away before the ceiling gets repaired and painted. Any loose crumbs left behind can show through primer or contaminate the skim coat.
The job gets easier when the room stays organised. Long-handled scrapers, a garden sprayer, plastic sheeting, and a steady pace matter more than brute force. The contractor who moves methodically usually gets a cleaner ceiling than the one trying to rush the whole room in one pass.
When Scraping Is Not the Right Solution
Some ceilings fight back for reasons that scraping can't fix. Painted texture is the big one. Water won't always penetrate it the way it does on raw texture, so the ceiling may stay stubborn even after repeated misting. That's where people waste time trying to force a method that the surface won't accept.
Read the ceiling before you choose a method
If the drywall paper is already damaged, scraping can make a small problem much bigger. Once the paper face tears, the ceiling usually needs patching, skim coating, or in some cases replacement, because the surface can't be finished cleanly by scraping alone. The hidden cost isn't the scraping itself, it's the repair scope that comes after.
That's the gap many DIY guides miss. They show the wet-scrape step, but they skip the decision point that comes before it. If the ceiling has been painted heavily, patched badly, or damaged by past moisture, a scraped finish may not be the smartest route.
Plain truth: if the ceiling paper comes up in sheets, stop and reassess before you chase the whole room.
Encapsulation or replacement can make more sense
Sometimes the better answer is to leave the texture in place and build over it, or to replace the drywall where the surface has failed. That choice depends on how badly the ceiling has been altered and whether the final finish needs to be high-end or just presentable. In older Toronto homes, that judgment call matters because renovation budgets are usually tighter than the wish list.
A skim coat can work on some painted surfaces, but only when the underlying ceiling is sound enough to support it. If the surface is unstable, every added layer just hides the problem temporarily. That's why a careful assessment is worth more than a fast start.
For homeowners who want a deeper look at why texture affects value and renovation choices, this note on why popcorn ceilings lower home value gives a useful market-side perspective. The issue is rarely just appearance. It's how much work the ceiling needs to become clean and finished.
Repairing, Priming, and Painting for a Flawless Finish
Once the popcorn is off, the ceiling usually looks worse before it looks better. Scrape marks, shallow gouges, tape lines, and patched areas all show up once the texture is gone. That's normal, and it's exactly why the finishing stage matters as much as the removal stage.
Fix the surface before colour goes on
The first step is inspection. Look for torn drywall paper, knife marks, popped fasteners, and any uneven areas that will catch light later. Joint compound goes on problem spots to flatten them, and once it dries, the surface needs sanding until it feels uniform.
That finishing work is what separates a bare removal from a proper ceiling refresh. If you skip repair, the new paint will highlight every flaw instead of hiding it. Ceiling lights are especially unforgiving here, because they cast shadows across ridges and patch edges.
For deeper damage, a ceiling may need more than a light touch-up. Some rooms only need spot patching, while others need a full skim coat to rebuild the surface. Soca Services also handles repair textured ceiling work when removal exposes more damage than expected.
A smooth ceiling is only as good as the surface underneath it. Paint doesn't flatten defects, it makes them easier to see.
Prime before you paint
Priming is essential on fresh compound. Joint compound is porous, so primer seals it and helps the topcoat lay down evenly. It also helps reveal any missed flaws before you commit to the finish colour.
After priming, the ceiling is ready for paint. For clients who want a durable interior finish, premium lines from Sherwin-Williams or Benjamin Moore are common choices because they're built for clean coverage and consistent results. The actual colour can stay simple. A ceiling usually benefits from a clean, quiet finish that doesn't compete with the rest of the room.
Use the right finish approach
Ceilings aren't the place to get clever with a fussy roller pattern. A smooth, even application matters more than visual texture. Clean edges around walls, trim, and light fixtures make the room look intentional, especially in renovated spaces with updated interior painting and new lighting.
A few habits keep the result sharp:
- Sand between repair passes: This keeps ridges from building up under the final paint.
- Prime every repaired area: Bare compound drinks paint unevenly.
- Cut in carefully at the edges: The line where wall meets ceiling has to stay crisp.
- Roll in consistent sections: Uneven overlap leaves lap marks on ceilings faster than on walls.
DIY Versus Hiring Professional Ceiling Removal Services
The decision usually comes down to time, risk, and how much finish work the ceiling will need after scraping. A small, unpainted room can be a practical DIY project. A full floor, an older house, or any ceiling with asbestos risk quickly becomes a different class of job.
Compare the two paths honestly
| Factor | DIY Approach | Professional Service (Soca Services) |
|---|---|---|
| Safety checks | Homeowner arranges testing and containment | Testing coordination, containment planning, and regulated workflow where needed |
| Prep work | Moving furniture, plasticing off the room, taping vents | Full room protection and controlled setup |
| Removal method | Wet scrape in small sections with hand tools | Wet removal, repair planning, and finish coordination |
| Drywall repair | May require multiple rounds of patching and sanding | Assessed and repaired as part of the project scope |
| Painting finish | Separate step, often after a learning curve | Smooth transition into priming and painting |
| Best fit | Small, simple rooms with sound drywall | Older homes, multi-room projects, and higher-finish interiors |
A DIY project can seem cheap at first because the tools are basic. A sprayer, scraper, plastic, compound, primer, and paint are not complicated to buy. The cost shows up in labour, cleanup, sore arms, and the chance that damaged drywall forces extra skim coating.
Professional help earns its place when the ceiling is large, painted, uneven, or tied to safety concerns. That's especially true in Toronto, Vaughan, North York, and King City homes where the original ceiling may have seen several layers of paint and patchwork over the years. For homeowners who want a deeper explanation of the trade-offs, the benefits of hiring professional painters in Toronto is worth reading before choosing a route.
Where the professional route saves headaches
Professionals are usually the better call when the room has:
- Possible asbestos exposure, because the workflow has to follow the right controls.
- High ceilings or multiple rooms, because containment and ladder work multiply the hassle.
- Visible drywall damage, because scraping alone won't produce a finish-ready surface.
- A high-end interior standard, where ceiling flaws will stand out against new paint, trim, and lighting.
For many property managers and luxury homeowners, the value isn't just labour saved. It's knowing the room will be returned ready for prime coat, final paint, and a clean result that fits the rest of the property.
Final Tips and Next Steps for Your Ceiling Project
The right ceiling project starts with restraint. Test first, then scrape only when the material is safe and the surface makes sense for removal. Wet the texture, work in small sections, and stop fast if the drywall paper starts to fail. If the ceiling is painted, badly damaged, or clearly beyond a simple scrape, a different repair path will save time and money.

Keep the checklist short and real
A good ceiling project usually follows the same practical order:
- Confirm the ceiling's age and test for asbestos before any disturbance.
- Contain the room so dust doesn't spread through the house.
- Use wet removal in small zones instead of trying to clear the full ceiling at once.
- Watch the drywall paper closely and switch strategies if it starts to tear.
- Prime and paint properly so the final surface looks intentional, not patched together.
That last step matters more than people think. Cleanup after construction is part of the finish, not an afterthought, and a resource like dust removal from construction is useful context for homeowners who want the room to feel ready again after the dust settles.
What to do next
Start small if you want to build confidence. A compact room teaches you how the ceiling reacts to water, how fast it dries, and how much repair work the surface really needs. Once you've seen one room from test patch to paint, the rest of the house gets easier to plan.
For homeowners, property managers, and commercial clients who want a ceiling that looks smooth and stays that way, the safest route is often a professional assessment before the scraper comes out. Good finishing work changes the whole room, especially when it's paired with clean interior painting and the right product choices for the space.
Soca Services Painting handles popcorn ceiling removal, ceiling repair, and interior painting across Toronto, Vaughan, North York, and King City. If you're ready to turn a rough ceiling into a clean, paint-ready surface, visit Soca Services Painting to request a free estimate and talk through the right approach for your home or property.