

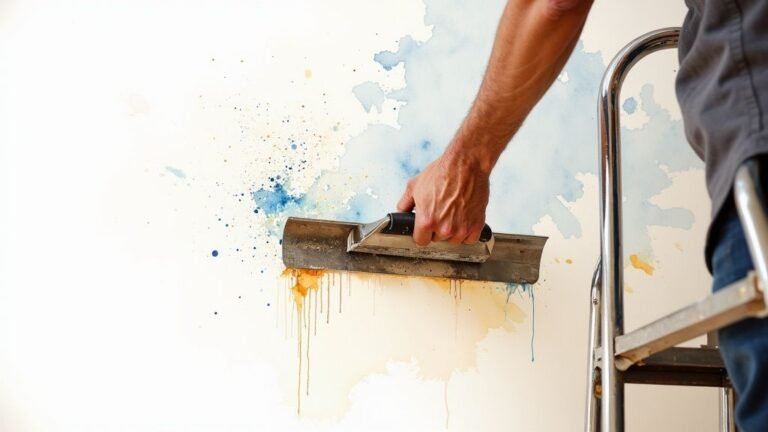
If you’re staring at a wall with peeling paint, the first impulse is often to just paint right over it. That's a mistake. The real secret to a lasting fix is an objective process: scrape away every loose flake, feather the edges smooth with sandpaper, and prime the patch before you even think about opening a can of paint. This guide provides the best structure for tackling this common issue for homeowners in Toronto, Mississauga, and across the GTA.
A solid repair always starts by figuring out why the paint failed to begin with.
Figuring Out Why Your Paint Is Peeling
Before you reach for a scraper, a structured approach is necessary. Getting the diagnosis right is the most critical part of the job. If you just cover up the problem, you're setting yourself up for disappointment when the new paint starts peeling a few months down the line, a common frustration for property owners in the GTA.
For those of us dealing with homes in Toronto and Mississauga, the usual suspects are moisture and poor adhesion. High humidity in a bathroom without a good fan, or a damp basement in an older Etobicoke bungalow—these are classic scenarios for paint failure. If you're looking for the best peeling paint repair "near me," understanding these local factors is key.
The Usual Suspects Behind a Bad Paint Job
Paint isn't just one layer; it's a system. When one part of that system fails, everything on top of it gives way. A common mistake is new latex paint being slapped over old, glossy, oil-based paint without any prep. The new paint just can't grab onto that slick surface, and eventually, it just peels off in sheets.
The same goes for dirty walls. A greasy film on a kitchen wall near the stove or grime around a light switch will absolutely sabotage your new paint job. That's why cleaning is a non-negotiable first step.
Let's break down the most common reasons your paint is giving up the ghost.
As you can see, moisture is the big one, causing half of all paint problems. It's the first thing you should investigate.
Common Causes of Peeling Paint in GTA Homes
This quick table helps connect the symptoms you're seeing in your home to the likely cause. Think of it as a diagnostic cheat sheet specifically for common issues we see around the GTA.
| Symptom | Likely Cause | Where to Look First (Toronto/GTA Examples) |
|---|---|---|
| Bubbling or blistering paint | Moisture | Bathroom ceilings (poor ventilation), exterior walls under leaky gutters, basement walls in older homes. |
| Alligatoring (cracked, scaly pattern) | Poor Application | Topcoat applied before the primer was fully dry, or a rigid paint (like oil-based) over a flexible one (latex). |
| Flaking or peeling in large sheets | Poor Adhesion | Painting over a glossy, dirty, or unprepared surface. Common in kitchens or when latex is put on old oil paint. |
| Chalking (fine white powder) | Paint Breakdown | Often on exterior surfaces exposed to harsh sun and rain, like a south-facing wall in Brampton. |
Once you’ve identified the likely culprit from the table, you can zero in on the exact source of the problem and fix it for good.
Finding the Source of Moisture and Adhesion Problems
Look for the clues. Is the paint peeling right under a window, near a downspout, or on the ceiling of your laundry room? Those are dead giveaways for water getting in or high humidity. If it’s an exterior problem, proper waterproofing for painted wood is your best defence to stop moisture from getting behind the paint in the first place.
By figuring out the 'why' before you start the 'how,' you're ensuring your repair doesn't just look good for a season but actually lasts for years. It’s a simple diagnostic step that saves a massive amount of frustration later on.
Peeling paint is more than just a cosmetic issue; it can have real financial impacts. For older homes, it’s a huge red flag during a property appraisal because it can hint at bigger problems like hidden water damage. A 2025 Zillow report noted that nearly 30% of home appraisers lowered a home's value because of peeling paint, especially in houses built before 1978 where lead is a potential concern.
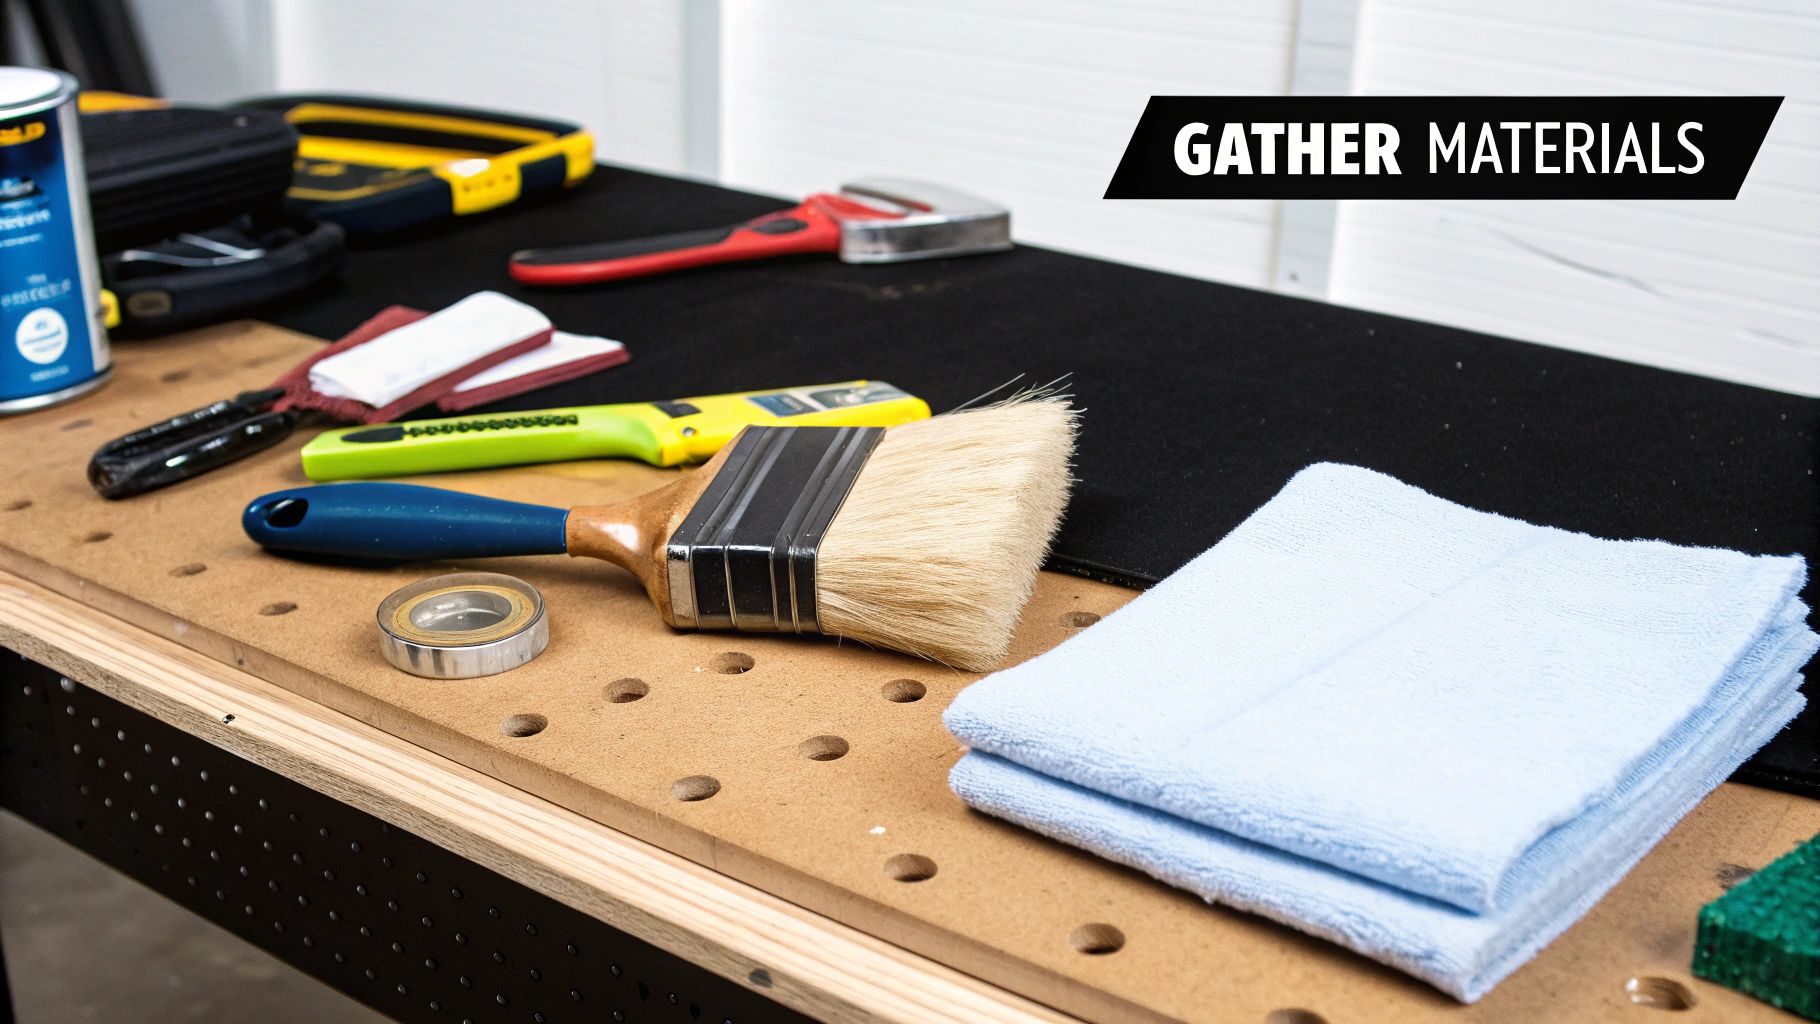
Gathering Your Tools and Safety Gear
Before you even think about scraping a single flake of paint, let's talk about getting your gear in order. Having the right tools on hand is the difference between a job that goes smoothly and one that becomes a massive headache. A quick run to the hardware store now will save you countless trips later.
The absolute hero of any paint removal job is a good 5-in-1 tool. If you don't have one, get one. It's perfect for getting under stubborn peeling sections and smoothing out the edges. A stiff wire brush is also useful for tough spots, and a couple of different grits of sandpaper will help blend the patch area into the rest of the wall.
Your Essential Toolkit
To make sure you're ready for anything, here’s a quick rundown of the best tools for a job like this:
- Scrapers: That 5-in-1 tool is a must, and a flexible putty knife is essential for applying filler.
- Sandpaper: Start with something in the 80-120 grit range for initial sanding and feathering, then switch to a finer 220 grit to get the patching compound perfectly smooth.
- Patching Compound & Putty Knife: You'll need this to fill any divots or gouges left behind after you've scraped away the loose paint.
- Shop Vacuum: A shop vac with a brush attachment is a lifesaver for cleaning up dust as you go. It’s so much more effective than just sweeping.
- Drop Cloths: Canvas or plastic, just make sure you cover your floors and any furniture nearby. Paint dust gets everywhere!
Of course, the quality of your finish also comes down to your applicators. If you're unsure what to buy, we've put together a guide on selecting the best paint brushes and rollers for different surfaces and paint types.
Safety Is Non-Negotiable
This isn't the part to skip over. When you're scraping and sanding, you're creating a lot of fine dust, and you do not want to be breathing that in. Proper Personal Protective Equipment (PPE) isn't optional—it's essential. At a minimum, you need safety glasses to keep debris out of your eyes and a quality dust mask or respirator.
Good ventilation is just as critical. Get the air moving by opening windows and setting up a fan or two. It makes the environment safer for you and anyone else in the house. A special note for those in older Toronto or Mississauga homes (built before 1978): you absolutely must consider the possibility of lead-based paint. Get it tested before you do anything.
Regulations around paint dust, especially lead, are getting tougher for a reason. Taking these simple safety steps isn't just about following rules; it's about protecting the health of everyone in your home.
Perfecting Your Surface Preparation
Now that you've figured out why the paint is peeling and have your tools laid out, it's time for the most critical part of the entire project. Ask any pro, and they'll tell you that a great paint job is 90% preparation and 10% application. This objective truth is key to success. This is where you do the real work that ensures your new finish looks fantastic and actually lasts.
If you're tempted to cut corners here, don't. Rushing through the prep is the single biggest reason paint jobs fail. No matter how premium your new paint is, putting it on a poorly prepared surface is just a waste of time and money. The goal is to create a clean, stable, and perfectly smooth canvas for that new coat.
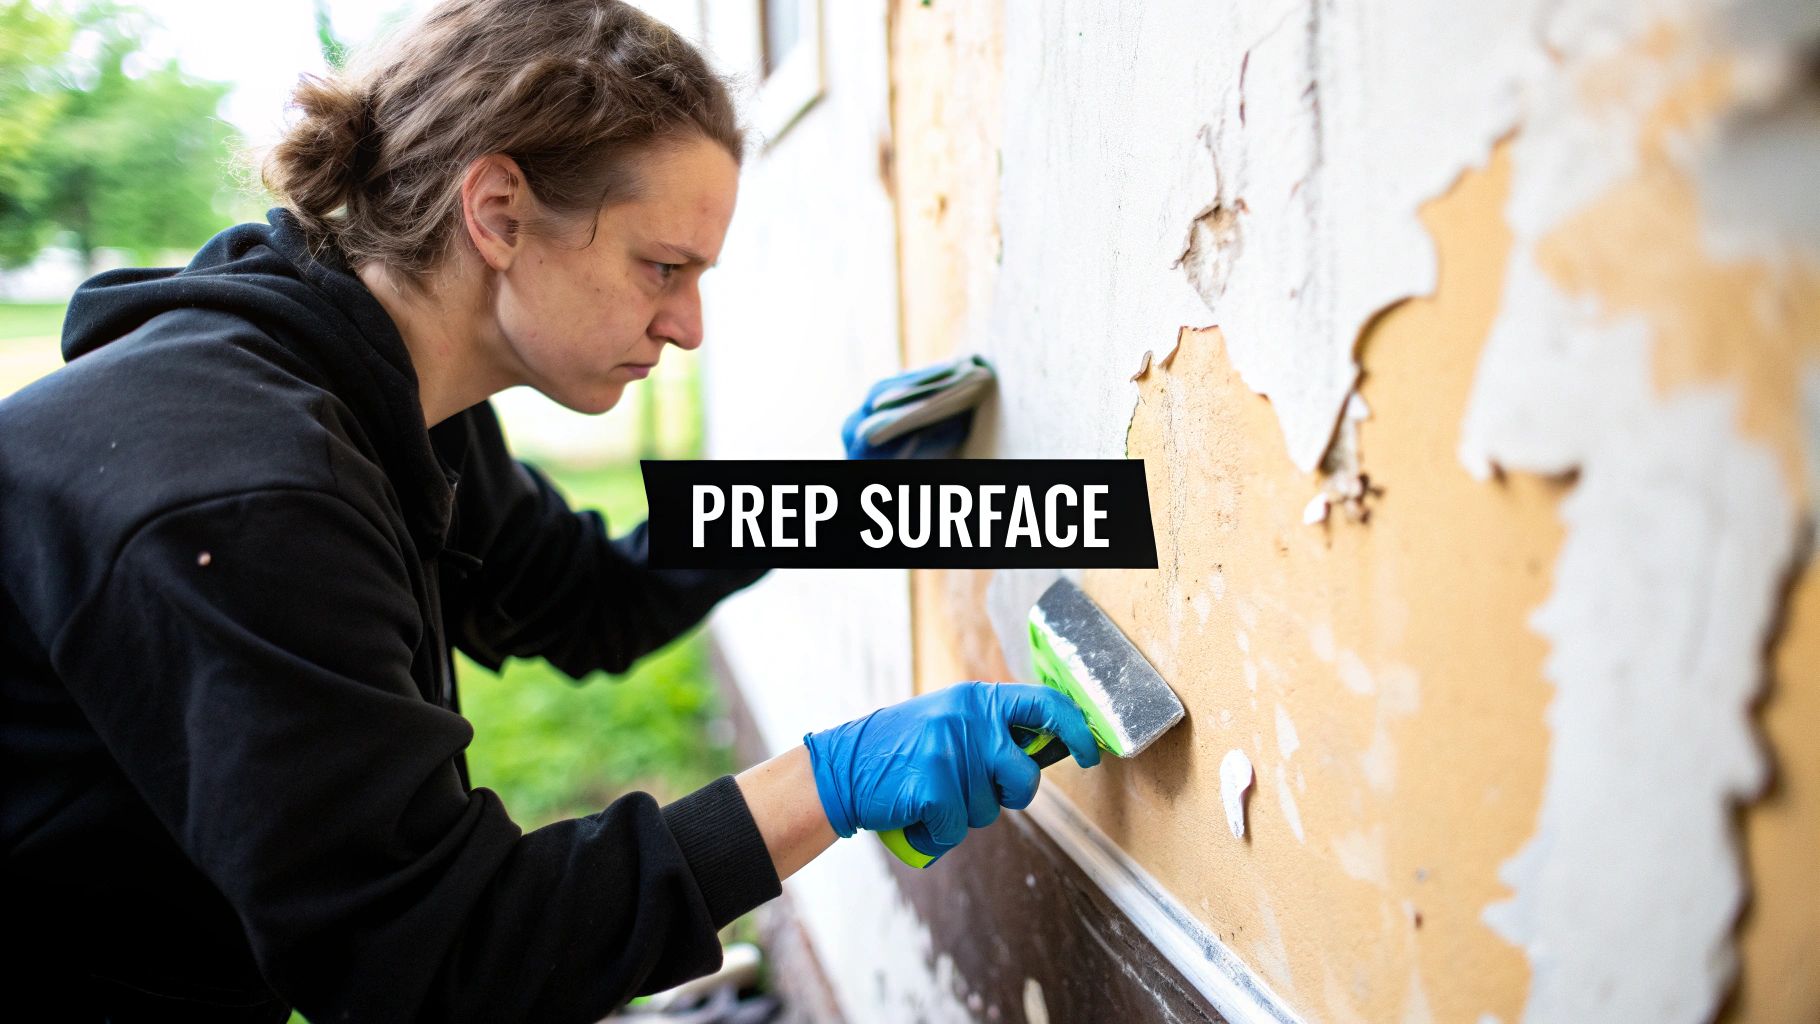
Scraping and Feathering for a Seamless Finish
First thing's first: get rid of all that failing paint. Grab your 5-in-1 tool or a sturdy putty knife and get right under the edges of those peeling sections. Carefully lift and scrape away anything that's loose. You have to be aggressive here—if a piece of paint looks even slightly questionable, it needs to go.
After you've removed the loose flakes, you'll see a noticeable crater with a hard edge where the old paint remains. This is where a technique called "feathering" comes in. With medium-grit sandpaper (a 100-grit block is perfect for this), sand down the sharp edges of the remaining paint. You want to create a gradual, tapered slope from the old paint down to the bare surface. Run your hand over it; you shouldn't feel a ridge.
A seamless transition is everything. If you can feel an edge with your fingertips, you will absolutely see it under the new paint. Patience in this step pays off big time in the final result.
Deep Cleaning the Repair Area
All that scraping and sanding creates a lot of dust, and dust is paint's worst enemy. The best way to start is with a shop vacuum fitted with a brush attachment to get the bulk of it.
Next, it's time to wash the area. For most situations, a bucket of warm water with a little dish soap will do the trick. If you're dealing with greasy or grimy buildup, a TSP (trisodium phosphate) substitute is a much better choice. Whatever you use, be sure to rinse the wall thoroughly with a clean, damp cloth. Any soap residue left behind can mess with paint adhesion just as much as dust can. If you're working with a specific finish, it helps to check a detailed guide to cleaning walls with flat paint to ensure you don't cause new problems.
Filling Cracks and Imperfections
With the area clean, take a close look at the bare surface. You'll likely spot small gouges, cracks, or nail holes. These all need to be filled to get that flawless look. Using a flexible putty knife, press a small amount of spackling compound or wood filler into each imperfection.
It's a good idea to overfill just slightly, as most fillers shrink a bit when they dry. Once it has completely cured (the container will tell you how long to wait), sand the patch smooth with a fine-grit sandpaper like 220-grit. For more extensive damage on wooden trim or doors, there's a bit more to the process. You can learn the right techniques in our guide on using a https://socaservicespainting.com/paint-remover-on-wood/ before you start filling.
Give the whole area one last wipe-down with a damp cloth to remove any final sanding dust. Now you've got a surface that's perfectly clean, smooth, and ready for the next crucial stage: priming.
Choosing the Right Primer and Paint
You've done the hard work—all that scraping, sanding, and cleaning is behind you. Now it's time for the decision that makes or breaks the entire job: picking the right primer and paint. Think of this as choosing the best possible defense for your walls, especially against the kind of wear and tear we see here in the Greater Toronto Area.
Skipping primer is a huge mistake. Primer is the secret weapon for a repair that actually lasts. It's not just another layer of paint; it acts as both a bonding agent and a sealer. For a patch where you've fixed peeling paint, it seals up the porous filler and any bare drywall. This prevents the new paint from soaking in unevenly and looking blotchy, giving you a uniform foundation for a consistent colour and sheen.
Selecting the Perfect Primer
Not all primers are created equal, and grabbing the wrong one can undo all your prep work. Let's say you're dealing with an old water stain on a ceiling in your Mississauga home. A standard drywall primer just won't cut it. That stain will bleed right through your fresh topcoat in a matter of weeks.
Here’s a quick rundown to help you choose the best tool for the job:
- Stain-Blocking Primer: This is your best friend for covering stubborn stains from water damage, smoke, or even a child’s marker masterpiece. They come in oil-based and water-based formulas. The oil-based ones offer unbeatable blocking power, but you'll need good ventilation for the stronger fumes.
- Bonding Primer: If you’re trying to paint over a tricky surface like old, glossy oil-based trim or even laminate, a bonding primer is non-negotiable. It has incredible adhesion that creates a tenacious grip for your new paint to hang on to.
- Drywall Primer-Sealer: For any fresh drywall patches, this is the industry standard. It’s designed to seal the porous surface of both the drywall paper and the joint compound, ensuring your topcoat glides on smoothly and looks even.
Choosing the right primer isn't just a preliminary step; it's insurance for your paint job. It guarantees that the effort you put into preparation results in a flawless, long-lasting finish.
Finding the Best Paint for Your GTA Home
With the surface properly primed, you're ready for the topcoat. The best paint for any given job really depends on where it is and what it's up against. A bedroom wall in a quiet Toronto condo has very different needs than an exterior window frame bracing for a Canadian winter.
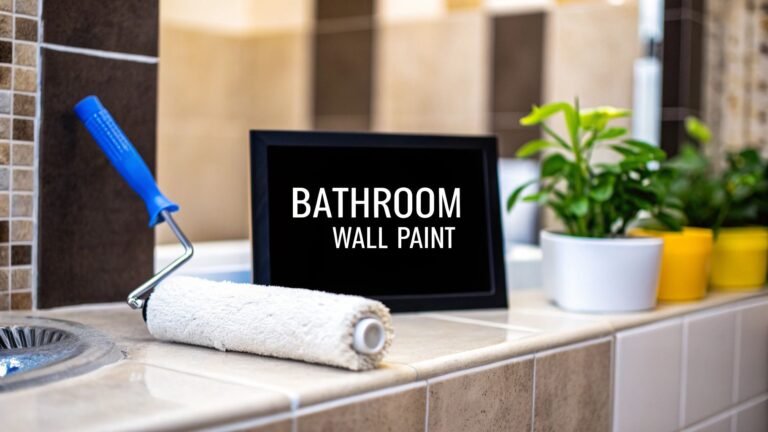
For high-humidity areas like bathrooms and laundry rooms, look for a paint with mildewcide already mixed into the formula. This little additive helps stop mould and mildew from growing, which is a major cause of paint failure in damp spaces. We also recommend a satin or semi-gloss finish in these rooms; it’s more moisture-resistant and far easier to wipe clean than a flat or matte paint.
When you move outside, durability is everything. Homes across the GTA need a finish that can handle scorching summer sun, freezing rain, and heavy snow. When choosing an exterior product, it’s worth digging into reviews and professional guides on the best exterior wood paints to find one that offers top-tier flexibility and weather resistance. Making the right choice here will protect the wood from moisture and stop that peeling cycle from ever starting again.
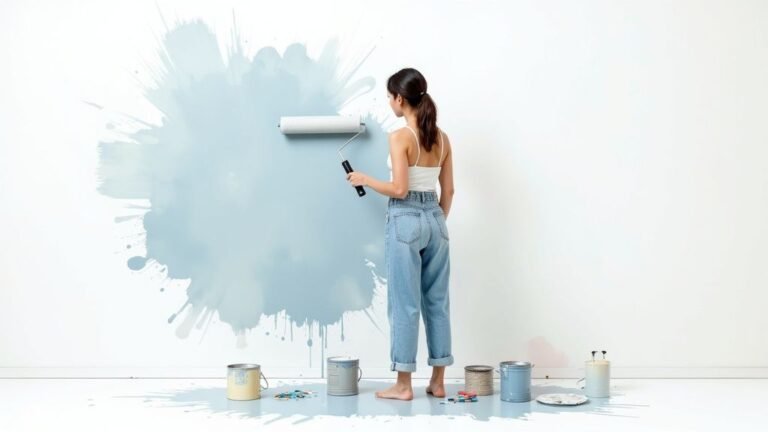
Applying Paint Like a Pro and Preventing Future Issues
With your surface perfectly prepared, you're at the fun part. This is where all that meticulous prep work pays off. The objective now is to apply your primer and paint with a technique that gives you that smooth, durable finish you're after. After that, we'll shift focus to making sure this problem never comes back.
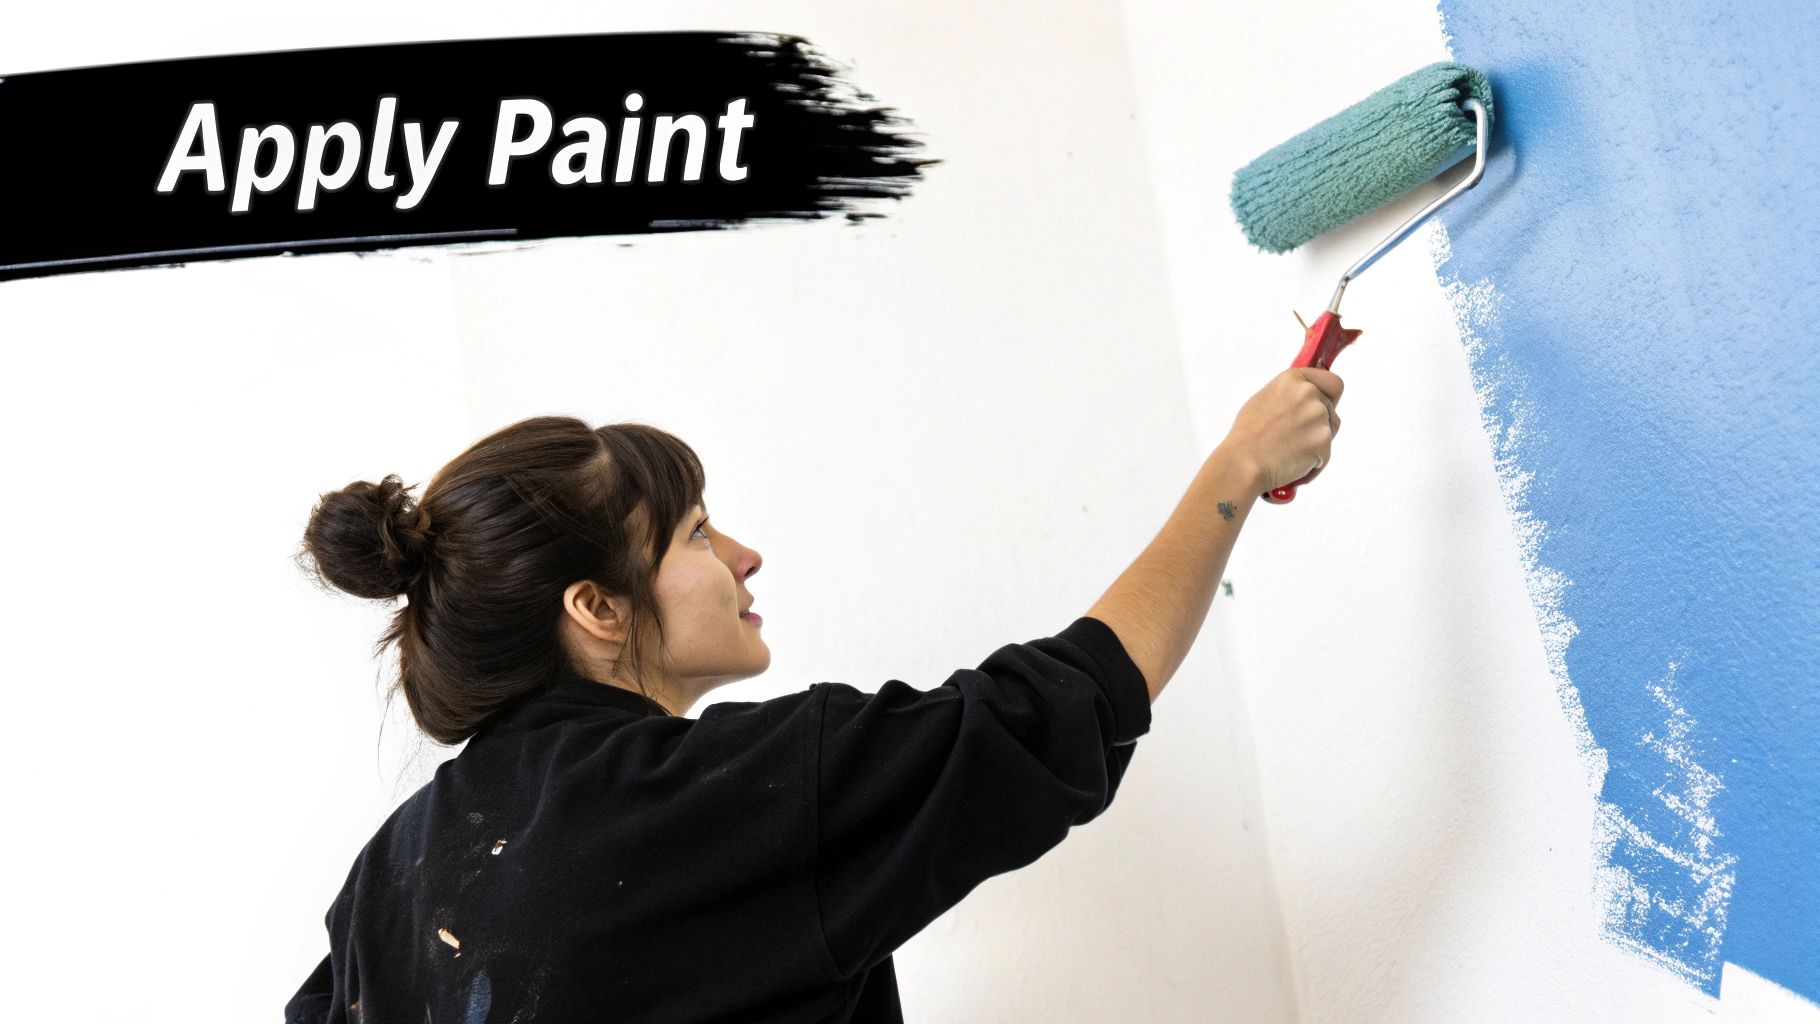
Achieving a Flawless Application
The secret to avoiding those dreaded brush marks and roller lines is to be methodical. Always start by "cutting in" the edges. Grab a quality angled brush and paint a clean, two-to-three-inch border around your trim, along corners, and where the wall meets the ceiling.
Once you’ve cut in, you can switch to the roller for the main surfaces. Load your roller with paint, but don't absolutely soak it—you want an even coat, not a dripping mess. Roll the paint on in a "W" or "N" pattern, covering an area about three feet wide. Then, without lifting the roller, go back and fill in that shape. This little trick distributes the paint way more evenly than just going up and down, giving you that seamless, professional look.
Of course, weather and room conditions play a huge part. To get a better handle on that, check out our guide on how long paint takes to dry.
Preventing Paint from Peeling Again
Fixing peeling paint is one thing, but making sure it stays fixed is the real win. Preventing it from happening again comes down to tackling the root causes. For most of us here in Toronto and Mississauga, that usually means getting a handle on moisture and dirt.
Here are the best strategies for protecting your hard work:
- Control Humidity: In steamy areas like bathrooms, always run the exhaust fan during a shower and for at least 20 minutes afterward. A small dehumidifier in a damp basement can also work wonders.
- Address Leaks Immediately: That tiny drip from a gutter or a leaky window seal might not seem like a big deal, but it’s a classic cause of exterior peeling. Prompt repairs are your best friend here.
- Keep Surfaces Clean: Give your interior walls a gentle wash once a year to get rid of grime that can break down the paint. For exteriors, a light pressure wash every couple of years stops dirt from trapping moisture against the siding.
A proactive approach is the best way to stop the cycle of peeling paint. A little bit of ongoing maintenance is far less work than scraping, sanding, and repainting every few years.
This preventative mindset is about more than just your walls; it's about responsible homeownership. Thinking about how we use and dispose of paint plays a part in maintaining healthier homes. Take the California Paint Stewardship Program, for example. Its 2024 annual report showed that nearly 2.5 million gallons of paint were collected for recycling. Programs like this encourage us to think more critically about paint maintenance and longevity. You can read more about these paint stewardship findings and see how they contribute to better environmental outcomes.
By combining the right application techniques with some smart prevention, you can be confident that your hard work will result in a beautiful finish that truly lasts.
Your Paint Repair Questions, Answered
When you're staring at a wall of peeling paint, a lot of questions can run through your mind. It's a common headache for homeowners in Toronto and across the GTA, so let's clear up some of the most frequent queries.
Can I Just Paint Over Peeling Paint?
This is the big one, and it's understandable why people ask. It seems so much easier. But the answer is a hard no.
Think of it this way: painting over flaking paint is like putting a new roof on a house with a crumbling foundation. The new coat has nothing solid to grab onto. Before you know it, you'll see bubbles and fresh peels, and you'll be right back where you started, only with more layers to remove.
The only way to get a lasting finish is to follow a proper structure. You have to scrape off all the loose stuff, sand the edges smooth so you don't see a ridge, and then use a quality primer. Only then is the surface ready for a new topcoat that will actually stick.
What's the Difference Between Blistering and Peeling?
They're really two acts in the same play. Blistering—those ugly bubbles in your paint—is the first sign of trouble. It's a pocket of air or moisture that has pushed the paint film away from the wall.
If you ignore the blisters, they eventually pop. That's when you get cracking and then full-on peeling, where the paint starts flaking right off. Basically, blistering is the warning shot, and peeling is the total paint failure.
Why Does My Bathroom Paint Keep Peeling?
In a bathroom, the villain is almost always humidity. All that steam from your hot showers creates condensation, which seeps behind the paint and breaks down its bond to the drywall.
To fix this for good, you need a two-pronged attack. First, improve your ventilation. Always run the exhaust fan while you shower and leave it on for at least 20-30 minutes afterward to clear the air.
Second, choose the right materials. When you repaint, you absolutely must use a high-quality, moisture-resistant primer followed by a paint made specifically for bathrooms. These products are designed to handle damp conditions and often include mildewcide to stop mould from growing.
The biggest mistake is using regular interior paint in a bathroom. Spending a little extra on the best bathroom-specific paint will save you from having to redo the job in a year.
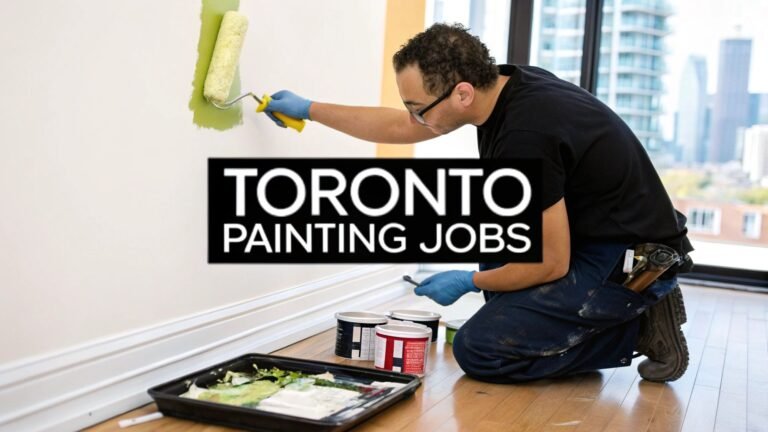
When a paint job feels overwhelming or the damage is more than you bargained for, it’s worth looking into hiring professional home repair handyman services. Sometimes, calling in an expert is the quickest path to getting the job done right.
At Soca Services Painting, we know that a perfect finish is all about proper preparation. If your peeling paint issue feels like too much to handle, or if you simply want a flawless, long-lasting result, we provide the best service for homeowners across the GTA. Contact us today for a free estimate!
11 Comments